Introduction
When it comes to browsing the web, Safari is a popular choice among Mac users. Its sleek interface, robust performance, and seamless integration with the Apple ecosystem make it a preferred browser for many. However, one common issue that users encounter is how to allow camera access on Safari for Mac. Whether you're engaging in a video call, accessing a virtual meeting, or using a web-based application that requires camera functionality, it's essential to understand how to manage camera access settings in Safari.
In this comprehensive guide, we'll delve into the intricacies of checking camera access settings, granting camera access to Safari, and troubleshooting common camera access issues. By the end of this article, you'll be equipped with the knowledge and confidence to navigate Safari's camera permissions with ease, ensuring a seamless and secure browsing experience.
Let's embark on this journey to demystify the process of allowing camera access on Safari for Mac, empowering you to make the most of your browsing and communication needs. Whether you're a seasoned Mac user or a newcomer to the platform, understanding how to manage camera access in Safari is a valuable skill that enhances your overall browsing experience. So, let's dive in and unravel the intricacies of Safari's camera access settings together.
Checking Camera Access Settings
Before delving into the process of granting camera access to Safari on your Mac, it's crucial to first understand how to check the camera access settings. This initial step ensures that you have a clear understanding of the current permissions and can take appropriate action if necessary.
-
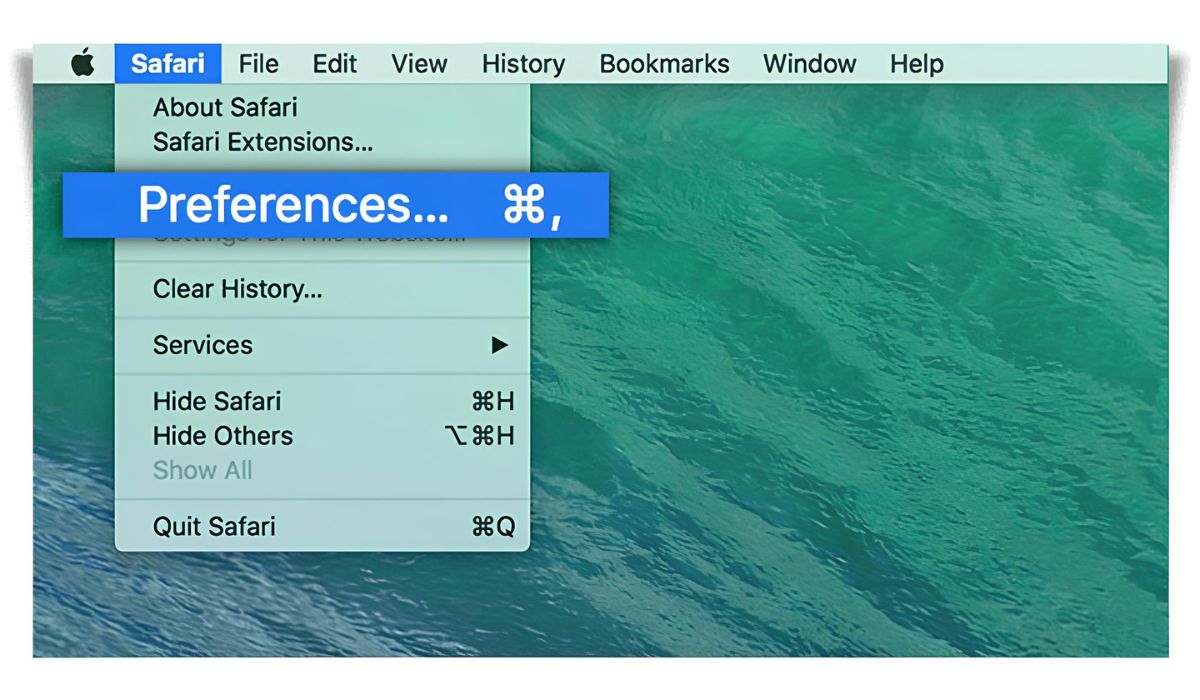
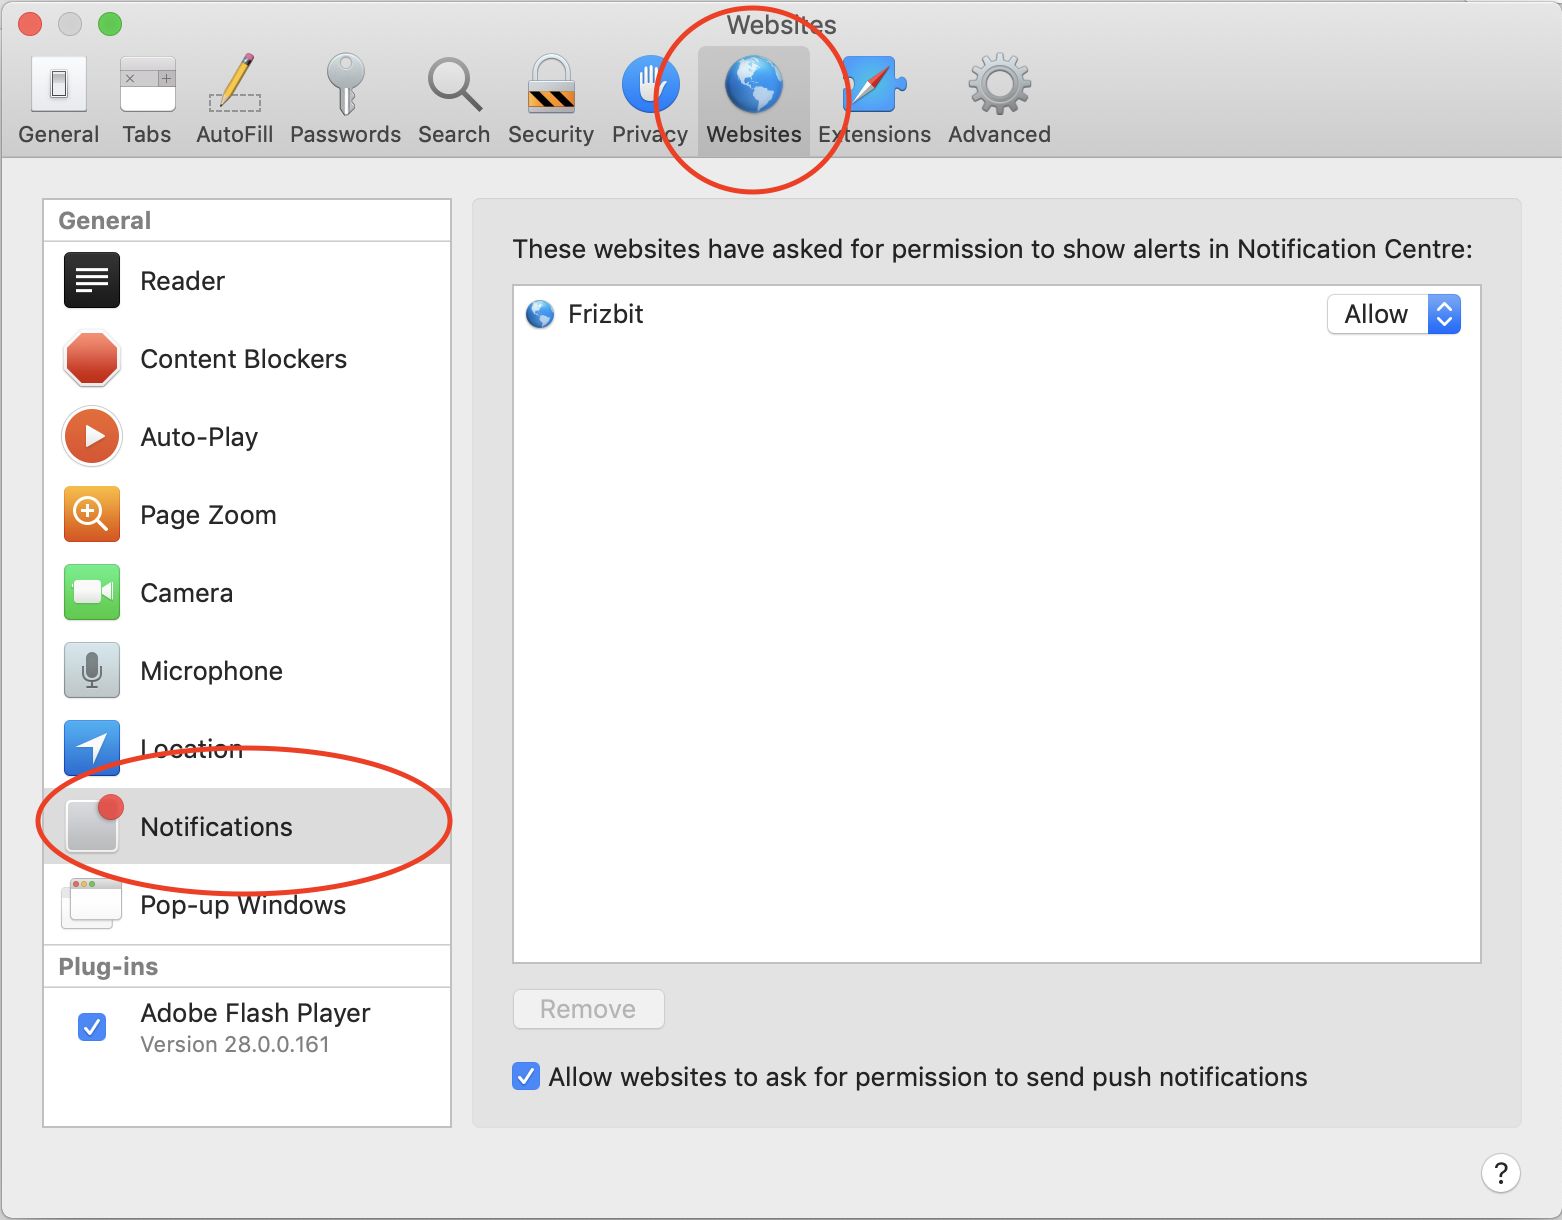
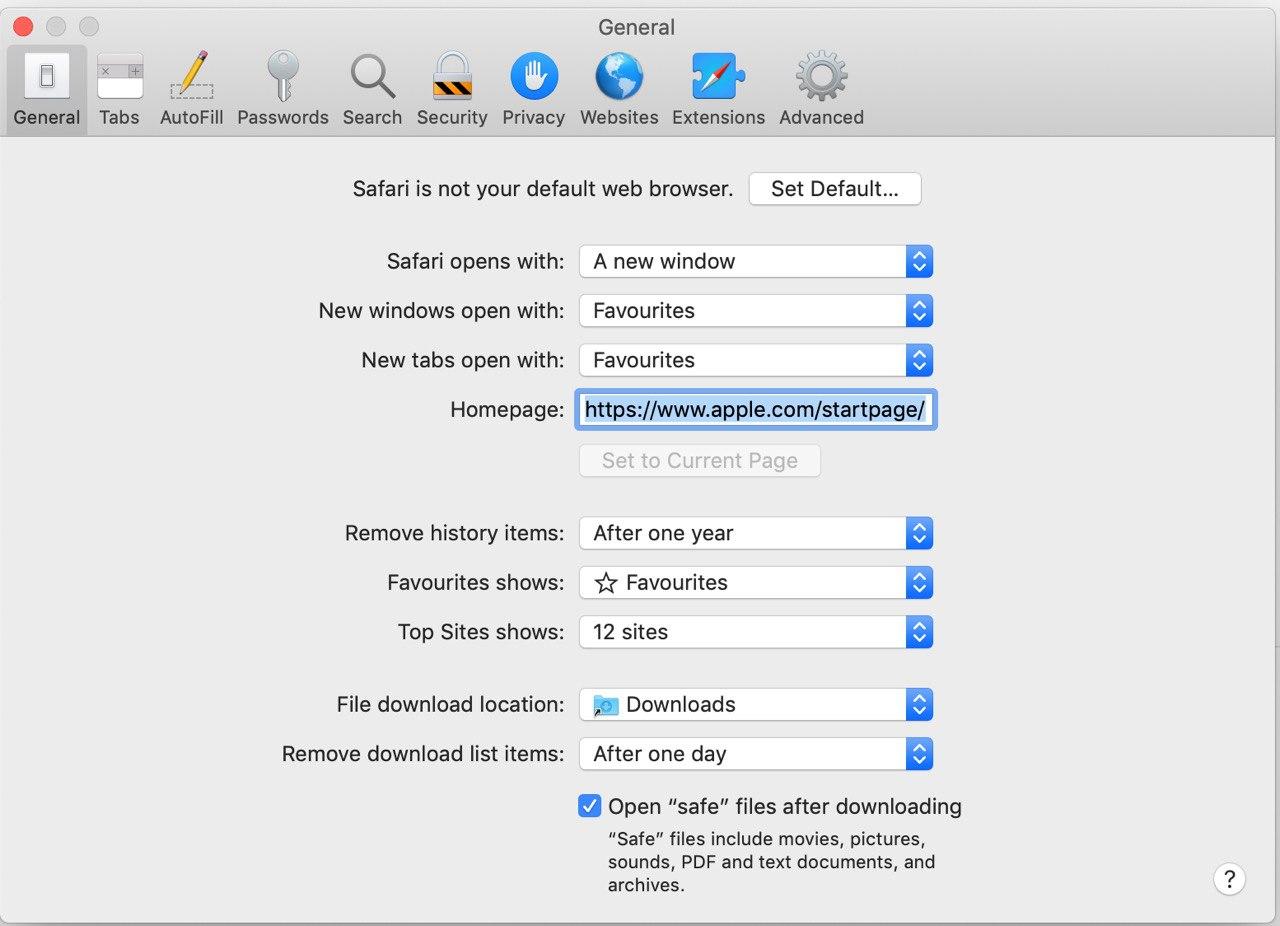
Accessing Safari Preferences: To begin, launch Safari on your Mac and navigate to the "Safari" menu located in the top-left corner of the screen. From the dropdown menu, select "Preferences." This action opens a window where you can manage various settings related to Safari's functionality.
-
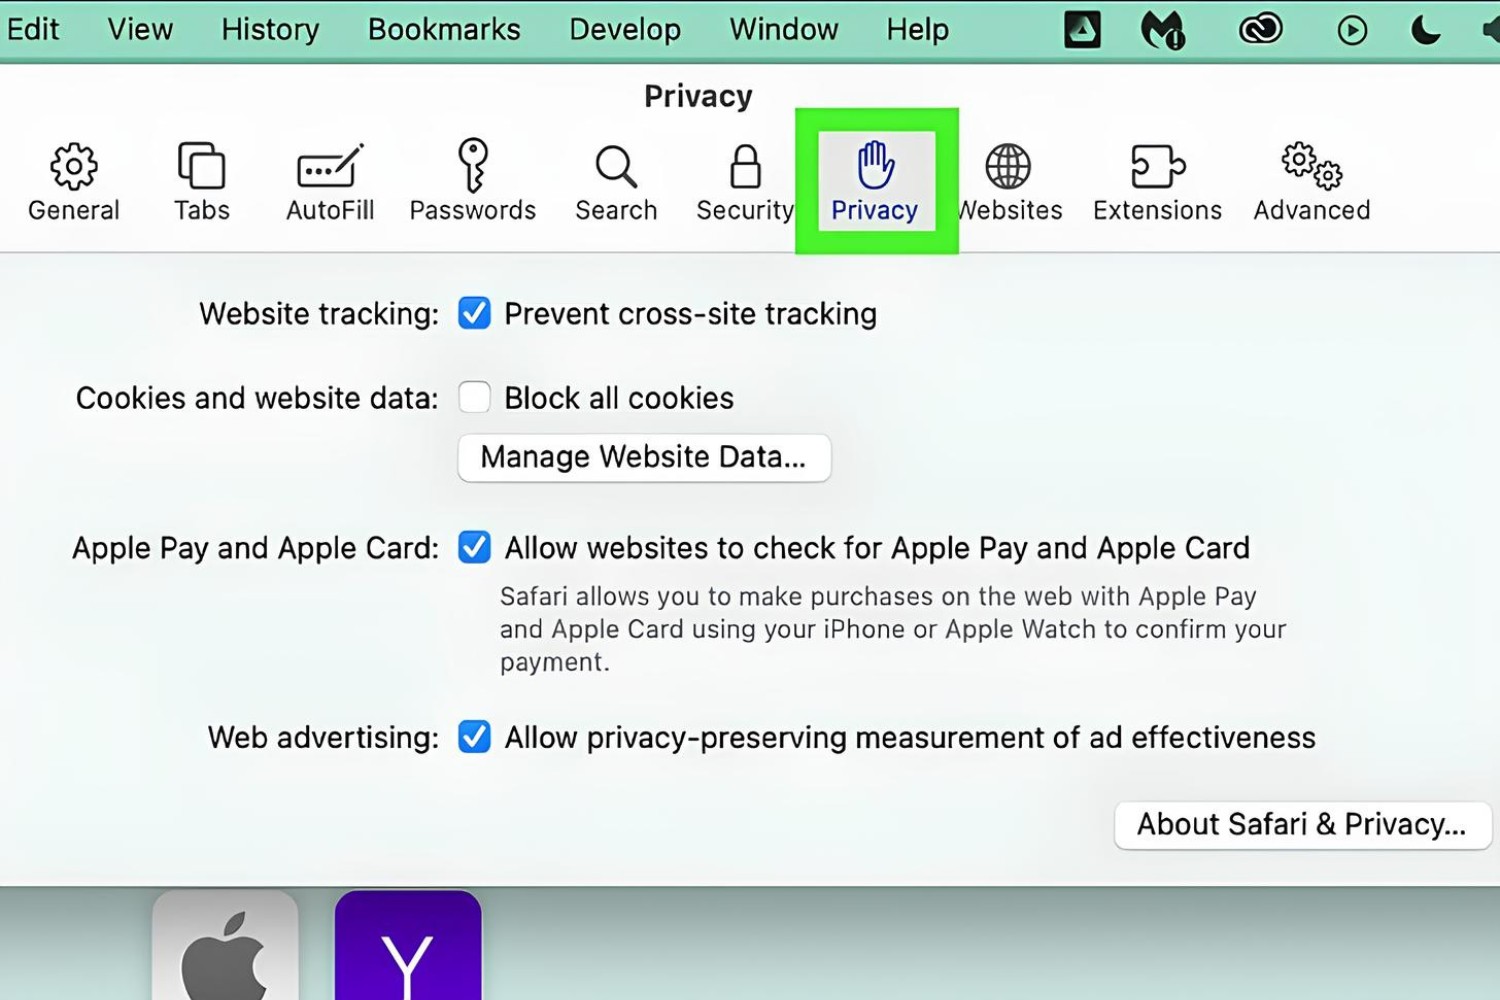
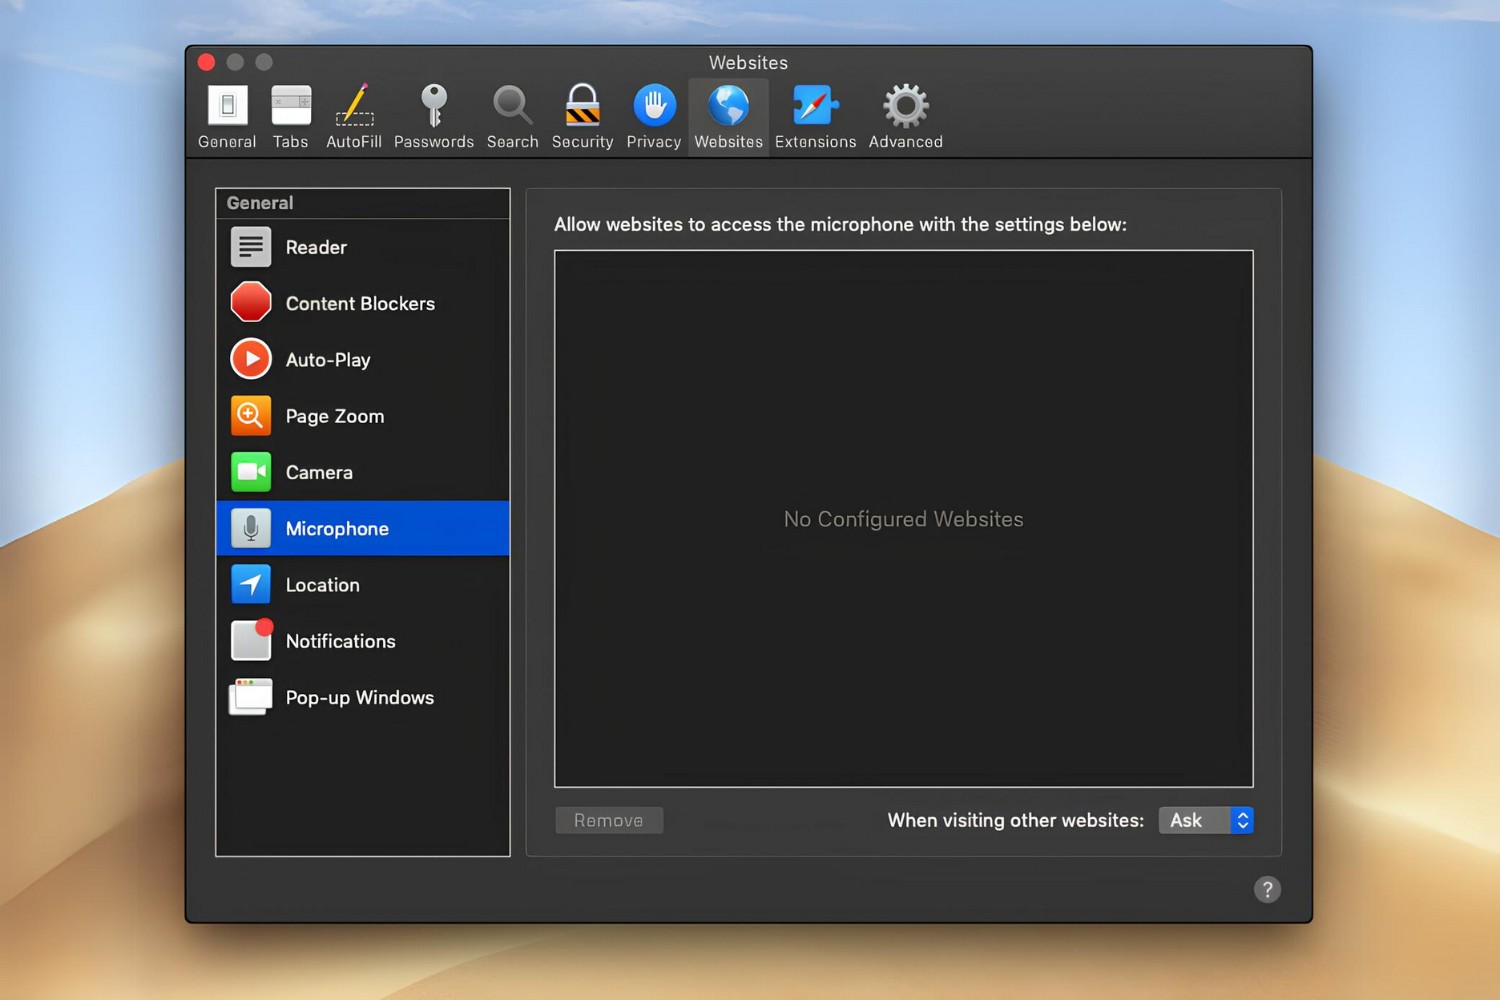
Selecting the Privacy Tab: Within the Preferences window, locate and click on the "Privacy" tab. This section houses essential privacy and security settings, including camera access permissions.
-
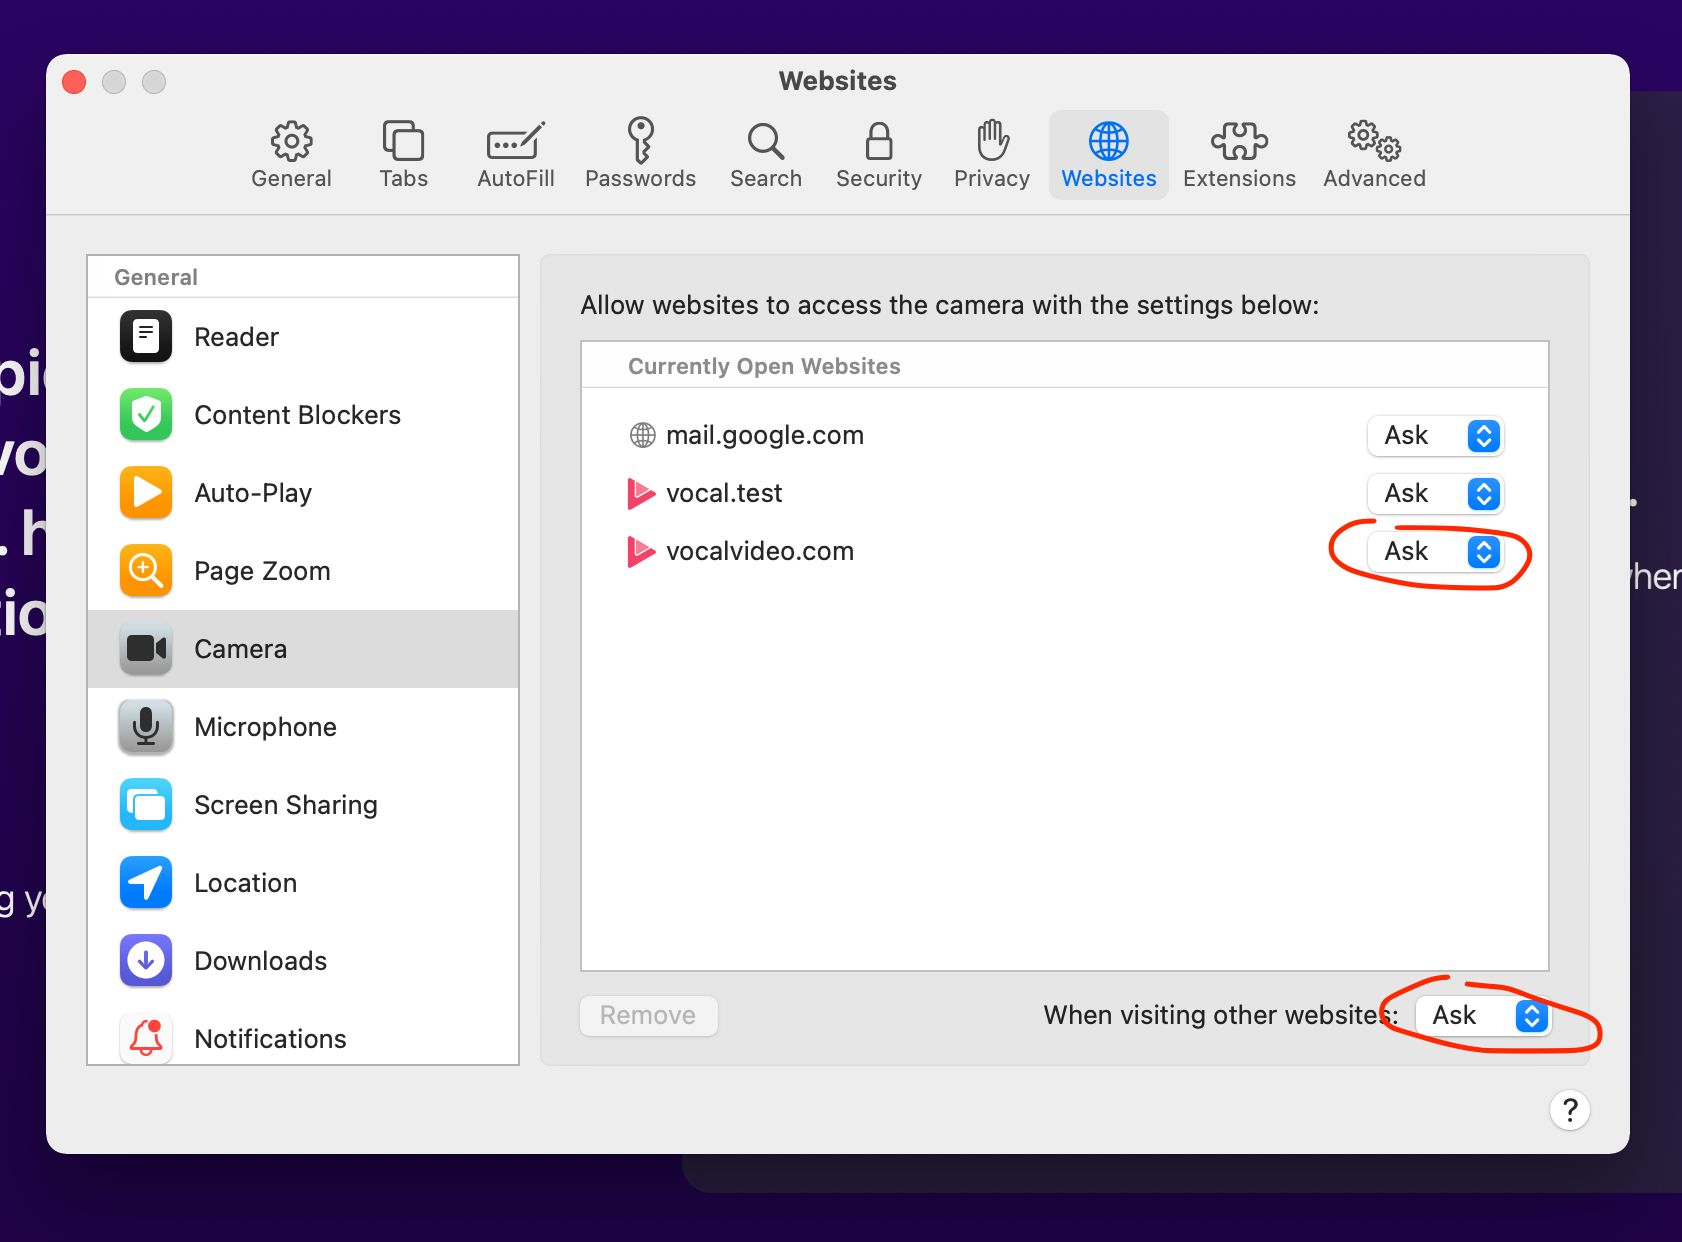
Locating Camera Permissions: Once you're in the Privacy tab, look for the "Camera" option in the list of website data permissions. Here, you can view which websites have been granted access to your Mac's camera and make adjustments as needed.
-
Reviewing Camera Permissions: Take a moment to review the list of websites that have requested and been granted camera access. This step allows you to ensure that only trusted and relevant websites have permission to utilize your Mac's camera.
-
Adjusting Camera Permissions: If you wish to modify the camera access settings for specific websites, simply select the desired website from the list and choose the appropriate action, such as revoking or granting camera access.
By following these steps, you can effectively check the camera access settings in Safari on your Mac. This foundational knowledge sets the stage for confidently managing camera permissions and ensuring a secure browsing experience. With a clear understanding of the current camera access settings, you're now ready to proceed to the next crucial step: granting camera access to Safari.
Remember, staying informed about your browser's camera access settings empowers you to maintain control over your privacy and security while leveraging the full potential of web-based camera functionalities. Now that you're equipped with the know-how to check camera access settings in Safari, let's move on to the next phase of our exploration: granting camera access to Safari on your Mac.
Granting Camera Access to Safari
Now that you have familiarized yourself with the process of checking camera access settings in Safari on your Mac, it's time to delve into the pivotal step of granting camera access to the browser. By following the steps outlined below, you can seamlessly enable camera access for specific websites, ensuring that you can fully utilize web-based camera functionalities while maintaining control over your privacy and security.
-
Accessing Website Camera Permissions: When you encounter a website that requires camera access, Safari prompts you to grant permission for the site to utilize your Mac's camera. Upon encountering this prompt, carefully consider whether the website is trustworthy and relevant to your needs.
-
Granting Camera Access: If you decide to grant camera access to the website, simply click on the "Allow" or "Grant Access" option within the permission prompt. This action signals to Safari that the selected website is authorized to access your Mac's camera for the intended purpose.
-
Managing Camera Permissions: After granting camera access to a website, Safari retains this permission for future visits to the same site. However, if you wish to modify or revoke camera access for a specific website at any point, you can do so by revisiting the Privacy tab within Safari's Preferences and adjusting the camera permissions for the respective site.
-
Ensuring Security and Privacy: As you grant camera access to websites in Safari, it's essential to prioritize security and privacy. Only authorize camera access for websites that you trust and that genuinely require camera functionality for legitimate purposes. By exercising discretion and vigilance, you can safeguard your privacy while leveraging the benefits of web-based camera access.
By following these steps, you can effectively grant camera access to Safari on your Mac, enabling seamless interaction with web-based camera functionalities while maintaining control over your privacy and security. This proactive approach empowers you to make informed decisions regarding camera permissions, ensuring a secure and personalized browsing experience tailored to your specific needs and preferences.
Now that you've gained insight into the process of granting camera access to Safari, you're well-equipped to navigate the intricacies of managing camera permissions and optimizing your browsing experience. With a clear understanding of how to grant camera access in Safari, you can confidently engage with web-based camera functionalities, knowing that you have the knowledge and agency to control camera permissions as needed.
Troubleshooting Camera Access Issues
Encountering camera access issues while using Safari on your Mac can be a frustrating experience, disrupting your ability to engage in video calls, access virtual meetings, or utilize web-based applications that rely on camera functionality. However, by understanding common troubleshooting methods, you can effectively address and resolve camera access issues, ensuring a seamless browsing experience. Let's explore some practical steps to troubleshoot camera access issues in Safari on your Mac.
Clearing Website Data and Permissions
If you encounter camera access issues on specific websites, it's advisable to start by clearing the website data and permissions associated with the problematic sites. To do this:
- Navigate to Safari's Preferences and access the Privacy tab.
- Locate the "Manage Website Data" option and click on it.
- Search for the problematic website in the list of stored data and permissions.
- Select the website and choose the option to remove it from the list, effectively clearing its stored data and permissions.
By clearing the website data and permissions, you can reset the camera access settings for the problematic site, potentially resolving any underlying issues that were hindering camera functionality.
Checking System Preferences
In some cases, camera access issues in Safari may stem from broader system settings on your Mac. To address this:
- Go to the Apple menu and select "System Preferences."
- Choose the "Security & Privacy" option.
- Navigate to the "Privacy" tab and select "Camera" from the list of privacy settings.
- Ensure that Safari is listed and enabled to access the camera. If it's not listed, click the lock icon, enter your administrator password, and make the necessary adjustments to grant Safari camera access.
Verifying and adjusting the camera permissions within the System Preferences can effectively resolve compatibility issues that may be impeding camera access in Safari.
Updating Safari and macOS
Outdated software can sometimes lead to compatibility issues, including camera access issues. Therefore, ensuring that both Safari and macOS are up to date is crucial for resolving such issues. To update Safari and macOS:
- Check for Safari updates by clicking on the "Safari" menu and selecting "About Safari." If an update is available, follow the on-screen instructions to install it.
- For macOS updates, go to the Apple menu, select "System Preferences," and choose "Software Update." If updates are available, proceed with installing them to ensure your system is running the latest software versions.
By keeping Safari and macOS up to date, you can address potential software-related factors contributing to camera access issues.
Resetting Safari
If the aforementioned steps do not resolve the camera access issues, consider resetting Safari to its default settings. This action can help eliminate any persistent issues related to browser settings and configurations. To reset Safari:
- Access Safari's Preferences and navigate to the "Privacy" tab.
- Click on the "Remove All Website Data" option to clear stored website data, including camera permissions.
- Additionally, consider resetting other aspects of Safari, such as clearing caches and resetting browser settings, to ensure a comprehensive reset.
By resetting Safari, you can effectively address underlying issues that may be affecting camera access, restoring the browser to a clean and optimized state.
By following these troubleshooting steps, you can effectively address and resolve camera access issues in Safari on your Mac, ensuring a seamless and uninterrupted browsing experience. Whether it involves clearing website data, adjusting system preferences, updating software, or resetting the browser, these proactive measures empower you to overcome camera access challenges and make the most of Safari's capabilities.


