Introduction
So, you've decided to take your networking game to the next level by installing a network switch directly into the wall. This can be a game-changer, providing a sleek and professional look to your setup while also optimizing space and organization. Whether you're a tech enthusiast, a small business owner, or a homeowner looking to upgrade your network infrastructure, this guide will walk you through the process of putting a network switch in the wall, step by step.
Installing a network switch in the wall offers several benefits. It not only saves space and reduces cable clutter but also provides a centralized location for connecting various devices, such as computers, printers, and other networked peripherals. Additionally, mounting the switch on the wall keeps it out of the way, minimizing the risk of accidental damage or disconnection.
By following this guide, you'll learn how to plan and execute the installation process, ensuring that your network switch is securely and neatly integrated into the wall. From selecting the right tools and materials to testing the connection, each step is crucial to achieving a successful and professional-looking installation.
So, roll up your sleeves and get ready to transform your network setup. With a bit of planning and the right approach, you'll soon have a network switch seamlessly integrated into your wall, improving both the aesthetics and functionality of your network infrastructure. Let's dive into the details and get started on this exciting project.
Tools and Materials
Before embarking on the installation of a network switch in the wall, it’s essential to gather the necessary tools and materials to ensure a smooth and successful process. Here’s what you’ll need:
- Network Switch: Select a high-quality network switch that meets your specific requirements, such as the number of ports needed for your devices.
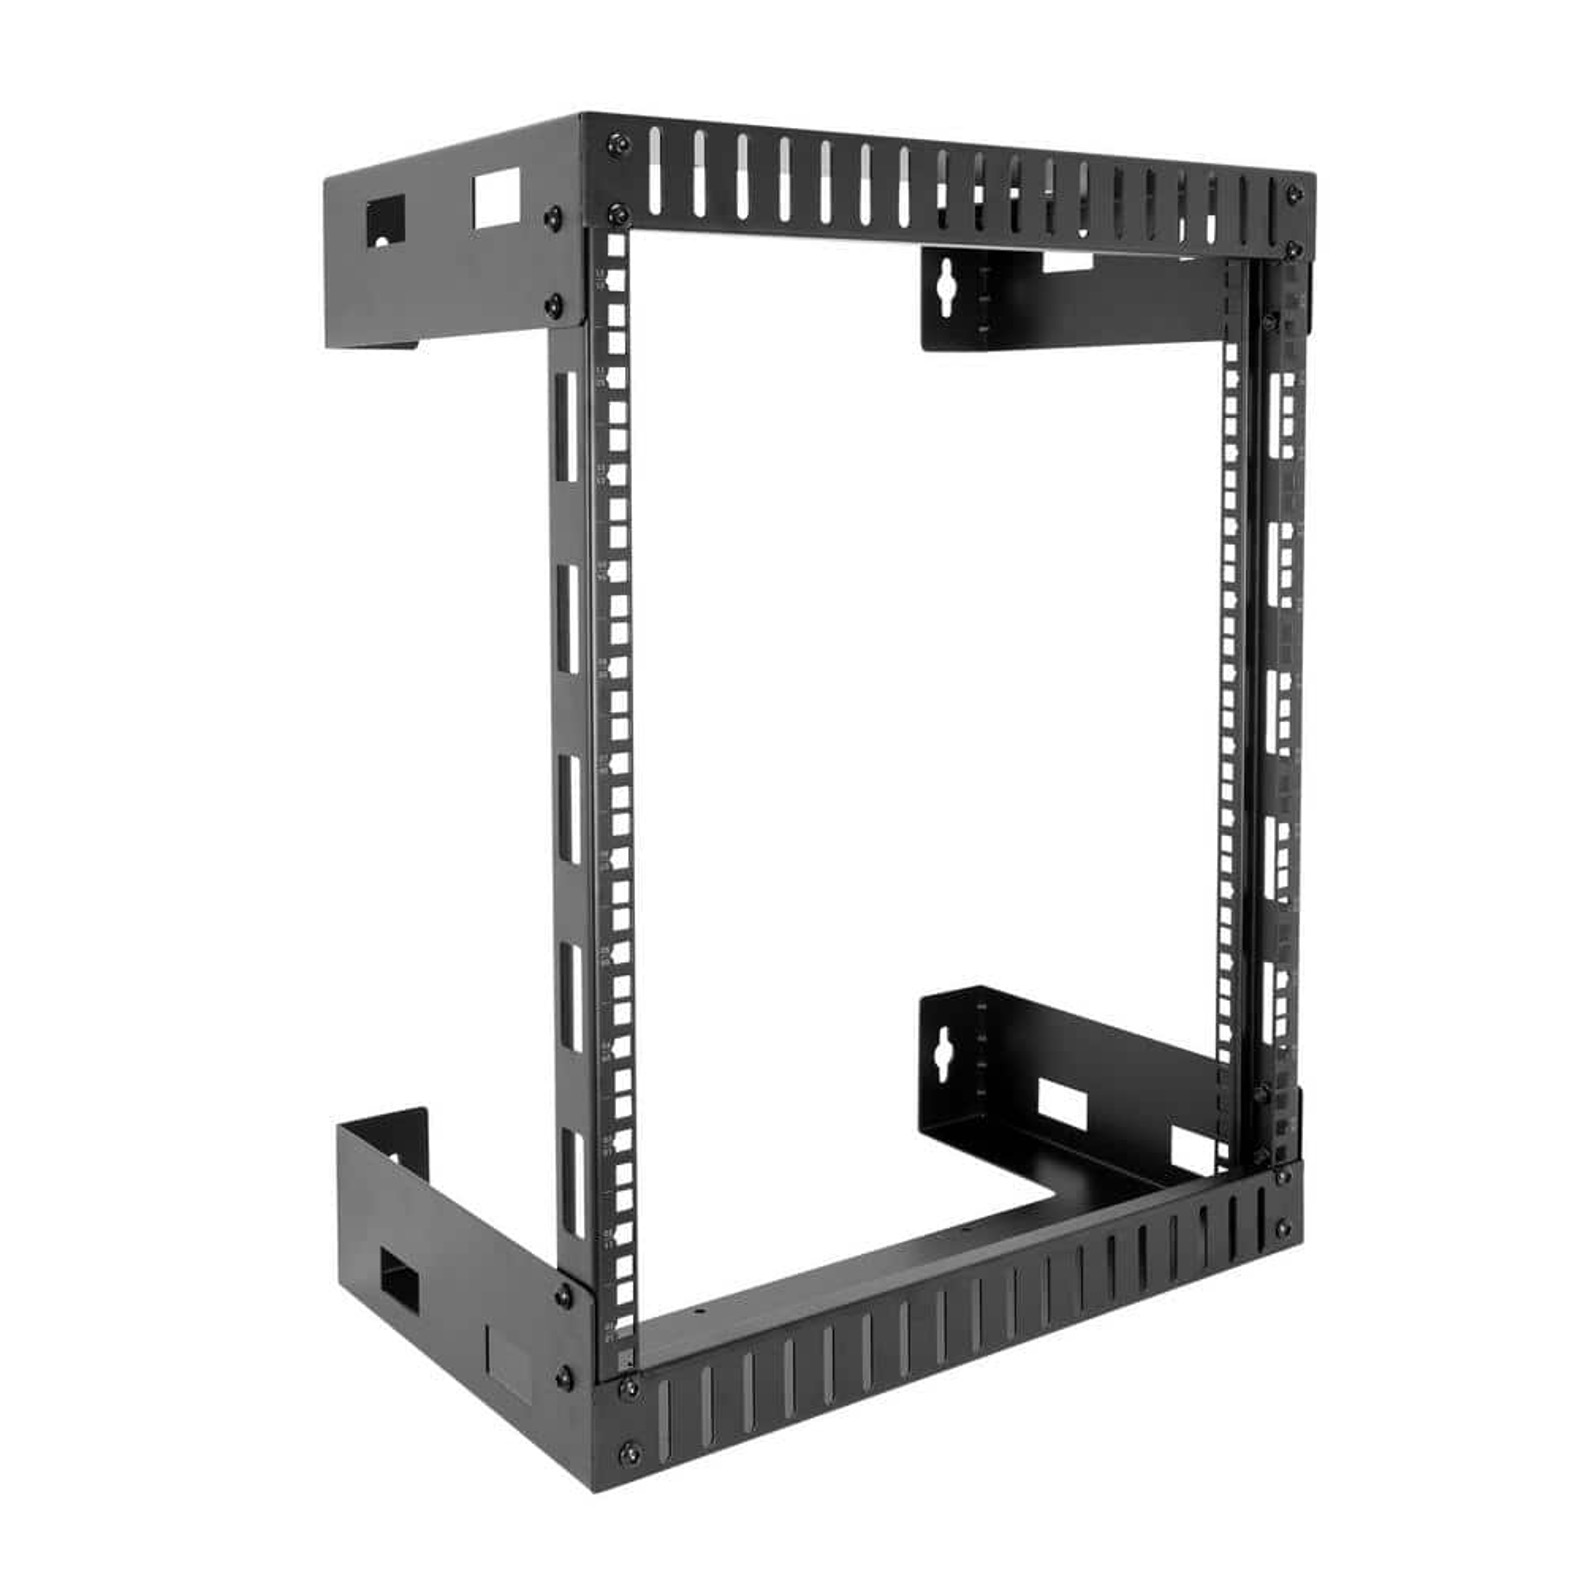
- Mounting Bracket: Choose a sturdy mounting bracket designed to securely hold the network switch in place on the wall.
- Power Drill: A reliable power drill will be essential for creating the opening in the wall for the mounting bracket.
- Stud Finder: Use a stud finder to locate the wooden studs within the wall, which will provide the necessary support for the mounting bracket.
- Level: Ensure that the network switch is installed perfectly straight by using a level during the mounting process.
- Screwdriver and Screws: Have a suitable screwdriver and the appropriate screws on hand for securing the mounting bracket to the wall.
- Measuring Tape: Accurate measurements are crucial for cutting the hole in the wall and positioning the mounting bracket correctly.
- Wire Strippers and Ethernet Cables: Prepare the necessary tools and cables for connecting the devices to the network switch.
- Electrical Tape: Use electrical tape to secure and organize the cables, ensuring a tidy and professional-looking installation.
- Safety Gear: Always prioritize safety by wearing protective gear, such as safety glasses and gloves, when using power tools.
By gathering these tools and materials, you’ll be well-equipped to proceed with the installation process, minimizing interruptions and ensuring that each step can be completed efficiently and effectively.
Planning the Installation
Prior to diving into the physical installation of the network switch in the wall, meticulous planning is essential to ensure a seamless and professional outcome. Here’s a step-by-step guide to help you plan the installation:
- Assess the Location: Determine the ideal placement for the network switch. Consider factors such as accessibility, cable routing, and proximity to the devices that will connect to the switch.
- Locate Wall Studs: Use a stud finder to identify the wooden studs within the wall. Mounting the switch to a stud will provide the necessary support for its weight and the devices connected to it.
- Measure and Mark: Using a measuring tape, mark the precise location for the mounting bracket on the wall, ensuring that it aligns with the studs and allows for proper cable management.
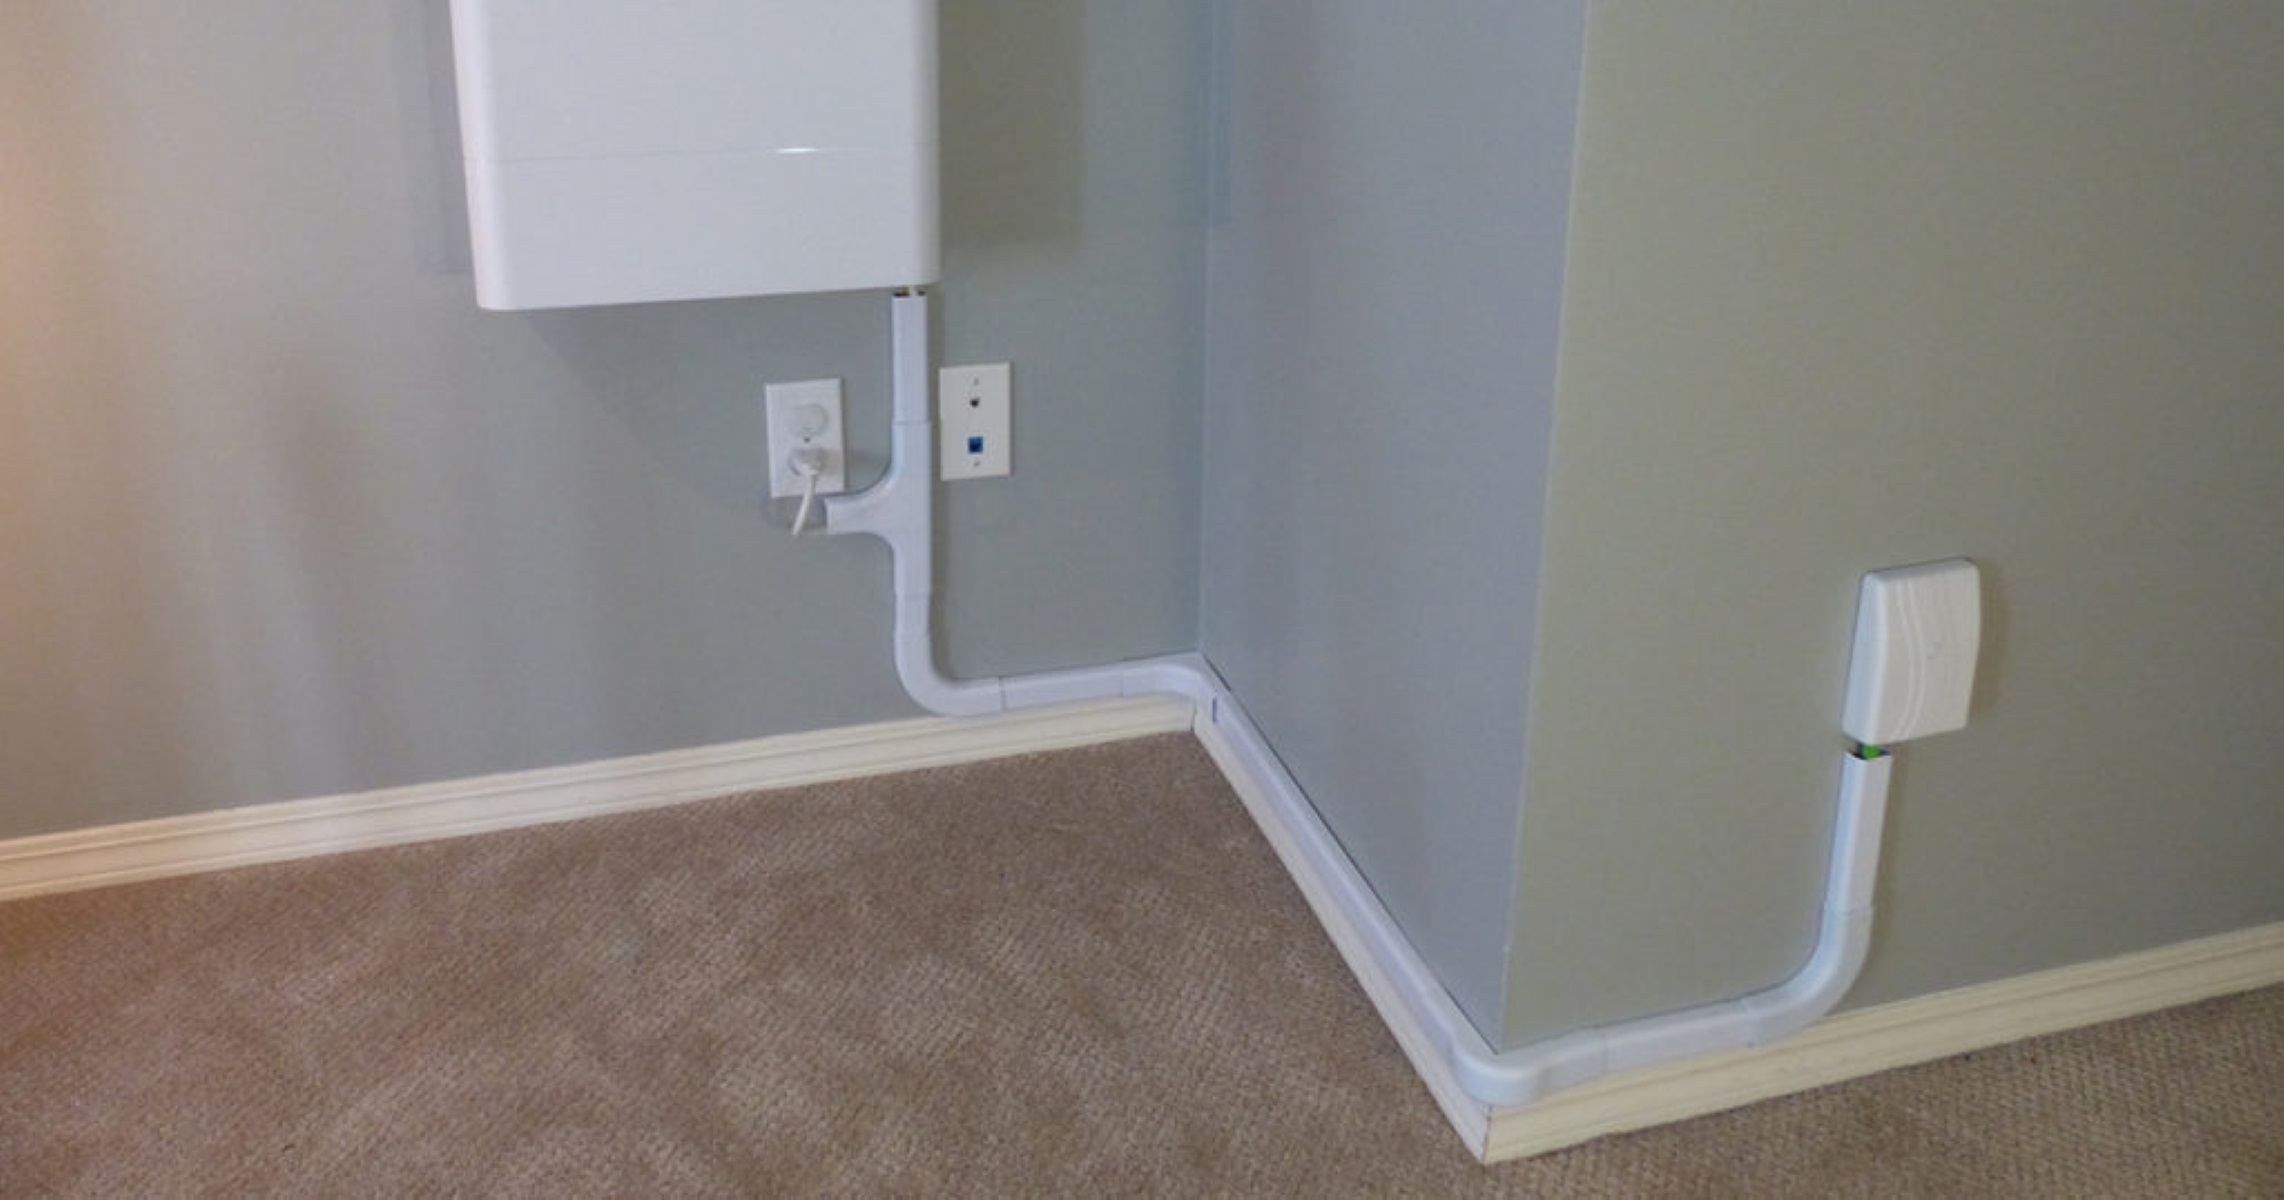
- Consider Cable Management: Plan the cable routing from the devices to the network switch, aiming for a clean and organized layout. This may involve drilling additional holes for cable pass-through or using cable management solutions.
- Verify Power Outlet Accessibility: Ensure that the chosen location for the network switch provides convenient access to a power outlet for supplying electrical power. If needed, plan for the installation of a new power outlet.
- Account for Cooling: If the network switch generates heat, consider ventilation and airflow around the installation area to prevent overheating. This may involve leaving space around the switch or incorporating additional cooling solutions.
By carefully planning each aspect of the installation, you’ll be well-prepared to execute the process with precision and confidence. Taking the time to plan ensures that potential challenges are identified and addressed in advance, leading to a successful and professional installation of the network switch in the wall.
Cutting the Hole in the Wall
With the planning phase complete, it’s time to proceed with the physical steps of installing the network switch in the wall. One of the initial tasks is cutting a hole in the wall to accommodate the mounting bracket. Here’s how to approach this crucial step:
- Mark the Cutout Area: Transfer the measurements for the mounting bracket onto the wall, clearly marking the area to be cut out. Use a pencil and a level to ensure precise and straight lines.
- Prepare the Work Area: Clear the surrounding area to create a safe and unobstructed workspace. Remove any furniture, decorations, or items that may impede the cutting process.
- Use the Right Tools: Select a suitable cutting tool based on the wall material. For drywall, a keyhole saw or drywall saw is commonly used, while a rotary tool with a cutting bit may be preferred for tougher materials like plaster or wood paneling.
- Exercise Caution: Prioritize safety by wearing protective gear, including safety glasses and a dust mask, to guard against airborne particles and debris during the cutting process.
- Precision Cutting: Carefully cut along the marked lines, ensuring that the resulting hole is slightly larger than the mounting bracket to allow for a comfortable fit without damaging the surrounding wall material.
- Smooth the Edges: After cutting the hole, use a fine-grit sandpaper or a small hand file to smooth any rough edges around the perimeter of the opening, creating a clean and even surface for mounting the bracket.
By following these steps, you’ll successfully create a precise and neatly finished hole in the wall, ready to accommodate the mounting bracket for the network switch. Attention to detail and a methodical approach will contribute to a professional and visually appealing installation.
Installing the Mounting Bracket
With the hole cut to accommodate the mounting bracket, the next critical step in the installation process is securely affixing the bracket to the wall. Proper installation of the mounting bracket is essential for providing a stable and reliable foundation for the network switch. Here’s a detailed guide to completing this phase of the installation:
- Positioning the Bracket: Align the mounting bracket with the hole in the wall, ensuring that it sits flush and level against the surface. Use a level to confirm that the bracket is perfectly horizontal or vertical, depending on your preference.
- Marking Screw Hole Locations: Once the bracket is positioned correctly, mark the locations for the screw holes on the wall. These marks will guide the placement of the screws to secure the bracket in place.
- Pre-Drilling Screw Holes: Use a power drill with a drill bit slightly smaller than the diameter of the screws to pre-drill the marked holes. This step reduces the risk of damaging the wall and ensures precise placement of the screws.
- Securing the Bracket: With the pre-drilled holes in place, attach the mounting bracket to the wall using suitable screws. Ensure that the bracket is firmly anchored and does not wobble or shift when pressure is applied.
- Verify Stability: After securing the bracket, perform a visual and manual inspection to confirm its stability. Gently attempt to move or rotate the bracket to ensure that it is securely fastened to the wall.
- Prepare for Switch Installation: With the mounting bracket in place, verify that it provides a secure and level platform for installing the network switch. Confirm that the necessary cabling and power connections are accessible from the mounting location.
By meticulously following these steps, you’ll successfully install the mounting bracket, laying the groundwork for the secure attachment of the network switch. Attention to detail and precision during this phase will contribute to a professional and reliable installation that meets both aesthetic and functional requirements.
Connecting the Network Switch
With the mounting bracket securely in place, it’s time to proceed with connecting the network switch, bringing you one step closer to a fully functional and neatly integrated installation. Here’s a detailed guide to successfully completing this pivotal phase of the process:
- Prepare the Network Switch: Before mounting the switch, ensure that it is powered off and disconnected from the electrical supply to prevent any potential electrical hazards during the installation process.
- Mount the Switch: Carefully position the network switch onto the mounting bracket, ensuring that it aligns with the pre-installed screw holes and sits securely in place. Use the appropriate screws to fasten the switch to the bracket, ensuring a stable and level attachment.
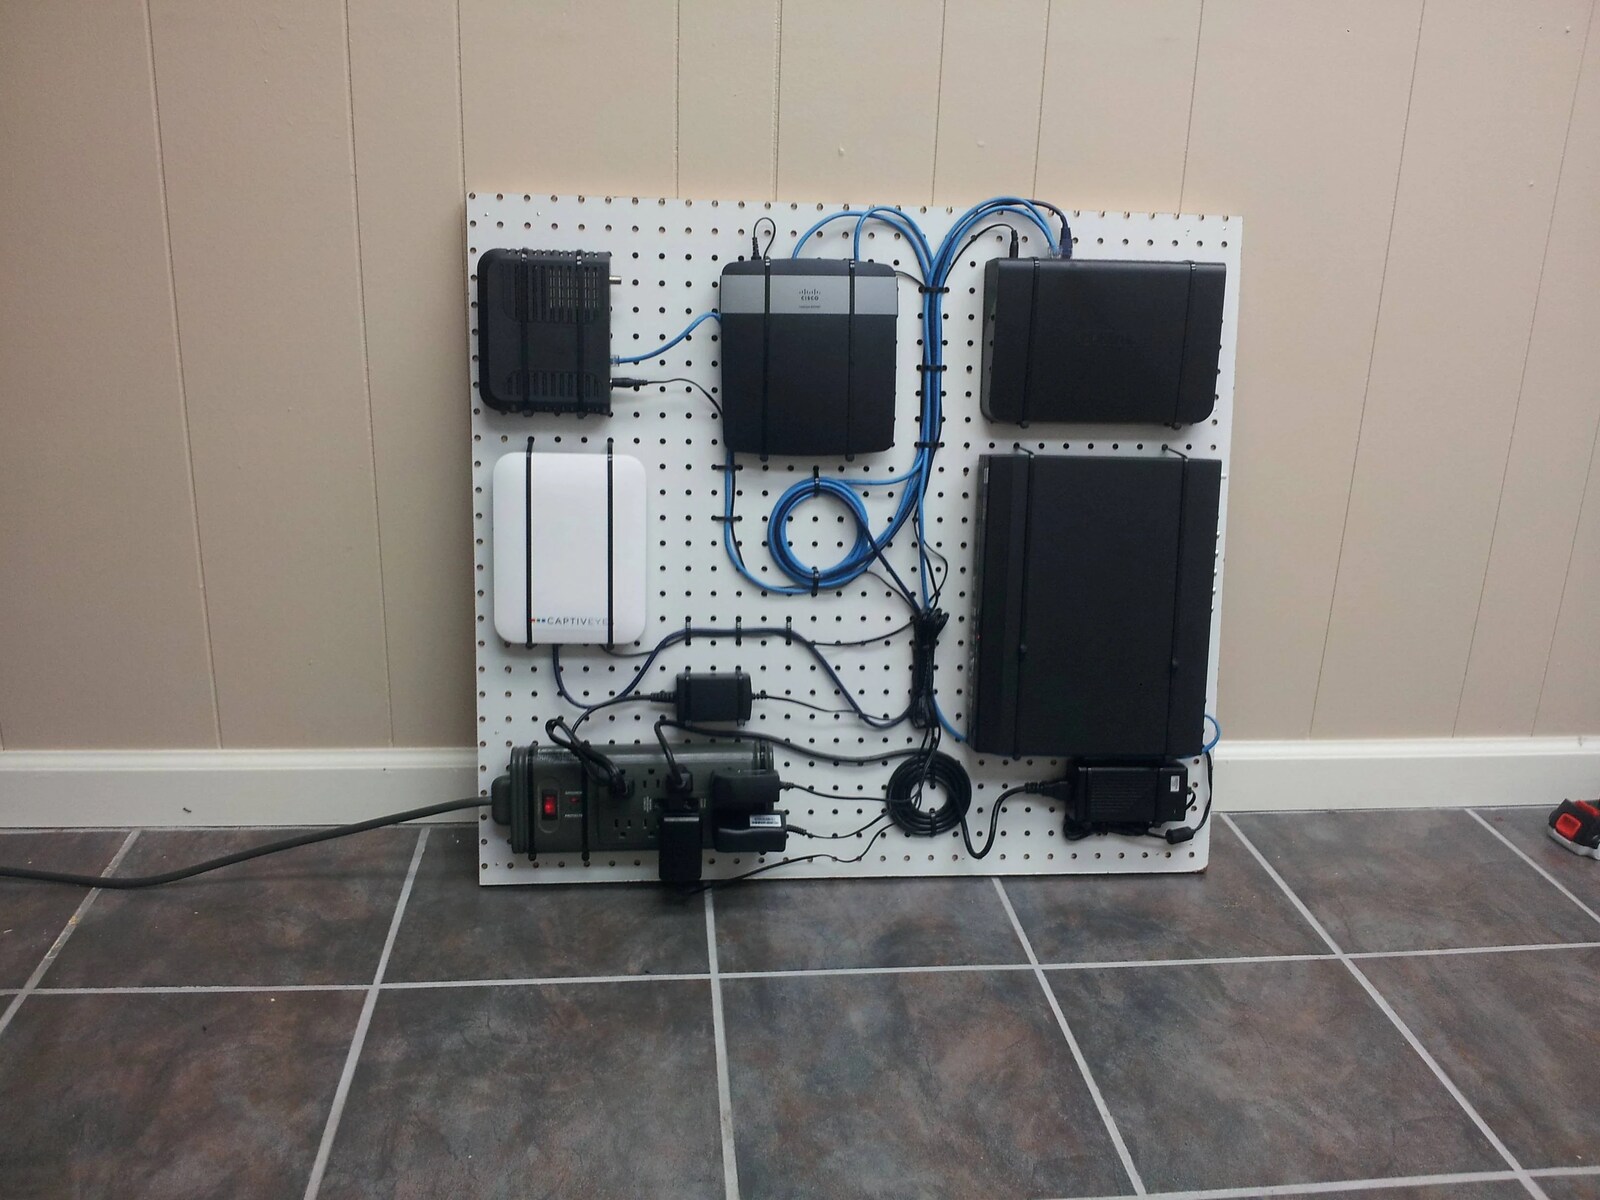
- Organize Cable Connections: Arrange the Ethernet cables and power cord in an organized manner, ensuring that they are neatly routed to the switch and do not obstruct other connections or impede airflow around the device.
- Connect Devices: Begin connecting the devices, such as computers, printers, and other networked peripherals, to the available ports on the network switch. Ensure that each connection is secure and properly seated to establish reliable network connectivity.
- Power Supply Connection: Connect the power cord to the network switch and ensure that it is securely plugged into a nearby power outlet. Verify that the power supply is stable and that the switch powers on successfully.
- Verify Network Functionality: Power on the connected devices and perform a thorough check to confirm that each device is successfully communicating over the network. Test various ports on the switch to ensure that all connections are functioning as expected.
By meticulously following these steps, you’ll successfully connect the network switch, ensuring that it is securely mounted, properly powered, and facilitating reliable network connectivity for the connected devices. Attention to detail and a methodical approach during this phase will contribute to a professional and functional installation that meets your networking requirements.
Testing the Connection
After connecting the network switch and ensuring that all devices are successfully linked, it’s crucial to thoroughly test the network connection to confirm its reliability and performance. This step is essential for identifying any potential issues and ensuring that the network switch is functioning as intended. Here’s a comprehensive guide to testing the connection:
- Network Device Verification: Verify that each device connected to the network switch is recognized and accessible within the network environment. Check for proper IP address assignment and ensure that devices can communicate with each other.
- Bandwidth Testing: Utilize network testing tools or software to measure the bandwidth and data transfer speeds between devices connected to the network switch. This step helps identify any potential bottlenecks or performance issues.
- Stress Testing: Subject the network to a stress test by simultaneously transferring data between multiple devices to assess the switch’s ability to handle heavy network traffic without experiencing significant performance degradation.
- Internet Connectivity: If the network switch is connected to a router or modem, verify that all connected devices have access to the internet and can browse the web, stream media, and perform other online activities without interruptions.
- Port Testing: Test each individual port on the network switch to ensure that they are fully operational and capable of establishing stable connections with devices. This step helps identify any faulty ports that may require further attention.
- Security Configuration: Review the network switch’s security settings and ensure that appropriate access controls, VLAN configurations, and other security measures are in place to safeguard the network from unauthorized access or potential threats.
By diligently conducting these tests, you’ll gain valuable insights into the performance and reliability of the network switch and its connected devices. Identifying and addressing any potential issues during the testing phase ensures that the network operates optimally and can effectively support your digital activities and communication needs.
Conclusion
Congratulations on successfully completing the installation of a network switch in the wall. By following the detailed steps outlined in this guide, you’ve transformed your network infrastructure, achieving a professional and efficient setup that optimizes space and enhances connectivity. The meticulous planning, precise execution, and thorough testing have culminated in a seamlessly integrated network switch that meets your networking needs. As you reflect on the journey from planning to testing, it’s evident that each step played a pivotal role in achieving a successful installation.
Through careful planning, you identified the ideal location, considered cable management, and ensured accessibility to power outlets, setting the stage for a well-thought-out installation. The process of cutting the hole in the wall and installing the mounting bracket required precision and attention to detail, resulting in a secure and stable foundation for the network switch. Connecting the devices and testing the network connection further solidified the functionality and reliability of the installation, ensuring that your network operates optimally.
As you admire the neatly integrated network switch, it’s important to recognize the impact of this installation. Not only does it declutter your workspace and improve organization, but it also enhances the aesthetics of your environment. The professional and sleek appearance of a wall-mounted network switch reflects a dedication to efficiency and a commitment to a well-designed network infrastructure.
As you enjoy the benefits of your newly installed network switch, remember that the journey doesn’t end here. Regular maintenance, occasional upgrades, and staying informed about advancements in networking technology will contribute to the longevity and performance of your network setup. Whether you’re a technology enthusiast, a small business owner, or a homeowner seeking a streamlined network solution, the successful installation of a network switch in the wall marks a significant milestone in your pursuit of an optimized and efficient network environment.
Embrace the enhanced functionality and aesthetics that your newly installed network switch brings, and revel in the seamless connectivity it provides for your digital activities and communication needs.


