Introduction
Connecting an Android phone to a network switch using an Ethernet cable can provide a reliable and high-speed internet connection, especially in situations where Wi-Fi connectivity is limited or unavailable. This method can be particularly beneficial for tasks that demand a stable and fast connection, such as online gaming, video streaming, or accessing large files. While Android devices are primarily designed for wireless connectivity, the ability to connect to a network switch via an Ethernet cable can significantly enhance the user experience in various scenarios.
By following a few straightforward steps, you can easily establish a direct wired connection between your Android phone and a network switch, ensuring a seamless and robust internet connection. Whether you are a professional seeking a more stable connection for work-related tasks or a casual user looking to optimize your online experience, this guide will walk you through the process of connecting your Android phone to a network switch using an Ethernet cable.
In the following sections, we will explore the essential steps required to complete this setup, including checking your Android phone's compatibility, acquiring the necessary equipment, and configuring the network settings on your device. Additionally, we will provide practical tips for testing the connection to ensure that everything is functioning as intended. By the end of this guide, you will have the knowledge and confidence to successfully connect your Android phone to a network switch, unlocking the benefits of a reliable wired internet connection on your mobile device.
Step 1: Check Your Android Phone’s Compatibility
Before proceeding with the connection process, it’s crucial to verify whether your Android phone supports Ethernet connectivity. While most modern Android devices are equipped with the necessary hardware and software capabilities to establish a wired connection, it’s essential to confirm this compatibility to avoid any potential issues.
Firstly, check if your Android phone has a USB-C or micro-USB port, as these are commonly used for connecting Ethernet adapters. Additionally, ensure that your device’s operating system supports Ethernet connectivity. Most Android versions, especially those running Android 5.0 (Lollipop) or later, offer native support for Ethernet connections, allowing for seamless integration with network switches.
If your Android phone meets these hardware and software requirements, you can proceed with confidence to the next steps of the setup process. However, if your device lacks the necessary hardware or software support for Ethernet connectivity, it may be challenging to establish a wired connection using an Ethernet cable. In such cases, exploring alternative connectivity options or considering the use of compatible accessories or adapters may be necessary to achieve the desired wired connection.
Understanding your Android phone’s compatibility with Ethernet connectivity is a critical initial step that sets the foundation for a successful wired connection to a network switch. By ensuring that your device meets the necessary requirements, you can proceed with confidence, knowing that it is equipped to handle the wired connection process effectively.
Step 2: Get the Right Equipment
Securing the appropriate equipment is essential for successfully connecting your Android phone to a network switch using an Ethernet cable. The following items are crucial for this setup:
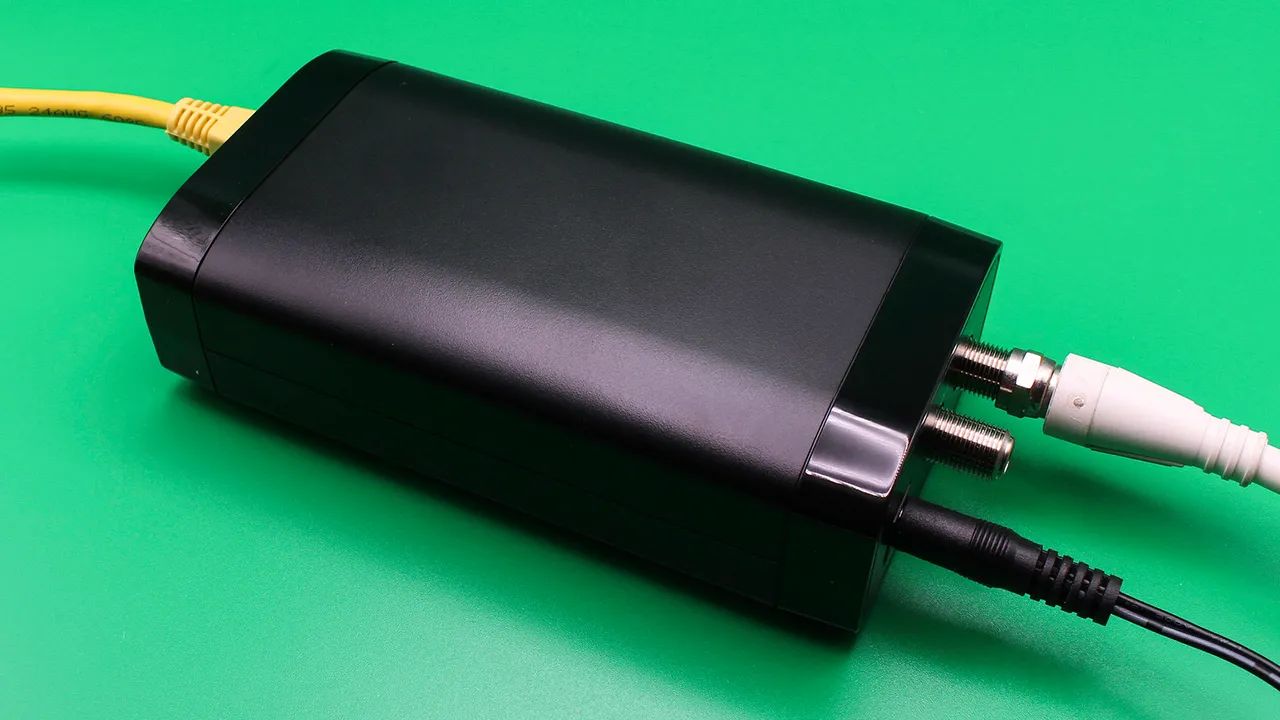
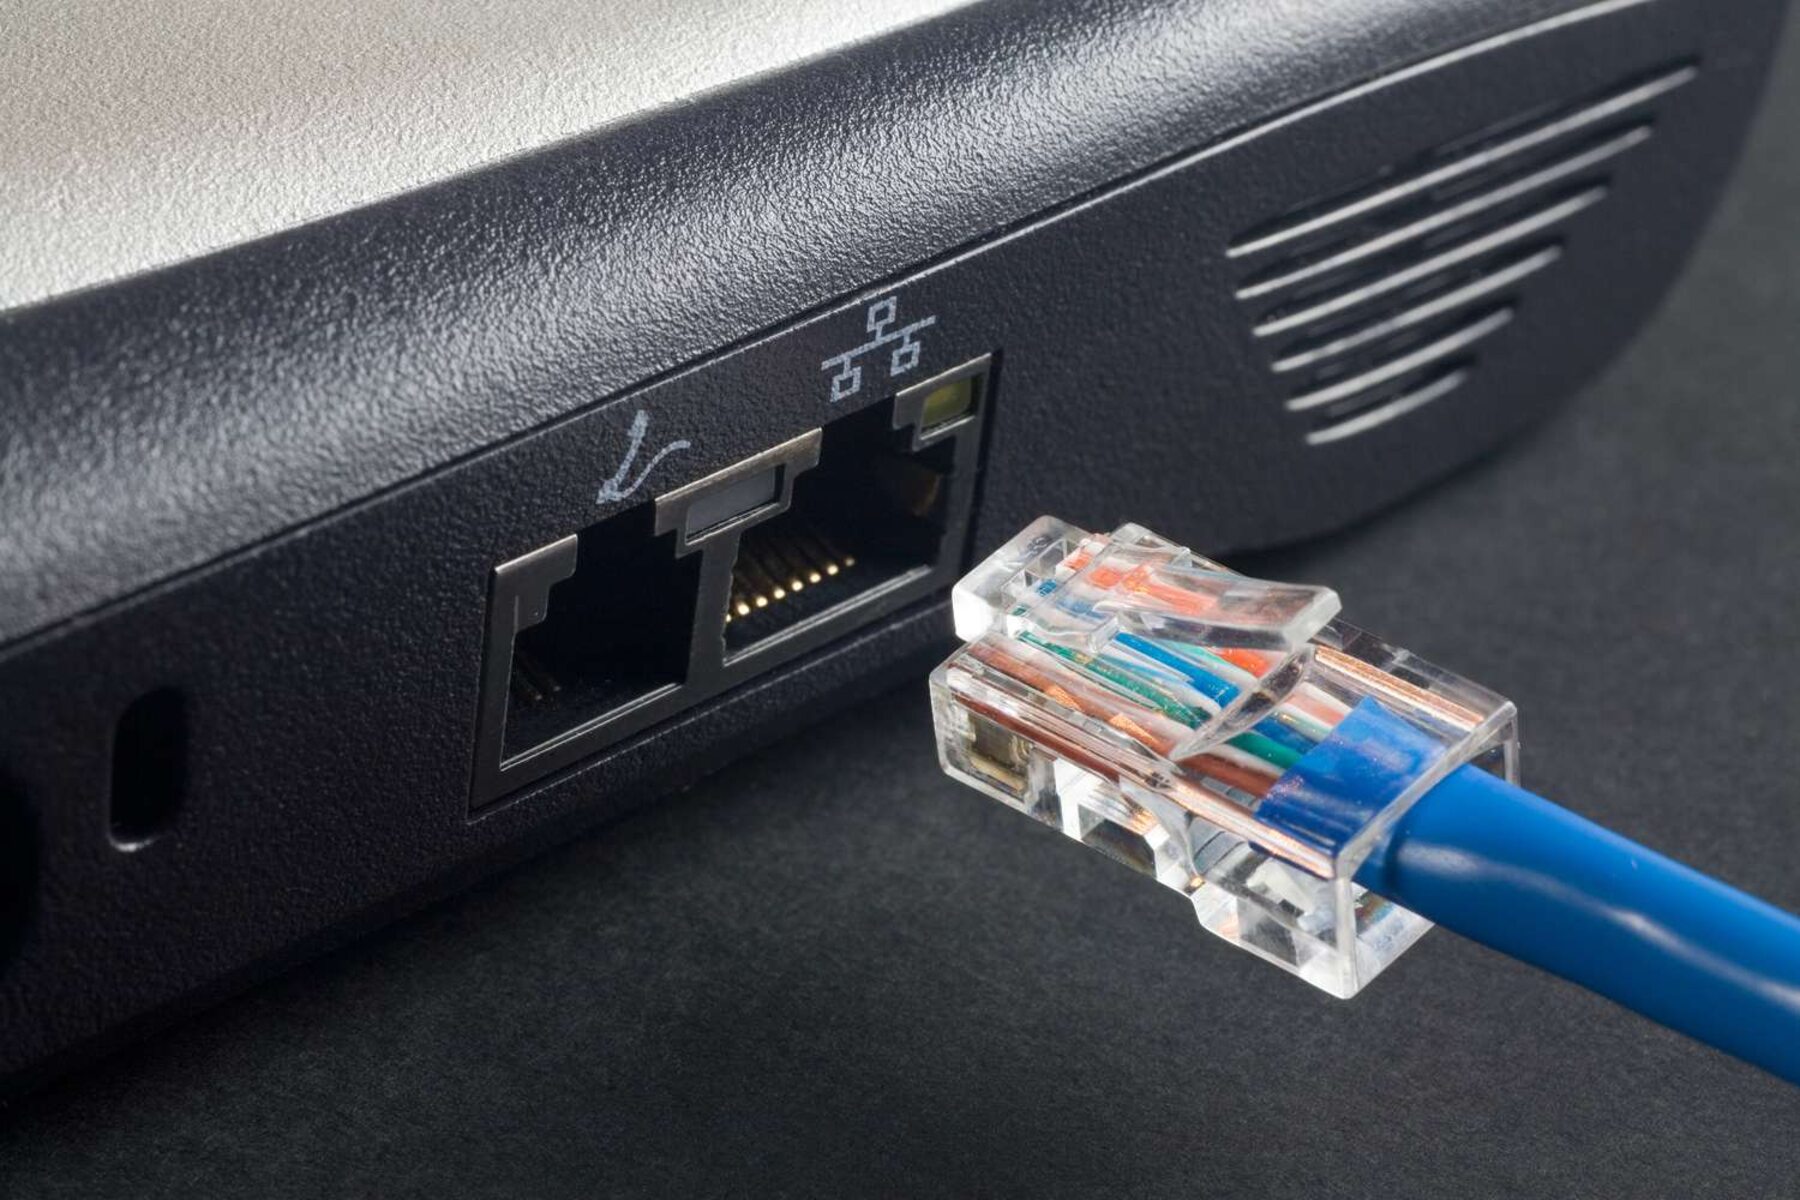
- Ethernet Cable: Acquire a high-quality Ethernet cable of suitable length to bridge the connection between your Android phone and the network switch. Opt for a reliable Cat 6 or Cat 7 Ethernet cable to ensure optimal performance and stability.
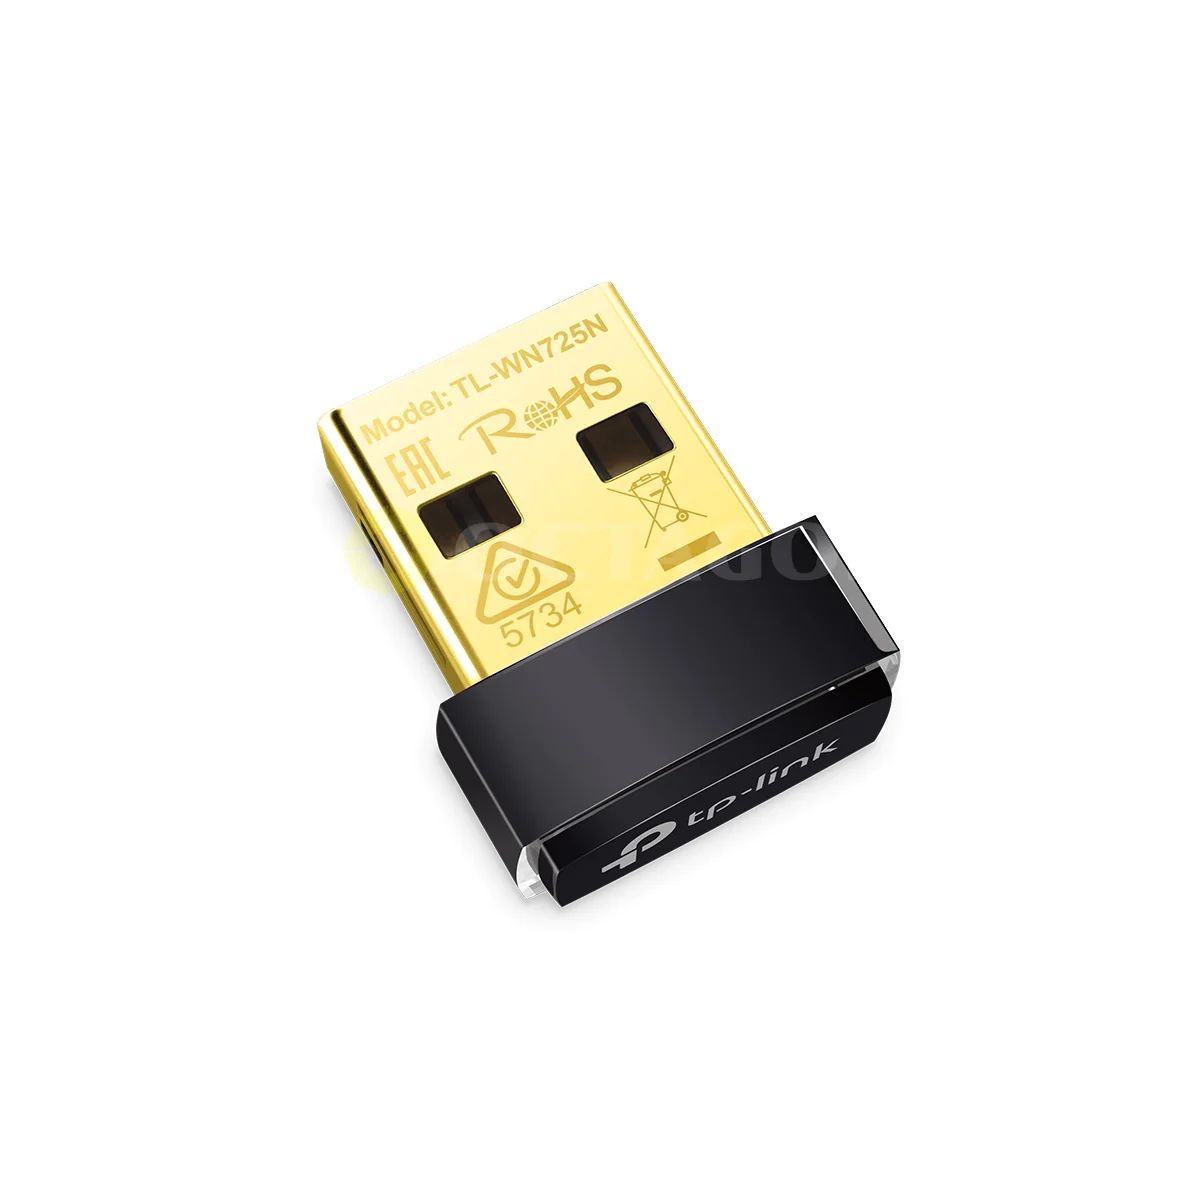
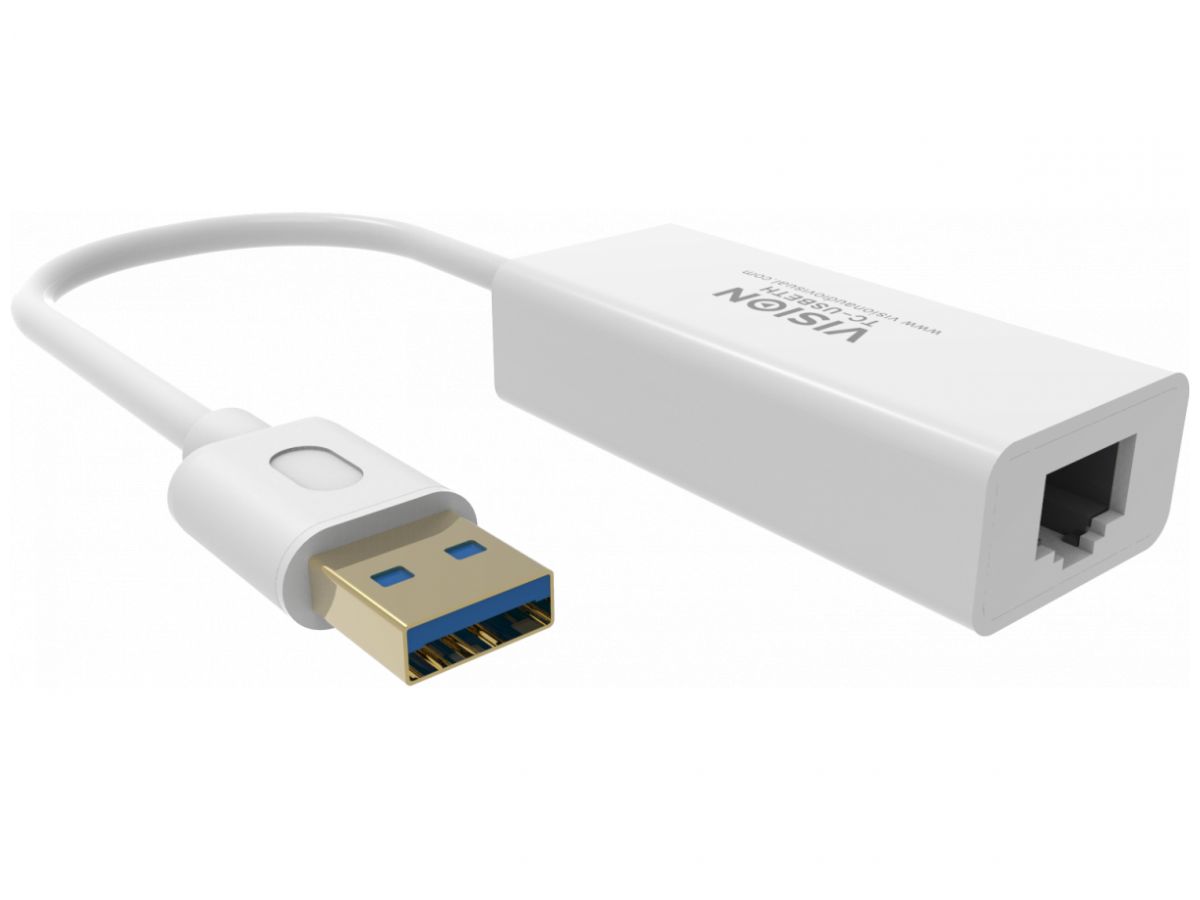
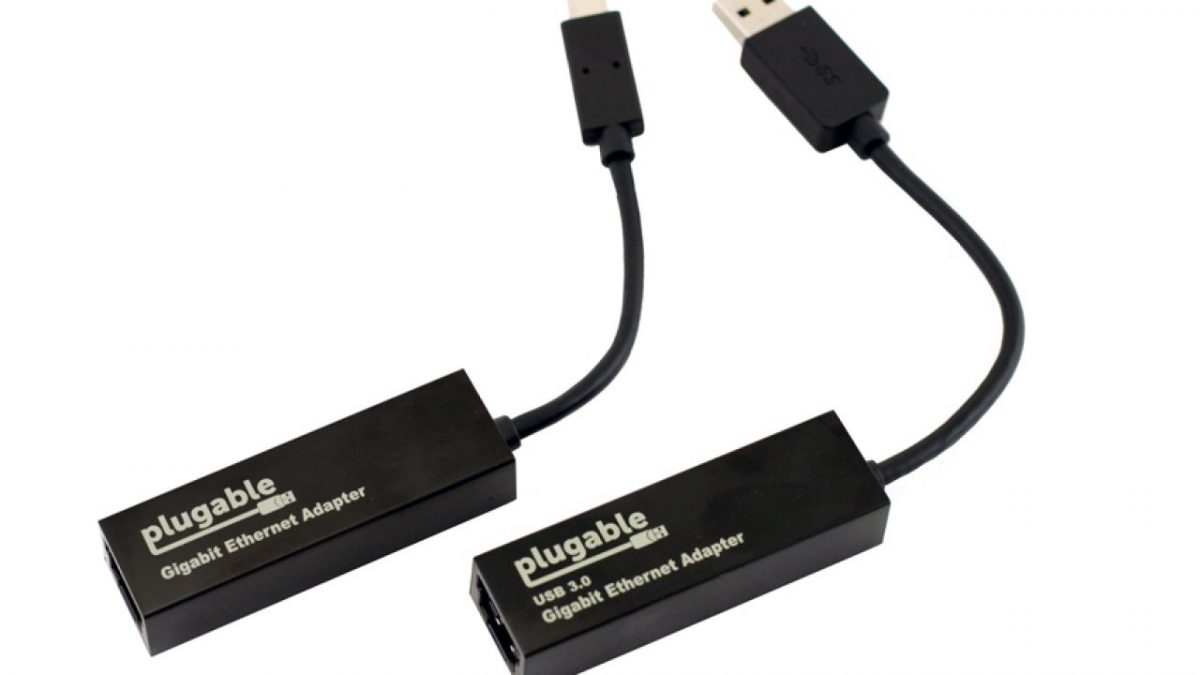
- USB Ethernet Adapter: If your Android phone lacks a built-in Ethernet port, you will need a USB Ethernet adapter that is compatible with your device’s USB-C or micro-USB port. Ensure that the adapter is designed for use with Android devices and offers seamless plug-and-play functionality.
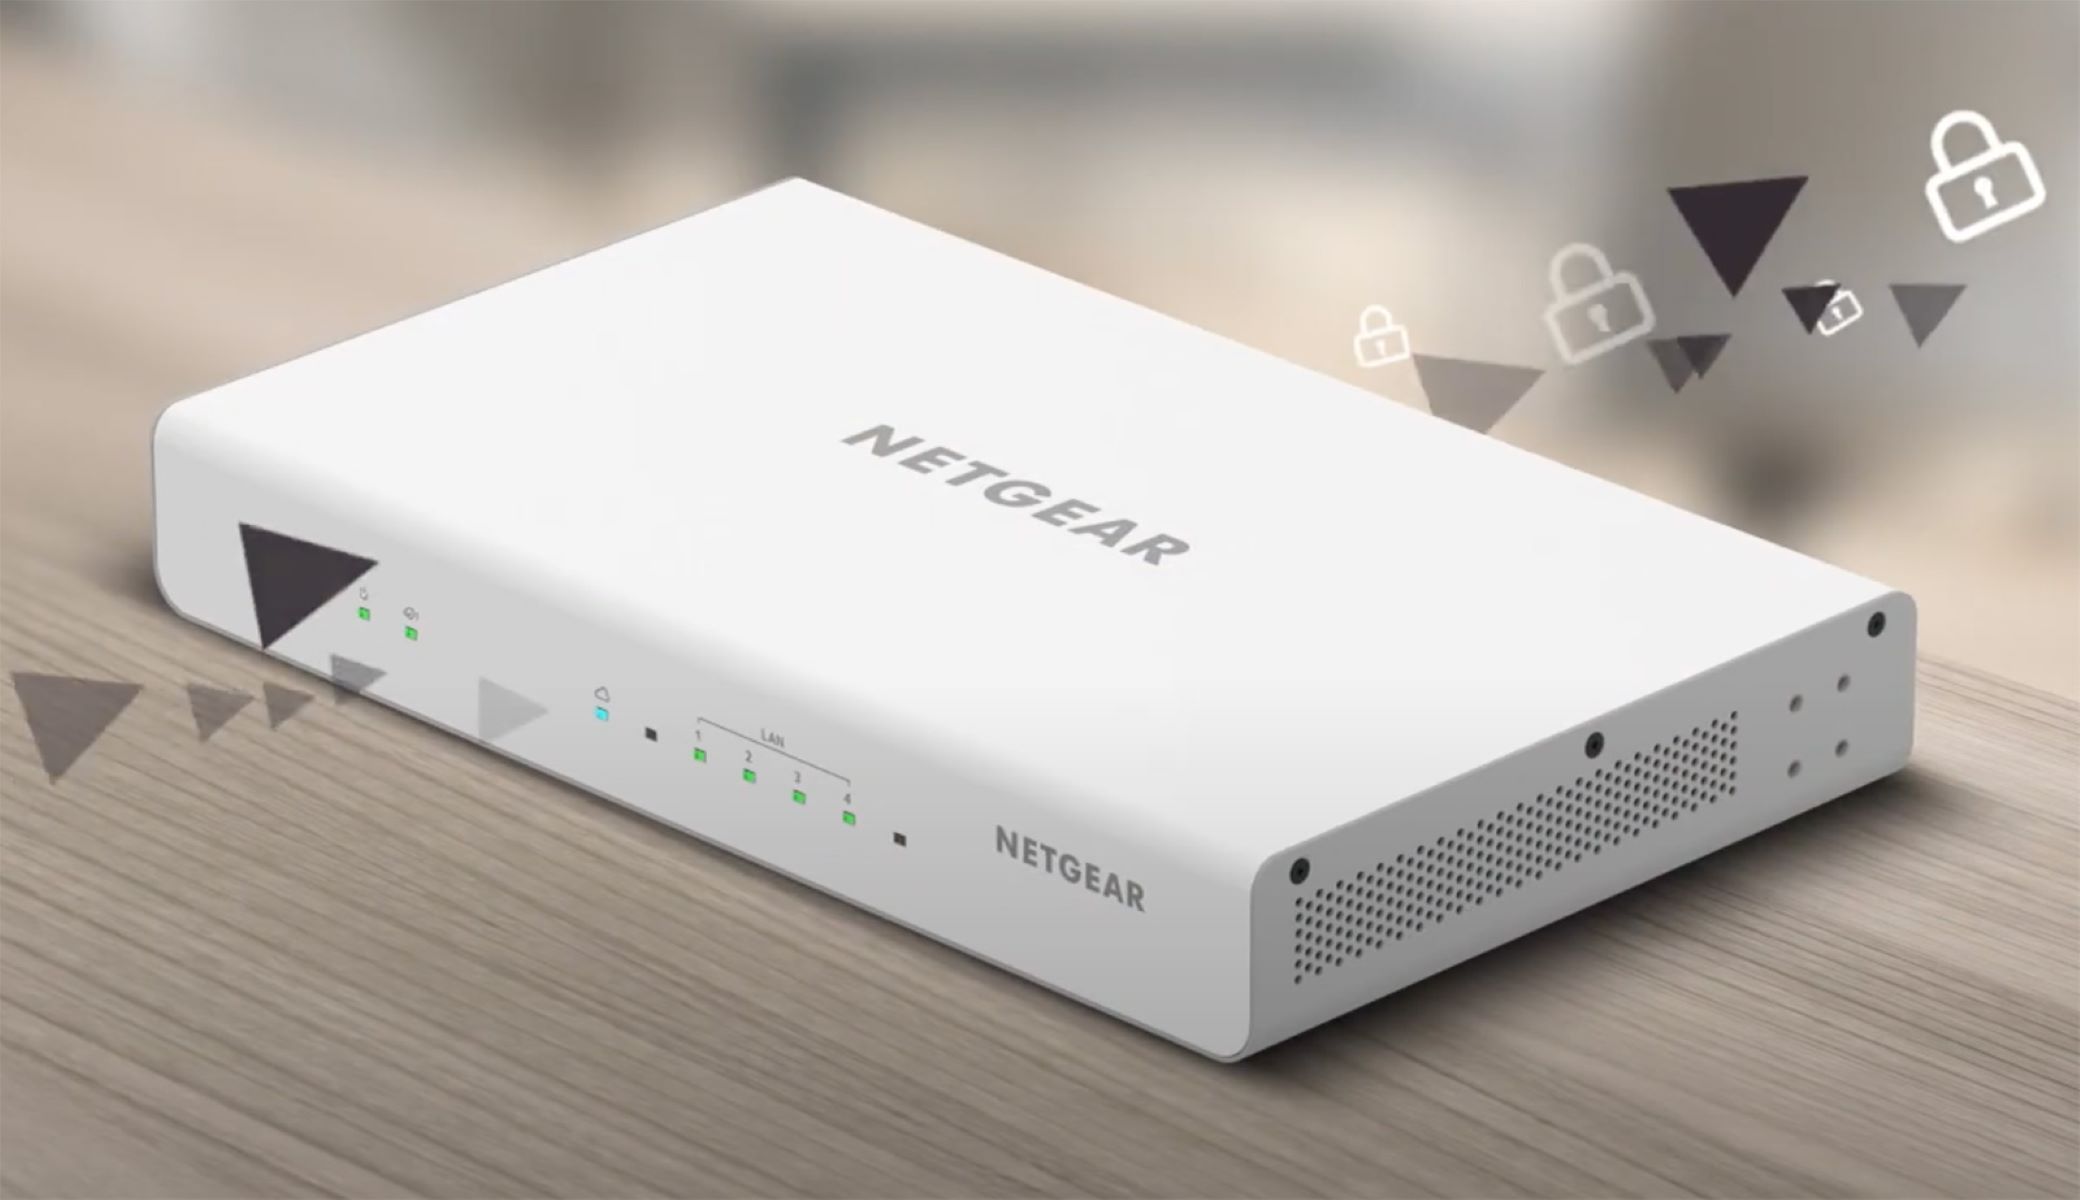
- Network Switch: If you don’t already have a network switch in place, procure a reliable and high-speed switch that meets your connectivity requirements. Consider factors such as the number of ports needed, data transfer speeds, and any specific features required for your setup.
By obtaining the appropriate equipment, you can lay the groundwork for a smooth and effective wired connection between your Android phone and the network switch. Ensuring that each component is of high quality and compatible with your device is crucial for a successful setup process.
Step 3: Connect the Ethernet Cable to the Network Switch
Once you have gathered the necessary equipment, the next step involves physically connecting the Ethernet cable to the network switch. Follow these simple yet crucial steps to establish the initial link in your wired setup:
- Select an Available Port: Identify an available port on the network switch to which you will connect the Ethernet cable. Choose a port that is not already in use and is easily accessible for the cable connection.
- Insert the Ethernet Cable: Take one end of the Ethernet cable and firmly insert it into the selected port on the network switch. Ensure that the connection is secure to prevent any potential disruptions in the wired network link.
- Verify the Connection: After inserting the Ethernet cable, visually inspect the connection to confirm that it is properly seated in the port. Check for any signs of looseness or disconnection, and make any necessary adjustments to ensure a snug and secure fit.
By following these steps, you will successfully establish the initial physical connection between the network switch and the Ethernet cable. This foundational link sets the stage for the subsequent steps in the setup process, bringing you closer to achieving a reliable wired connection for your Android phone.
Step 4: Connect the Other End of the Ethernet Cable to Your Android Phone
With the Ethernet cable securely connected to the network switch, the next crucial step is to establish the physical link between the cable and your Android phone. Follow these steps to ensure a proper and stable connection:
- Use a USB Ethernet Adapter (if necessary): If your Android phone does not have a built-in Ethernet port, connect the USB end of the Ethernet adapter to your device’s USB-C or micro-USB port. This adapter serves as the bridge between your phone and the Ethernet cable, enabling wired connectivity.
- Insert the Ethernet Cable: Take the other end of the Ethernet cable and securely insert it into the corresponding port on the USB Ethernet adapter, if applicable. Ensure that the connection is snug and secure to maintain a reliable wired link between the adapter and the cable.
- Verify the Connection: After connecting the Ethernet cable to the USB Ethernet adapter, visually inspect the connection to confirm that it is properly seated. Check for any signs of instability or disconnection, and make adjustments as needed to ensure a solid and uninterrupted connection.
By carefully following these steps, you will establish a direct and stable physical connection between your Android phone and the Ethernet cable. This pivotal link paves the way for configuring the network settings on your device, bringing you closer to harnessing the benefits of a wired internet connection on your Android phone.
Step 5: Configure Your Android Phone’s Network Settings
After establishing the physical connections, it’s essential to configure the network settings on your Android phone to enable seamless communication over the wired connection. Follow these steps to ensure that your device is properly configured for Ethernet connectivity:
- Access the Settings Menu: Open the Settings app on your Android phone to begin configuring the network settings. This can typically be found in the app drawer or by swiping down from the top of the screen and tapping the gear icon.
- Select “Network & Internet”: Within the Settings menu, locate and tap on the “Network & Internet” option to access the network-related settings on your device.
- Choose “Ethernet” or “Wired”: Depending on your device and Android version, you may find an option specifically labeled as “Ethernet” or “Wired” within the network settings. Tap on this option to access the Ethernet configuration menu.
- Configure Ethernet Settings: Within the Ethernet settings menu, you may need to manually configure certain parameters, such as IP address, subnet mask, gateway, and DNS settings. Depending on your network setup, you may obtain this information from your network administrator or router settings.
- Verify the Connection: Once the network settings are configured, verify the connection status to ensure that your Android phone has successfully recognized and established a connection over the Ethernet cable. Look for indicators such as “Connected” or “Ethernet” in the network settings to confirm the establishment of the wired connection.
By meticulously configuring the network settings on your Android phone, you will enable the device to seamlessly communicate over the Ethernet connection, unlocking the benefits of a stable and high-speed wired internet connection. This crucial step sets the stage for testing the connection and ensuring that your Android phone is fully optimized for wired connectivity.
Step 6: Test the Connection
After completing the physical connections and configuring the network settings on your Android phone, it’s essential to verify the functionality of the wired connection by conducting a thorough testing process. Follow these steps to ensure that the connection is stable and delivering the expected performance:
- Open a Web Browser: Launch a web browser on your Android phone and attempt to access various websites to gauge the speed and responsiveness of the wired internet connection. Pay attention to the loading times and overall browsing experience to assess the performance.
- Stream Multimedia Content: Test the wired connection’s capability to stream high-definition videos or audio content from popular platforms. Evaluate the streaming quality and consistency to determine the effectiveness of the wired setup for multimedia consumption.
- Perform Speed Tests: Utilize online speed testing tools or dedicated mobile apps to measure the upload and download speeds of the wired connection. Compare these results against your expectations and any existing Wi-Fi connections to gauge the performance of the Ethernet setup.
- Engage in Online Activities: Engage in activities that demand a stable and fast internet connection, such as online gaming, video conferencing, or file downloads. Assess the overall experience and responsiveness to determine the suitability of the wired connection for these tasks.
By conducting comprehensive testing across various online activities, you can confidently evaluate the reliability and performance of the wired connection between your Android phone and the network switch. This testing phase serves as a critical validation of the setup process, ensuring that the wired connection meets your expectations and provides a tangible improvement in internet connectivity.
Conclusion
Connecting your Android phone to a network switch using an Ethernet cable offers a reliable and high-speed internet connection, catering to scenarios where Wi-Fi connectivity may be limited or less optimal. By following the comprehensive steps outlined in this guide, you have successfully navigated through the process of establishing a wired connection, from verifying your device’s compatibility to conducting thorough testing to ensure the effectiveness of the setup.
Through careful consideration of your Android phone’s compatibility, acquisition of the necessary equipment, and meticulous configuration of network settings, you have empowered your device to harness the benefits of a stable and robust wired connection. The physical connections and network configurations you have implemented serve as the foundation for an enhanced online experience, especially in activities that demand a consistent and high-speed internet connection.
By adhering to the steps outlined in this guide, you have gained the knowledge and practical insights needed to seamlessly connect your Android phone to a network switch using an Ethernet cable. Whether for professional endeavors requiring reliable connectivity or personal enjoyment of high-definition media and online gaming, the wired connection offers a valuable alternative to traditional wireless networks, catering to diverse user needs and preferences.
Embracing the capabilities of a wired connection on your Android phone opens up new possibilities for optimizing your online experience, ensuring a dependable internet connection in various environments and scenarios. As you continue to explore the potential of this setup, you are well-equipped to leverage the advantages of a wired connection, enhancing productivity, entertainment, and connectivity on your Android device.