Introduction
Are you looking to expand your home or office network to accommodate more devices? Installing a network switch is a fundamental step in enhancing your network's capacity and efficiency. A network switch acts as a central hub, allowing multiple devices to connect and communicate with each other seamlessly. Whether you're a tech enthusiast, a small business owner, or a homeowner seeking to optimize your home network, this guide will walk you through the process of installing a network switch with ease.
By following these step-by-step instructions, you'll gain the knowledge and confidence to set up a network switch without the need for extensive technical expertise. With the right equipment and a clear understanding of the installation process, you can efficiently expand your network infrastructure and improve connectivity for all your devices.
Throughout this guide, we'll cover essential aspects such as gathering the necessary equipment, choosing an optimal location for the network switch, connecting power, linking devices, configuring the switch, and testing its functionality. By the end of this tutorial, you'll have a fully operational network switch, empowering you to efficiently manage your network traffic and facilitate seamless data transfer.
Let's embark on this journey to enhance your network's capabilities and create a more robust and interconnected digital environment. Whether you're a novice or an experienced user, this guide will equip you with the skills to successfully install and configure a network switch, paving the way for a more efficient and interconnected network infrastructure.
Step 1: Gather Necessary Equipment
Before embarking on the installation process, it’s crucial to gather all the essential equipment required to set up your network switch effectively. Here’s a comprehensive list of the necessary items you’ll need:
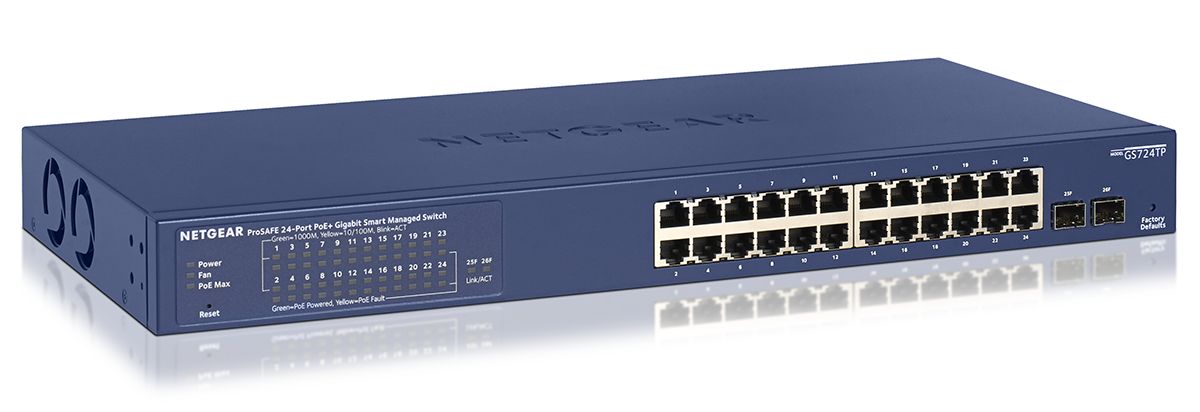
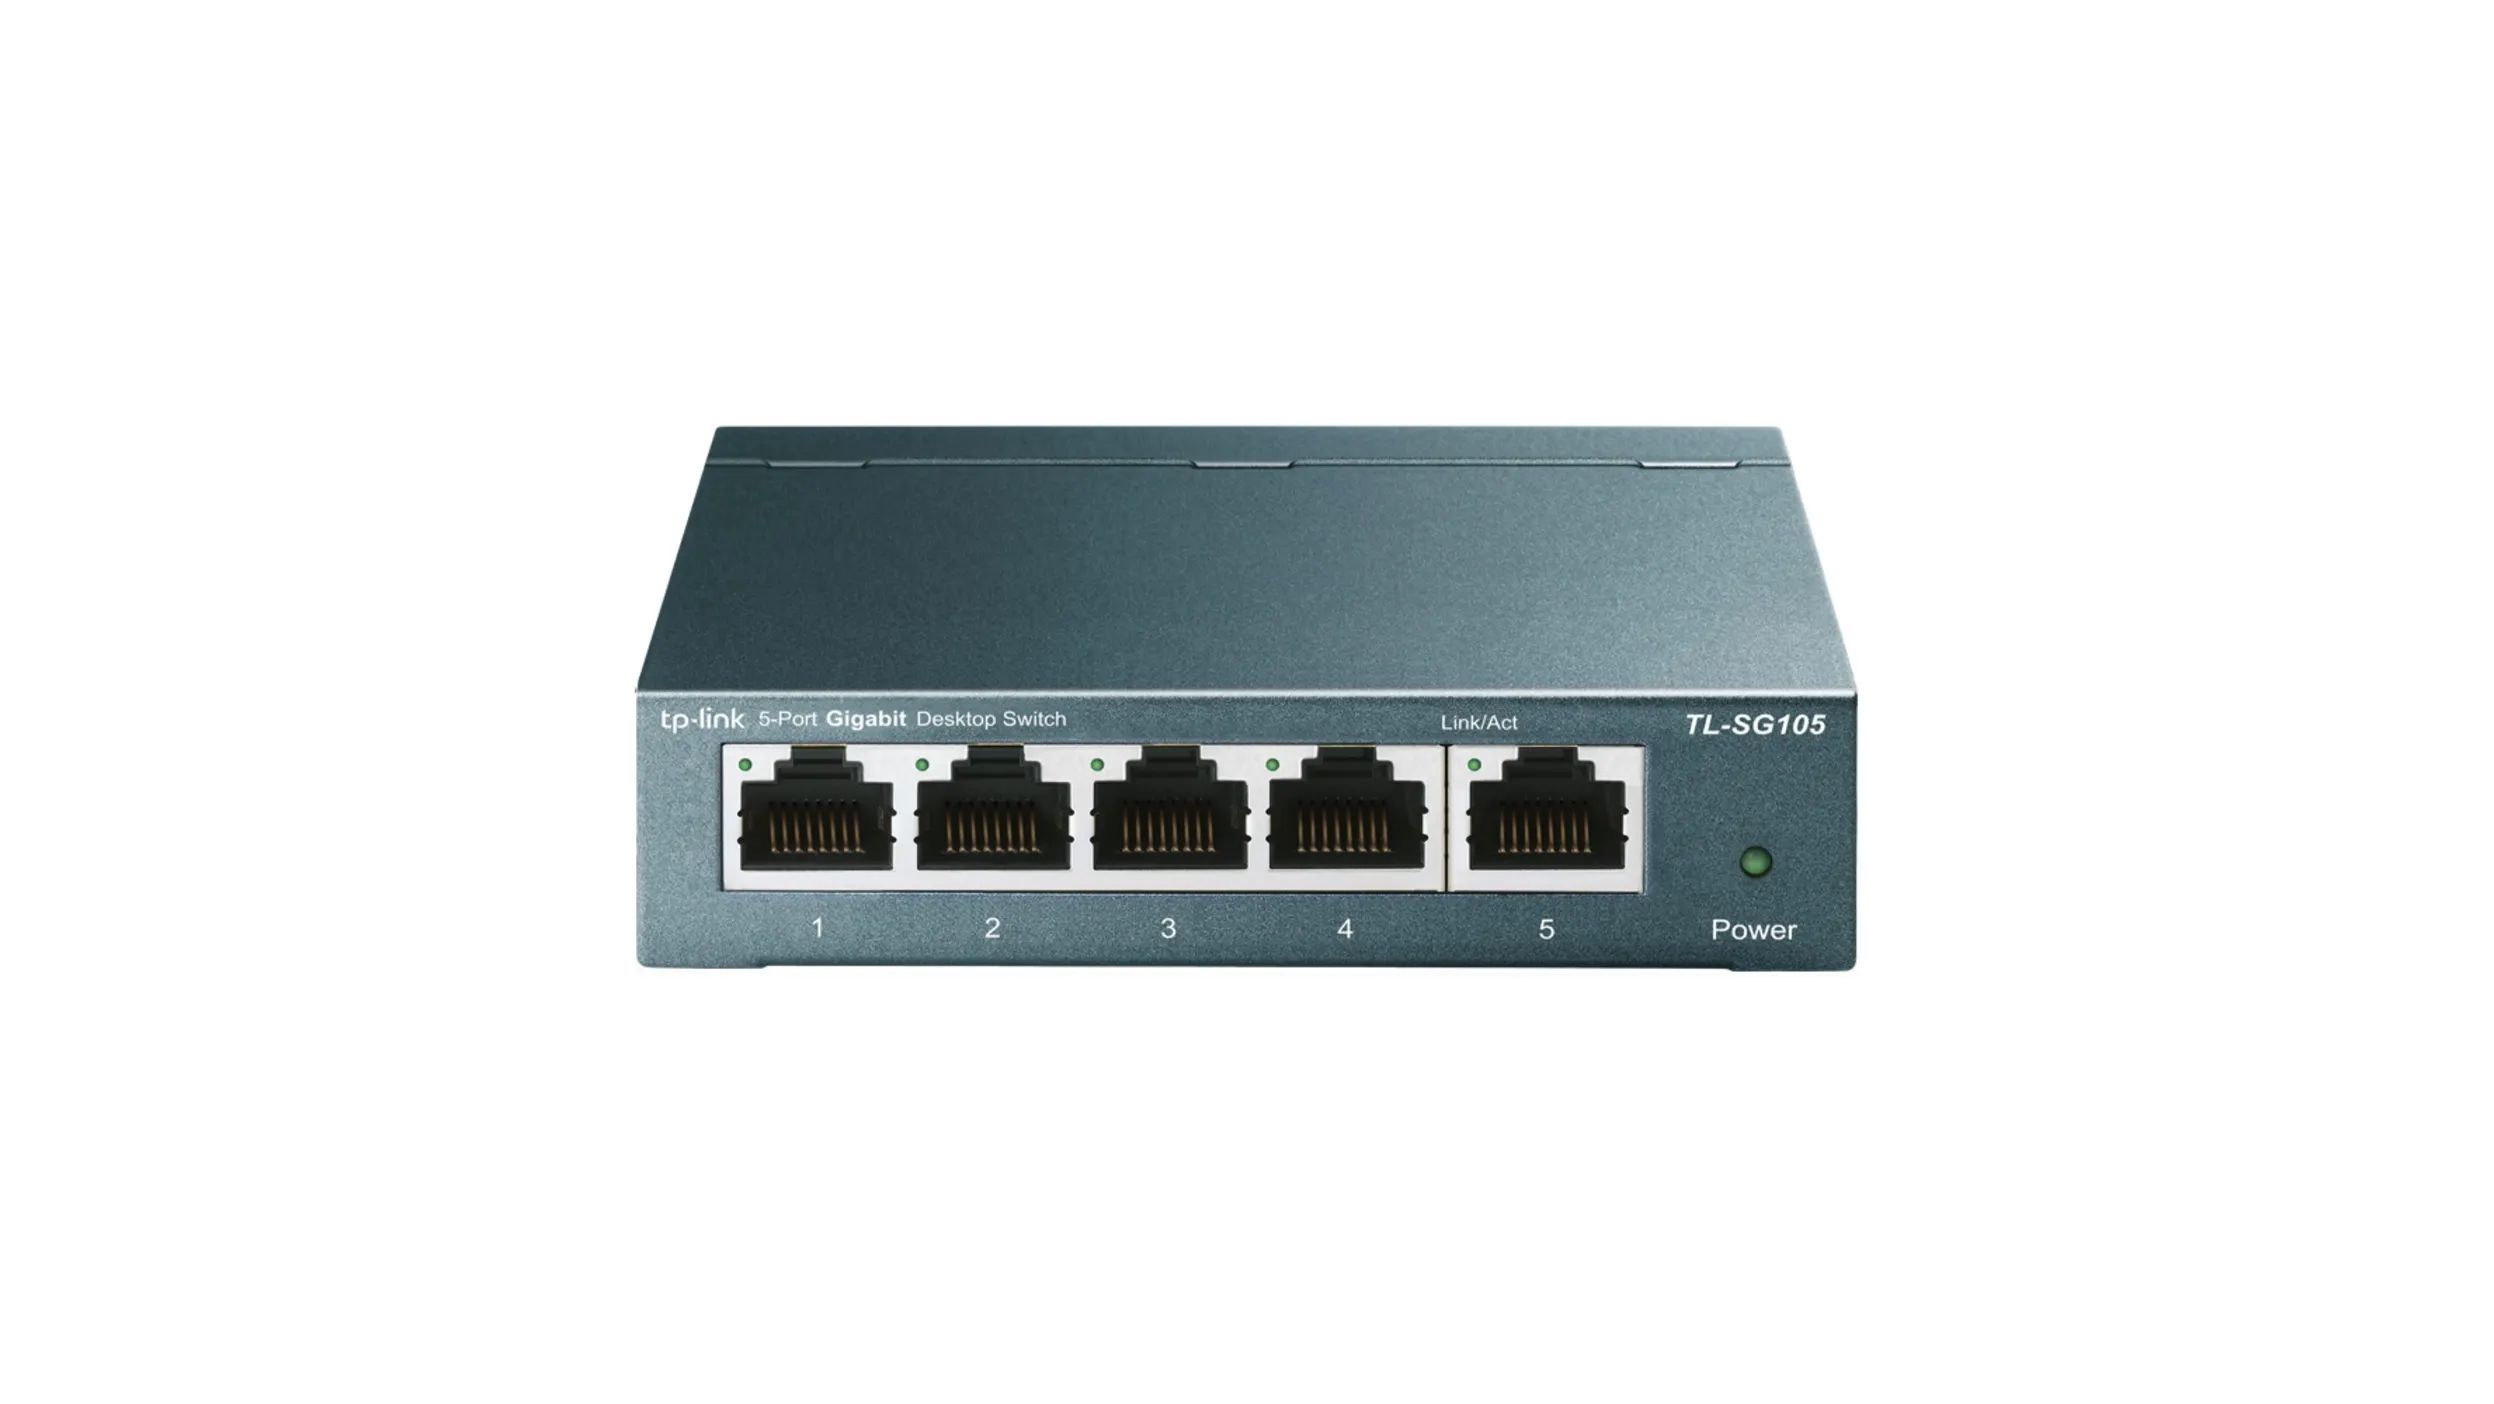
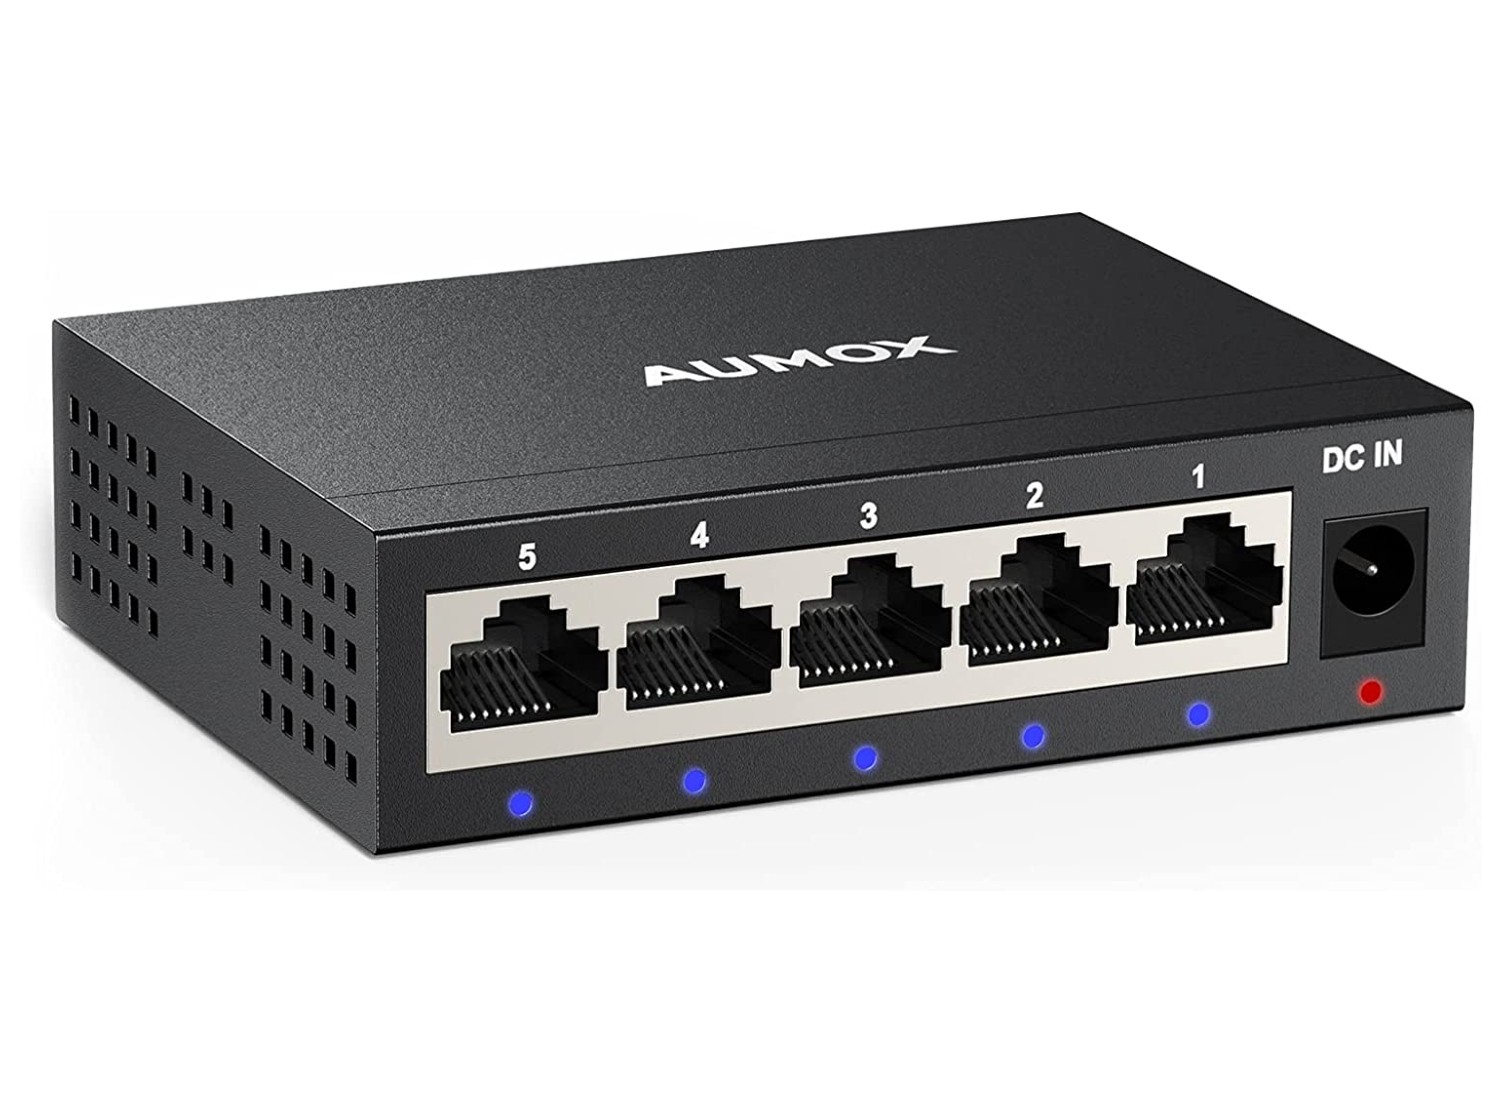
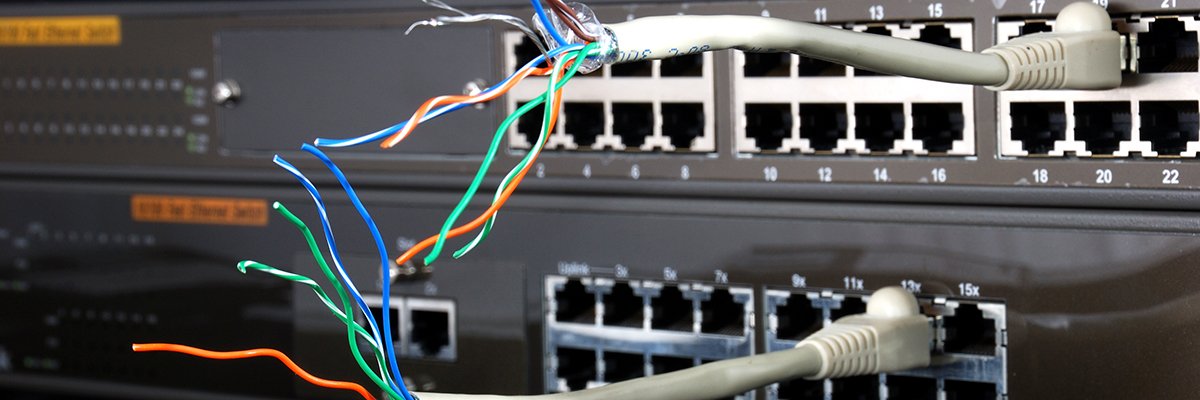
- Network Switch: Select a high-quality network switch that aligns with your network’s requirements, considering factors such as the number of ports needed and whether you require a managed or unmanaged switch.
- Ethernet Cables: Ensure you have an adequate number of Ethernet cables to connect your devices to the network switch. It’s advisable to have cables of varying lengths to accommodate devices located at different distances from the switch.
- Power Cord: Depending on the type of network switch, you may need a power cord to connect the switch to a power source. Verify the power requirements of the switch to ensure compatibility.
- Device Power Adapters: If your network switch requires external power adapters for certain devices, ensure you have the corresponding adapters to provide power to those devices.
- Screwdriver: In some cases, you may need a screwdriver to secure the network switch in place, especially if you’re mounting it on a rack or a wall.
- Documentation and Software: Check for any accompanying documentation and software provided with the network switch, including setup guides, configuration software, and warranty information.
By ensuring that you have all the necessary equipment on hand, you’ll streamline the installation process and minimize interruptions. Additionally, familiarize yourself with the specifications and requirements of the network switch to ensure a smooth setup process. With the equipment gathered and ready for use, you’re well-prepared to proceed to the next steps in the installation process.
Step 2: Choose a Location for the Network Switch
Choosing the optimal location for your network switch is a crucial decision that can significantly impact the overall performance and accessibility of your network. Consider the following factors when selecting a suitable placement for the network switch:
- Centralized Placement: Ideally, position the network switch in a central location within your home or office to minimize the length of Ethernet cables required to connect devices. This centralized placement helps ensure efficient connectivity throughout the network.
- Ventilation and Cooling: Select a location with adequate ventilation to prevent the switch from overheating. Avoid placing the switch in enclosed spaces or near heat-generating appliances to maintain optimal operating temperatures.
- Accessibility: Choose a location that allows for easy access to the network switch for maintenance, troubleshooting, and cable management. Accessibility is key to efficiently managing and expanding your network infrastructure.
- Mounting Options: If your network switch is designed for rack mounting, consider installing it on a secure rack to save space and maintain a tidy network setup. Alternatively, wall-mountable switches should be placed in a location that provides sturdy support.
- Power Source Proximity: Ensure that the chosen location is in close proximity to a power source, especially if the switch requires a direct power connection. This proximity minimizes the need for lengthy power cables and simplifies the setup.
By carefully evaluating these factors, you can identify the most suitable location for your network switch, promoting efficient network operations and simplifying future maintenance tasks. Once you’ve determined the optimal placement, you’re ready to proceed with the physical installation of the network switch in the chosen location.
Step 3: Connect Power to the Network Switch
With the network switch positioned in the chosen location, it’s time to power up the device and prepare it for operation. Follow these steps to connect power to the network switch:
- Verify Power Requirements: Before proceeding, carefully review the power requirements outlined in the switch’s documentation. Ensure that the voltage and current ratings align with the power source to prevent any potential damage to the switch.
- Plug in the Power Cord: If your network switch requires a direct power connection, plug one end of the power cord into the switch’s power input port and the other end into a suitable power outlet. Ensure a secure connection to minimize the risk of power interruptions.
- Power On the Switch: After connecting the power cord, switch on the network switch using the designated power button or switch. Wait for the switch to power up completely, indicated by the illumination of status LEDs or display lights.
- Verify Power Indicator: Check for the presence of a power indicator LED on the switch to confirm that it’s receiving power. The illumination of the power indicator signifies that the switch is successfully powered and ready for the next steps.
By effectively connecting power to the network switch, you’re laying the foundation for its functionality and paving the way for seamless connectivity among your devices. With the switch powered on, you’re now prepared to proceed with the crucial step of connecting your devices to the network switch, facilitating efficient data transfer and communication within your network infrastructure.
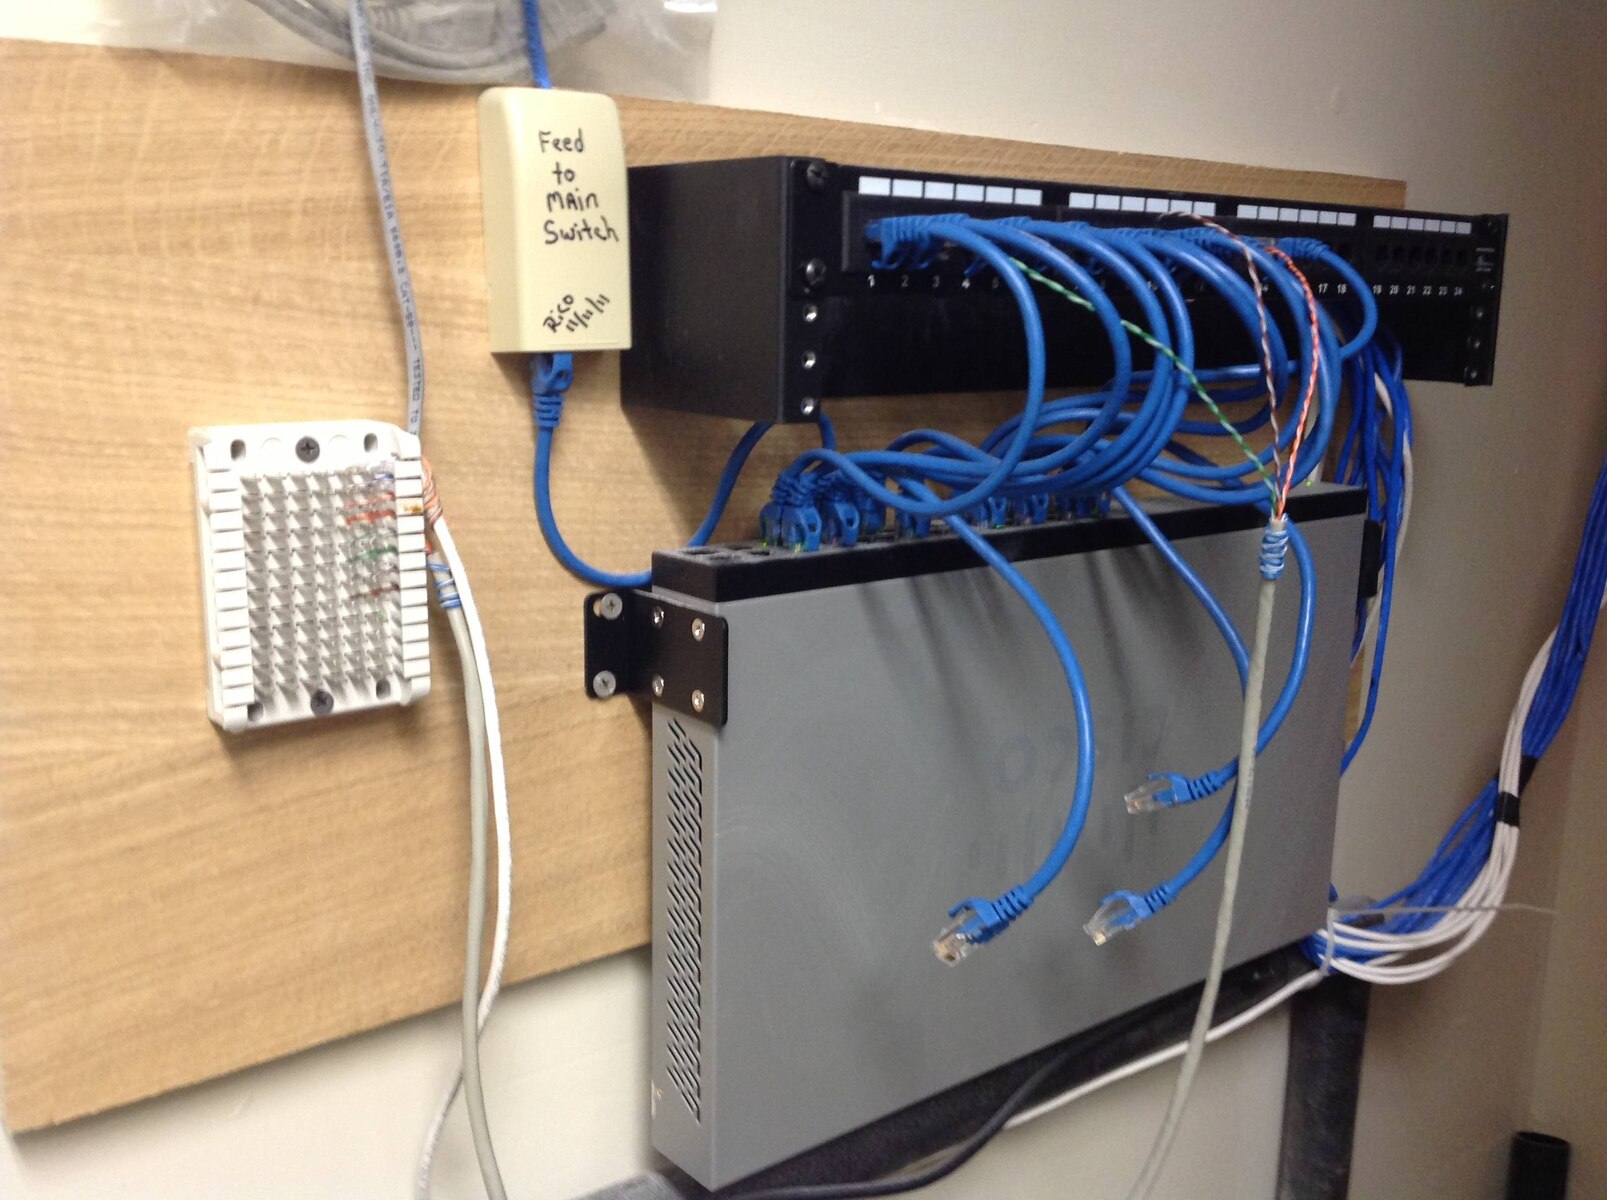
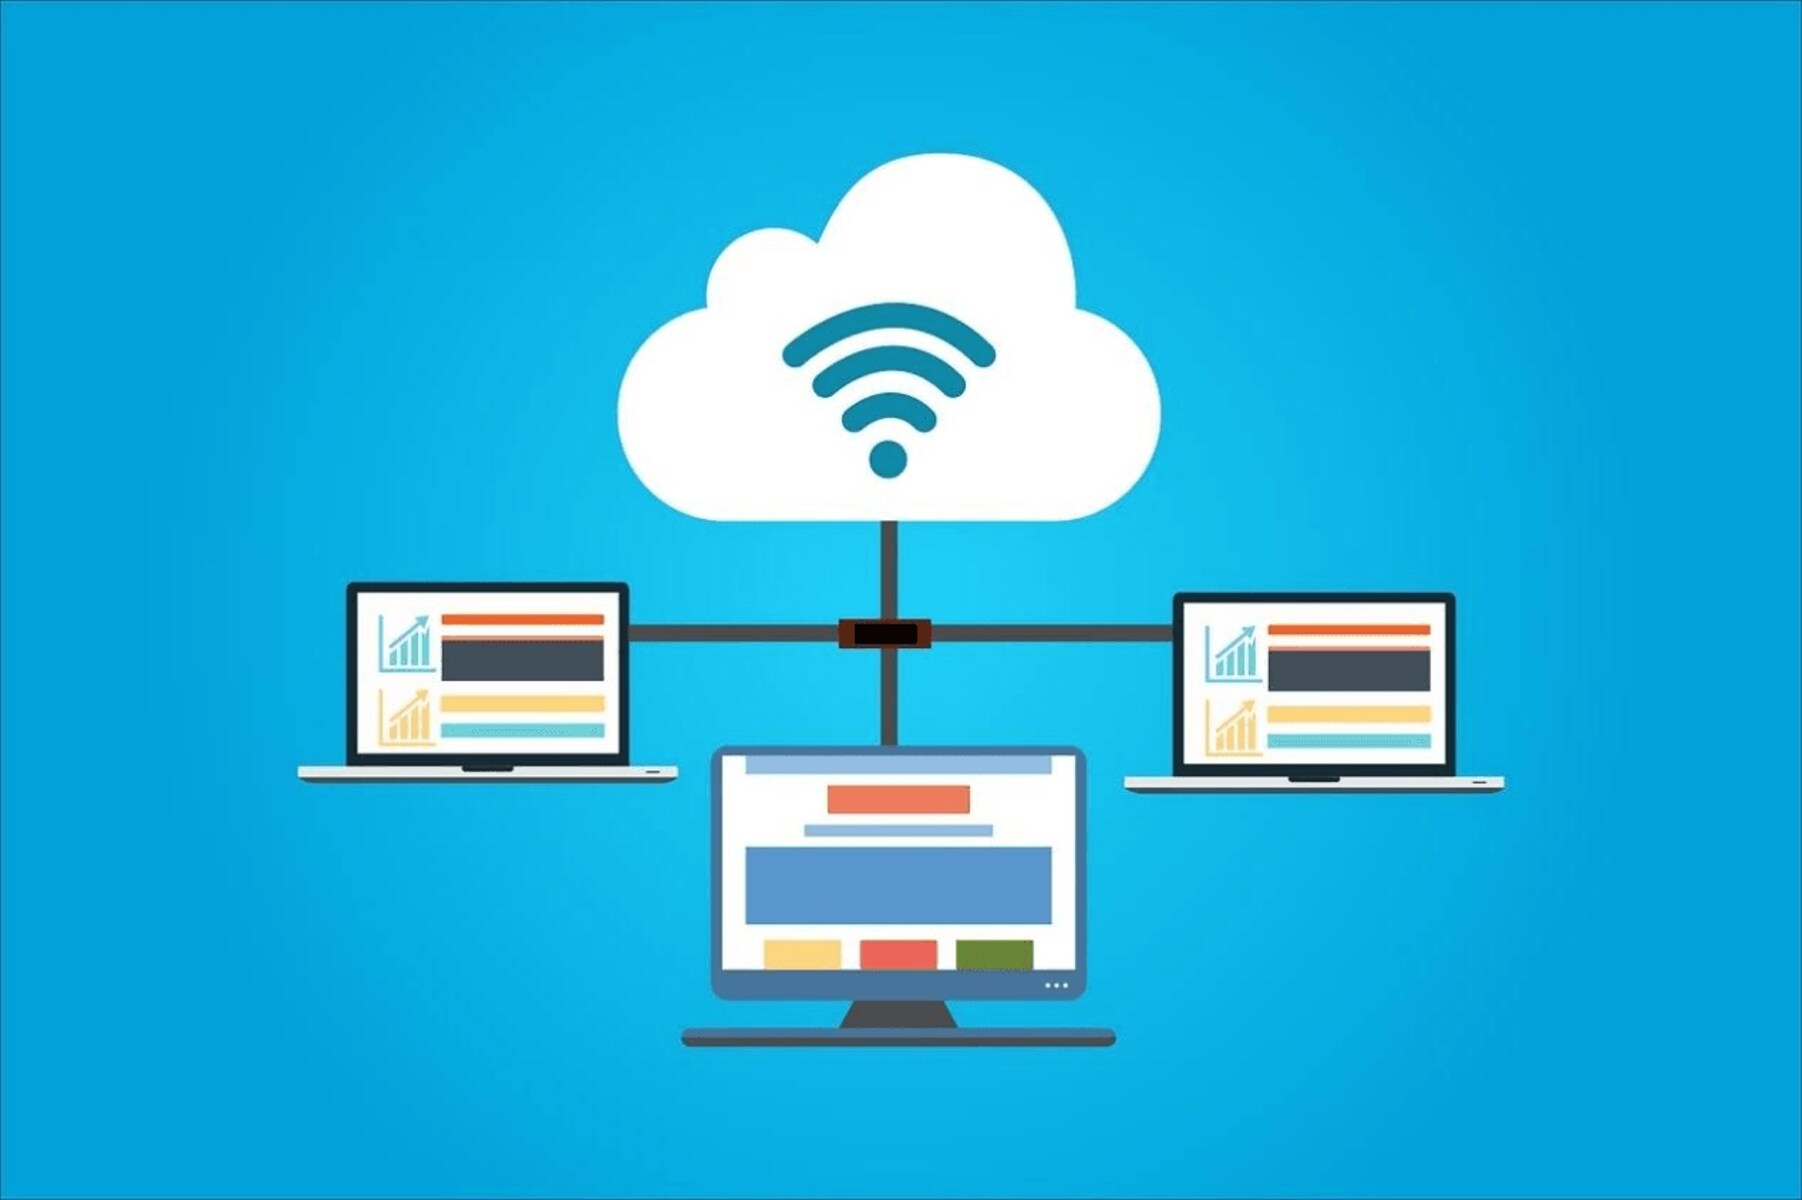
Step 4: Connect Devices to the Network Switch
Now that the network switch is powered and operational, it’s time to establish connections between the switch and your devices. Follow these steps to effectively connect your devices to the network switch:
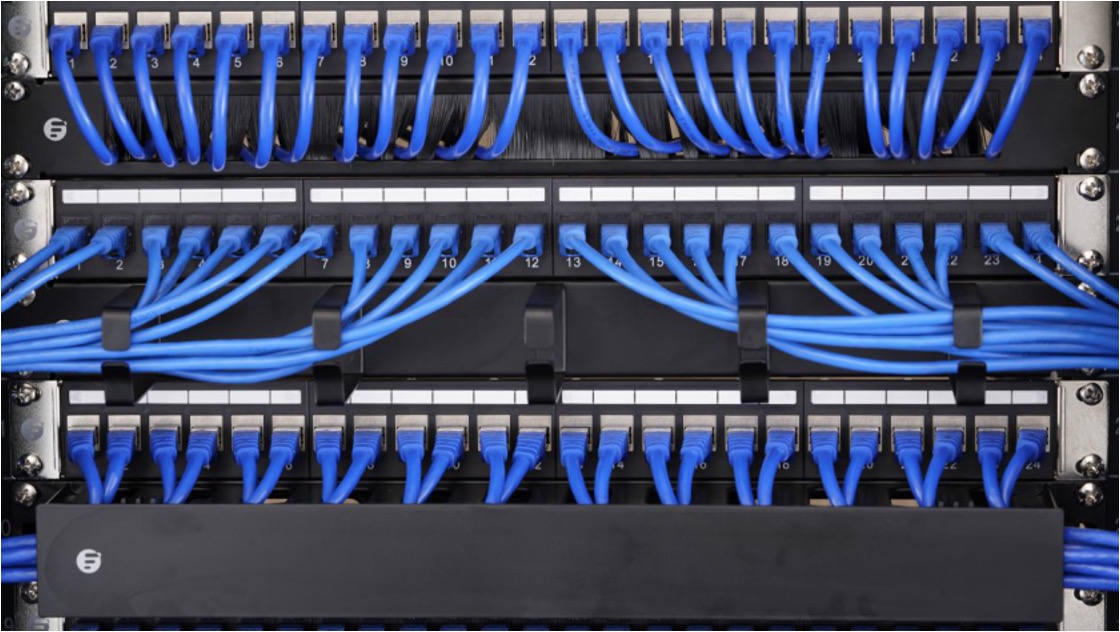
- Prepare Ethernet Cables: Gather the required Ethernet cables and ensure they are of appropriate lengths to reach the network switch from your devices. If necessary, use cable management tools to organize and secure the cables.
- Identify Device Ports: On the network switch, identify the available ports to which you will connect your devices. Each port represents a connection point for a specific device, facilitating seamless data transfer within the network.
- Connect Devices to Switch: For each device, insert one end of an Ethernet cable into the device’s Ethernet port and the other end into an available port on the network switch. Ensure a secure connection to establish reliable communication between the device and the switch.
- Verify Link Status: Once the devices are connected, check the link status indicators on the network switch to confirm successful connections. The illumination of link status LEDs indicates active and functional connections between the devices and the switch.
- Organize Cable Routing: Organize the Ethernet cables and route them neatly to prevent tangling and minimize clutter. Proper cable management enhances the aesthetics of your network setup and simplifies future maintenance tasks.
By connecting your devices to the network switch, you’re enabling seamless communication and data exchange within your network infrastructure. With all devices successfully linked to the switch, you’re now ready to proceed with configuring the network switch to optimize its performance and tailor its settings to your specific networking needs.
Step 5: Configure the Network Switch
Configuring the network switch is a crucial step that allows you to customize its settings to suit your specific networking requirements. Follow these essential steps to effectively configure the network switch:
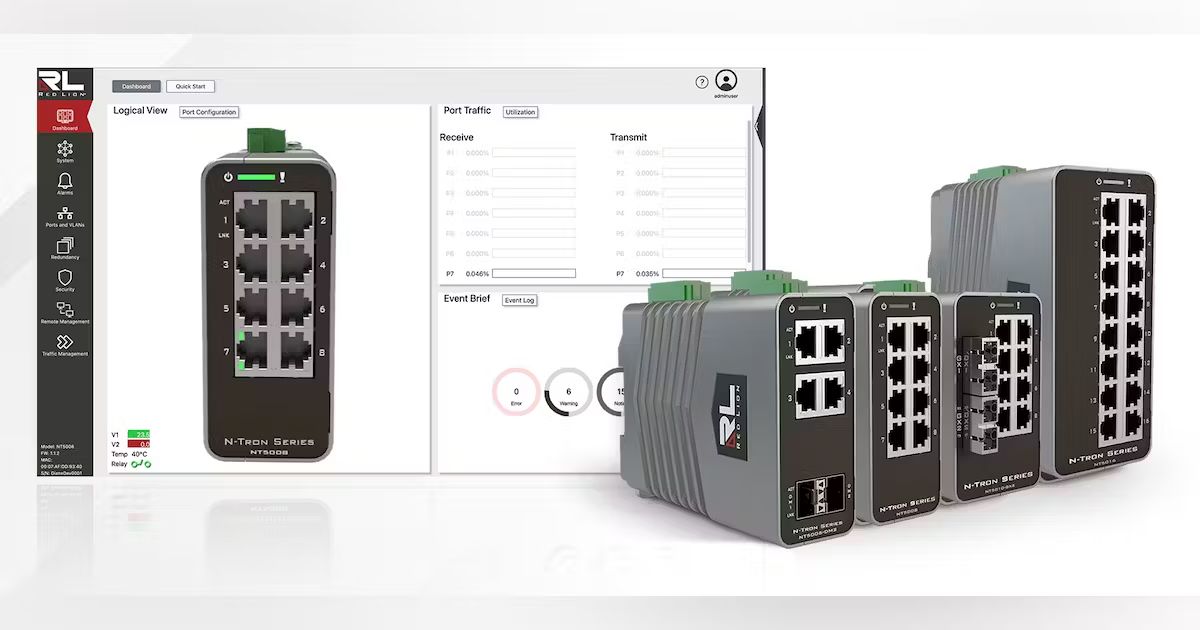
- Access the Configuration Interface: Depending on the type of network switch, access the configuration interface using a web browser or dedicated software provided by the switch manufacturer. Refer to the switch’s documentation for guidance on accessing the configuration interface.
- Log In to the Interface: Enter the appropriate login credentials, such as the username and password, to access the switch’s configuration settings. If it’s your first time accessing the interface, use default login details provided in the documentation.
- Customize Network Settings: Within the configuration interface, customize network settings such as VLAN configurations, port mirroring, Quality of Service (QoS) settings, and security features to align with your network’s specific requirements.
- Assign Port Descriptions: Assign descriptive names or labels to the switch ports to easily identify connected devices and streamline network management. Clear port descriptions enhance network visibility and simplify troubleshooting tasks.
- Save Configuration Changes: After customizing the network settings, save the configuration changes within the interface to apply the new settings to the network switch. Verify that the changes are successfully saved and take effect.
By effectively configuring the network switch, you can tailor its functionality to align with your network’s unique demands, optimize data traffic, and enhance security measures. With the switch configured to your specifications, you’re now poised to proceed to the final step of testing the network switch to ensure its seamless operation within your network environment.
Step 6: Test the Network Switch
Testing the network switch is a critical phase that allows you to verify its functionality and ensure seamless communication and data transfer among connected devices. Follow these essential steps to effectively test the network switch:
- Check Device Connectivity: Verify that all devices connected to the network switch are successfully communicating with each other. Test data transfer between devices to confirm that the switch is facilitating efficient data exchange.
- Assess Network Performance: Use network performance monitoring tools to assess the speed, latency, and overall performance of the network. This evaluation provides insights into the switch’s impact on network operations and identifies any potential performance bottlenecks.
- Verify VLAN Functionality: If you configured Virtual LANs (VLANs) on the switch, ensure that devices within each VLAN can communicate as intended. Test inter-VLAN routing if applicable, and verify that VLAN segregation is functioning correctly.
- Test Security Measures: Validate the effectiveness of security features implemented on the switch, such as access control lists, port security, and authentication mechanisms. Confirm that unauthorized access attempts are appropriately restricted.
- Check for Firmware Updates: Verify if there are any firmware updates available for the network switch. If updates are available, apply them to ensure that the switch benefits from the latest enhancements and security patches.
By thoroughly testing the network switch, you can identify and address any potential issues, validate its performance, and ensure that it seamlessly integrates into your network infrastructure. A comprehensive testing phase provides assurance that the network switch is operating optimally and meeting the connectivity and data transfer needs of your networked devices.
Conclusion
Congratulations! By following this comprehensive guide, you’ve successfully navigated the process of installing and configuring a network switch, empowering you to expand and optimize your network infrastructure. From gathering the necessary equipment to testing the switch’s functionality, you’ve gained valuable insights into the essential steps required to set up a network switch with confidence.
By carefully selecting the location for the network switch, connecting devices, and configuring its settings, you’ve laid the groundwork for a robust and efficient network environment. The successful completion of each step has culminated in a seamlessly interconnected network, facilitating seamless data transfer and communication among your devices.
As you continue to explore and enhance your network, remember that regular maintenance, security updates, and periodic performance assessments are essential for maintaining the optimal operation of your network switch. Stay informed about advancements in networking technology and be proactive in implementing best practices to ensure the continued efficiency and security of your network infrastructure.
With your newly installed network switch, you’re well-equipped to manage and expand your network, supporting the evolving connectivity needs of your home or office. Embrace the opportunities that a well-structured and efficient network brings, and continue to explore ways to optimize your network environment for enhanced productivity and seamless connectivity.
Thank you for embarking on this journey to enhance your network capabilities. May your network infrastructure continue to serve as a reliable and efficient foundation for all your digital endeavors.