Introduction
Are you looking to optimize your network setup by wall mounting a network switch? This step-by-step guide will walk you through the process, ensuring that you can efficiently and securely mount your network switch to enhance the functionality and aesthetics of your network infrastructure.
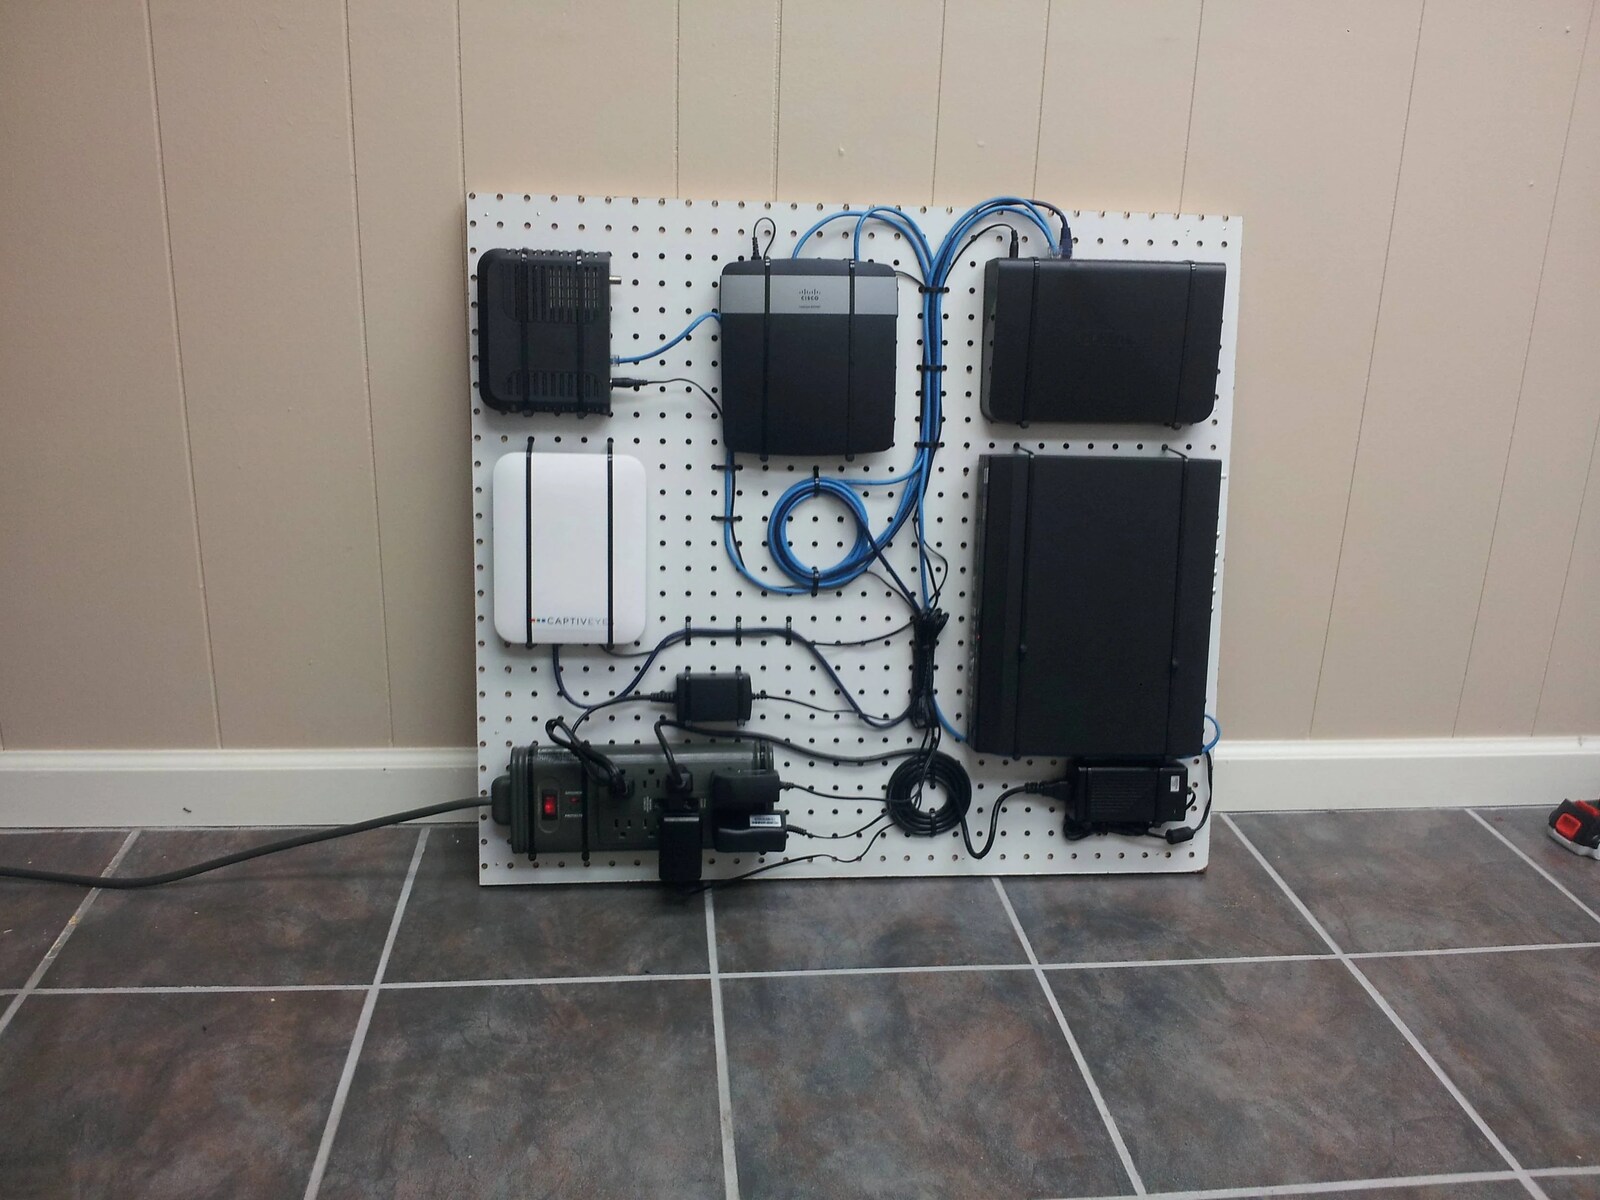
Wall mounting a network switch offers several advantages, including freeing up valuable desk or floor space, providing better cable management, and improving network performance by optimizing the placement of the switch. By following this guide, you can successfully complete the installation process with confidence.
Whether you are a small business owner, a home network enthusiast, or an IT professional, this guide will equip you with the essential knowledge and skills to seamlessly integrate your network switch into your desired location. From selecting the ideal placement for the switch to testing the connections, each step is crucial to ensuring a successful installation.
By the end of this guide, you will be ready to efficiently mount your network switch, leading to a more organized and efficient network setup. Let's dive into the step-by-step process and make wall mounting your network switch a hassle-free experience.
Step 1: Choose the Right Location
Before you begin the process of wall mounting your network switch, it’s crucial to carefully select the optimal location for installation. The chosen location should facilitate efficient cable management, provide proper ventilation for the switch, and offer easy access for maintenance and future expansion.
Consider the following factors when choosing the right location for your network switch:
- Accessibility: Select a location that allows for easy access to the switch for maintenance, troubleshooting, and cable management. Avoid areas that are obstructed by furniture or other equipment.
- Ventilation: Ensure that the chosen location provides adequate ventilation to prevent the switch from overheating. Avoid enclosed spaces or areas with restricted airflow.
- Cable Management: Choose a location that allows for tidy cable management, minimizing the risk of cable damage and making it easier to trace and replace cables in the future.
- Proximity to Network Devices: Consider the proximity of the chosen location to other network devices and the areas that require network connectivity. This will help minimize cable lengths and optimize network performance.
- Power Source: Ensure that the chosen location is in close proximity to a power source to facilitate easy connection to the switch’s power supply.
After considering these factors, identify the most suitable location in your workspace or home for mounting the network switch. Once the location is determined, you can proceed to gather the necessary tools and materials for the installation process.
Step 2: Gather the Necessary Tools and Materials
Before embarking on the installation of your network switch, it’s essential to gather all the required tools and materials to ensure a smooth and efficient process. Having the right equipment at hand will help you avoid interruptions and complete the installation with precision.
Here is a list of essential tools and materials you will need:
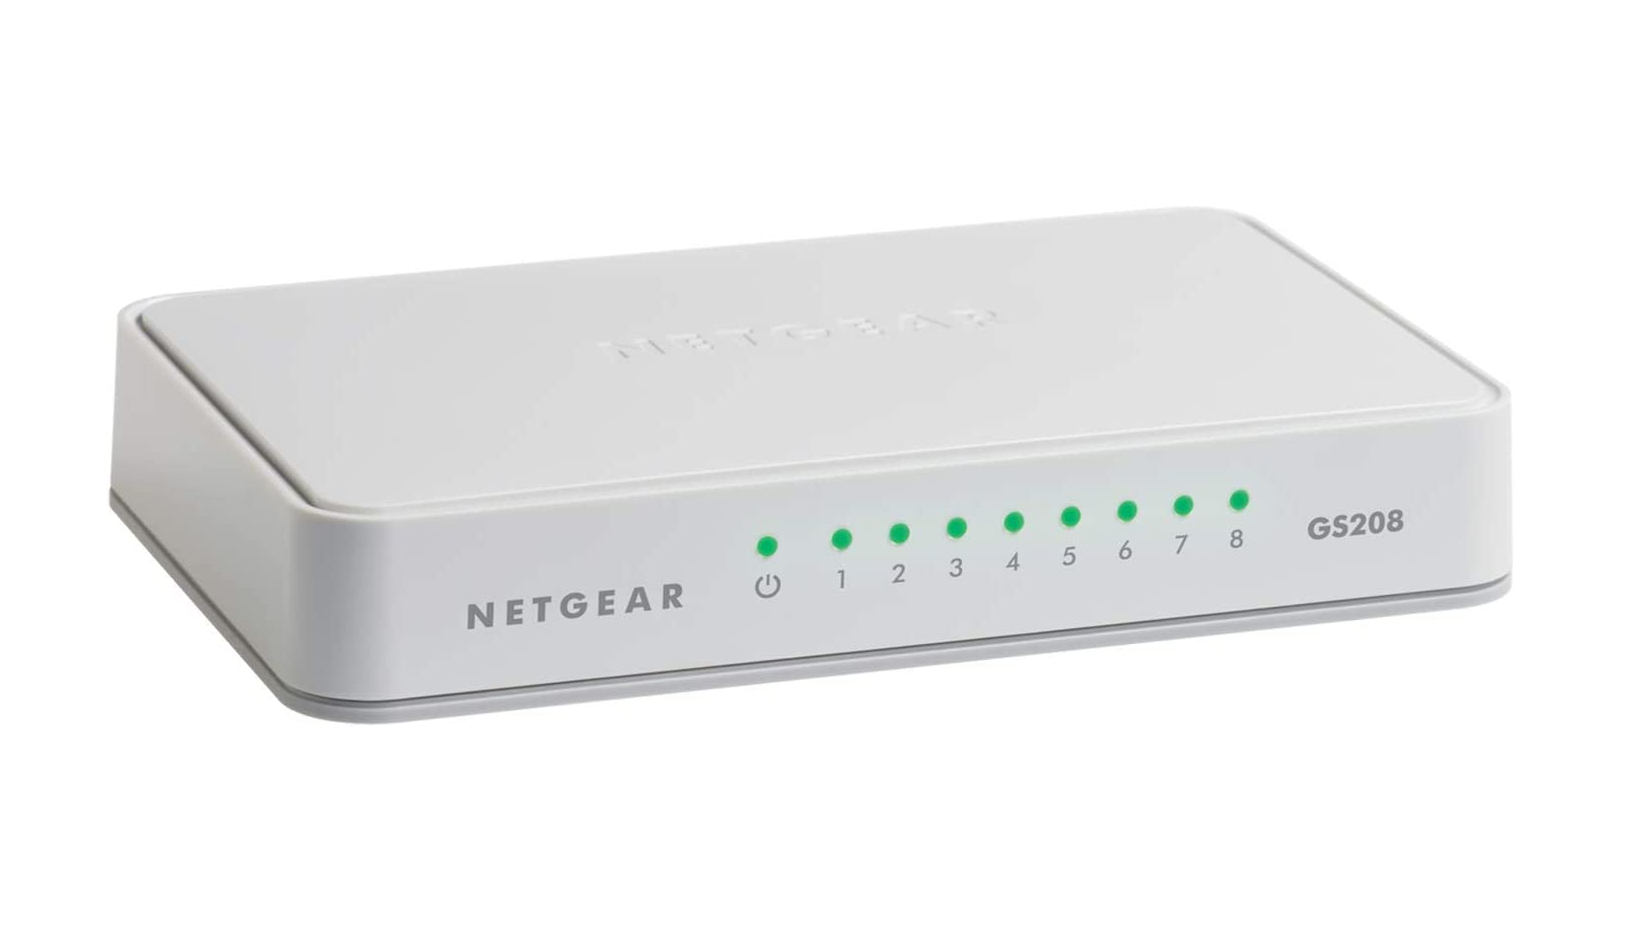
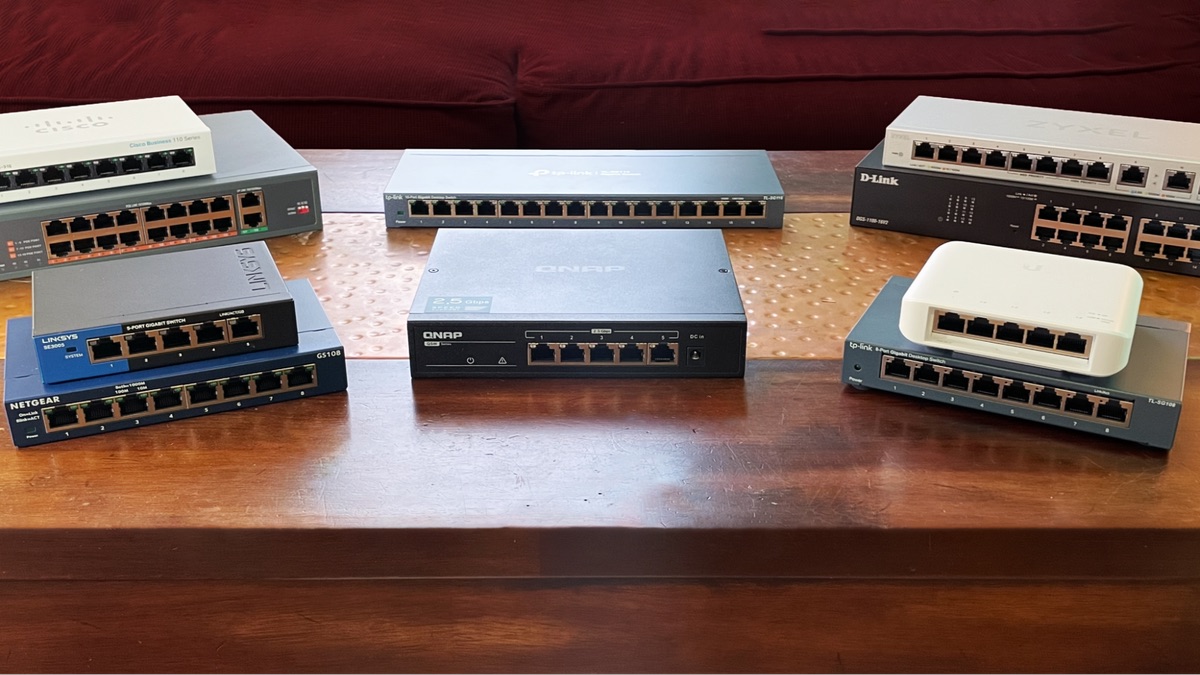
- Network Switch: Ensure that you have the network switch that you intend to mount. Verify that it is in working condition and has the necessary mounting provisions, such as mounting brackets or screw holes.
- Mounting Hardware: Depending on the type of network switch, you may need mounting brackets, screws, and wall anchors to securely affix the switch to the wall. Check the manufacturer’s specifications for the recommended mounting hardware.
- Power Drill and Bits: A power drill will be essential for creating pilot holes for the mounting screws. Ensure that you have the appropriate drill bits for the wall material where the switch will be mounted.
- Screwdriver: Have a screwdriver on hand for securing the mounting brackets or screws to the wall and attaching the network switch to the brackets.
- Level: A level will help ensure that the network switch is mounted perfectly straight, enhancing the aesthetics of the installation and facilitating proper cable management.
- Cable Management Accessories: Consider cable ties, cable clips, or cable management panels to organize and secure the network cables connected to the switch.
- Safety Equipment: If necessary, ensure that you have safety goggles, gloves, and a mask to protect yourself during the installation process, especially if drilling into walls or handling cables in confined spaces.
By gathering these tools and materials in advance, you will be well-prepared to proceed with the installation of your network switch without unnecessary interruptions or delays. Once everything is in place, you can move on to the next step of preparing the wall for mounting the switch.
Step 3: Prepare the Wall
Properly preparing the wall for mounting the network switch is crucial to ensure a secure and stable installation. This step involves assessing the wall surface, marking the mounting points, and making any necessary adjustments to facilitate the mounting process.
Follow these essential steps to prepare the wall for mounting the network switch:
- Assess the Wall Material: Identify the type of wall material where the network switch will be mounted. Whether it’s drywall, concrete, or wood, understanding the wall material will dictate the appropriate tools and techniques for the installation.
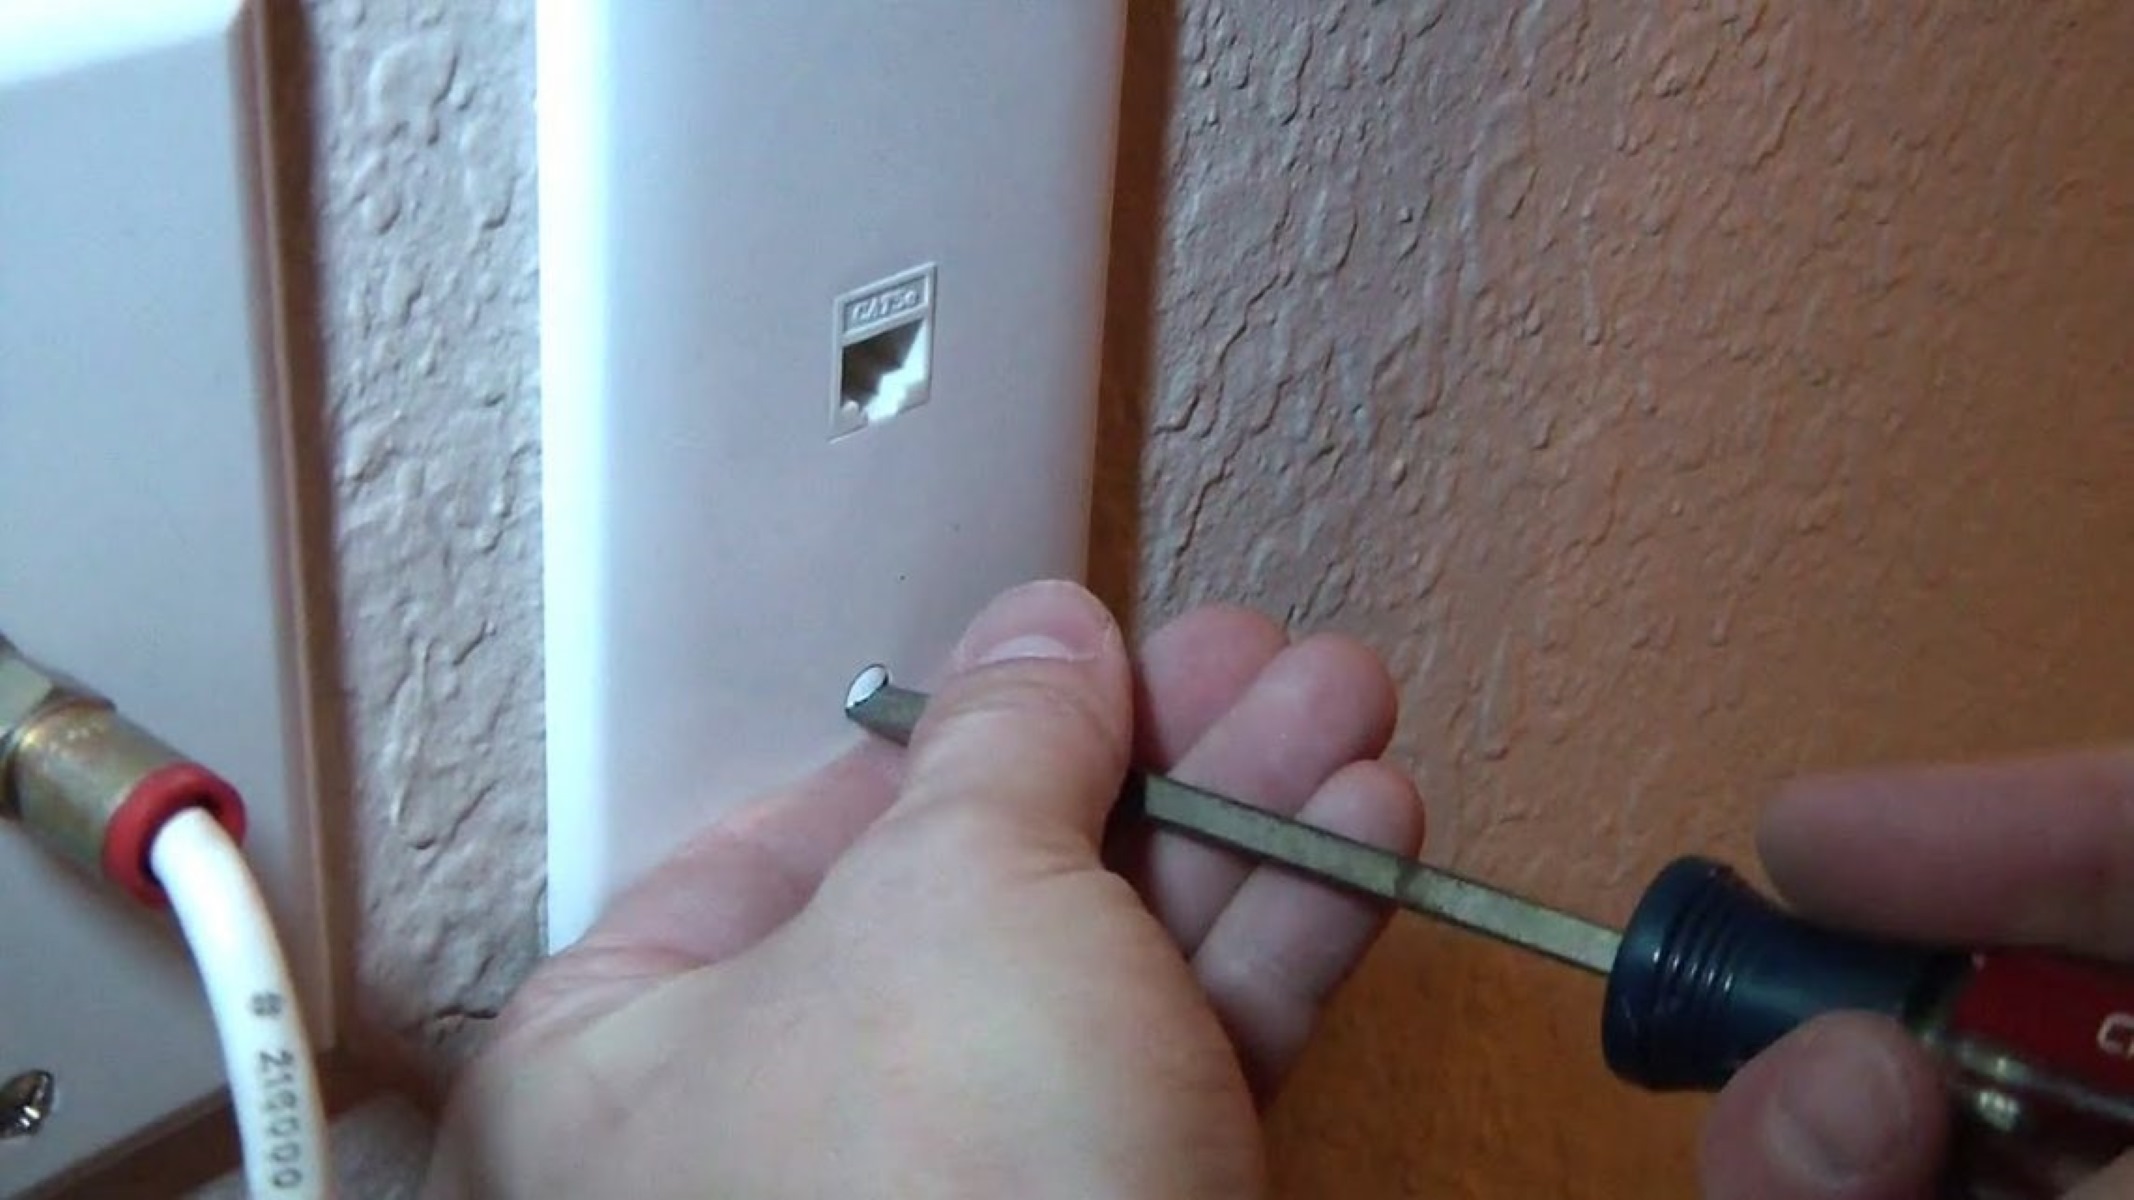
- Mark the Mounting Points: Using a pencil or marker, mark the precise locations where the mounting brackets or screws will be installed. Ensure that the markings align with the measurements and spacing required for your specific network switch model.
- Create Pilot Holes: If the wall material requires it, use a power drill and the appropriate drill bit to create pilot holes at the marked mounting points. Pilot holes help guide the screws and prevent the wall from splitting or cracking during the installation.
- Install Wall Anchors (if necessary): For installations on drywall or similar materials, consider using wall anchors to provide additional support for the mounting screws. Follow the manufacturer’s guidelines for the proper installation of wall anchors.
- Attach Mounting Brackets or Screws: Depending on the mounting provisions of your network switch, securely attach the mounting brackets or screws to the wall at the designated mounting points. Use a level to ensure that the brackets or screws are aligned correctly.
- Verify Stability: Once the mounting brackets or screws are in place, verify the stability and sturdiness of the installation. Gently apply pressure to the mounting points to ensure that they can support the weight of the network switch.
By meticulously preparing the wall for the installation, you can lay the foundation for a secure and reliable mounting of your network switch. With the wall ready, you can proceed to the next step of affixing the network switch to the prepared mounting surface.
Step 4: Mount the Network Switch
With the wall prepared and the necessary tools and materials at hand, you are ready to proceed with mounting the network switch. This step involves securely affixing the switch to the prepared mounting surface, ensuring stability and proper alignment for seamless integration into your network setup.
Follow these steps to effectively mount the network switch:
- Position the Switch: Carefully position the network switch against the mounting surface, aligning it with the installed mounting brackets or screws. Ensure that the switch is level and positioned according to your desired orientation.
- Secure the Switch: Using the provided mounting hardware or screws, securely fasten the network switch to the mounting brackets or directly to the wall. Take care to tighten the screws evenly to maintain the switch’s alignment and stability.
- Verify Alignment: Use a level to double-check the alignment of the mounted switch. Adjust the positioning if necessary to ensure that it is perfectly level and aligned with the surrounding space.
- Test Stability: Gently test the stability of the mounted switch by applying light pressure to different areas. Verify that it is securely affixed to the wall and can support its weight without any signs of instability.
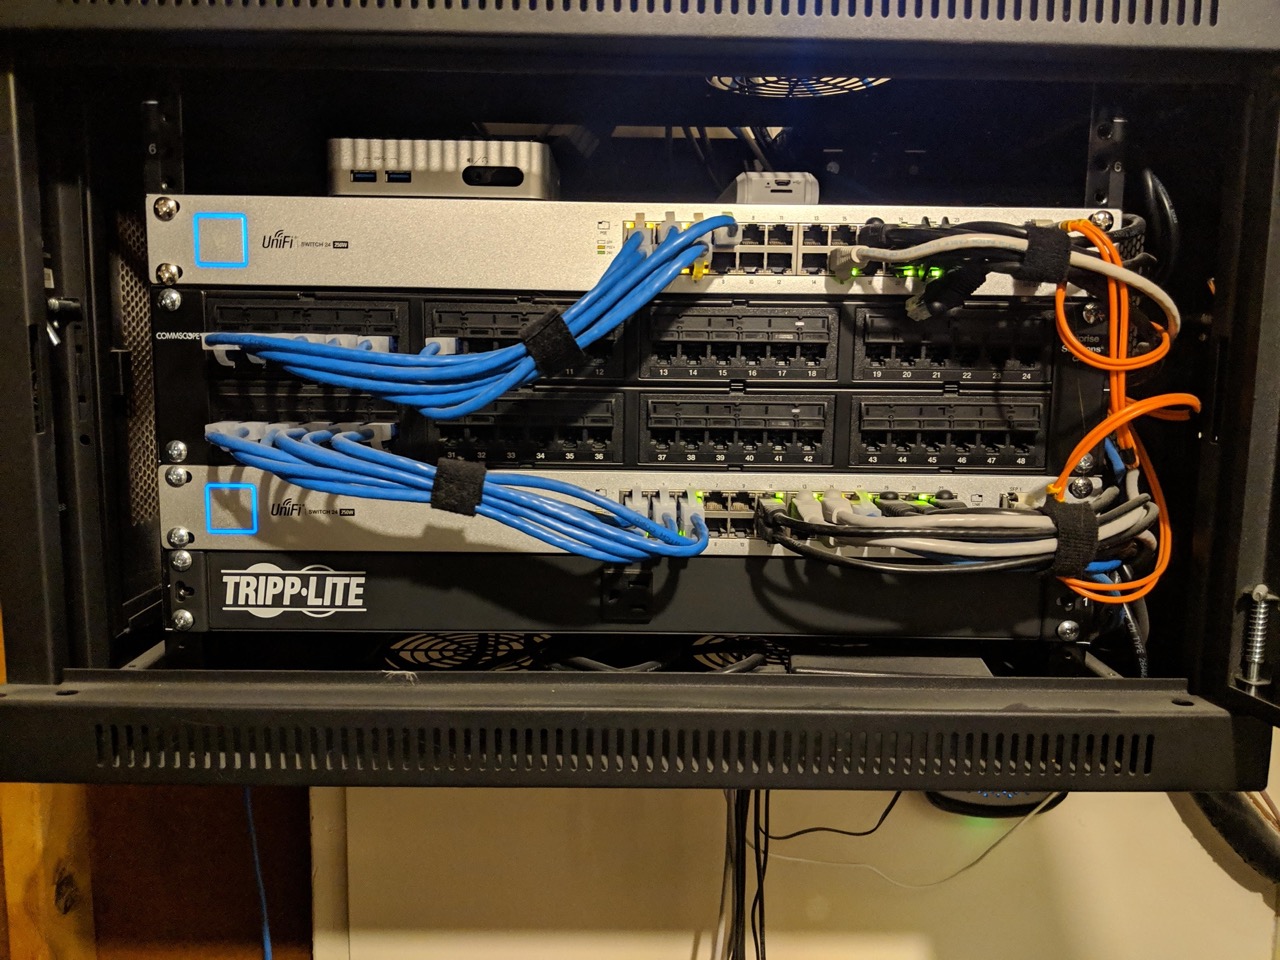
- Organize Cables: As the switch is mounted, begin organizing the network cables connected to it. Use cable ties, clips, or management panels to neatly arrange the cables, minimizing clutter and enhancing the overall aesthetics of the installation.
By following these steps, you can effectively mount the network switch, ensuring that it is securely positioned and ready to facilitate efficient network connectivity. With the switch securely in place, you can proceed to the next step of connecting the cables to establish network connectivity.
Step 5: Connect the Cables
Once the network switch is securely mounted, the next crucial step is to connect the necessary cables to establish network connectivity. Proper cable connection and organization are essential for ensuring seamless communication between devices and optimizing the performance of your network infrastructure.
Follow these steps to effectively connect the cables to the network switch:
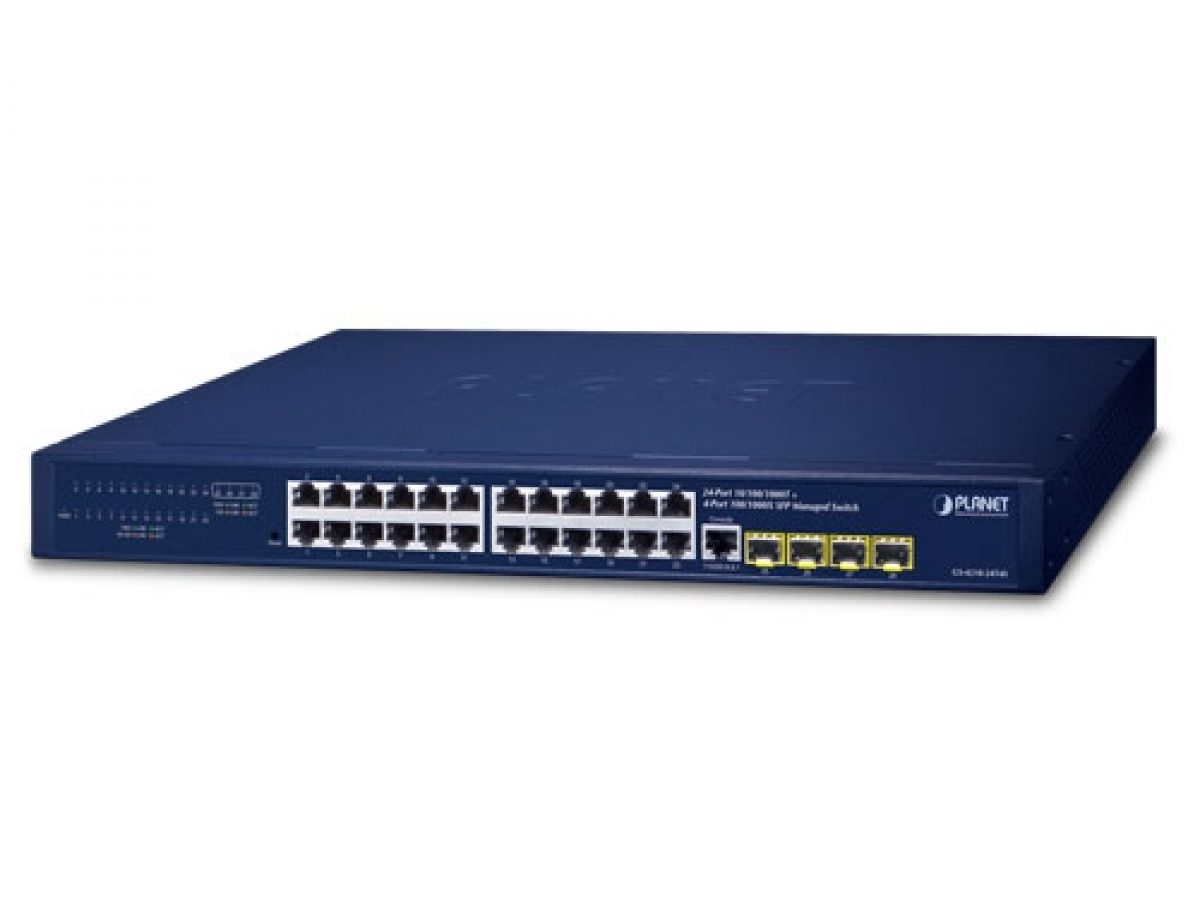
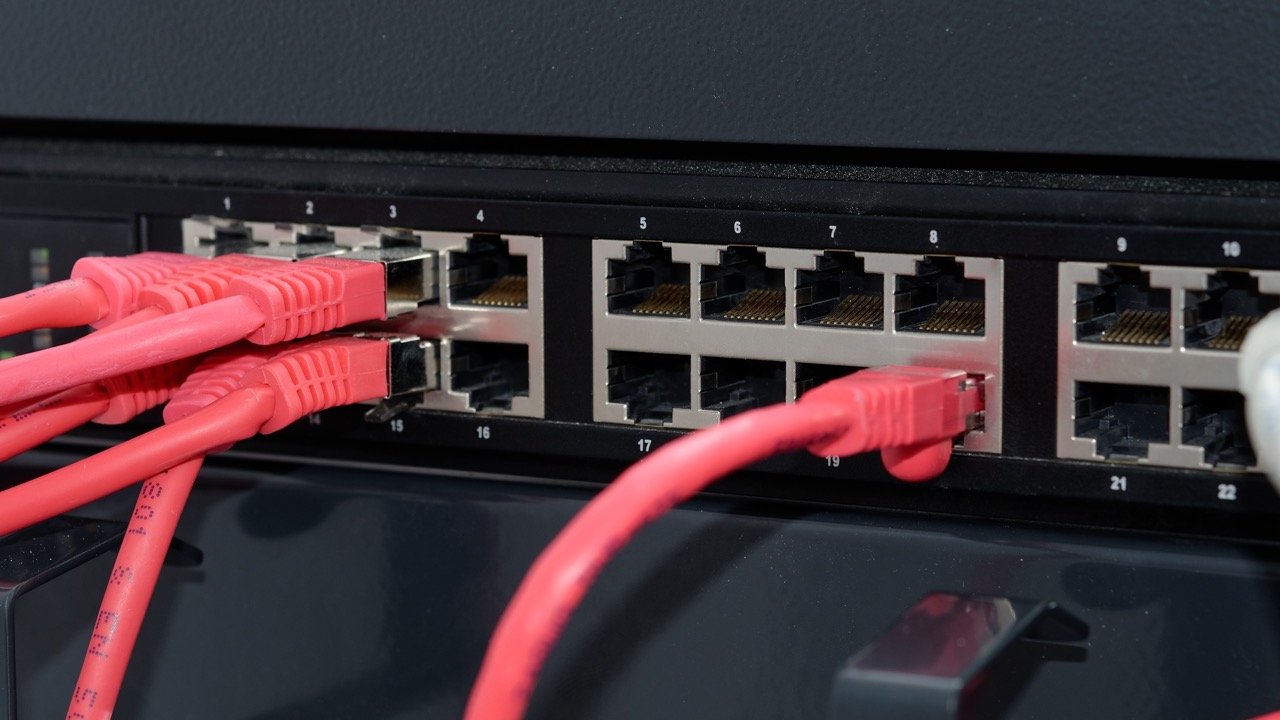
- Identify Port Configurations: Familiarize yourself with the port configurations on the network switch, including the number of ports, their labeling, and any specific port requirements for different devices or network segments.
- Prepare the Cables: Gather the Ethernet cables that will be used to connect devices to the network switch. Ensure that the cables are of appropriate length and quality to support reliable network connections.
- Connect Devices: Begin connecting the network devices, such as computers, printers, servers, and other networking equipment, to the available ports on the network switch. Match the cable connectors to the corresponding ports on the switch.
- Organize Cables: As you connect the cables, pay attention to cable organization and management. Use cable ties, clips, or management panels to route and secure the cables, minimizing tangling and maintaining a neat and organized network setup.
- Verify Connections: After connecting the cables, verify that each device is successfully linked to the network switch by checking for indicator lights or connection status on the devices and the switch itself.
- Test Network Connectivity: Test the network connectivity of the connected devices to ensure that they can communicate with each other and access network resources without any issues. Verify that data transfer and network access are functioning as expected.
By following these steps, you can effectively connect the cables to the network switch, establishing reliable network connectivity and preparing the network for seamless operation. With the cables connected and the network functioning optimally, you can proceed to the final step of testing the network connection to ensure its reliability and performance.
Step 6: Test the Connection
Testing the network connection is a critical final step in the process of wall mounting a network switch. This step ensures that the network infrastructure is functioning as intended, and all connected devices can communicate effectively, maintaining seamless data transfer and network operations.
Follow these essential steps to test the network connection:
- Verify Device Connectivity: Check each connected device to confirm that it is successfully communicating with the network switch. Ensure that devices can access network resources and communicate with each other without any connectivity issues.
- Test Data Transfer: Initiate data transfer between devices on the network to verify that files and information can be exchanged without interruptions or delays. Monitor the speed and reliability of data transfer across the network.
- Check Network Performance: Assess the overall network performance by testing internet connectivity, if applicable, and evaluating the speed and stability of network access for connected devices.
- Verify VLAN and Trunking (if applicable): If your network switch is configured for VLANs (Virtual Local Area Networks) or trunking, verify that these configurations are functioning as intended, allowing for efficient network segmentation and traffic management.
- Perform Network Security Checks: Ensure that network security measures, such as firewall settings and access controls, are operational and effectively safeguarding the network against unauthorized access and potential threats.
- Document Test Results: Record the results of the network connectivity tests, including any issues encountered and their resolutions. This documentation can serve as a reference for future network maintenance and troubleshooting.
By diligently testing the network connection, you can identify and address any potential issues, ensuring that the network is fully operational and meeting the required performance standards. With the network connection successfully tested, you can confidently conclude the installation process, knowing that your network switch is seamlessly integrated and functioning optimally.
Conclusion
Congratulations! By following this comprehensive guide, you have successfully navigated the process of wall mounting a network switch, enhancing the functionality and organization of your network infrastructure. From choosing the ideal location for the switch to testing the network connection, each step has contributed to the seamless integration of the switch into your network setup.
Wall mounting a network switch offers numerous benefits, including efficient space utilization, improved cable management, and optimized network performance. By carefully preparing the wall, securely mounting the switch, and connecting and testing the network, you have ensured that your network infrastructure is well-equipped to meet your connectivity needs.
As you reflect on the installation process, remember the following key takeaways:
- Strategic Placement: Selecting the right location for the network switch is crucial for accessibility, ventilation, and cable management.
- Preparation is Key: Gathering the necessary tools and materials and preparing the wall are essential steps that lay the foundation for a successful installation.
- Precision and Organization: Mounting the switch and connecting the cables with precision and attention to detail contribute to a tidy and efficient network setup.
- Thorough Testing: Testing the network connection ensures that the switch is seamlessly integrated, and the network is performing optimally.
By incorporating these insights into your network maintenance and expansion efforts, you can continue to optimize your network infrastructure for enhanced performance and reliability.
With the completion of this guide, you are now equipped with the knowledge and skills to confidently wall mount a network switch, transforming your network setup into a well-organized and efficient environment for seamless connectivity and data transfer.
Thank you for embarking on this installation journey with us, and we hope that your newly mounted network switch brings added functionality and aesthetic appeal to your network environment.