Introduction
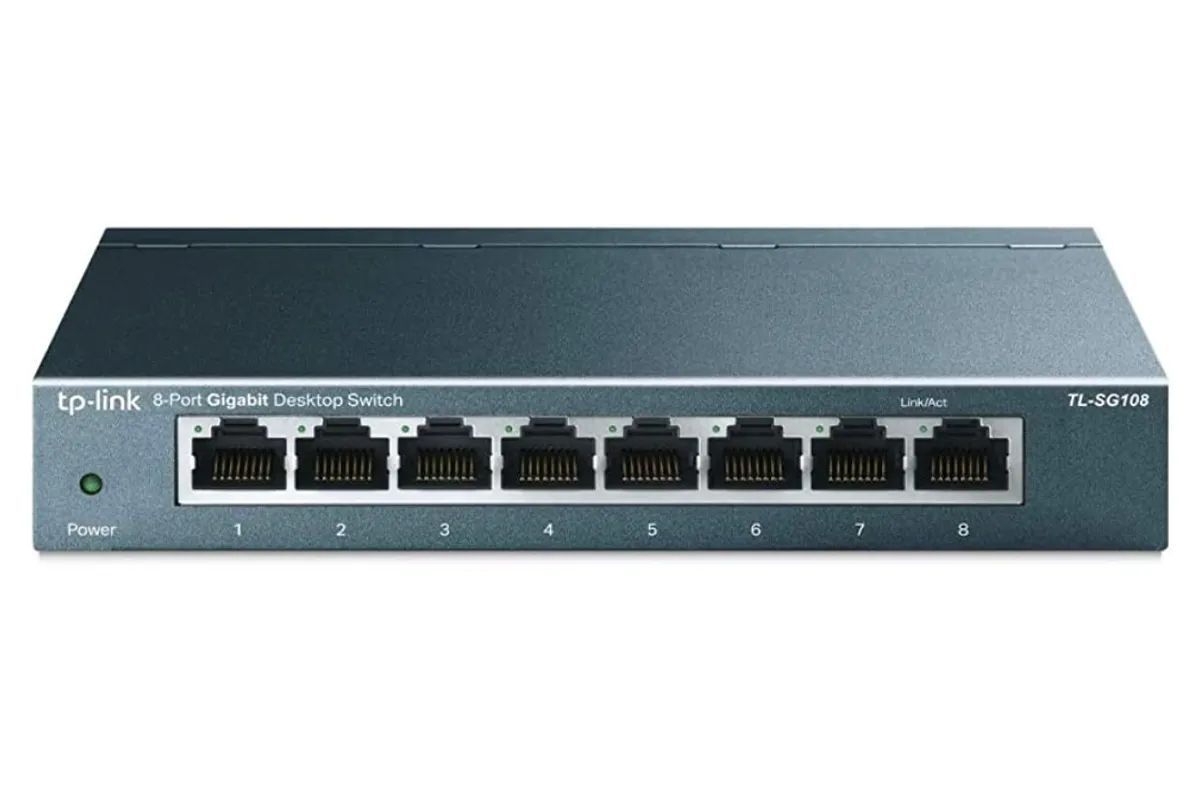
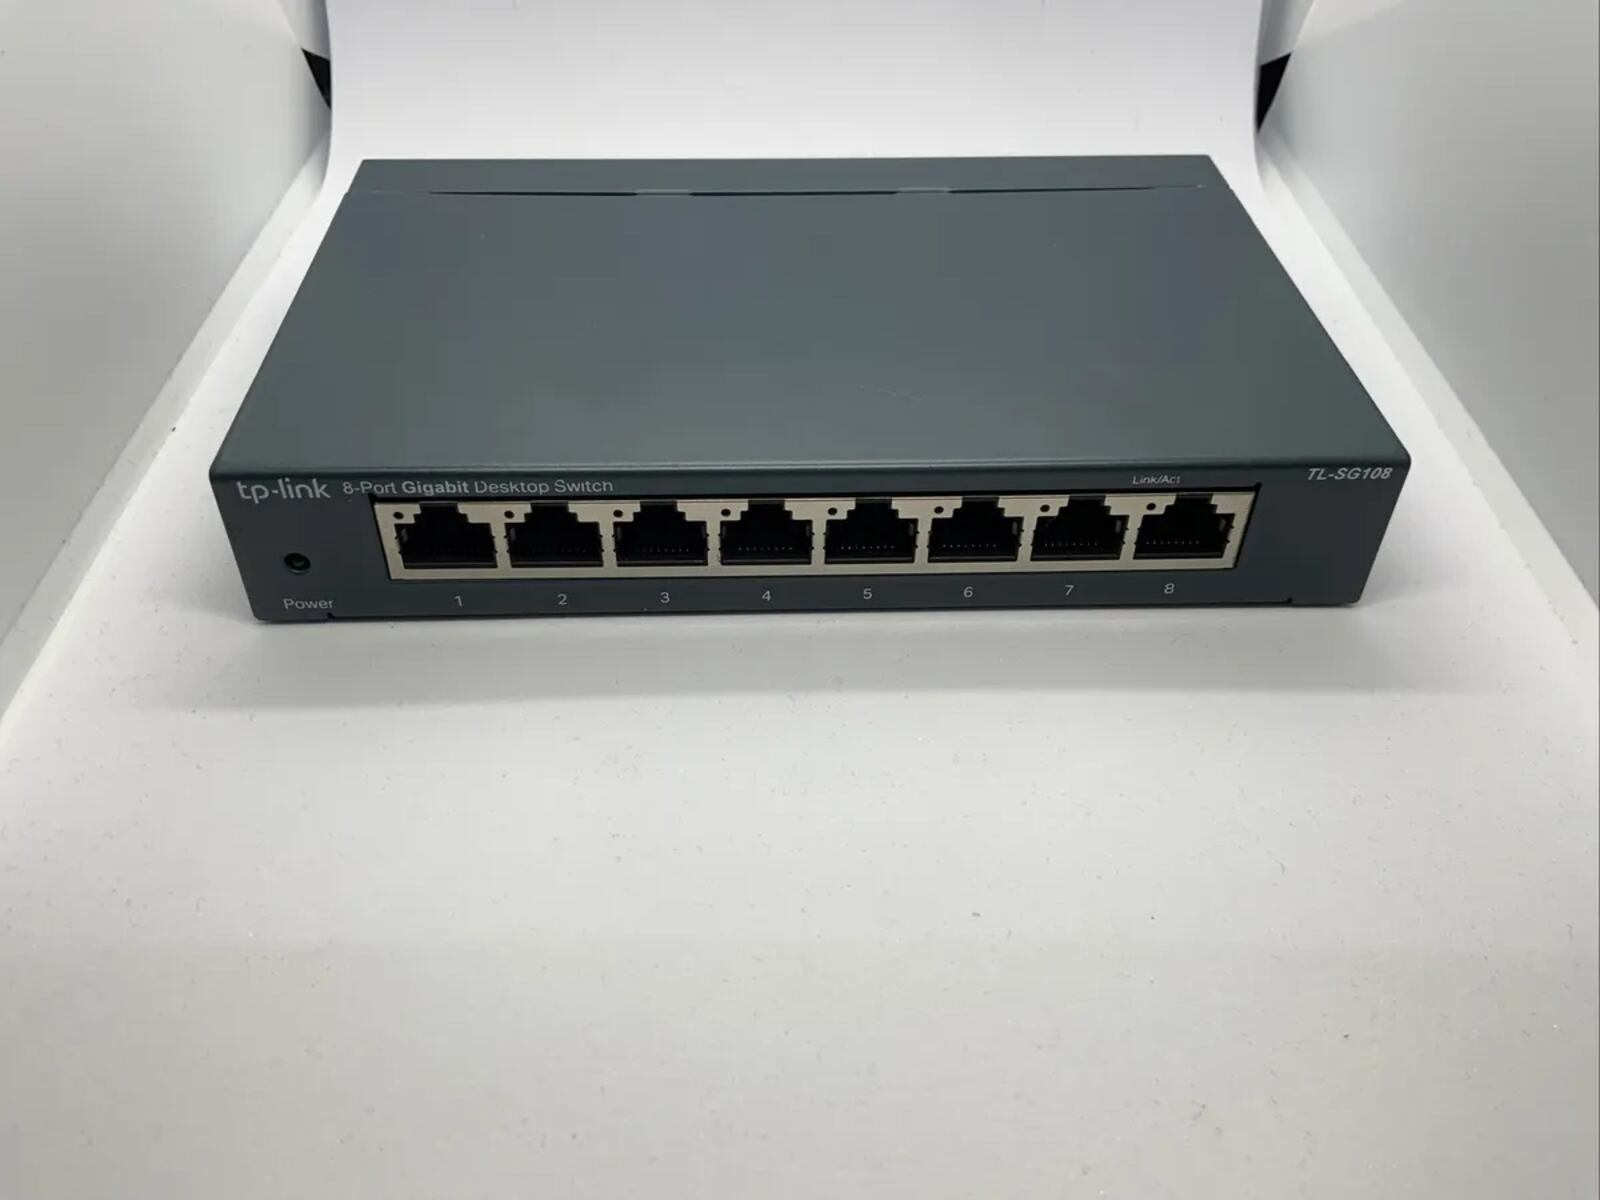
Welcome to the world of networking, where the TP-Link TL-SG108 network switch serves as a crucial component for expanding your network capabilities. This guide will walk you through the process of entering the TP-Link TL-SG108 network switch in Windows 10, allowing you to harness its full potential for optimizing network performance and connectivity.
By following the steps outlined in this guide, you will gain access to the device manager, locate the TP-Link TL-SG108 network switch, and configure its settings to suit your specific networking needs. Whether you are a seasoned IT professional or a tech-savvy enthusiast, this comprehensive walkthrough will equip you with the knowledge and skills to seamlessly integrate the TP-Link TL-SG108 network switch into your Windows 10 environment.
Networking plays a pivotal role in today’s interconnected world, and the TP-Link TL-SG108 network switch is designed to streamline data transfer, enhance network stability, and facilitate seamless communication between devices. By understanding the process of entering this network switch in Windows 10, you can harness its power to create a robust and efficient network infrastructure.
So, let’s embark on this journey together as we delve into the intricacies of connecting, accessing, and configuring the TP-Link TL-SG108 network switch within the Windows 10 operating system. Whether you are setting up a home network or managing a business infrastructure, this guide will empower you to leverage the capabilities of the TP-Link TL-SG108 network switch with confidence and ease.
Step 1: Connect the TP-Link TL-SG108 Network Switch to Your Windows 10 Computer
Before delving into the technical configurations, it’s essential to establish the physical connection between the TP-Link TL-SG108 network switch and your Windows 10 computer. This initial step lays the foundation for seamless communication and data transfer within your network environment.
To begin, ensure that you have the necessary Ethernet cables on hand. Connect one end of an Ethernet cable to an available port on the TP-Link TL-SG108 network switch. Next, plug the other end of the cable into the Ethernet port on your Windows 10 computer. This direct connection forms the bridge through which data will flow between the network switch and your computer.
Once the physical connection is established, power on the TP-Link TL-SG108 network switch and your Windows 10 computer. As the devices initialize, the connection between them will be recognized, paving the way for the subsequent steps in the configuration process.
It’s important to ensure that the Ethernet cable is securely plugged into both the network switch and your computer to avoid any potential connectivity issues. Additionally, verify that the power supply to the network switch and your computer is stable, as fluctuations in power can disrupt the connection.
By successfully connecting the TP-Link TL-SG108 network switch to your Windows 10 computer, you have set the stage for seamless integration and configuration. This physical link forms the backbone of your network infrastructure, enabling the efficient transfer of data and communication between devices within the network.
Step 2: Access the Device Manager
Once the TP-Link TL-SG108 network switch is physically connected to your Windows 10 computer, the next step is to access the Device Manager, a built-in utility that allows you to manage and view the hardware devices connected to your computer. The Device Manager provides a comprehensive overview of the devices, including the network switch, enabling you to monitor their status and make necessary configurations.
To access the Device Manager, begin by right-clicking on the Start button in the bottom-left corner of your screen. From the context menu that appears, select “Device Manager.” Alternatively, you can press the Windows key + X on your keyboard and choose “Device Manager” from the list of options.
Upon opening the Device Manager, you will be presented with a categorized list of hardware devices installed on your Windows 10 computer. Look for the “Network adapters” category, where you will find the TP-Link TL-SG108 network switch listed as one of the network devices. The device manager allows you to view the status of the network switch, update its drivers, and configure its settings as needed.
It’s important to note that accessing the Device Manager grants you visibility and control over the network switch, empowering you to troubleshoot any potential issues and optimize its performance within your network environment. The Device Manager serves as a central hub for managing hardware devices, providing you with the tools to ensure seamless integration and functionality of the TP-Link TL-SG108 network switch within your Windows 10 system.
Step 3: Find the TP-Link TL-SG108 Network Switch in the Device Manager
After accessing the Device Manager, the next crucial step is to locate the TP-Link TL-SG108 network switch within the list of network adapters. This process allows you to identify the network switch and verify its status, enabling you to proceed with the necessary configurations to ensure its seamless integration with your Windows 10 computer.
Within the Device Manager window, navigate to the “Network adapters” category by expanding the list of hardware devices. Here, you will find a comprehensive inventory of network adapters installed on your computer, including the TP-Link TL-SG108 network switch. The network switch is typically listed with its specific model name, such as “TP-Link TL-SG108,” making it easily identifiable within the Device Manager.
Upon locating the TP-Link TL-SG108 network switch in the Device Manager, you can right-click on the device to access a range of options, including updating its drivers, disabling or enabling the device, and accessing its properties. These options provide you with the flexibility to manage and configure the network switch according to your specific networking requirements.
It’s essential to verify that the network switch is displayed without any error indicators, such as a yellow exclamation mark or a red “X” symbol. These indicators may signify potential issues with the device, which can be addressed through troubleshooting and driver updates within the Device Manager.
By successfully finding the TP-Link TL-SG108 network switch in the Device Manager, you have completed a crucial step in the process of integrating and configuring the network switch within your Windows 10 environment. This identification sets the stage for further actions, allowing you to proceed with the necessary configurations to optimize the performance and functionality of the TP-Link TL-SG108 network switch.
Step 4: Access the Switch Configuration Page
Once the TP-Link TL-SG108 network switch is identified and located in the Device Manager, the next step involves accessing the switch configuration page to initiate the necessary settings and adjustments. The switch configuration page serves as the gateway to configuring various aspects of the network switch, enabling you to tailor its operation to suit your network infrastructure and requirements.
To access the switch configuration page, open a web browser on your Windows 10 computer and enter the default IP address of the TP-Link TL-SG108 network switch in the address bar. The default IP address for the switch is typically provided in the product documentation or can be found on the manufacturer’s website. Once entered, press “Enter” to navigate to the switch’s configuration interface.
Upon accessing the switch configuration page, you will be prompted to enter the login credentials, which are typically the default username and password provided by the manufacturer. It is essential to change these default credentials to ensure the security of the network switch and prevent unauthorized access.
Once logged in, you will gain access to a comprehensive dashboard or interface that allows you to configure various settings, including port management, VLAN configurations, quality of service (QoS) settings, and network monitoring options. This interface provides a user-friendly platform to customize and optimize the operation of the TP-Link TL-SG108 network switch according to your specific networking needs.
It’s important to explore the different sections and options within the switch configuration page to familiarize yourself with the available settings and features. This familiarity will empower you to make informed decisions and adjustments to enhance the performance and functionality of the network switch within your network environment.
By successfully accessing the switch configuration page, you have unlocked the potential to tailor the operation of the TP-Link TL-SG108 network switch to align with your network infrastructure and requirements. This pivotal step sets the stage for configuring the switch to optimize data transfer, enhance network stability, and facilitate seamless communication between devices within your network.
Step 5: Configure the TP-Link TL-SG108 Network Switch
With access to the switch configuration page, the final step involves configuring the TP-Link TL-SG108 network switch to align with your specific networking requirements and optimize its performance within your Windows 10 environment. This step allows you to fine-tune various settings and parameters to ensure seamless communication, efficient data transfer, and network stability.
Begin by reviewing the available configuration options within the switch interface, which may include port settings, VLAN (Virtual Local Area Network) configurations, QoS (Quality of Service) settings, and network monitoring features. These settings provide you with the flexibility to customize the operation of the network switch based on the unique demands of your network infrastructure.
One crucial aspect of the configuration process is port management. Within the switch configuration page, you can assign specific roles and configurations to individual ports, such as designating ports for data transfer, connecting to network devices, or implementing VLAN segmentation to enhance network security and efficiency.
Additionally, VLAN configurations allow you to segment the network into distinct virtual LANs, enabling you to isolate traffic and enhance network security and performance. By configuring VLANs, you can create logical network segments that facilitate efficient data transfer and communication while maintaining network integrity.
Quality of Service (QoS) settings provide the ability to prioritize and manage network traffic, ensuring that critical data packets receive precedence over less time-sensitive traffic. This feature is particularly valuable in environments where network performance and responsiveness are paramount, such as in business or multimedia applications.
Furthermore, network monitoring options within the switch configuration page allow you to track and analyze network activity, identify potential bottlenecks, and troubleshoot connectivity issues. By leveraging these monitoring features, you can maintain a proactive approach to network management and ensure the smooth operation of the TP-Link TL-SG108 network switch within your Windows 10 environment.
By carefully configuring the TP-Link TL-SG108 network switch, you can harness its full potential to optimize network performance, enhance data transfer efficiency, and facilitate seamless communication between devices within your network. This final step empowers you to tailor the operation of the network switch to align with your specific networking requirements, ensuring a robust and efficient network infrastructure.
Conclusion
Congratulations! By following the comprehensive steps outlined in this guide, you have successfully entered the TP-Link TL-SG108 network switch in your Windows 10 environment, paving the way for enhanced network capabilities and seamless communication between devices. The process of connecting, accessing, and configuring the network switch has equipped you with the knowledge and skills to optimize its performance and tailor its operation to suit your specific networking needs.
Through the physical connection of the network switch to your Windows 10 computer, you established the fundamental link for data transfer and communication within your network. Accessing the Device Manager provided you with visibility and control over the network switch, enabling you to monitor its status and make necessary configurations.
Locating the TP-Link TL-SG108 network switch within the Device Manager allowed you to identify the device and verify its status, laying the groundwork for further actions to ensure its seamless integration. Accessing the switch configuration page unlocked a wealth of settings and options, empowering you to customize and optimize the operation of the network switch according to your specific networking requirements.
Finally, by carefully configuring the TP-Link TL-SG108 network switch, you have harnessed its full potential to enhance network performance, facilitate efficient data transfer, and maintain network stability within your Windows 10 environment. This comprehensive process has equipped you with the tools and knowledge to leverage the capabilities of the network switch, whether in a home network setup or a business infrastructure.
As you continue to explore the dynamic landscape of networking, the skills and insights gained from this guide will serve as a valuable foundation for managing and optimizing network devices within your Windows 10 environment. Embrace the opportunities that arise as you harness the power of the TP-Link TL-SG108 network switch to create a robust and efficient network infrastructure tailored to your specific needs.