Introduction
Creating a network switch with a Raspberry Pi can be a rewarding and cost-effective endeavor for tech enthusiasts and small businesses alike. By leveraging the versatility of the Raspberry Pi, you can transform it into a functional network switch, expanding your network capabilities without the need for expensive hardware. This DIY approach not only offers a budget-friendly alternative but also provides a deeper understanding of networking principles and the inner workings of a network switch.
Whether you’re looking to expand your home network, set up a small office network, or delve into the world of network infrastructure, this project can serve as an enlightening and practical venture. In this guide, we’ll explore the step-by-step process of configuring a Raspberry Pi as a network switch, from setting up the hardware to installing the necessary software and conducting testing to ensure seamless functionality.
Embark on this journey with an open mind and a willingness to learn, as the knowledge and experience gained from this project can be invaluable in understanding networking concepts and honing your technical skills. Let’s dive into the materials needed to kickstart this exciting endeavor.
Materials Needed
Before delving into the process of creating a network switch with a Raspberry Pi, it’s essential to gather the necessary materials to ensure a smooth and successful setup. Here’s a comprehensive list of the items you’ll need:
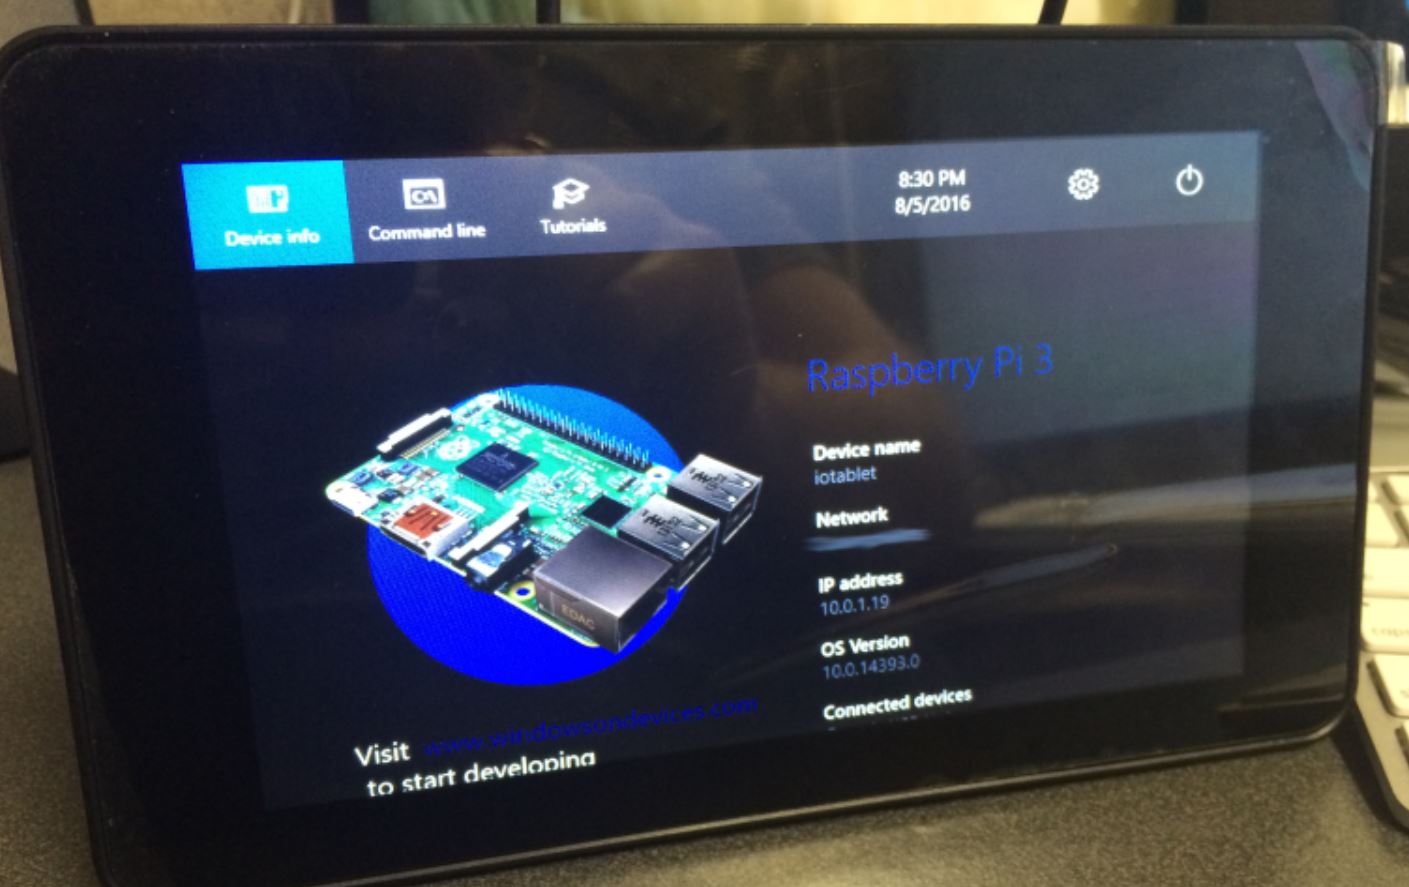
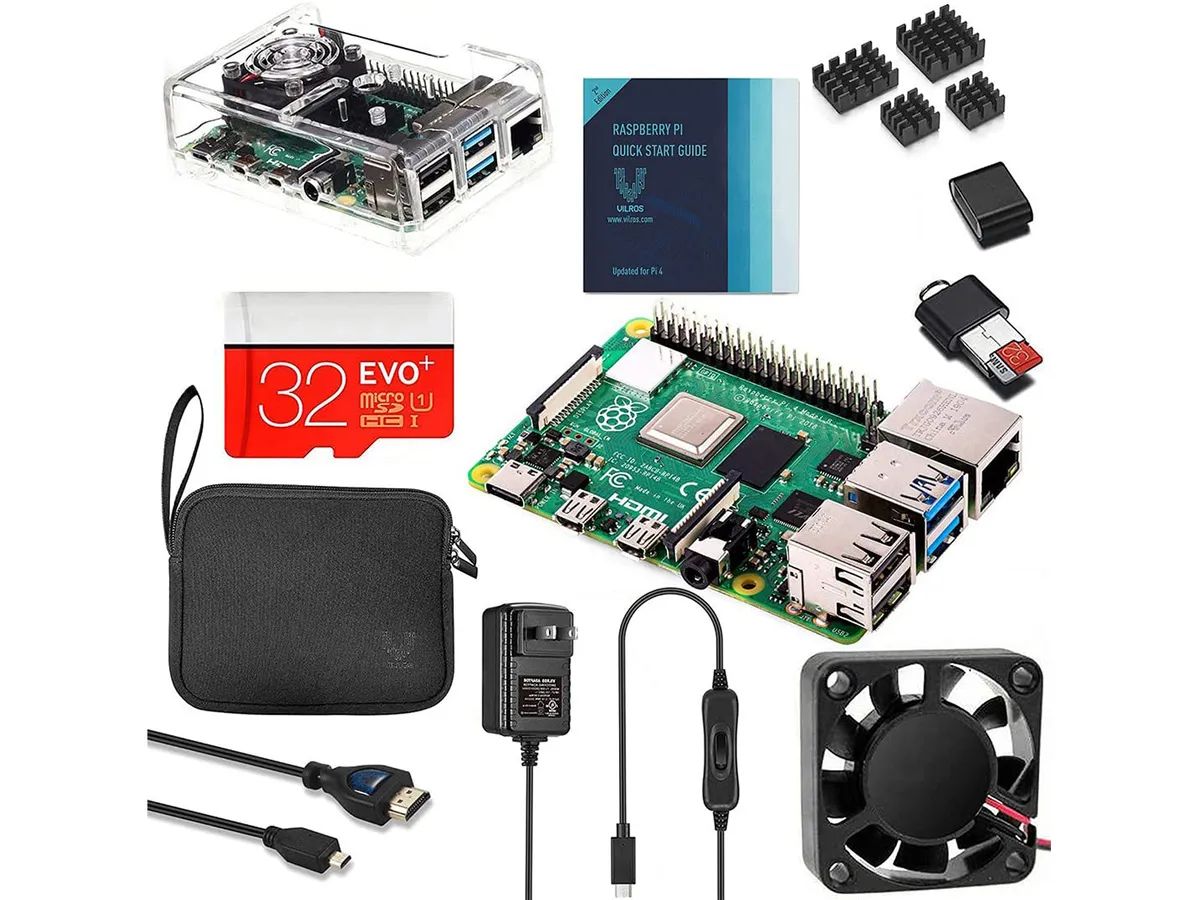
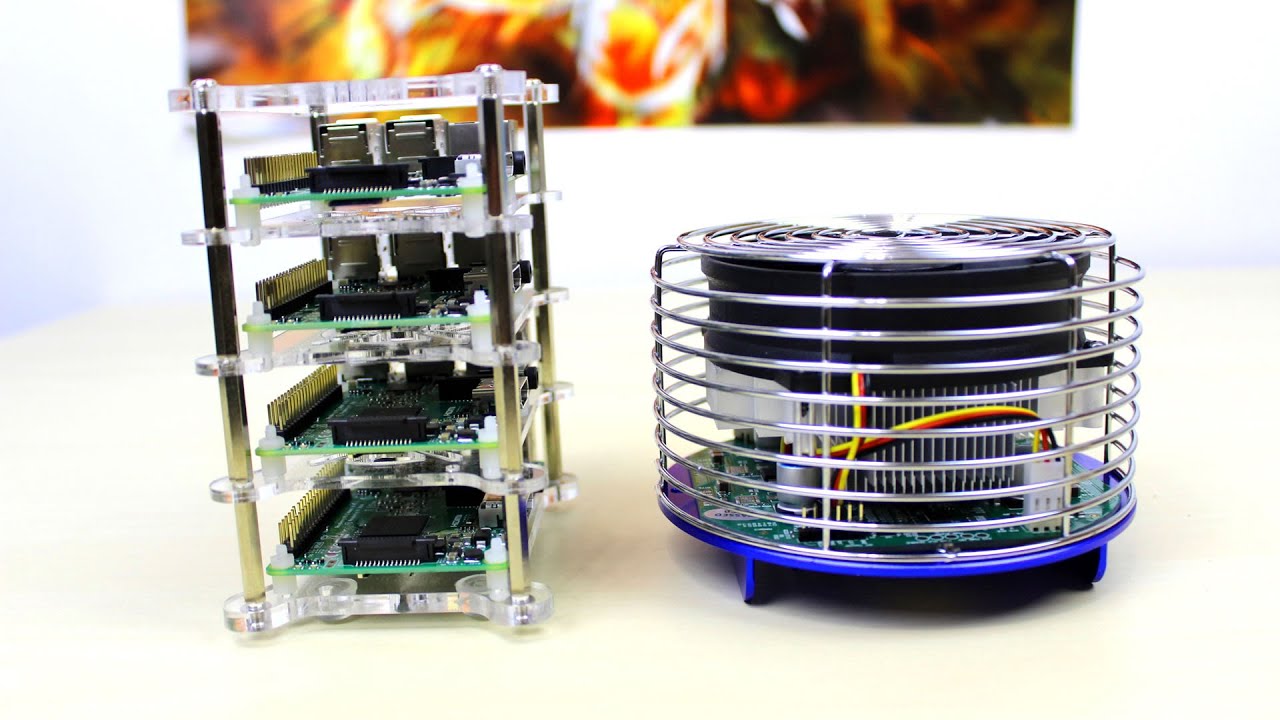
- Raspberry Pi: The heart of this project, the Raspberry Pi serves as the central component for building the network switch. Opt for a reliable model such as the Raspberry Pi 3 or 4 to ensure optimal performance.
- MicroSD Card: A high-quality microSD card with ample storage capacity is essential for installing the operating system and software required for the network switch.
- Power Supply: Ensure you have a compatible power supply for the Raspberry Pi to provide stable and reliable power throughout its operation.
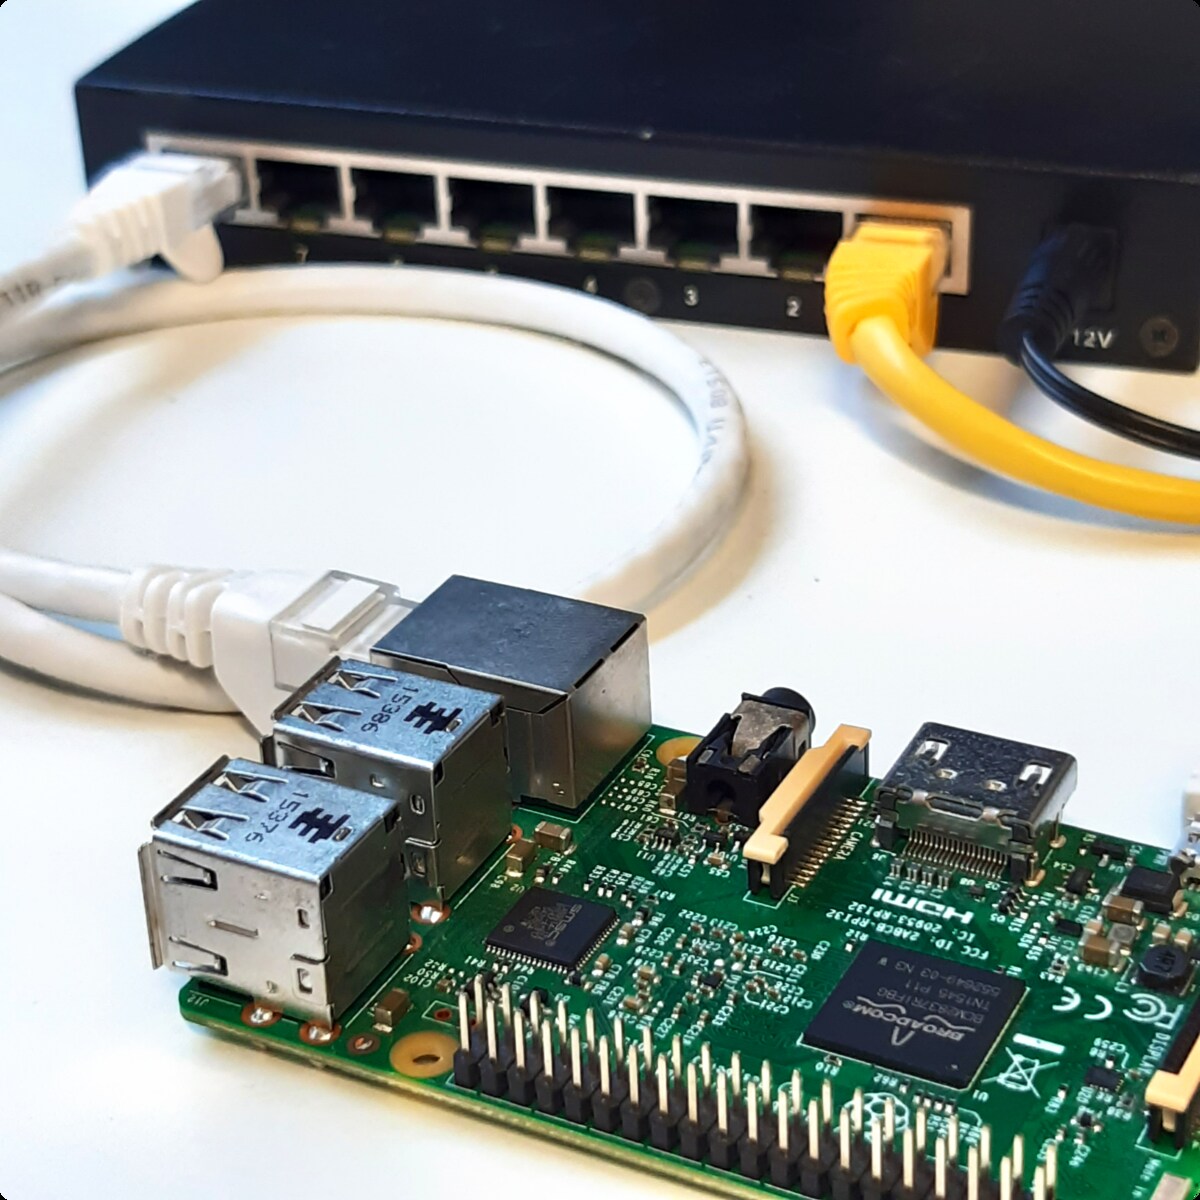
- Ethernet Cable: Acquire an Ethernet cable of sufficient length to connect the Raspberry Pi to your existing network infrastructure.
- Keyboard and Mouse: For the initial setup and configuration, a keyboard and mouse will be necessary to interact with the Raspberry Pi.
- Monitor or Display: A monitor or display unit with the appropriate input interface (HDMI or VGA) is required to connect to the Raspberry Pi for the setup process.
- Internet Connection: A stable internet connection is essential for downloading software and updates during the setup phase.
- Optional: Case and Cooling System: While not mandatory, a protective case and a cooling system can enhance the longevity and stability of the Raspberry Pi.
By ensuring you have all the necessary materials at your disposal, you can proceed with confidence and embark on the exciting journey of creating a network switch with a Raspberry Pi. With the hardware requirements covered, it’s time to move on to setting up the Raspberry Pi for this unique networking endeavor.
Setting Up the Raspberry Pi
Once you have gathered all the required materials, the next crucial step is to set up the Raspberry Pi for its new role as a network switch. Follow these steps to ensure a seamless and efficient setup:
- Prepare the MicroSD Card: Begin by preparing the microSD card with the appropriate operating system for the Raspberry Pi. You can use tools like Etcher to flash the operating system image onto the microSD card.
- Connect Peripherals: Insert the prepared microSD card into the Raspberry Pi and connect the necessary peripherals, including the keyboard, mouse, monitor, and Ethernet cable.
- Power Up the Raspberry Pi: Connect the power supply to the Raspberry Pi to power it up. You should see the initial boot sequence on the connected display, indicating that the Raspberry Pi is operational.
- Configure Basic Settings: Follow the on-screen prompts to configure the basic settings of the Raspberry Pi, including language, time zone, and network settings. Ensure that the Raspberry Pi is connected to the internet during this process to facilitate software updates.
- Enable SSH (Optional): If you prefer to manage the Raspberry Pi remotely, you can enable SSH (Secure Shell) access during the initial setup. This allows you to control the Raspberry Pi from another device on the same network.
- Update Software: Once the initial setup is complete, it’s essential to update the software and firmware on the Raspberry Pi to ensure that it is running the latest versions of the operating system and relevant packages.
By meticulously following these steps, you can effectively prepare the Raspberry Pi for its transformation into a network switch. With the initial setup completed, the next phase involves installing the necessary software to enable the Raspberry Pi to function as a network switch.
Installing the Necessary Software
With the Raspberry Pi set up and ready for its new role, the next crucial step is to install the essential software that will empower it to function as a network switch. Follow these steps to ensure a seamless installation process:
- Update Package Repositories: Before installing any software, it’s important to update the package repositories on the Raspberry Pi to ensure access to the latest versions of available software packages. Use the command
sudo apt updateto accomplish this. - Install Required Packages: The software components necessary for creating a network switch include
dnsmasqfor DHCP and DNS services, andhostapdfor managing access points. Install these packages using the commandsudo apt install dnsmasq hostapd. - Configure DHCP and DNS: Once the packages are installed, configure the
dnsmasqservice to provide DHCP (Dynamic Host Configuration Protocol) and DNS (Domain Name System) services. This involves editing the configuration file to define the DHCP range, DNS settings, and other relevant parameters. - Set Up Access Point: Utilize
hostapdto set up the wireless access point functionality on the Raspberry Pi. Create and configure thehostapdconfiguration file to define the SSID, security settings, and other access point parameters. - Enable IP Forwarding: To facilitate network traffic between different interfaces on the Raspberry Pi, enable IP forwarding by modifying the system’s network configuration settings.
- Automate Software Startup: Configure the installed software components to start automatically upon booting the Raspberry Pi, ensuring that the network switch functionality is seamlessly initiated with the system.
By diligently following these steps, you can equip the Raspberry Pi with the necessary software components to fulfill its role as a network switch. Once the software installation is complete, the subsequent phase involves configuring the network switch to ensure optimal performance and functionality.
Configuring the Network Switch
After installing the essential software components, the next pivotal phase involves configuring the Raspberry Pi to function seamlessly as a network switch. Follow these steps to ensure a well-optimized configuration:
- Configure DHCP Settings: Access the
dnsmasqconfiguration file to define the DHCP settings, including the range of IP addresses to be assigned, lease durations, and gateway information. This step is crucial for managing the allocation of IP addresses within the network. - Define DNS Parameters: Within the
dnsmasqconfiguration file, specify the DNS parameters, including domain settings and upstream DNS server addresses. This ensures efficient DNS resolution within the network environment. - Customize Access Point Settings: Tailor the settings within the
hostapdconfiguration file to align with the specific requirements of the wireless access point. This includes defining the SSID, security protocols, and authentication mechanisms. - Optimize Network Interfaces: Fine-tune the network interface settings to ensure seamless communication between the wired and wireless interfaces on the Raspberry Pi. This involves configuring IP addresses, subnet masks, and routing tables as per the network topology.
- Implement Security Measures: Enhance the security of the network switch by implementing encryption protocols, access control mechanisms, and other security measures to safeguard the network’s integrity and confidentiality.
- Test Connectivity and Functionality: After configuring the network switch, conduct comprehensive testing to verify the connectivity, DHCP functionality, DNS resolution, and wireless access point capabilities. This step is crucial for identifying and rectifying any configuration issues.
By meticulously following these configuration steps, you can tailor the Raspberry Pi’s functionality to serve as an efficient and reliable network switch. Once the configuration is complete, the final phase involves testing the network switch to validate its seamless operation.
Testing the Network Switch
Upon completing the configuration of the Raspberry Pi as a network switch, it’s imperative to conduct thorough testing to ensure the seamless operation and functionality of the newly established network infrastructure. Follow these essential steps to validate the performance of the network switch:
- Connectivity Testing: Begin by verifying the connectivity of devices connected to the network switch. Ensure that wired and wireless devices can establish connections, obtain IP addresses via DHCP, and communicate with each other within the network.
- DHCP Functionality: Validate the DHCP functionality by confirming that devices connecting to the network switch are assigned IP addresses from the defined DHCP range. Verify that the lease durations and assigned gateway information align with the configured settings.
- DNS Resolution: Test the DNS resolution capabilities of the network switch by accessing various websites and performing DNS lookups. Confirm that domain names are translated into IP addresses accurately, demonstrating the effective functioning of the DNS service.
- Wireless Access Point Validation: If the network switch includes a wireless access point, ensure that wireless devices can successfully connect to the access point, authenticate securely, and access network resources without any impediments.
- Network Traffic Routing: Validate the routing of network traffic between different interfaces on the Raspberry Pi to ensure that wired and wireless devices can communicate seamlessly and access external networks via the defined gateway.
- Security Assessment: Conduct security assessments to identify and address any potential vulnerabilities within the network switch. Test encryption protocols, access controls, and intrusion prevention measures to fortify the network’s security posture.
By diligently performing these tests, you can ascertain the robustness and reliability of the network switch, ensuring that it meets the operational requirements and delivers the expected performance. Once the testing phase is successfully completed, you can proceed with confidence, knowing that the Raspberry Pi has been adeptly transformed into a fully functional network switch.
Conclusion
Embarking on the journey of creating a network switch with a Raspberry Pi unveils a realm of possibilities for network enthusiasts and small business owners seeking cost-effective networking solutions. By leveraging the versatility and computational prowess of the Raspberry Pi, individuals can craft a functional network switch that expands network capabilities without the need for expensive commercial hardware.
Throughout this comprehensive guide, we have explored the step-by-step process of transforming a Raspberry Pi into a network switch, from setting up the hardware and installing the necessary software to configuring and testing the network switch’s seamless functionality. This hands-on approach not only offers a budget-friendly alternative but also fosters a deeper understanding of networking principles and the inner workings of a network switch.
By embracing this endeavor, individuals can gain invaluable insights into networking concepts, hone their technical skills, and cultivate a profound appreciation for the intricacies of network infrastructure. Furthermore, the knowledge acquired from this project can serve as a solid foundation for future networking endeavors and provide a springboard for delving into more advanced networking projects.
As you reflect on the journey of transforming a Raspberry Pi into a network switch, consider the wealth of knowledge and experience gained throughout the process. From the meticulous hardware setup to the intricate software configuration and rigorous testing, each step has contributed to a deeper understanding of networking concepts and the gratification of creating a personalized network solution.
With the Raspberry Pi now functioning as a proficient network switch, individuals can revel in the satisfaction of having crafted a bespoke networking solution that aligns with their specific requirements. Whether it’s for expanding a home network, setting up a small office infrastructure, or simply delving into the realms of network technology, this project serves as a testament to the ingenuity and resourcefulness inherent in the world of DIY networking.
Armed with newfound knowledge and a functional network switch, individuals can confidently navigate the ever-evolving landscape of networking, equipped with the skills and insights garnered from the transformation of a Raspberry Pi into a capable network switch.