Introduction
So, you've just purchased a Netgear FS605 V3 5-Port 10/100 Mbps Network Switch, and you're ready to expand your home or office network. This compact yet powerful device is designed to seamlessly integrate multiple devices into your network, providing reliable and high-speed connectivity for your computers, printers, gaming consoles, and other Ethernet-enabled devices.
In this guide, we'll walk you through the simple steps to connect and set up your Netgear FS605 V3 network switch. Whether you're a networking enthusiast or a novice user, this tutorial will equip you with the knowledge and confidence to get your network up and running in no time.
By following this guide, you'll learn how to unbox the Netgear FS605 V3, connect the power adapter, and seamlessly integrate your devices into the network. We'll also cover the essential steps to test the connection, ensuring that your network switch is functioning optimally.
With its plug-and-play functionality and durable construction, the Netgear FS605 V3 is an ideal solution for expanding your network infrastructure. Whether you're looking to enhance your home entertainment system or streamline your office network, this versatile network switch offers a cost-effective and efficient way to connect multiple devices.
So, without further ado, let's dive into the step-by-step process of setting up your Netgear FS605 V3 5-Port 10/100 Mbps Network Switch and take your network connectivity to the next level.
Step 1: Unboxing the Netgear FS605 V3
Before diving into the setup process, let’s start by unboxing your Netgear FS605 V3 5-Port 10/100 Mbps Network Switch. The packaging includes the essential components needed to get your network switch up and running smoothly.
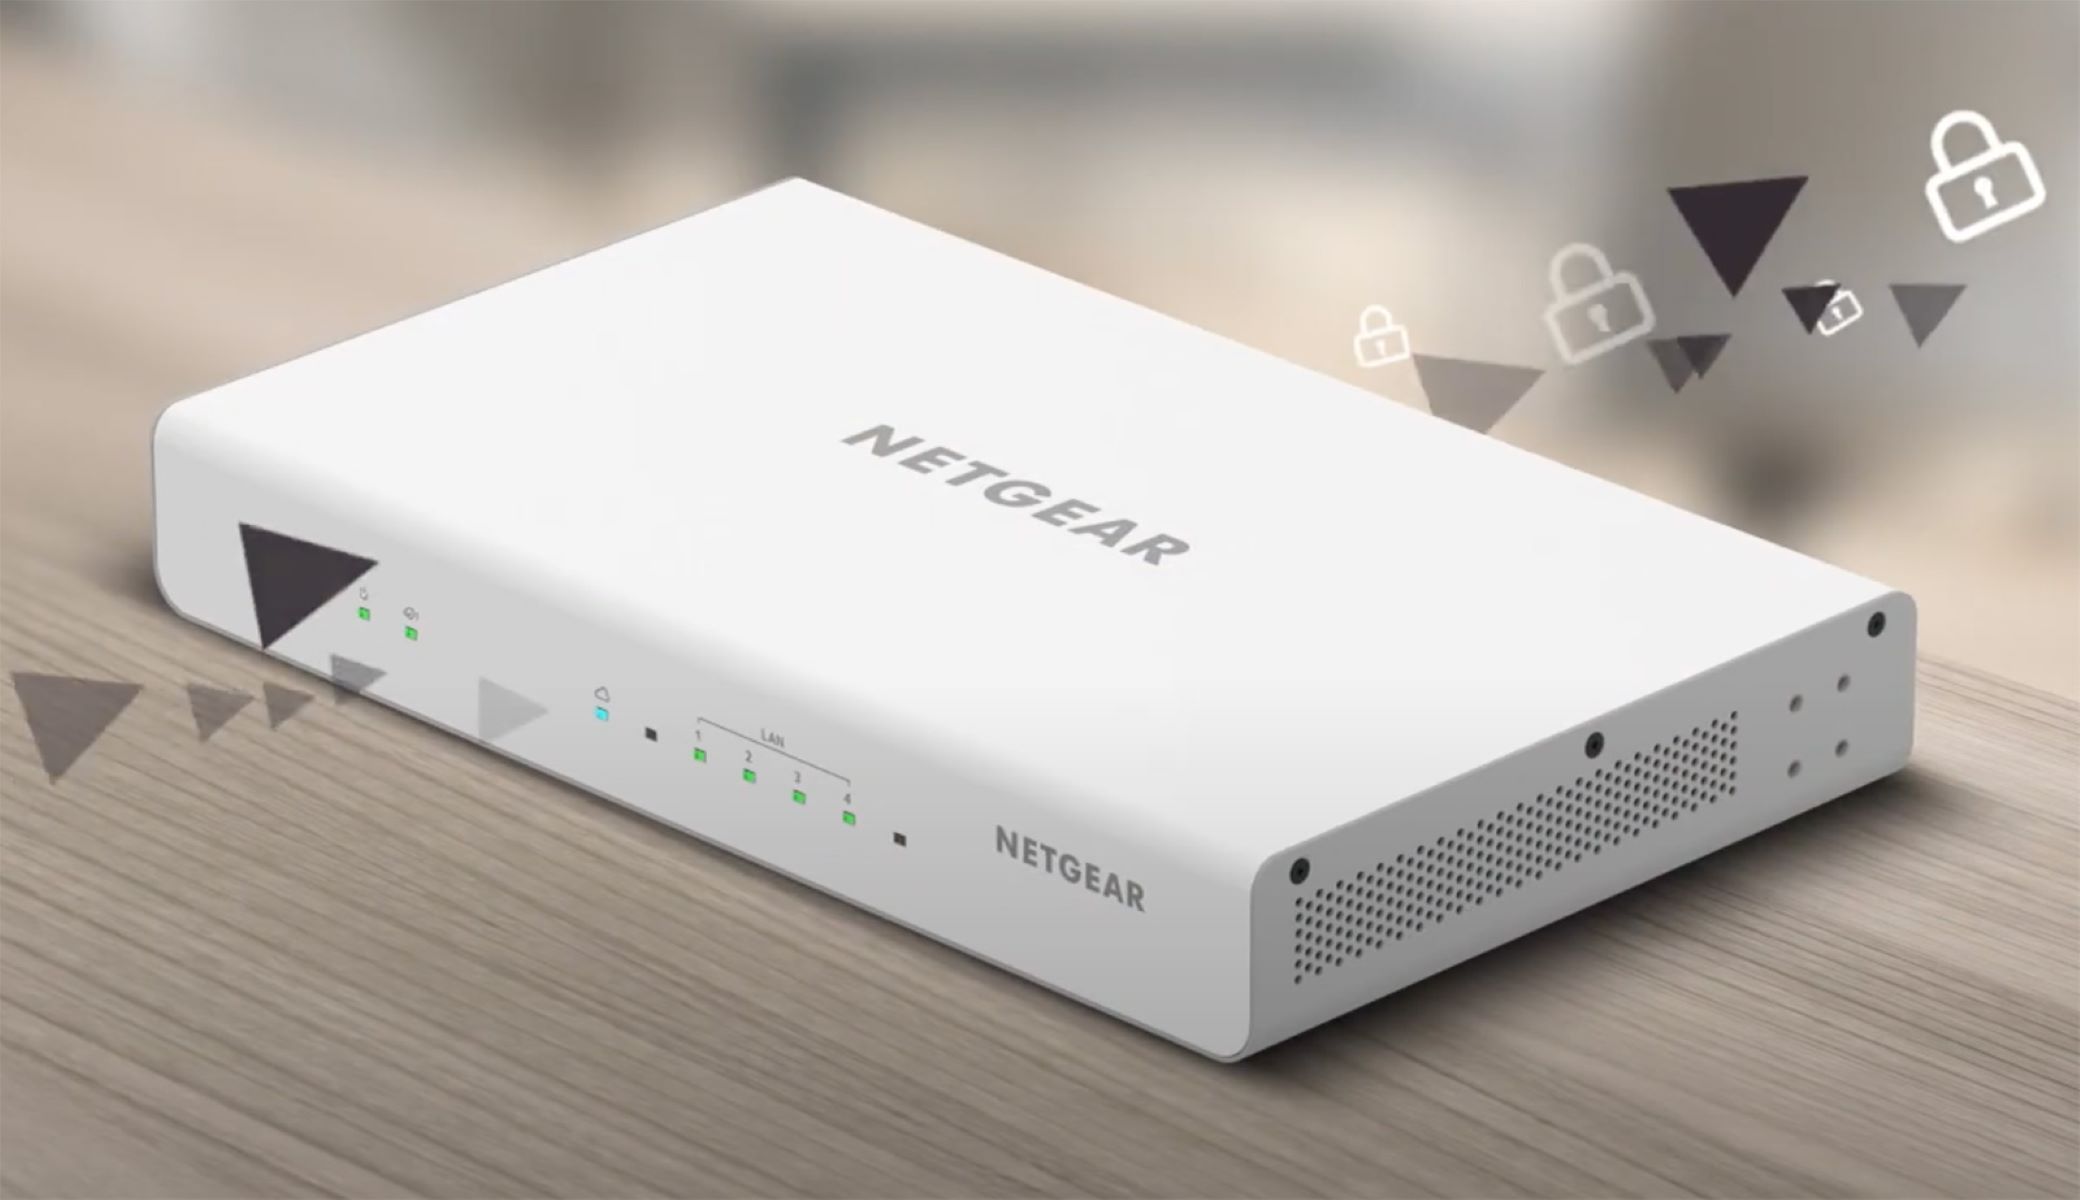
Upon opening the box, you’ll find the Netgear FS605 V3 network switch, a power adapter, and the user manual. The compact and sleek design of the switch makes it a seamless addition to your workspace, blending functionality with a modern aesthetic.
Inspect the device for any signs of physical damage during shipping, ensuring that all components are in pristine condition. The durable construction of the Netgear FS605 V3 ensures long-term reliability, providing peace of mind for your networking needs.
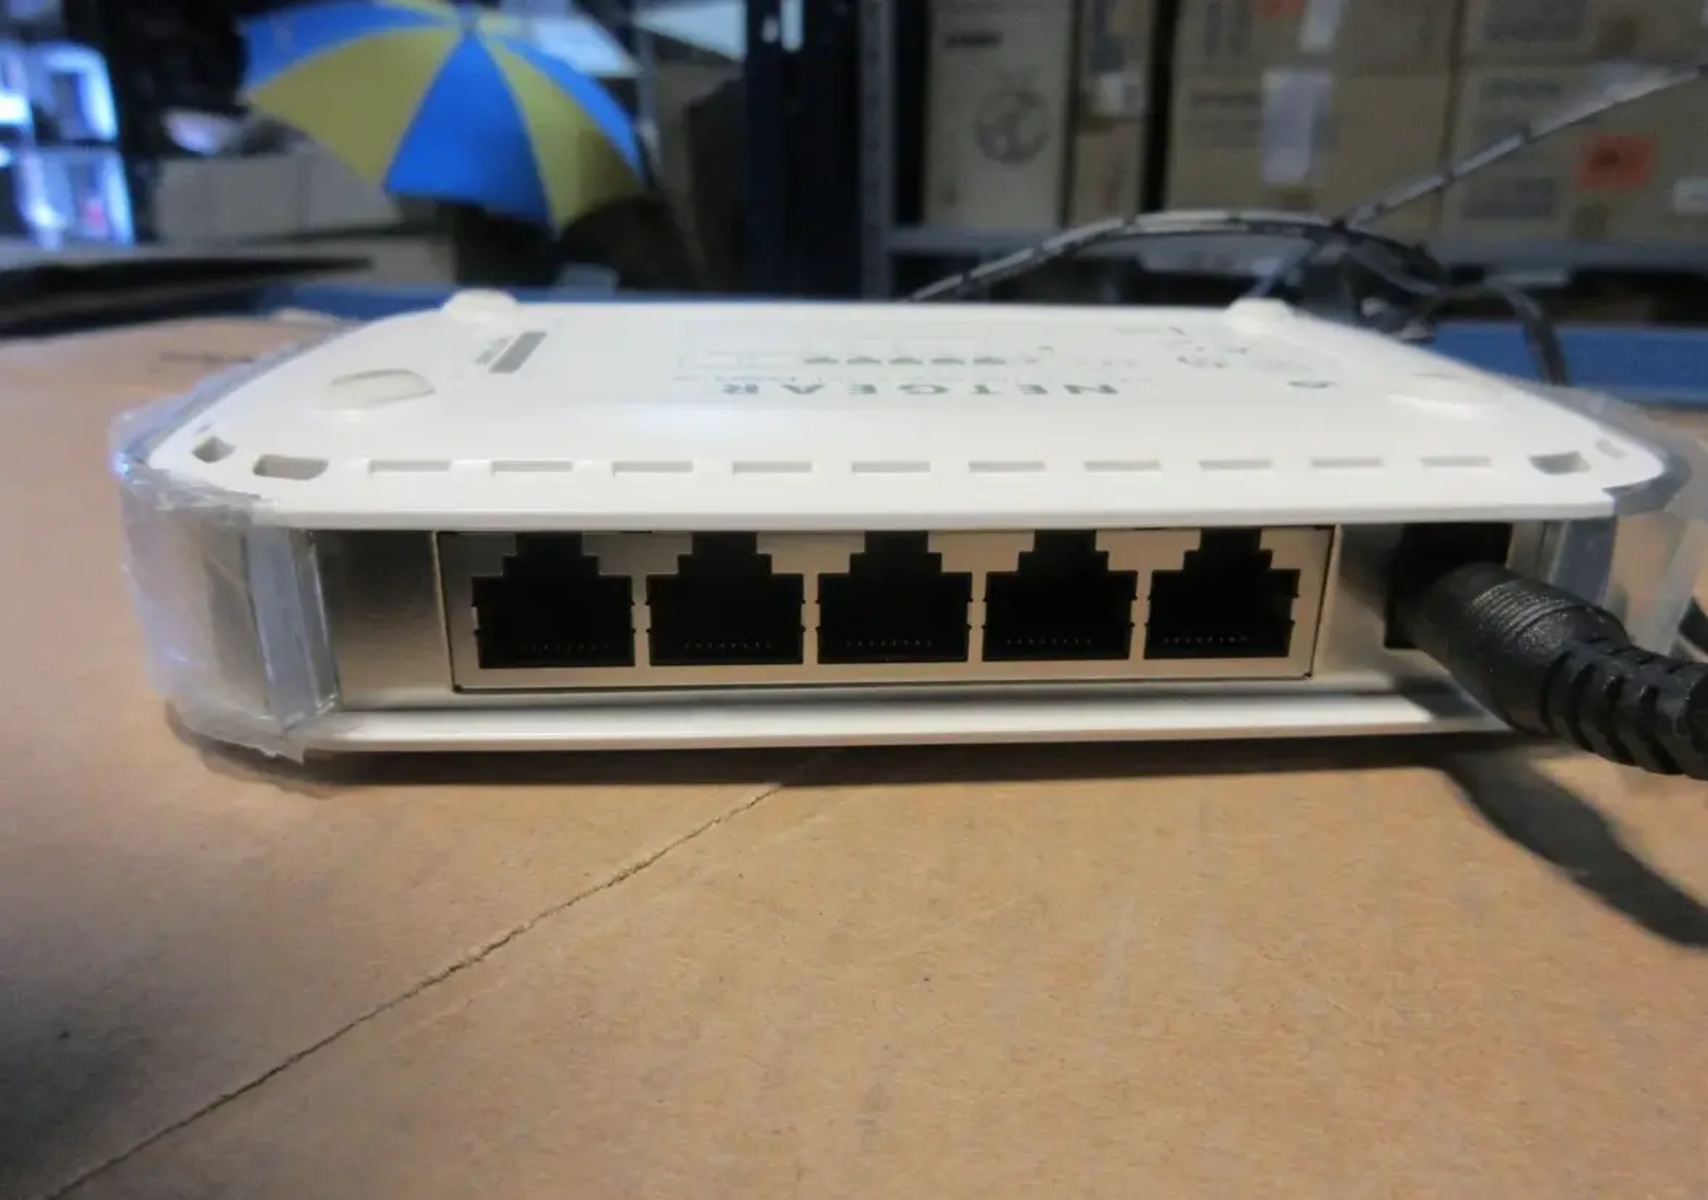
As you handle the components, take a moment to familiarize yourself with the layout and ports of the network switch. The front panel features the five Ethernet ports, each clearly labeled for easy identification. Additionally, the rear panel houses the power connector and the uplink port, allowing for flexible connectivity options.
By unboxing the Netgear FS605 V3, you’re taking the first step towards expanding your network infrastructure. The user-friendly design and comprehensive packaging make the setup process straightforward, setting the stage for a seamless and efficient installation experience.
With the unboxing complete, you’re now ready to move on to the next step: connecting the power adapter to the Netgear FS605 V3 network switch. This pivotal stage will power up the device, laying the foundation for integrating your devices into the network and unlocking the full potential of your network switch.
Step 2: Connecting the Power Adapter
With the Netgear FS605 V3 5-Port 10/100 Mbps Network Switch unboxed and ready, it’s time to proceed to the next crucial step: connecting the power adapter. This step is essential for providing the necessary power to the network switch, enabling it to function and facilitate seamless connectivity between your devices.
Locate the power adapter included in the packaging and connect it to the designated power input port on the rear panel of the Netgear FS605 V3. The secure and snug fit of the power connector ensures a reliable power supply, minimizing the risk of accidental disconnection.
Once the power adapter is firmly connected, plug the adapter into a nearby power outlet. The LED indicators on the front panel of the network switch will illuminate, indicating that the device is receiving power and is ready for the next stage of the setup process.
As the power flows into the Netgear FS605 V3, you’re one step closer to establishing a robust and efficient network environment. The network switch’s low power consumption and energy-efficient design make it an eco-friendly addition to your network infrastructure, aligning with modern sustainability practices.
By connecting the power adapter, you’re laying the groundwork for seamless connectivity and optimal performance. This foundational step sets the stage for integrating your devices into the network, enabling them to communicate and share data with unparalleled speed and reliability.
With the power adapter successfully connected, you’re now prepared to move on to the next step: connecting your devices to the Netgear FS605 V3 network switch. This pivotal stage will bring your network to life, empowering your devices with high-speed connectivity and unlocking the full potential of your network switch.
Step 3: Connecting Devices to the Switch
Now that the Netgear FS605 V3 5-Port 10/100 Mbps Network Switch is powered up and ready, it’s time to connect your devices to the switch. Whether you’re integrating computers, printers, gaming consoles, or other Ethernet-enabled devices, this step is crucial for expanding your network and enabling seamless communication between your devices.
Begin by identifying the Ethernet-enabled devices that you want to connect to the network switch. Locate the Ethernet cables, also known as RJ45 cables, that will be used to establish the connections. These cables are essential for transmitting data between the devices and the network switch, ensuring reliable and high-speed connectivity.
Next, locate the Ethernet ports on the front panel of the Netgear FS605 V3. Each port is labeled for easy identification, allowing you to seamlessly connect your devices without confusion. The compact and efficient design of the switch’s front panel ensures a clutter-free and organized setup process.
Take an Ethernet cable and connect one end to the Ethernet port on the device you wish to integrate into the network. Then, connect the other end of the cable to one of the available Ethernet ports on the Netgear FS605 V3. The secure and snug fit of the connections guarantees stable and reliable data transmission.
Repeat this process for each device you want to connect to the network switch, utilizing the available ports to accommodate your network expansion needs. The plug-and-play functionality of the Netgear FS605 V3 streamlines the setup process, allowing you to effortlessly integrate your devices into the network.
As you connect your devices to the switch, you’re creating a unified network environment that fosters seamless communication and data sharing. The Netgear FS605 V3’s robust performance and high-speed connectivity capabilities ensure that your devices can interact with each other effortlessly, enhancing productivity and entertainment experiences.
With your devices successfully connected to the Netgear FS605 V3 network switch, you’re now prepared to move on to the next step: testing the connection to ensure that your network is functioning optimally. This critical stage will validate the setup process and confirm that your devices are seamlessly integrated into the network, ready to deliver unparalleled performance and connectivity.
Step 4: Testing the Connection
With your devices successfully connected to the Netgear FS605 V3 5-Port 10/100 Mbps Network Switch, it’s time to ensure that the network is functioning optimally by testing the connection. This critical step allows you to validate the setup process and confirm that your devices are seamlessly integrated into the network, ready to deliver unparalleled performance and connectivity.
Begin by powering on the devices that you’ve connected to the network switch. Whether it’s a computer, printer, gaming console, or other Ethernet-enabled device, activating these devices will initiate the communication process and allow them to establish connections with the network switch.
Once the devices are powered on, verify that they are successfully communicating with the network switch. Check the LED indicators on the front panel of the Netgear FS605 V3, which provide visual feedback on the status of each port. The illuminated LEDs indicate active connections, confirming that your devices are effectively linked to the network.
Next, perform a quick data transfer or communication test between the connected devices. This can involve transferring files between computers, printing a test page from a networked printer, or accessing online services from connected devices. These tests validate the seamless communication and data sharing capabilities facilitated by the network switch.
Observe the speed and reliability of the data transfer between the devices, ensuring that the network switch is delivering the high-speed connectivity it promises. The Netgear FS605 V3’s efficient data handling capabilities and low latency ensure that your devices can communicate and share data without bottlenecks or interruptions.
If the tests confirm that your devices are communicating effectively and data transfer is swift and reliable, congratulations – your network setup is a success! The Netgear FS605 V3 has seamlessly integrated your devices into a robust and efficient network environment, empowering you with high-speed connectivity and reliable data transmission.
If any issues arise during the testing phase, troubleshoot the connections by ensuring that the Ethernet cables are securely connected, the devices are configured for Ethernet connectivity, and the network switch is receiving stable power. These troubleshooting steps will help identify and resolve any potential connectivity issues.
By testing the connection, you’ve validated the setup process and confirmed that the Netgear FS605 V3 network switch is functioning optimally, providing a seamless and efficient networking experience for your connected devices. With the setup and testing complete, you’re now ready to enjoy the benefits of a well-connected and high-performing network.
Conclusion
Congratulations on successfully setting up and testing the Netgear FS605 V3 5-Port 10/100 Mbps Network Switch! By following the comprehensive steps outlined in this guide, you’ve expanded your network infrastructure and empowered your devices with reliable and high-speed connectivity.
The unboxing process allowed you to familiarize yourself with the sleek and functional design of the network switch, ensuring that all components were in pristine condition and ready for installation. Connecting the power adapter provided the essential energy source for the network switch, initiating the setup process and preparing the device to integrate your devices into the network.
As you connected your devices to the switch, you created a unified network environment that fosters seamless communication and data sharing. The plug-and-play functionality of the Netgear FS605 V3 streamlined the setup process, allowing you to effortlessly integrate your devices into the network and unlock their full potential.
Testing the connection validated the setup process and confirmed that your devices were seamlessly integrated into the network, ready to deliver unparalleled performance and connectivity. By performing data transfer and communication tests, you ensured that the network switch was delivering the high-speed connectivity it promises, empowering your devices with efficient data transmission capabilities.
With the Netgear FS605 V3 in place, you’ve enhanced your home or office network with a reliable and efficient networking solution. The network switch’s compact yet powerful design, coupled with its energy-efficient operation, makes it an ideal addition to your network infrastructure, offering seamless connectivity and data sharing for your connected devices.
As you enjoy the benefits of a well-connected and high-performing network, you can rest assured that the Netgear FS605 V3 5-Port 10/100 Mbps Network Switch will continue to facilitate reliable and efficient connectivity for your devices. Whether you’re engaging in productivity tasks, entertainment experiences, or collaborative work, the network switch will serve as a cornerstone of your network infrastructure, empowering you with seamless communication and data sharing capabilities.