Introduction
So, you've decided to expand your home or office network, and now you're ready to learn how to hook up a network switch. A network switch is a fundamental component in modern networking, allowing you to connect multiple devices to your network and efficiently manage data traffic. Whether you're a tech enthusiast, a small business owner, or someone looking to improve their home network, understanding how to set up a network switch is a valuable skill.
In this guide, we'll walk through the step-by-step process of connecting and configuring a network switch. By following these instructions, you'll be able to expand your network, increase connectivity, and optimize data transfer within your environment. Whether you're connecting computers, printers, gaming consoles, or smart home devices, a network switch provides the flexibility and performance you need to keep everything running smoothly.
Before we dive into the technical details, it's important to note that setting up a network switch doesn't require advanced IT knowledge. With a basic understanding of networking concepts and the right equipment at hand, you'll be well-equipped to complete the setup process. So, let's get started and turn your network expansion plans into a reality.
Next, we'll begin by gathering the necessary equipment for the network switch setup.
Step 1: Gather the Necessary Equipment
Before you begin setting up your network switch, it’s essential to gather all the required equipment to ensure a smooth and efficient installation process. Here’s a list of items you’ll need:
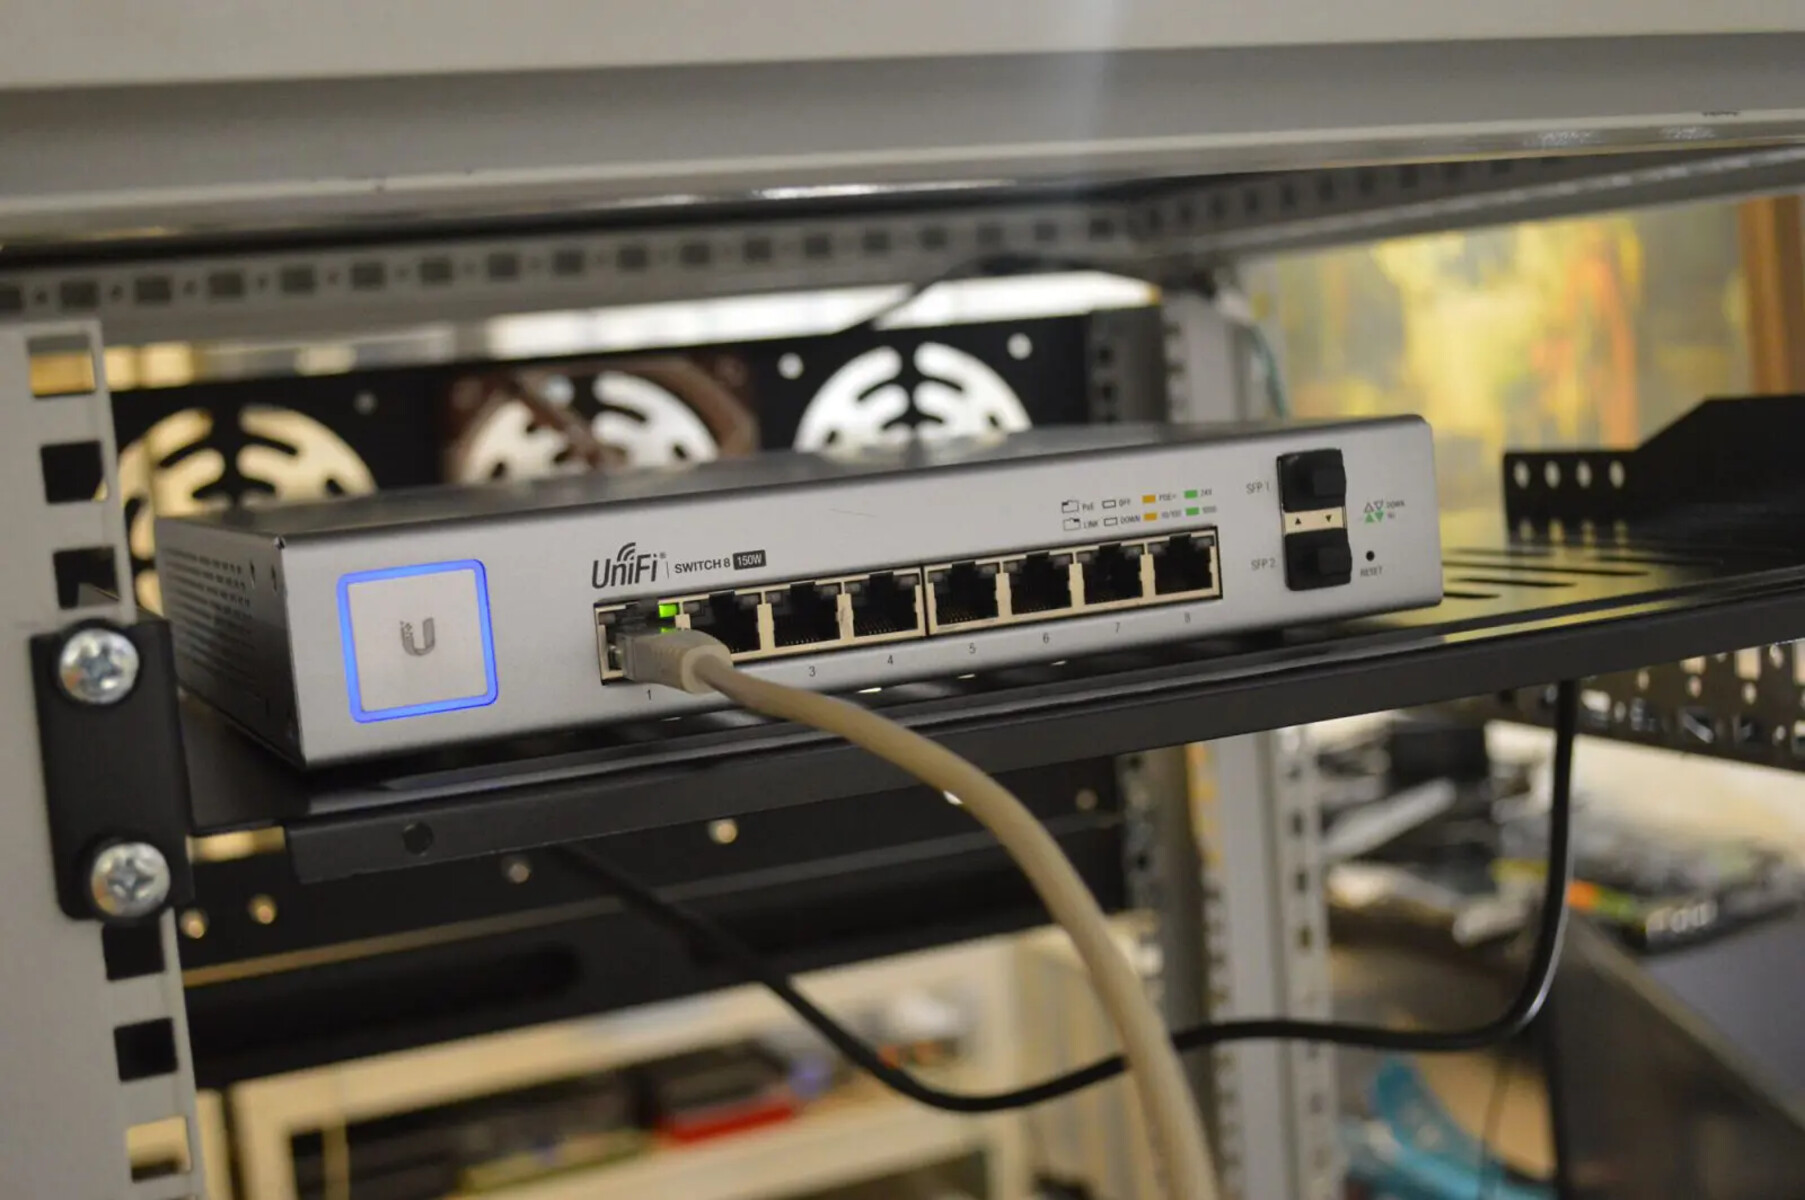
- Network Switch: The central component of your setup, the network switch connects multiple devices and facilitates data transfer.
- Ethernet Cables: Ensure you have enough Ethernet cables to connect your devices to the switch. These cables are essential for establishing the physical connections within your network.
- Power Cord: The network switch will require a power source, so make sure you have the appropriate power cord and access to a power outlet.
- Devices to Connect: Identify the devices you want to connect to the switch, such as computers, printers, gaming consoles, smart TVs, or other network-enabled devices.
- Network Router: If you’re expanding an existing network, ensure you have a network router in place to provide internet connectivity and manage network traffic.
- Documentation: Keep any relevant manuals, guides, or documentation for the network switch and other devices handy for reference during the setup process.
Once you’ve gathered all the necessary equipment, you’ll be well-prepared to proceed with the physical installation of the network switch. Having everything on hand will minimize interruptions during the setup and allow you to focus on establishing a robust network infrastructure.
Step 2: Connect the Power Supply
With the required equipment in hand, it’s time to move on to the next step: connecting the power supply to your network switch. Properly powering the switch is crucial for its functionality and the successful operation of your network. Follow these steps to ensure a secure and reliable power connection:
- Locate a Power Outlet: Identify a suitable power outlet near the intended installation location of the network switch. Ensure that the outlet is easily accessible and can support the power requirements of the switch.
- Attach the Power Cord: Connect one end of the power cord to the power input port on the network switch. The power input port is typically located on the rear panel of the switch.
- Plug into the Power Outlet: Insert the other end of the power cord into the selected power outlet. Ensure that the connection is secure and that the power cord is not stretched or strained, which could lead to disconnection or damage.
- Power On the Switch: Once the power cord is securely connected, switch on the network switch using the power button or switch, if available. The switch will begin its initialization process and indicate that power is successfully supplied.
By carefully following these steps, you’ll establish a reliable power supply for your network switch, ensuring that it operates efficiently and remains accessible for future maintenance or adjustments. A stable power connection is essential for the uninterrupted performance of your network switch and the devices connected to it.
Step 3: Connect Devices to the Switch
With the network switch powered up, it’s time to establish connections between the switch and the devices you want to integrate into your network. Follow these steps to ensure a seamless and efficient device-to-switch connection:
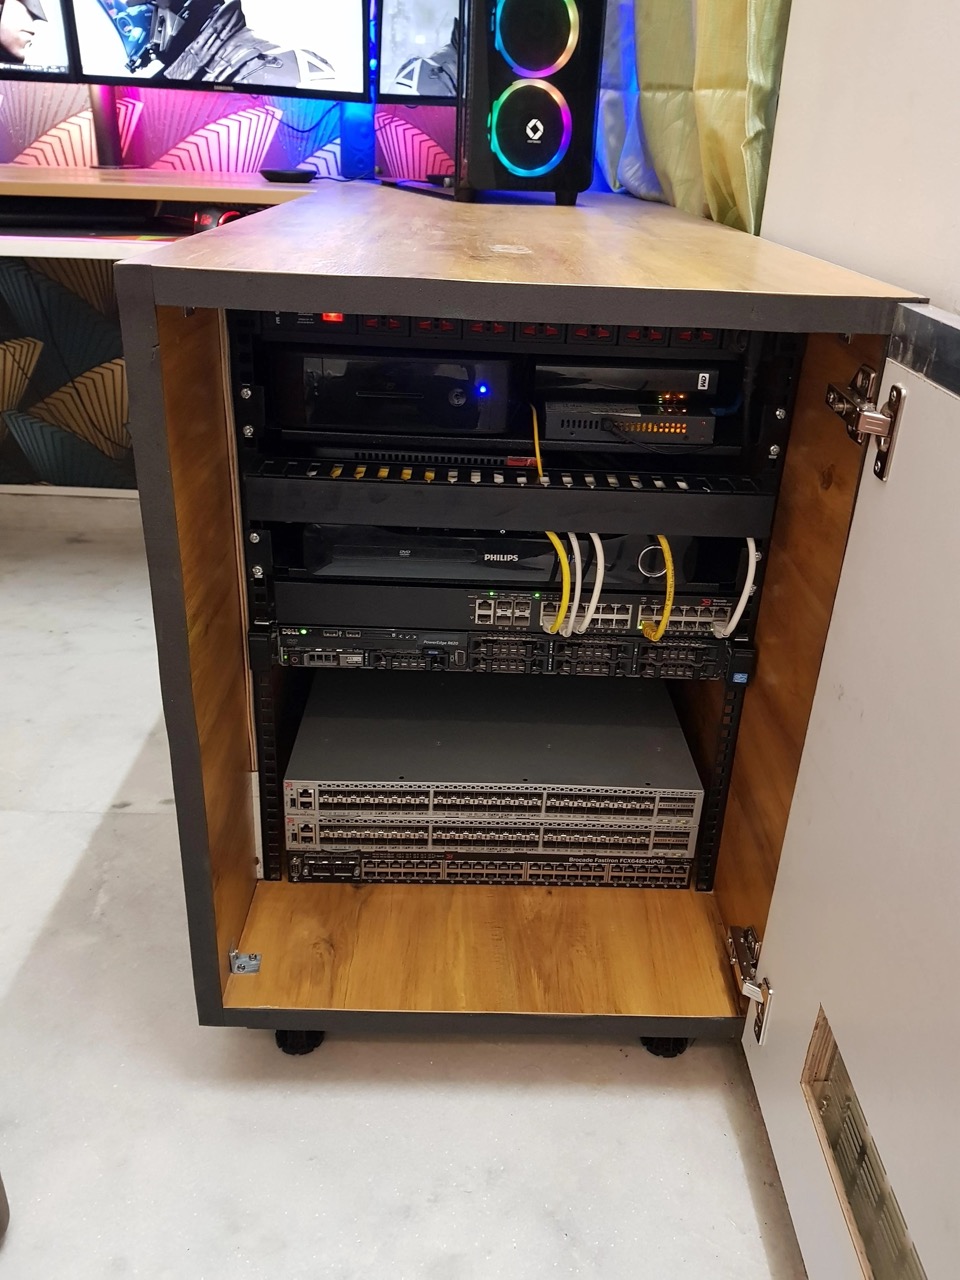
- Position the Switch: Choose a suitable location for the network switch, ensuring that it’s easily accessible and well-ventilated to prevent overheating.
- Prepare Ethernet Cables: Gather the required Ethernet cables based on the number of devices you plan to connect to the switch. Ensure the cables are of sufficient length to reach the devices without tension or strain.
- Connect Devices to the Switch: Using the Ethernet cables, establish physical connections between the network switch and the devices you want to integrate into the network. Plug one end of each cable into an available port on the switch and the other end into the Ethernet port of the respective device.
- Verify Connections: Once the connections are made, visually inspect each Ethernet connection to ensure they are secure and properly seated. A firm connection is essential for stable data transfer and network performance.
- Organize Cables: Manage the Ethernet cables to minimize clutter and prevent tripping hazards. Utilize cable management solutions such as clips, ties, or cable channels to keep the connections organized and easily identifiable.
By following these steps, you’ll effectively integrate your devices into the network switch, creating a robust and interconnected network environment. Properly established connections are vital for seamless data transfer and communication between devices, ensuring that your network operates efficiently and reliably.
Step 4: Configure the Switch (Optional)
Configuring the network switch allows you to customize its settings to suit your specific networking requirements. While many switches are plug-and-play, meaning they operate effectively without additional configuration, some advanced features and optimizations may necessitate manual configuration. If you choose to customize the switch settings, follow these optional steps to configure it:
- Access the Configuration Interface: Using a web browser, connect to the switch’s management interface by entering its IP address into the address bar. Consult the switch’s manual or documentation to obtain the default IP address and login credentials.
- Log In to the Interface: Enter the provided username and password to access the switch’s configuration interface. Once logged in, you’ll gain access to various settings and options for customization.
- Customize Network Settings: Within the configuration interface, you can adjust network settings such as VLAN configurations, port settings, Quality of Service (QoS) parameters, and security features to align with your network’s requirements.
- Save Configuration Changes: After making the necessary adjustments, remember to save the configuration changes within the interface. This ensures that your custom settings are applied and retained by the switch.
- Test Network Functionality: Once the switch is configured, perform thorough testing to ensure that the network operates as expected. Verify connectivity, data transfer speeds, and the functionality of any customized features.
While configuring the switch is optional, customizing its settings can optimize network performance, enhance security, and accommodate specific networking needs. However, if you’re uncertain about making configuration changes, it’s advisable to seek guidance from a knowledgeable network administrator or IT professional to avoid potential disruptions to your network.
Step 5: Test the Connection
After completing the physical setup and, if applicable, the optional configuration of your network switch, it’s essential to verify the functionality and connectivity of the network. Testing the connection ensures that all devices are properly linked to the switch and that data transfer occurs seamlessly. Follow these steps to thoroughly test the network connection:
- Power Cycle Devices: Restart the devices connected to the network switch, including computers, printers, and other network-enabled equipment. This helps ensure that they establish a fresh connection to the switch and receive network configurations as needed.
- Verify Device Connectivity: Check each connected device to confirm that it can access the network and communicate with other devices. Test functionalities such as file sharing, printing, internet browsing, and any specific applications reliant on network connectivity.
- Assess Data Transfer Speeds: Use network performance testing tools or applications to measure data transfer speeds between devices connected to the switch. This evaluation helps identify potential bottlenecks or issues affecting network performance.
- Test VLAN and QoS Functionality (if configured): If you’ve configured VLANs or Quality of Service (QoS) settings on the switch, verify that these features operate as intended. Test traffic segregation and priority handling to ensure that your network traffic is managed effectively.
- Perform Stress Testing: Subject the network to stress tests by transferring large files between devices or simulating heavy data traffic. This stress testing helps reveal any potential limitations or performance issues under demanding network conditions.
Thoroughly testing the network connection validates the successful setup of the network switch and ensures that all connected devices operate seamlessly within the network environment. Addressing any connectivity or performance issues at this stage can prevent disruptions and optimize the functionality of your network for daily use.
Conclusion
Congratulations! By following the steps outlined in this guide, you’ve successfully learned how to hook up a network switch and expand your network infrastructure. From gathering the necessary equipment to testing the network connection, each step plays a crucial role in establishing a reliable and efficient network environment.
Setting up a network switch empowers you to connect multiple devices, manage data traffic, and optimize network performance within your home or office. Whether you’re enhancing your gaming setup, creating a home office network, or expanding a small business network, the knowledge and skills gained from this guide enable you to take control of your network’s connectivity.
Remember, the process of setting up a network switch doesn’t end once the physical connections are made. Regular maintenance, monitoring, and occasional adjustments to network settings may be necessary to ensure that your network operates at its best. Stay informed about networking technologies and best practices to keep your network up to date and secure.
As you continue to explore the world of networking, consider delving into advanced topics such as network security, virtual LANs, and Quality of Service (QoS) to further optimize your network’s capabilities. Embracing these concepts can lead to a more robust and resilient network infrastructure.
With your newly acquired knowledge, you’re well-equipped to adapt and expand your network as technology evolves, ensuring that your network remains a reliable and efficient platform for communication, collaboration, and entertainment.
Now that you’ve completed the setup of your network switch, it’s time to enjoy the benefits of a well-connected and seamlessly operating network. Whether you’re streaming content, sharing files, or collaborating with colleagues, your network switch serves as the cornerstone of your connected world.