Introduction
Connecting a hard drive to your network switch can provide convenient access to files and data for multiple devices on your network. By integrating the hard drive into your network infrastructure, you can create a centralized storage solution that is accessible from various computers, smart TVs, and other network-connected devices. This setup offers flexibility, allowing you to store and retrieve files from a single location, stream media, and even create automated backups.
Whether you want to share files across your household or establish a network-attached storage (NAS) system for your home or small business, connecting a hard drive to your network switch is a relatively straightforward process. This guide will walk you through the necessary steps to successfully integrate your hard drive into your network, ensuring that it is accessible to all authorized users.
Understanding the equipment required and the configuration process is essential for a seamless setup. With the right approach and attention to detail, you can transform your network switch into a hub for shared storage, enhancing the efficiency and accessibility of your digital resources. Let's delve into the essential steps to connect your hard drive to your network switch and unlock the full potential of your network infrastructure.
Step 1: Gather the Necessary Equipment
Before embarking on the process of connecting your hard drive to the network switch, it is crucial to gather the essential equipment to ensure a smooth setup. Here’s what you’ll need:
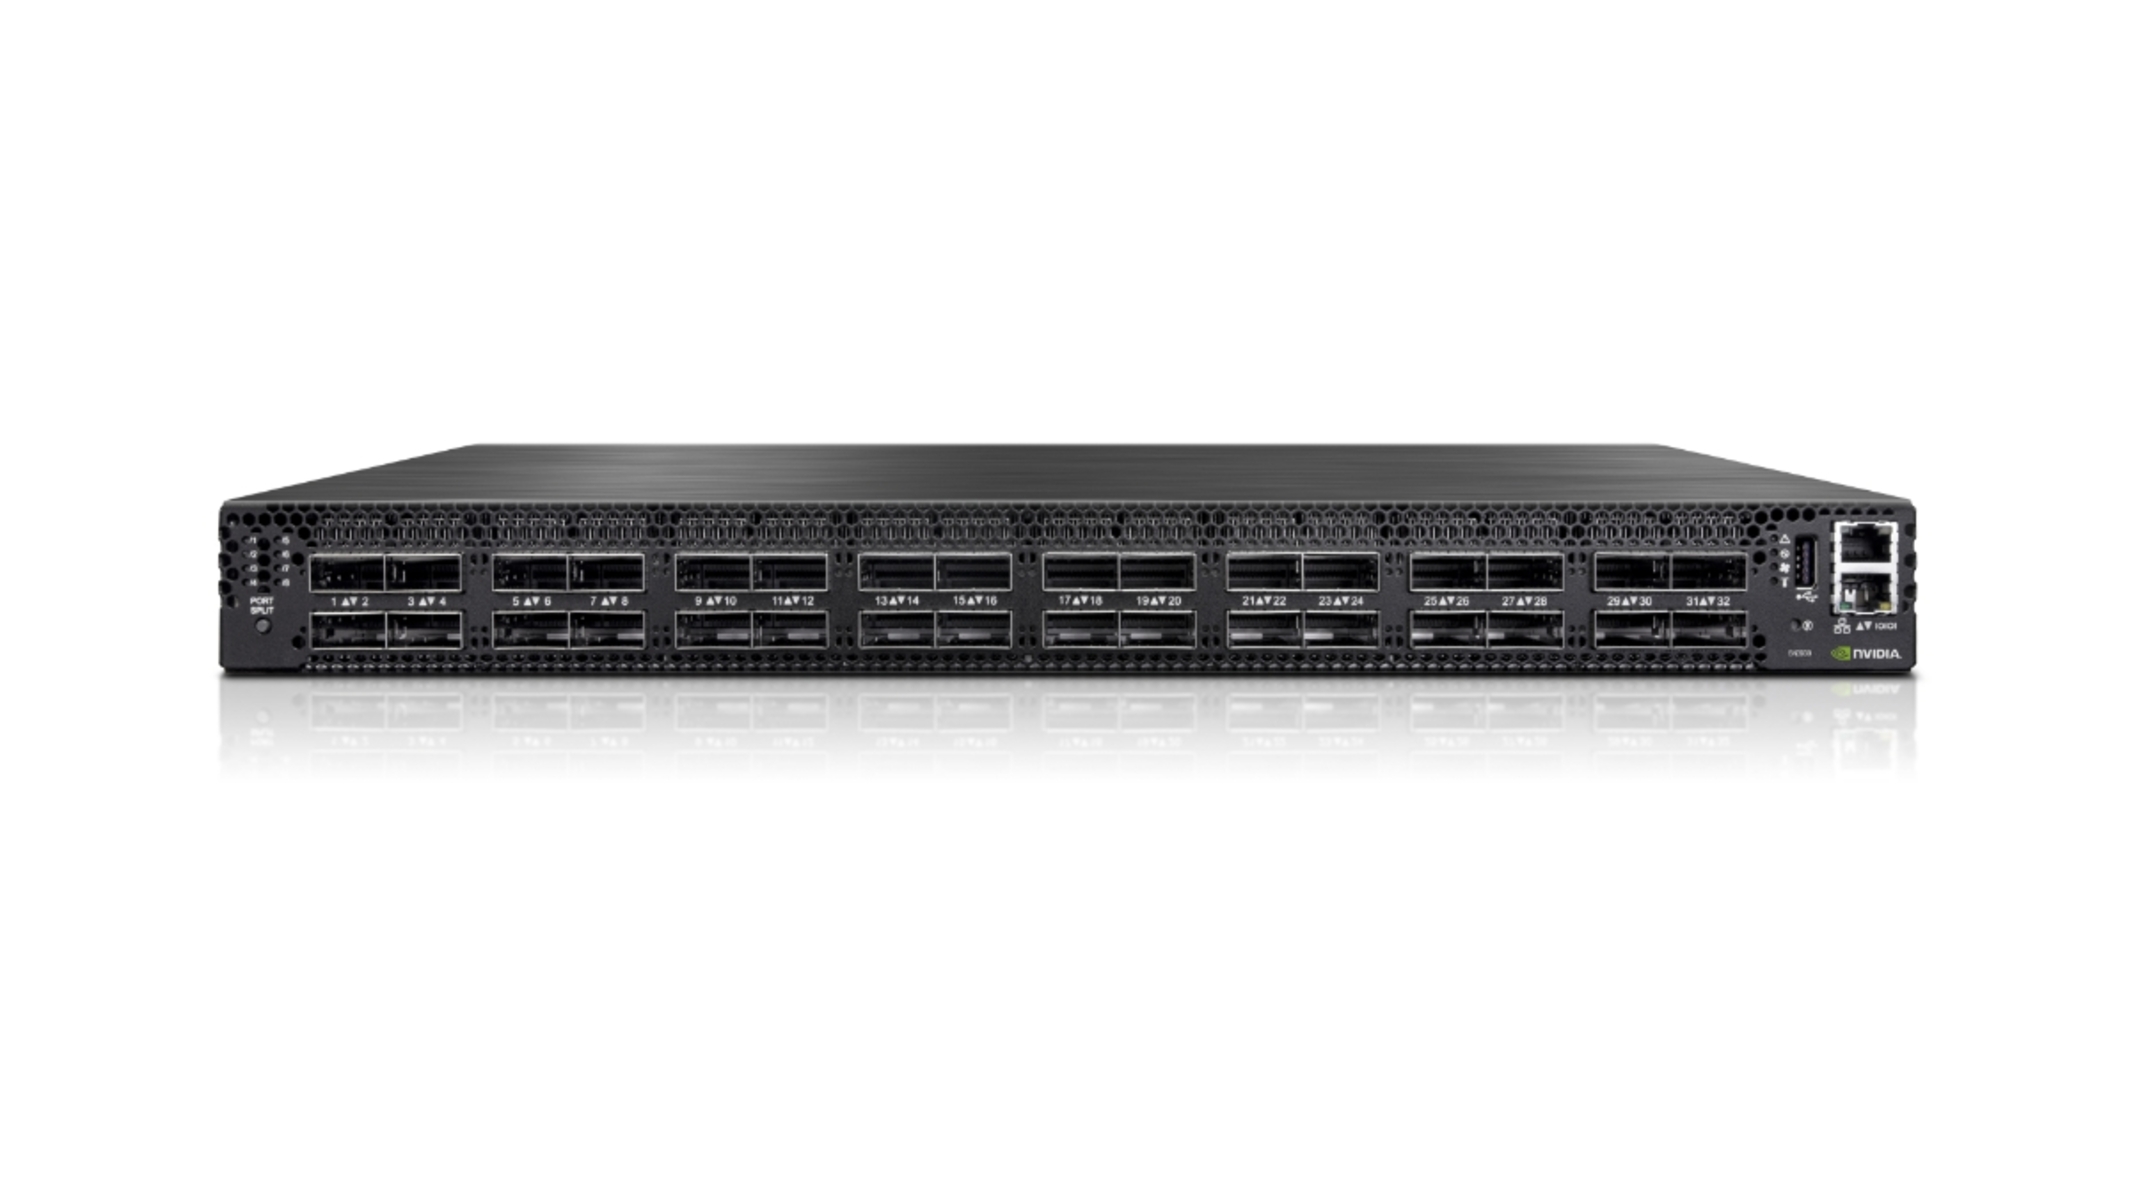
- Network Switch: Ensure that you have a functioning network switch with available Ethernet ports. The switch serves as the central point for connecting multiple devices within your network.
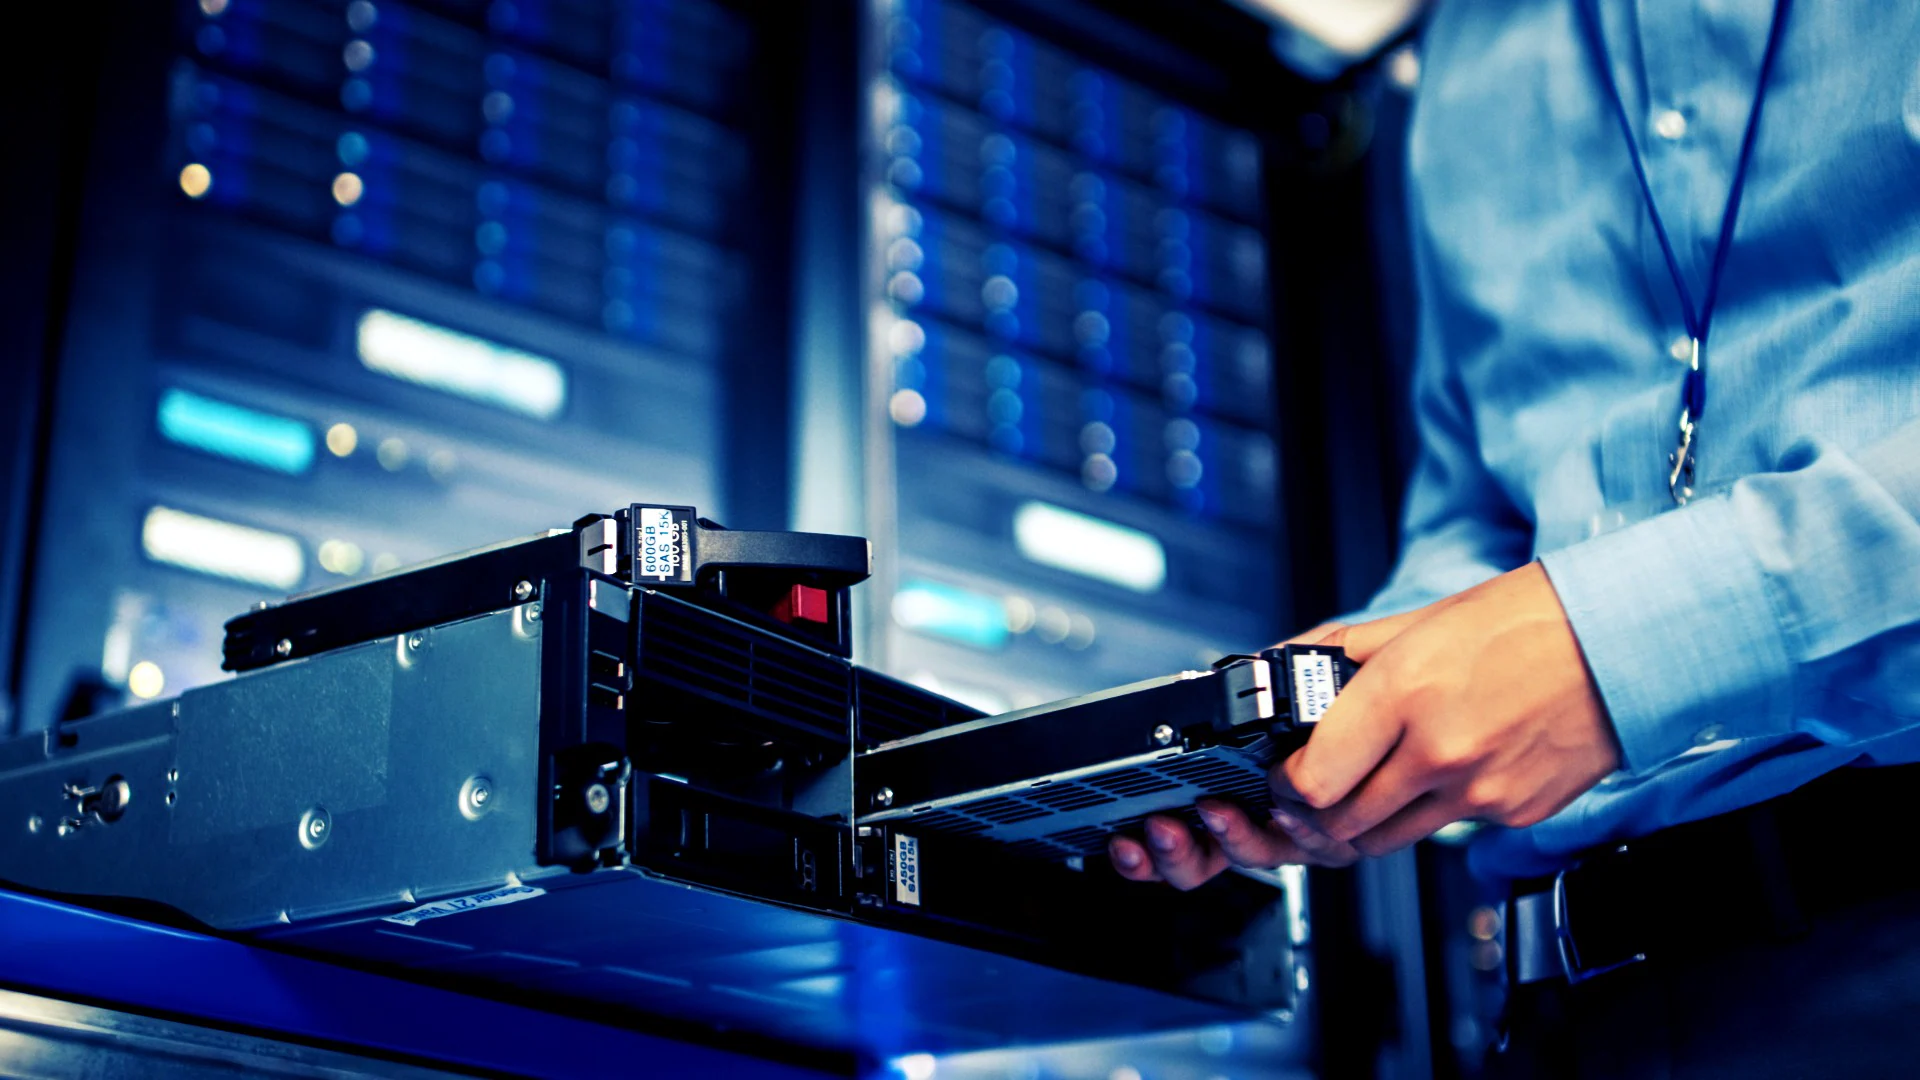
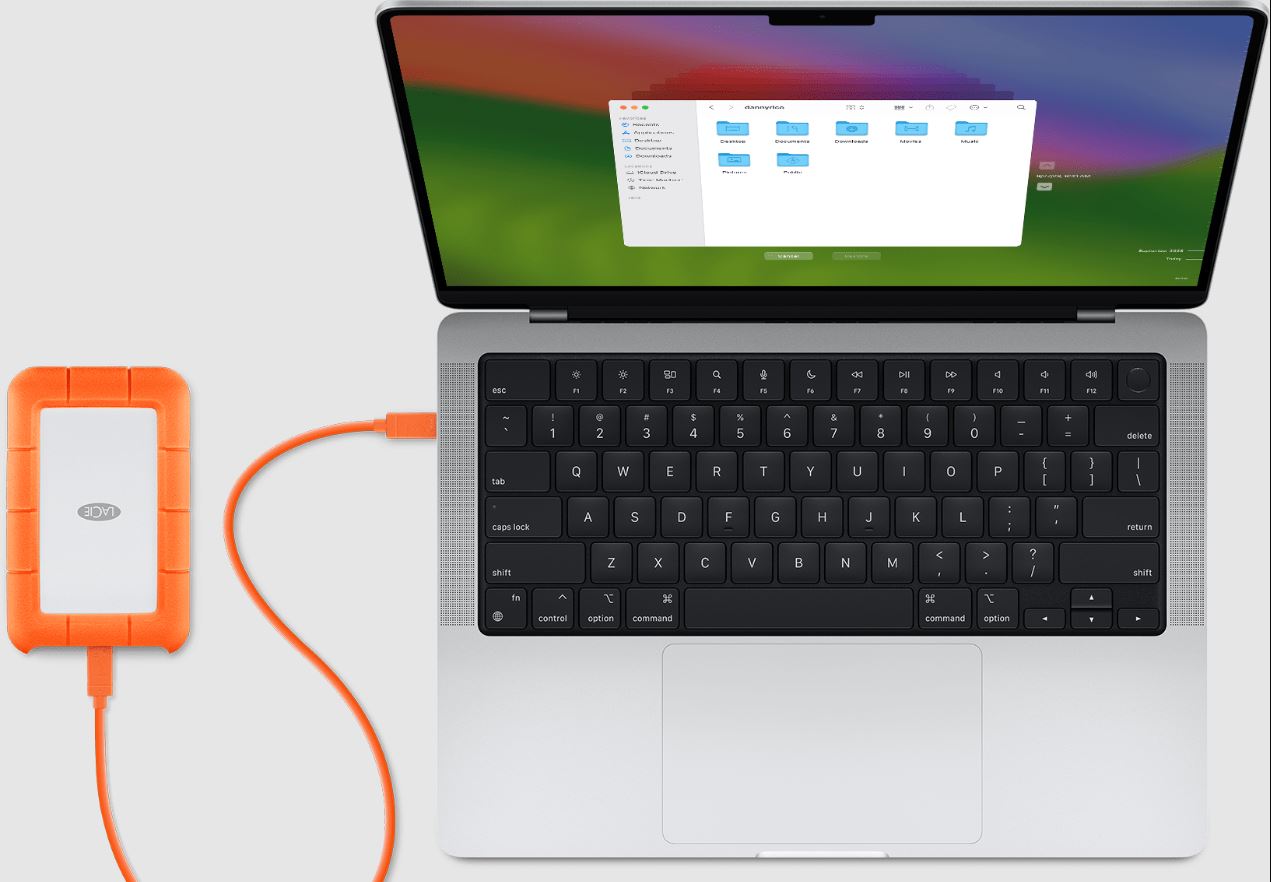
- Hard Drive: Select a compatible hard drive with sufficient storage capacity to cater to your data storage needs. Whether it’s a traditional spinning disk drive or a modern solid-state drive, ensure that it is in good working condition.
- Ethernet Cables: Prepare Ethernet cables of suitable length to establish connections between the network switch, hard drive, and other networked devices. These cables facilitate the transmission of data between the connected components.
- Power Source: If your hard drive requires a separate power source, ensure that it is readily available and within reach of the intended installation location. Some hard drives may draw power directly from the network switch, so consider the power requirements accordingly.
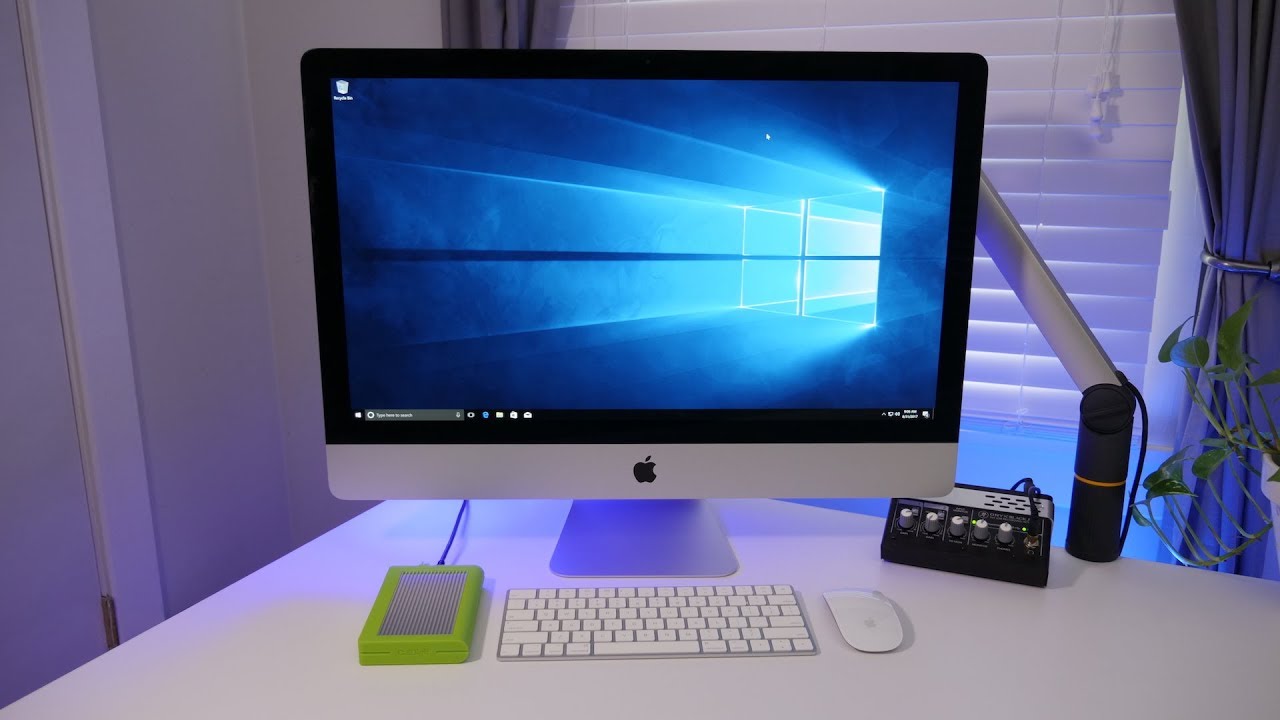
- Network-Enabled Device: To access the hard drive once it’s connected to the network, you’ll need a network-enabled device such as a computer, laptop, or smart TV. Ensure that the device is in working order and connected to the network.
By gathering these essential components, you’ll be well-prepared to proceed with the subsequent steps of connecting your hard drive to the network switch. Having a clear understanding of the equipment involved sets the stage for a successful integration of the hard drive into your network infrastructure.
Step 2: Connect the Hard Drive to the Network Switch
Once you have assembled the necessary equipment, the next step is to physically connect the hard drive to the network switch. Follow these steps to establish the connection:
- Positioning the Hard Drive: Choose an appropriate location for the hard drive within close proximity to the network switch. Ensure that there is ample ventilation and access to power outlets, if required.
- Power Connection: If your hard drive requires a separate power source, connect it to a power outlet using the provided power adapter. Ensure that the power supply is stable and reliable to prevent any potential data loss or hardware damage.
- Network Connection: Using an Ethernet cable, connect one end to an available port on the network switch. Then, connect the other end to the Ethernet port on the hard drive. This establishes the physical link between the hard drive and the network switch, allowing data to be transmitted between the two devices.
- Verification: Once the connections are in place, verify that the hard drive is receiving power and that the network switch recognizes the newly connected device. Check the indicator lights on the network switch and the hard drive to ensure that they indicate a successful connection.
By following these steps, you can effectively integrate the hard drive into your network infrastructure, laying the foundation for seamless data access and sharing. The physical connection between the hard drive and the network switch is a critical component of the setup process, and ensuring its proper establishment is essential for the subsequent configuration and access steps.
Step 3: Configure the Network Settings
Once the hard drive is physically connected to the network switch, the next crucial step involves configuring the network settings to ensure seamless accessibility and data transfer. Follow these steps to set up the network settings for the connected hard drive:
- Access the Network Switch Interface: Using a web browser on a connected device, access the interface of your network switch. This typically involves entering the switch’s IP address into the browser’s address bar and logging in with the appropriate credentials.
- Assign an IP Address: Within the network switch interface, navigate to the settings related to connected devices or LAN configuration. Assign a static IP address to the hard drive to ensure that it maintains a consistent network presence. Note down the IP address for future reference.
- Configure Shared Folders: If the network switch supports file sharing and network-attached storage (NAS) features, configure shared folders on the hard drive. This allows you to designate specific directories for shared access across the network, enabling seamless file sharing and collaboration.
- Enable Network Protocols: Depending on your specific network requirements, enable network protocols such as SMB (Server Message Block) or NFS (Network File System) to facilitate cross-platform accessibility. These protocols ensure that the connected hard drive can be accessed by devices running different operating systems.
- Apply Security Measures: Implement security measures such as user authentication, access controls, and data encryption to safeguard the shared data on the hard drive. This helps prevent unauthorized access and ensures the confidentiality of sensitive information.
By configuring the network settings in this manner, you can optimize the accessibility and security of the hard drive within your network environment. These settings lay the groundwork for seamless data sharing and collaboration, empowering users to leverage the connected hard drive for various storage and sharing needs.
Step 4: Access the Hard Drive on Your Network
With the hard drive successfully connected to the network switch and the network settings configured, the final step involves accessing the hard drive from your network-connected devices. Follow these steps to ensure seamless access to the connected hard drive:
- Network Discovery: On your computer or network-enabled device, initiate a network discovery process to locate the connected hard drive. This may involve accessing the network or file explorer and searching for available network devices or shared folders.
- Mapping Network Drive: If you intend to access the hard drive frequently, consider mapping it as a network drive on your computer. This allows you to assign a drive letter to the shared hard drive, making it easily accessible from your file explorer or desktop.
- Accessing Shared Folders: Navigate to the shared folders on the hard drive and verify that you can access, modify, and save files seamlessly. This step ensures that the configured network settings are functioning as intended, allowing for efficient data management and collaboration.
- Testing Multimedia Streaming: If the hard drive contains multimedia content such as videos, music, or photos, test the streaming capabilities by accessing the media files from network-connected devices. This confirms that the hard drive can serve as a centralized media repository for seamless entertainment across your network.
- Backup Configuration: If the hard drive is intended for backup purposes, configure automated backup routines using built-in backup features or third-party backup software. This ensures that critical data from network devices can be regularly backed up to the connected hard drive, enhancing data protection.
By following these steps, you can effectively access and leverage the connected hard drive within your network environment. Seamless access to the hard drive’s shared folders, multimedia content, and backup capabilities enhances the overall efficiency and functionality of your network infrastructure.
Conclusion
Connecting a hard drive to your network switch opens up a world of possibilities for streamlined data management, sharing, and accessibility across your network. By following the essential steps outlined in this guide, you can effectively integrate a hard drive into your network infrastructure and harness its potential for centralized storage and collaborative file sharing.
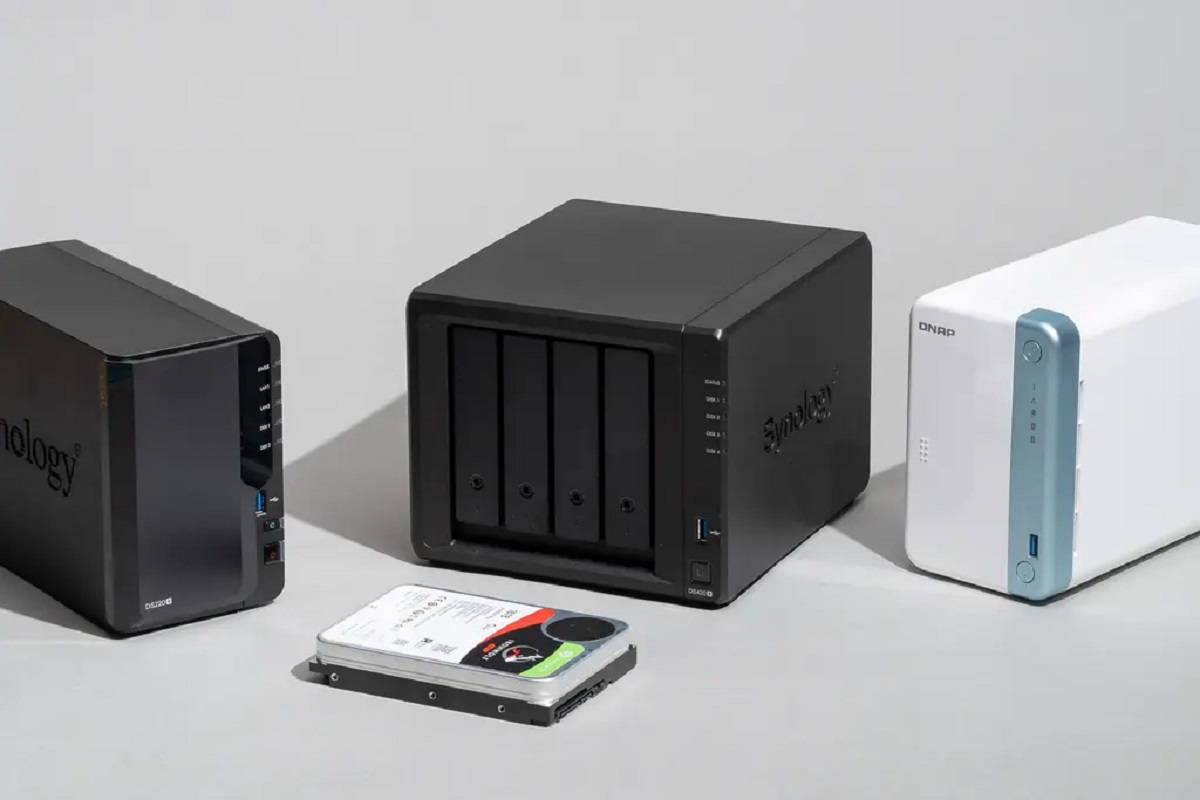
From gathering the necessary equipment to configuring network settings and accessing the hard drive from network-connected devices, each step plays a crucial role in ensuring a seamless and efficient setup. By positioning the hard drive as a network-attached storage (NAS) solution, you can create a centralized repository for files, multimedia content, and automated backups, enhancing the overall functionality of your network environment.
Furthermore, the ability to access the hard drive from multiple devices, map it as a network drive, and stream multimedia content underscores the versatility and convenience that a network-connected hard drive can offer. Whether it’s for personal use within a home network or to facilitate collaborative work within a small business environment, the integration of a hard drive with your network switch can significantly enhance data accessibility and management.
By understanding the equipment requirements, establishing physical connections, configuring network settings, and seamlessly accessing the hard drive from network-connected devices, you can unlock the full potential of your network infrastructure. This integration not only simplifies data access but also promotes efficient collaboration and data protection across your network.
Embracing the capabilities of a network-connected hard drive contributes to a more cohesive and productive network environment, empowering users to leverage shared resources and streamline data management. As you embark on this journey of integrating a hard drive with your network switch, the possibilities for enhanced data accessibility and collaboration are boundless.