Introduction
Are you looking to connect your MacBook to a network switch but feeling a bit overwhelmed by the process? Fret not, as this guide is here to demystify the steps for you. Whether you're a tech novice or a seasoned user, understanding the intricacies of network switches and how to seamlessly integrate your MacBook into the network is essential in today's digital age.
A network switch is a fundamental component of any modern network infrastructure. It serves as a central hub, allowing multiple devices to communicate with each other within a local area network (LAN). By connecting your MacBook to a network switch, you can harness the power of a wired network connection, which often provides faster and more stable data transfer speeds compared to wireless connections.
In this comprehensive guide, we'll delve into the nuances of network switches, explore the step-by-step process of connecting your MacBook to a switch, and provide valuable insights into configuring network settings to ensure a smooth and secure connection. Additionally, we'll address common troubleshooting issues that may arise during the setup process, empowering you to overcome any potential hurdles with confidence.
By the end of this guide, you'll have a clear understanding of how to seamlessly integrate your MacBook into a network switch, enabling you to leverage the benefits of a reliable wired connection for enhanced productivity and seamless data transfer. Let's embark on this illuminating journey to unlock the full potential of your MacBook within a network environment.
Understanding Network Switches
Before delving into the process of connecting your MacBook to a network switch, it’s essential to grasp the fundamental role of network switches within a local area network (LAN). A network switch functions as a central communication device that enables the seamless exchange of data between multiple devices within the network.
Unlike traditional hubs, which transmit data to all connected devices, a network switch intelligently directs data packets only to their intended recipients, optimizing network efficiency and reducing unnecessary network congestion. This intelligent routing capability is facilitated by the switch’s ability to learn and store the MAC addresses of connected devices, enabling it to make informed decisions about data transmission.
Network switches come in various configurations, including unmanaged, managed, and smart switches, each offering distinct features tailored to specific networking requirements. Unmanaged switches are plug-and-play devices that operate without the need for manual configuration, making them ideal for basic network setups. On the other hand, managed switches provide advanced configuration options, allowing network administrators to exert greater control over network traffic, security, and quality of service (QoS).
Smart switches, also known as managed switches with a simplified user interface, offer a middle ground between unmanaged and fully managed switches, providing essential configuration options while maintaining user-friendly operation. These switches are well-suited for small to medium-sized businesses seeking a balance between functionality and ease of use.
When selecting a network switch for your MacBook, it’s crucial to consider factors such as port speed, capacity, and the specific networking needs of your environment. Whether you opt for a Gigabit Ethernet switch for high-speed data transfer or a Power over Ethernet (PoE) switch to power compatible devices through the network cable, understanding the diverse capabilities of network switches is essential in making an informed decision that aligns with your networking requirements.
By gaining a comprehensive understanding of network switches and their pivotal role in network infrastructure, you’ll be well-equipped to proceed with confidence as we delve into the process of connecting your MacBook to a network switch.
Connecting Your MacBook to a Network Switch
Now that we’ve laid the groundwork by understanding the significance of network switches, let’s explore the step-by-step process of connecting your MacBook to a network switch. This seamless integration will empower you to harness the benefits of a wired network connection, including enhanced data transfer speeds and network stability.
Step 1: Gather the Necessary Equipment
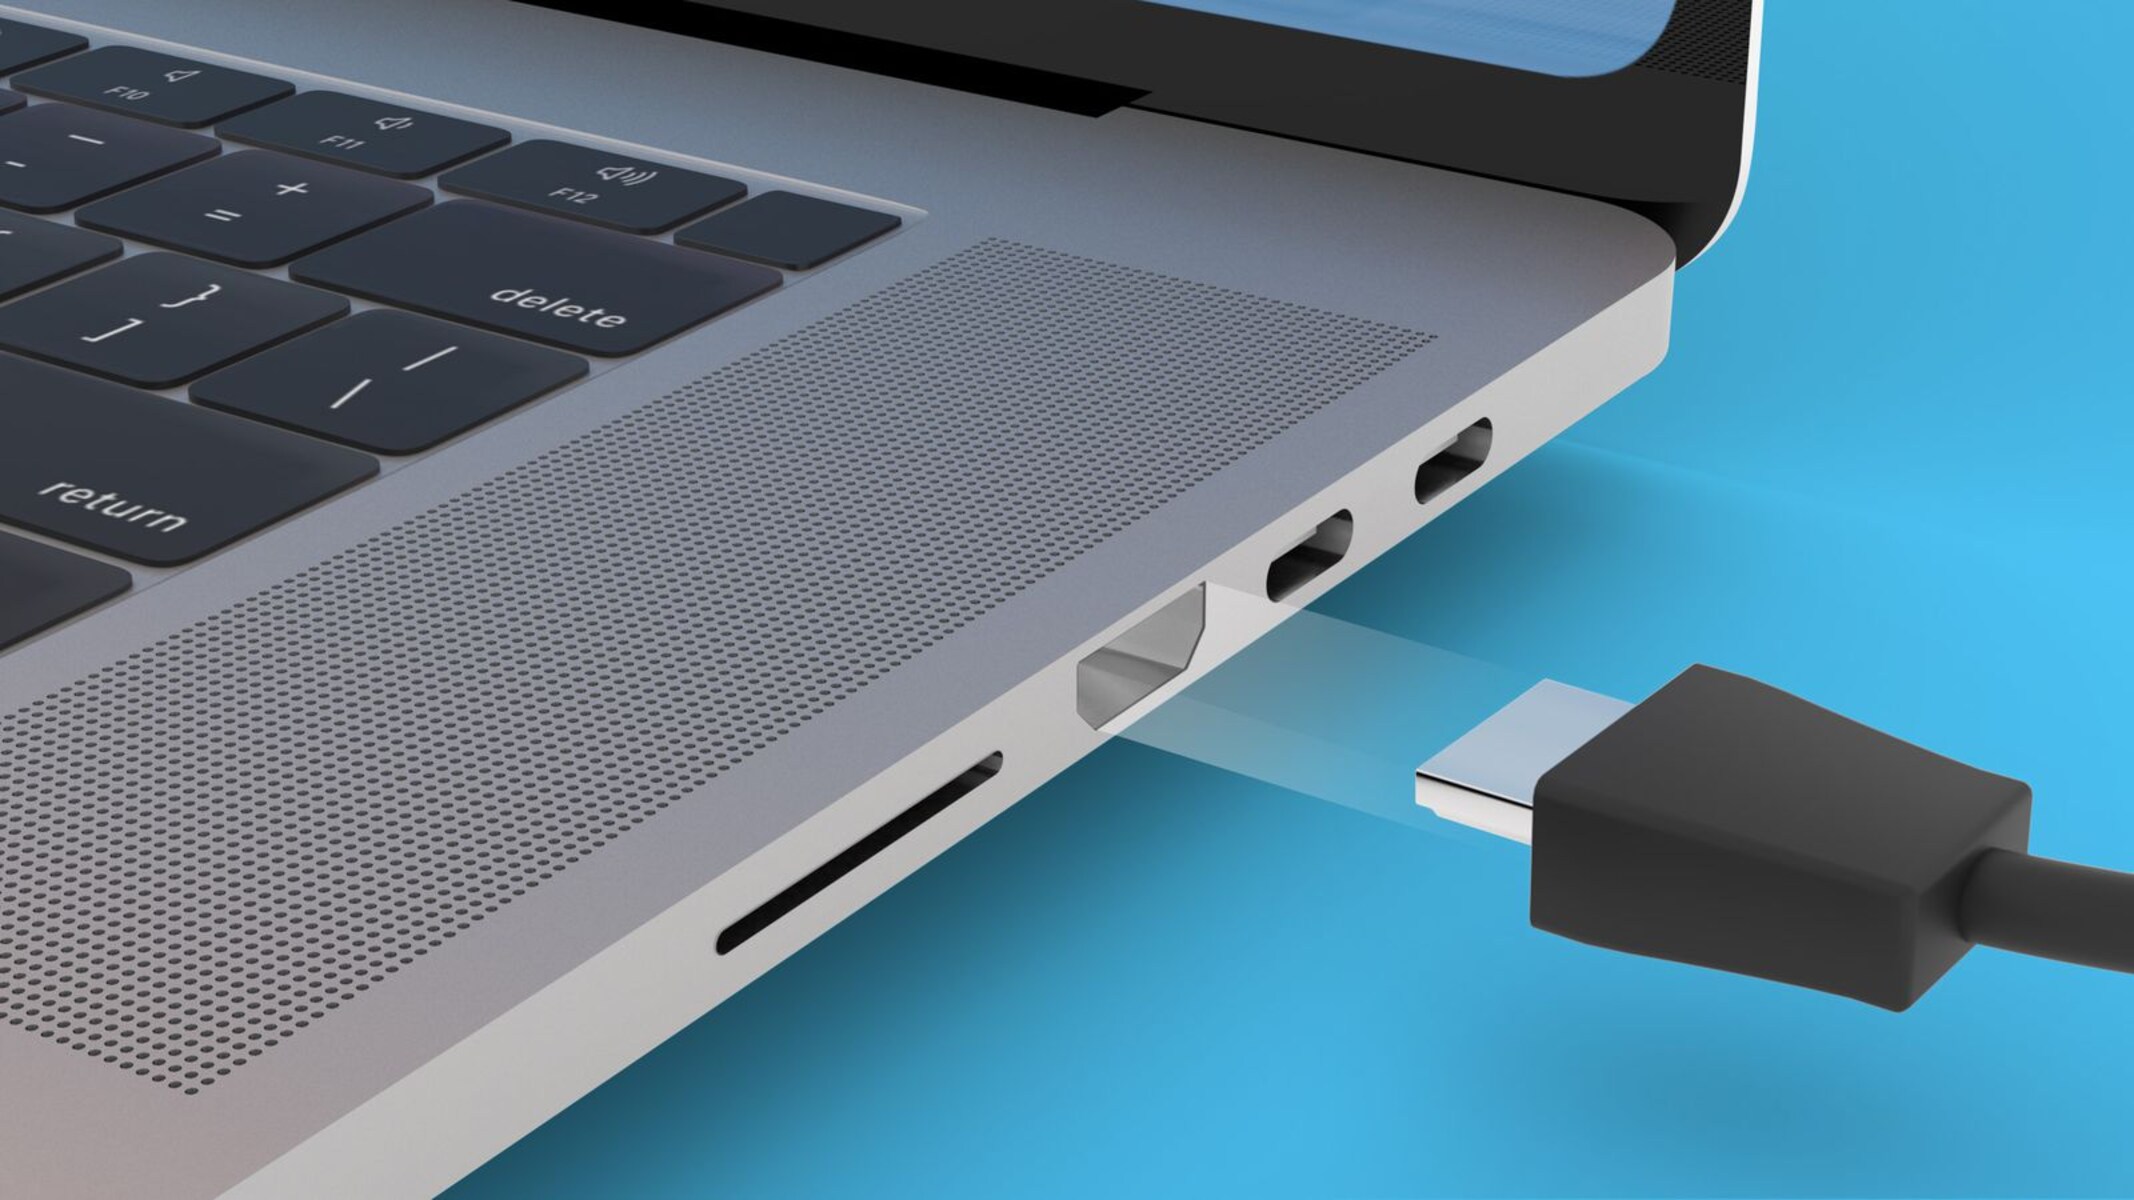
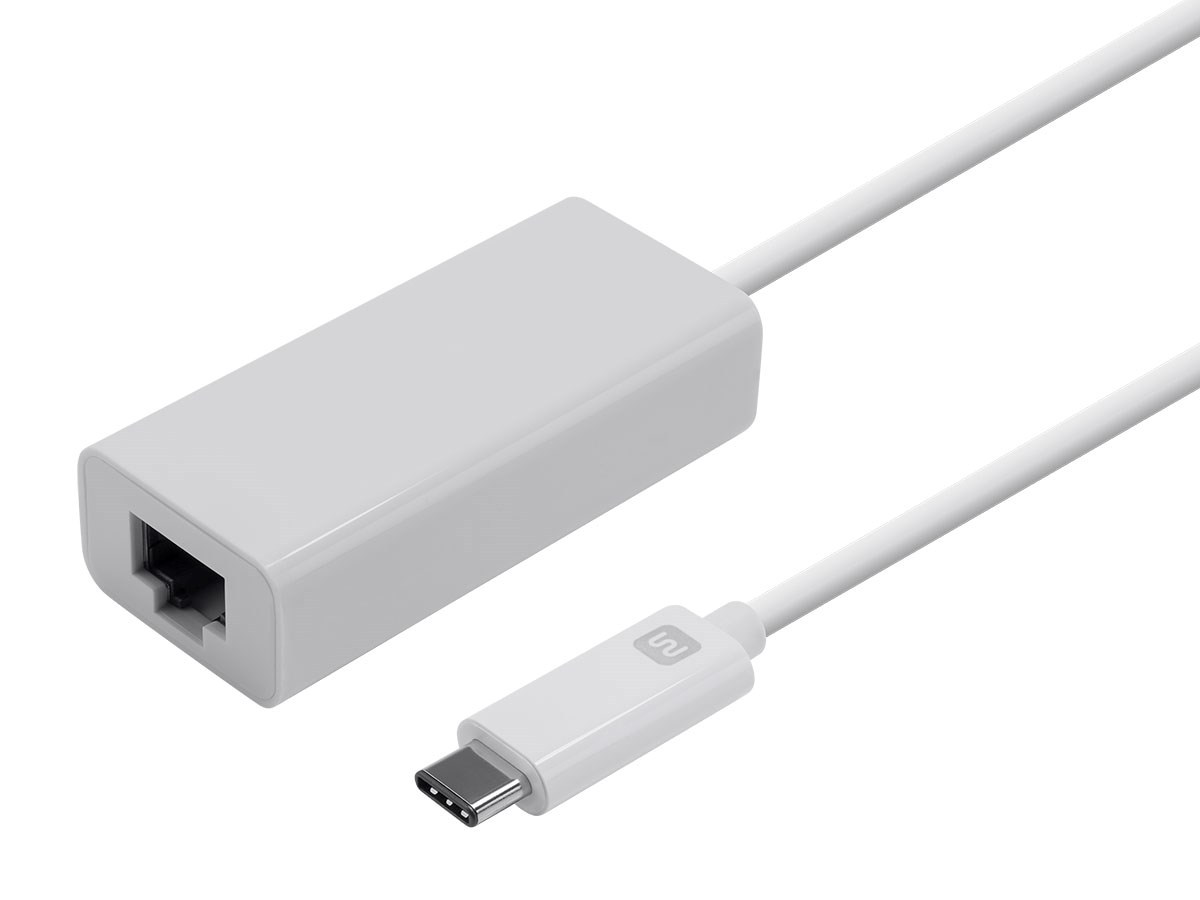
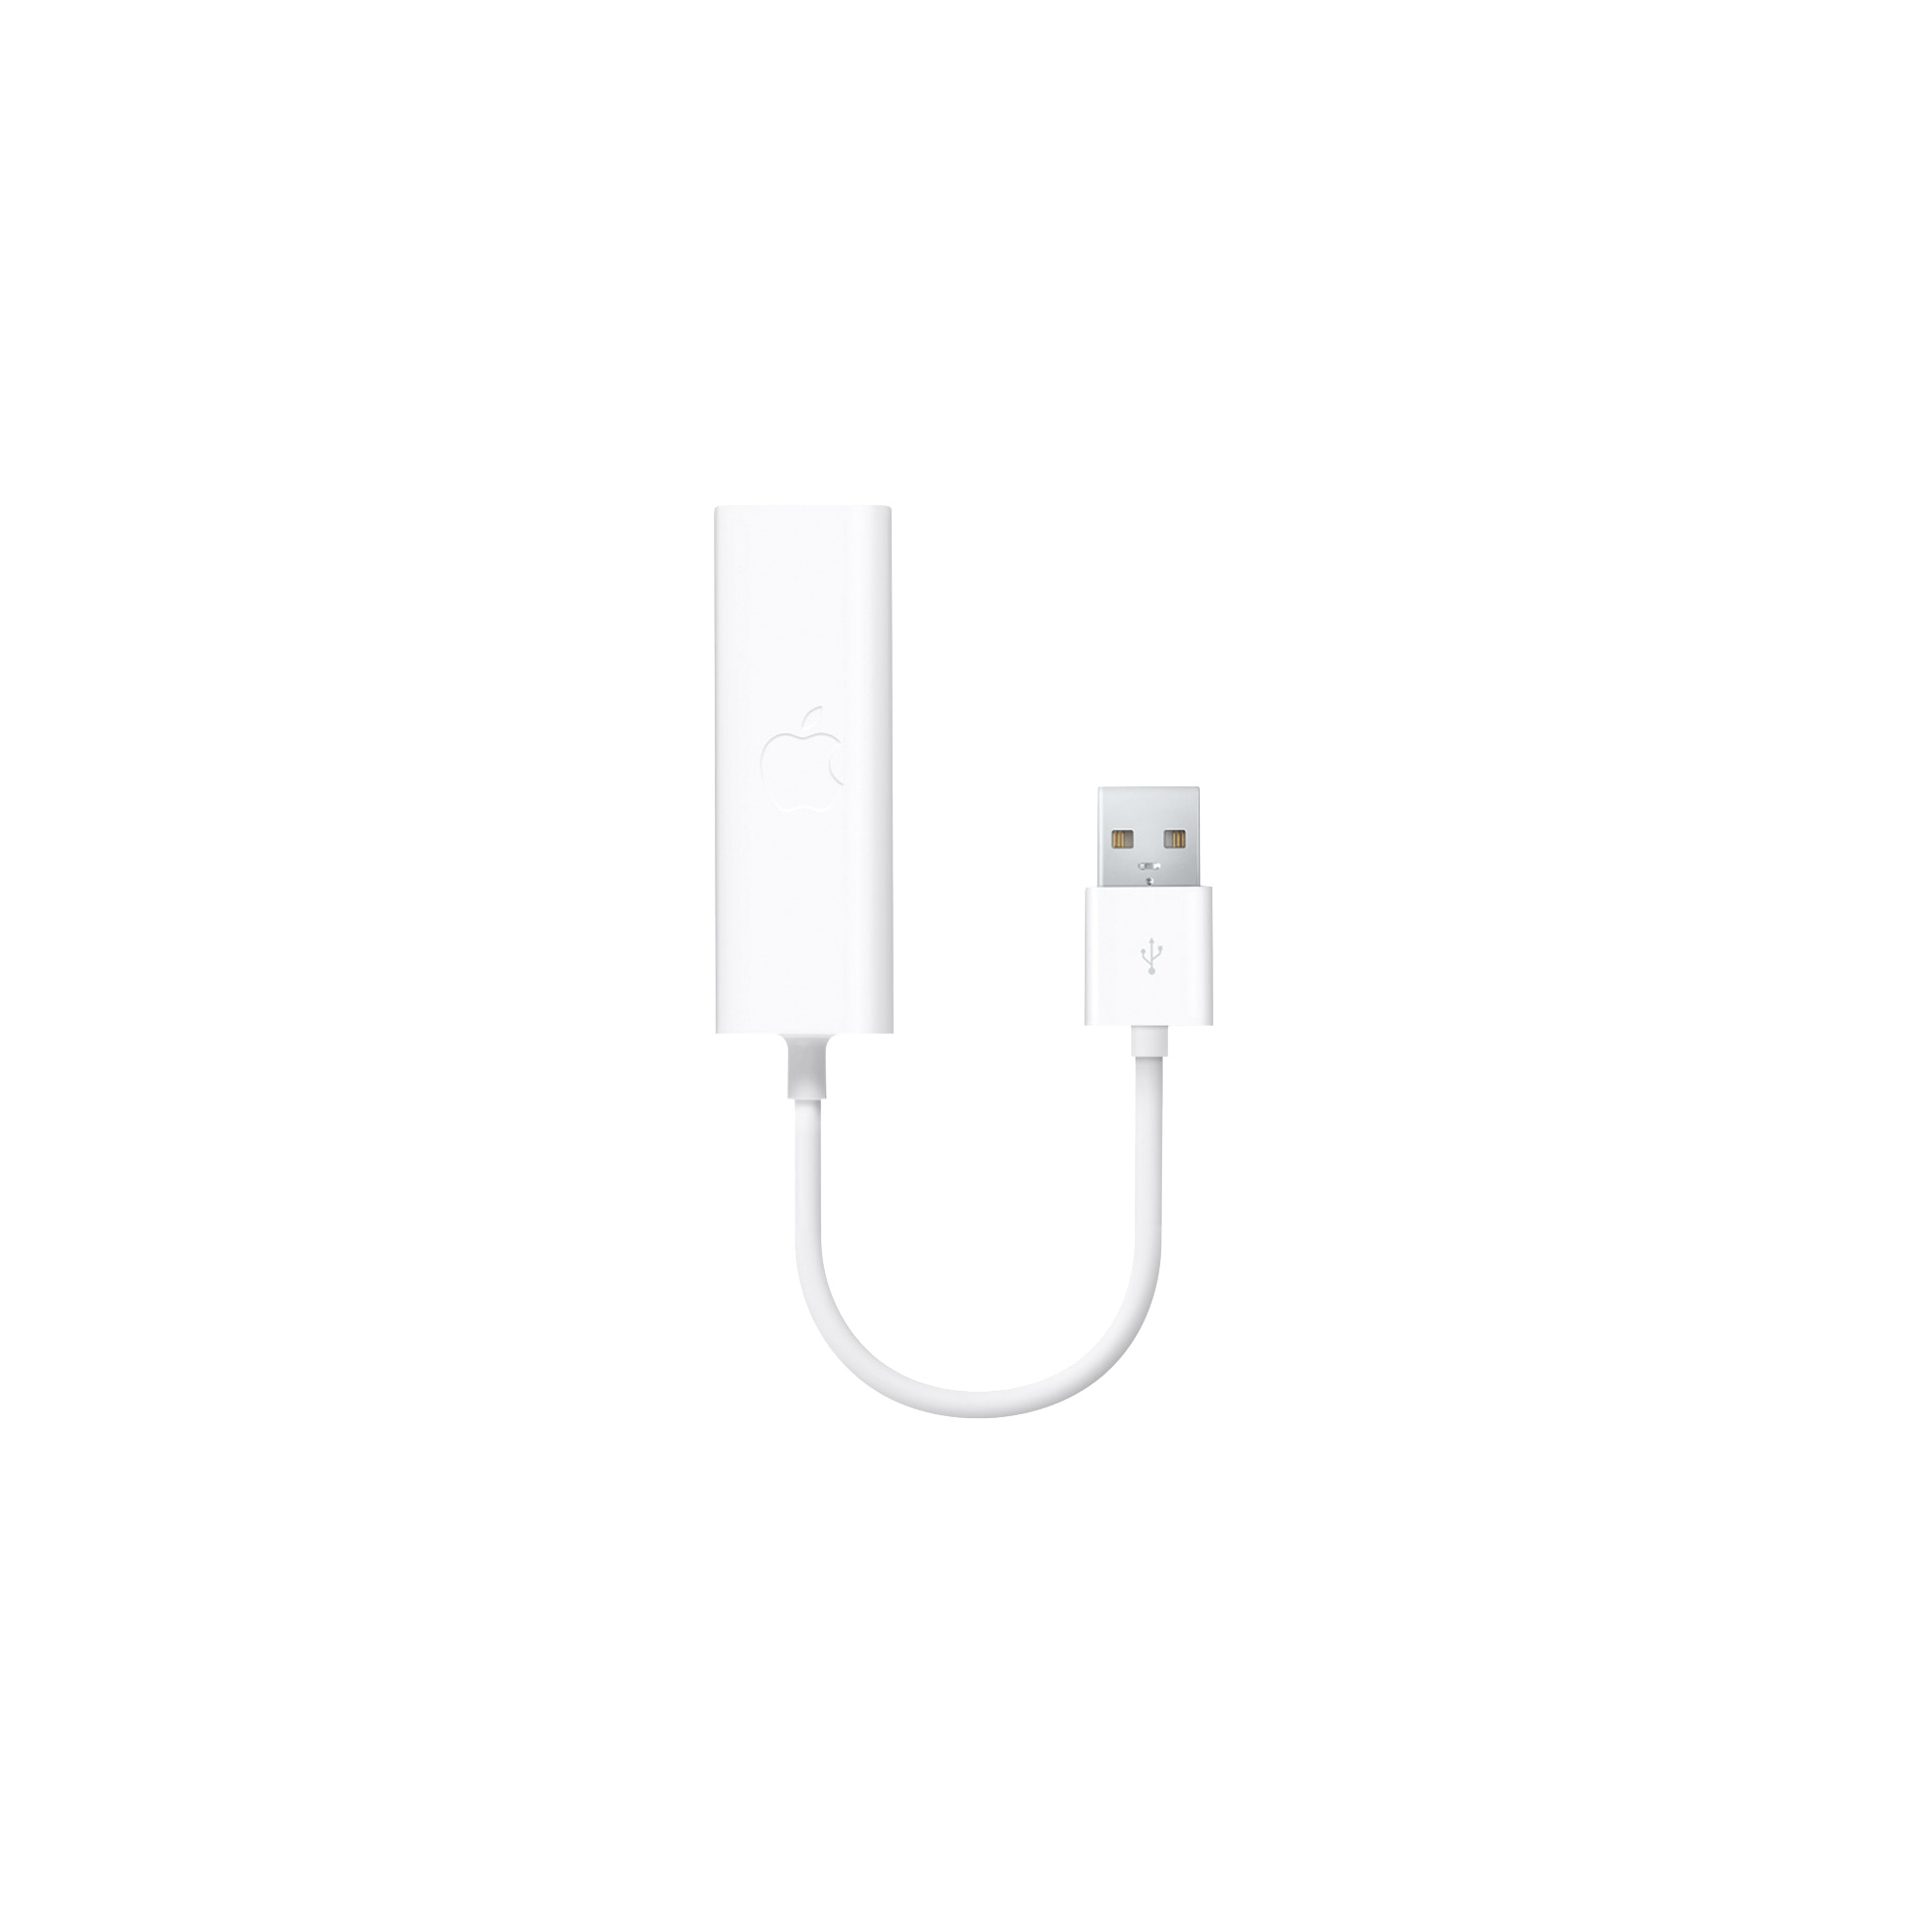
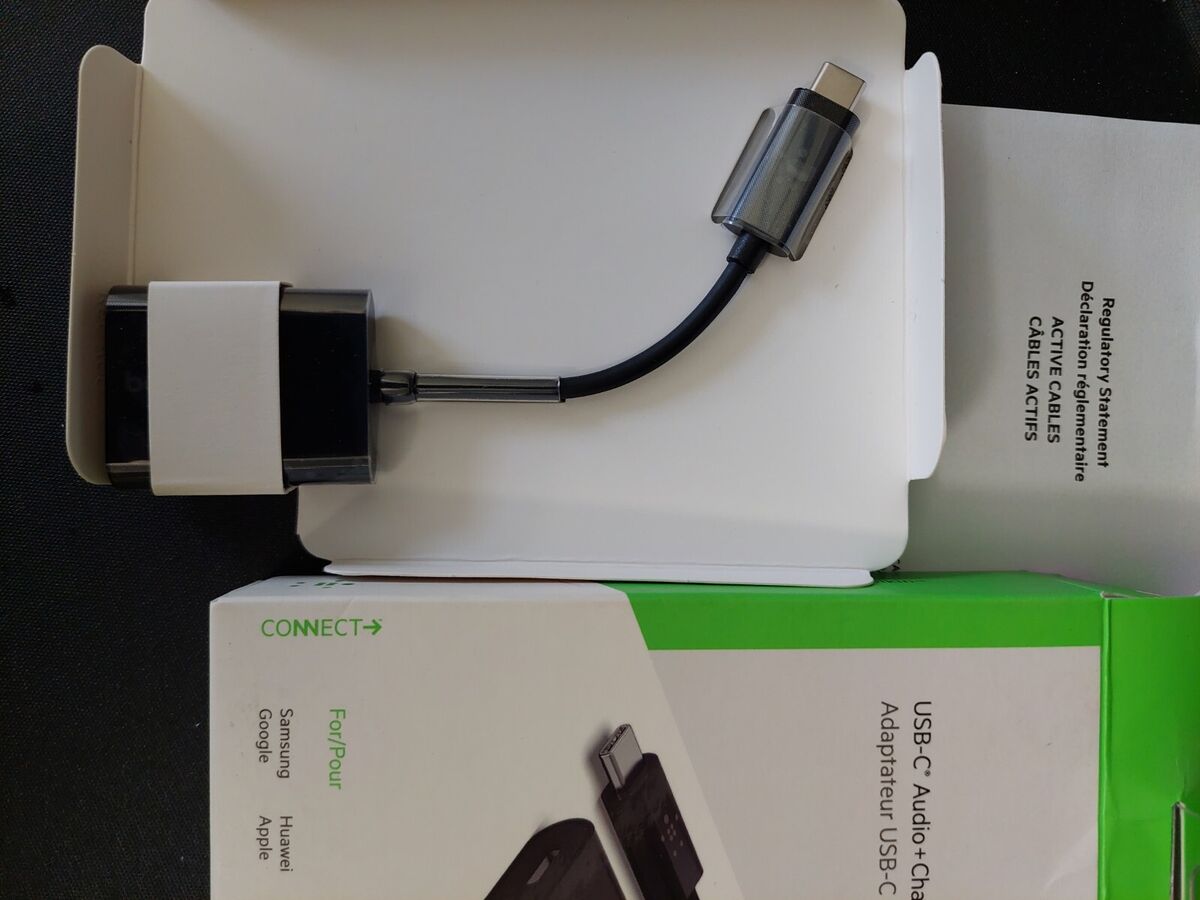
Before initiating the connection process, ensure that you have the requisite equipment on hand. This includes your MacBook, a compatible Ethernet cable, and the network switch to which you intend to connect. If your MacBook features USB-C ports exclusively, you may need a USB-C to Ethernet adapter to facilitate the physical connection.
Step 2: Locate an Available Ethernet Port
Identify an available Ethernet port on your MacBook, typically located on the sides of the device or via a compatible docking station. If your MacBook requires a USB-C to Ethernet adapter, connect the adapter to an available USB-C port.
Step 3: Connect the Ethernet Cable
With the Ethernet port identified, proceed to connect one end of the Ethernet cable to the port on your MacBook or the USB-C to Ethernet adapter. Ensure a secure connection to prevent disconnection during use.
Step 4: Connect the Other End to the Network Switch
Locate an available port on the network switch and connect the other end of the Ethernet cable to establish a physical link between your MacBook and the switch. Verify that the connection is secure and that the cable is firmly seated in the port.
Step 5: Power Up the Network Switch
If the network switch is not already powered on, ensure that it is connected to a power source and activate the switch. This will initialize the network connection and allow your MacBook to communicate with other devices within the network through the switch.
With these steps completed, your MacBook is now seamlessly integrated into the network switch, ready to leverage the advantages of a stable and high-speed wired connection. As we proceed, we’ll delve into the essential aspects of configuring network settings on your MacBook to optimize the connectivity experience.
Configuring Network Settings on Your MacBook
With your MacBook successfully connected to the network switch, the next crucial step involves configuring network settings to ensure seamless communication within the network environment. By fine-tuning these settings, you can optimize network performance, enhance security, and troubleshoot potential connectivity issues.
Step 1: Access Network Preferences
Begin by accessing the “Network” preferences on your MacBook. You can do this by clicking the Apple logo in the top-left corner of the screen, selecting “System Preferences,” and then clicking on “Network.”
Step 2: Select the Ethernet Connection
Within the Network preferences window, locate and select the Ethernet connection that corresponds to the network switch. If the connection is active, you should see a green dot next to the Ethernet interface, indicating a successful physical connection to the network.
Step 3: Configure IP Address Settings
Click on the “Advanced” button, then navigate to the “TCP/IP” tab. Here, you can choose to configure the IP address settings manually or opt for automatic configuration via DHCP (Dynamic Host Configuration Protocol). If your network environment requires specific IP address settings, such as a static IP address, subnet mask, and router address, you can input these details accordingly.
Step 4: Check DNS and Proxy Settings
Proceed to the “DNS” and “Proxy” tabs within the Advanced settings to verify and configure DNS server addresses and proxy settings, if applicable. DNS servers translate domain names into IP addresses, facilitating network communication, while proxy settings enable network traffic redirection through intermediary servers.
Step 5: Apply and Test the Settings
After configuring the network settings, click “OK” to apply the changes. To ensure that the settings are functioning as intended, you can test the network connection by opening a web browser and accessing various websites. Additionally, you can verify network connectivity by accessing shared resources within the network, such as network-attached storage (NAS) devices or shared printers.
By meticulously configuring network settings on your MacBook, you can fine-tune the connectivity experience, optimize network performance, and ensure seamless data exchange within the network environment. Should you encounter any connectivity issues or require further customization, the network settings provide a versatile platform for tailoring your MacBook’s interaction with the network switch and other networked devices.
Troubleshooting Connection Issues
While connecting your MacBook to a network switch is typically a straightforward process, occasional connectivity issues may arise, requiring troubleshooting to pinpoint and resolve the underlying causes. By familiarizing yourself with common troubleshooting techniques, you can swiftly address connectivity issues and restore seamless network communication.
1. Physical Connection Verification
Begin by verifying the physical connections between your MacBook and the network switch. Ensure that the Ethernet cable is securely connected to both the MacBook’s Ethernet port or adapter and the network switch. If using an adapter, check for any signs of damage or wear that may affect the connection.
2. Network Switch Port Status
Inspect the status of the network switch ports to confirm that the port to which your MacBook is connected is active and functioning correctly. Some network switches feature indicator lights next to each port, providing visual cues about the port’s status. A solid green or amber light typically indicates an active connection, while a blinking light may suggest network activity.
3. Network Settings Validation
Review the network settings on your MacBook to ensure that the configured IP address, subnet mask, router address, DNS server information, and proxy settings align with the requirements of your network environment. Incorrect or conflicting settings can impede network connectivity and may require adjustment to restore proper communication.
4. Network Switch Configuration
If the network switch is managed, access its configuration interface to verify that the port to which your MacBook is connected is properly configured. Ensure that the port is not administratively disabled and that it is assigned to the appropriate VLAN (Virtual Local Area Network) if VLANs are in use within the network infrastructure.
5. Software Updates and Driver Checks
Check for software updates on your MacBook, including macOS updates and driver updates for any Ethernet adapters in use. Outdated software or drivers can sometimes lead to connectivity issues, and updating them to the latest versions may resolve compatibility issues and improve network performance.
6. Network Firewall and Security Software
If your MacBook is equipped with firewall or security software, review the settings to ensure that network communication is not being inadvertently blocked. Temporarily disabling firewall or security software for diagnostic purposes can help identify whether they are contributing to the connectivity issues.
By systematically addressing potential causes of connectivity issues and leveraging these troubleshooting techniques, you can swiftly diagnose and resolve network connectivity challenges, ensuring that your MacBook seamlessly integrates into the network environment and facilitates efficient data exchange and communication.
Conclusion
Congratulations on successfully navigating the process of connecting your MacBook to a network switch and configuring the essential network settings. By seamlessly integrating your MacBook into the network environment, you’ve unlocked the potential for enhanced data transfer speeds, network stability, and seamless communication with other devices within the local area network (LAN).
Understanding the pivotal role of network switches in facilitating efficient data exchange and the distinct capabilities of unmanaged, managed, and smart switches has empowered you to make informed decisions when selecting the appropriate switch for your networking needs. This foundational knowledge will continue to serve you well as you expand and optimize your network infrastructure in the future.
By following the step-by-step process of physically connecting your MacBook to the network switch and configuring network settings, you’ve harnessed the power of a reliable wired connection while gaining the flexibility to tailor network settings to align with your specific requirements. This proactive approach to network integration ensures that your MacBook operates seamlessly within the network environment, optimizing performance and facilitating streamlined data exchange.
Furthermore, the troubleshooting techniques provided equip you with the skills to swiftly address potential connectivity issues, enabling you to maintain a robust network connection and troubleshoot any challenges that may arise in the future. This troubleshooting acumen will prove invaluable as you continue to refine and expand your network infrastructure, ensuring uninterrupted connectivity and efficient network operation.
As you embark on your journey with a seamlessly integrated MacBook and network switch, remember that ongoing network maintenance, periodic performance evaluations, and staying informed about advancements in networking technology will further enhance your networking experience. By staying attuned to the evolving landscape of network infrastructure, you’ll be well-positioned to optimize network performance and adapt to emerging networking trends.
With your MacBook seamlessly integrated into the network environment, you’re poised to leverage the benefits of a reliable wired connection, foster seamless communication within the LAN, and embark on a journey of enhanced productivity and efficient data exchange. As you continue to explore the boundless possibilities of network integration, may your network environment thrive and evolve to meet your ever-changing needs.


