Introduction
Using a Virtual Private Network (VPN) on your MacBook can greatly enhance your online experience, providing an added layer of security and privacy. Whether you frequently use public Wi-Fi networks, want to access geo-restricted content, or simply want to secure your internet connection, a VPN can be a valuable tool.
A VPN works by creating a secure and encrypted connection between your MacBook and the internet. This ensures that your online activities remain private and protected from prying eyes, such as hackers, ISPs (Internet Service Providers), or even government surveillance.
By connecting to a VPN, you can mask your IP address, making it appear as if you are browsing from a different location. This allows you to bypass geographical restrictions and access content that might otherwise be unavailable in your country.
Moreover, using a VPN on your MacBook can protect your sensitive data from potential threats. Public Wi-Fi networks, such as those found in coffee shops or airports, are notorious for being easy targets for hackers. When connected to a VPN, all your data traffic is encrypted, ensuring that even if someone tries to intercept your information, they won’t be able to decipher it.
With the increasing importance of online privacy and security, having a VPN on your MacBook has become essential. In the following sections, we will guide you through the process of downloading and installing a VPN on your MacBook, as well as provide tips for choosing the right VPN and configuring it for optimal performance.
Benefits of Using a VPN on MacBook
Using a VPN on your MacBook offers numerous benefits that can greatly enhance your online experience. Here are some key advantages:
- Enhanced Security: One of the primary benefits of using a VPN is the enhanced security it provides. By encrypting your internet connection, a VPN ensures that your data and sensitive information are protected from potential threats, such as hackers or malicious actors.
- Privacy Protection: When you connect to a VPN, your internet traffic is routed through a remote server and your IP address is masked. This helps protect your privacy and makes it difficult for anyone to track your online activities or trace your identity.
- Access Restricted Content: With a VPN, you can bypass geo-restrictions and access content that is blocked or unavailable in your location. Whether you want to stream movies and TV shows from another country or access websites that are restricted in your region, a VPN allows you to do so with ease.
- Bypass Censorship: In countries where internet censorship is prevalent, a VPN can be a valuable tool to bypass restrictions and access blocked websites and services. By connecting to a VPN server in a different country, you can freely browse the internet without limitations.
- Secure Public Wi-Fi: Public Wi-Fi networks are notoriously vulnerable to hacking and data theft. When you connect to a public Wi-Fi network using a VPN, your data is encrypted, protecting it from potential cyber attacks and ensuring your sensitive information remains secure.
- P2P File Sharing: Many VPN services allow peer-to-peer (P2P) file sharing, making it safe and secure to download and share files. If you frequently engage in torrenting or other P2P activities, using a VPN will help protect your identity and ensure your online activities remain private.
By taking advantage of these benefits, you can enhance your online security, protect your privacy, and enjoy unrestricted access to the internet on your MacBook.
Step-by-Step Guide to Download and Install a VPN on MacBook
Downloading and installing a VPN on your MacBook is a straightforward process. Follow these step-by-step instructions to get started:
- Research VPN Providers: Start by researching different VPN providers to find one that meets your needs in terms of security, privacy, and features. Look for providers with a user-friendly interface, a large server network, and positive reviews.
- Choose a VPN Plan: Once you’ve selected a provider, choose a suitable VPN plan that aligns with your requirements. Most VPN providers offer different subscription options, such as monthly, yearly, or multi-year plans.
- Create an Account: Sign up for an account on the VPN provider’s website. This usually involves providing your email address and creating a password. Some VPN providers may require additional information for account creation.
- Download the VPN App: After creating an account, log in to the provider’s website and navigate to the downloads section. Look for the appropriate VPN app for your MacBook and click on the download button to start the download process.
- Install the VPN App: Once the download is complete, locate the downloaded file and double-click on it to start the installation process. Follow the on-screen instructions to install the VPN app on your MacBook.
- Launch the VPN App: After installation, locate the VPN app on your MacBook and launch it. You will usually be prompted to log in using the account credentials you created earlier. Enter your login details and proceed.
- Select a Server: Once you’re logged in, you will be presented with a list of server locations to choose from. Select a server location based on your needs, such as accessing geo-restricted content or maximizing speed.
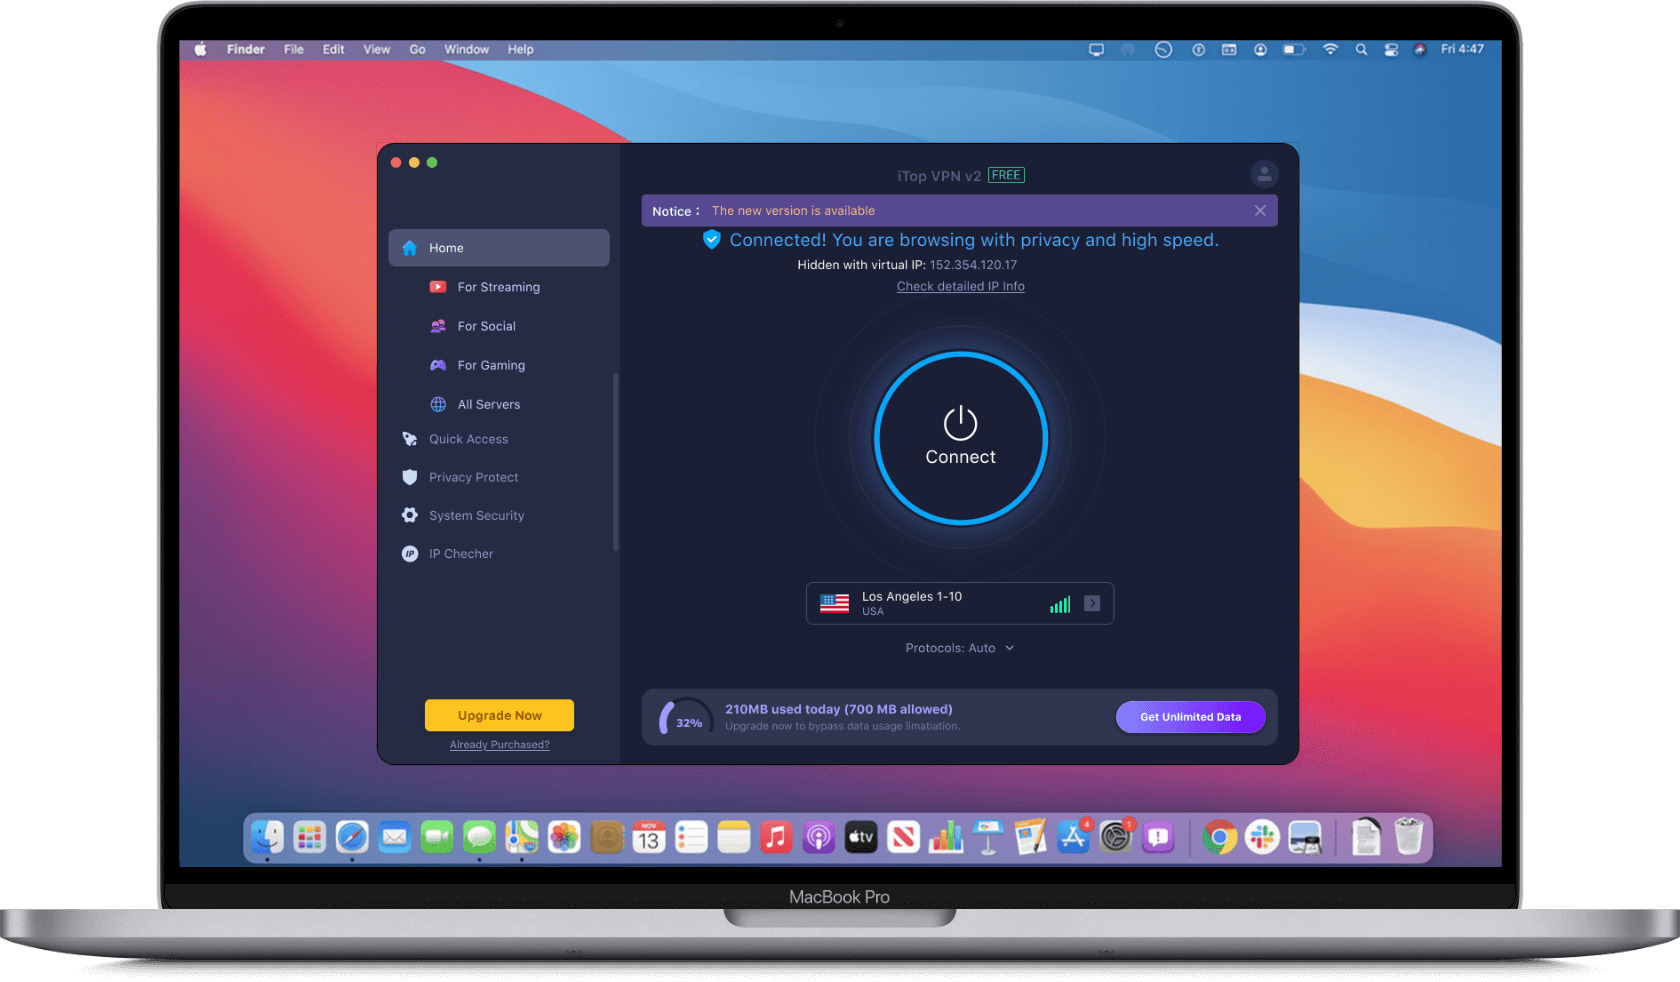
- Connect to the VPN: After selecting a server, click on the “Connect” button to establish a VPN connection. Once connected, your MacBook will be protected, and your online activities will be encrypted and anonymized.
- Configure VPN Settings (Optional): If desired, explore the settings of the VPN app to customize its behavior according to your preferences. You may find options like auto-connect on startup, choosing protocols, or creating specific VPN profiles.
By following these steps, you can easily download, install, and set up a VPN on your MacBook, ensuring a secure and private internet browsing experience.
Choosing the Right VPN for Your MacBook
When it comes to selecting a VPN for your MacBook, it’s important to consider several factors to ensure you choose the right one. Here are some key points to keep in mind when evaluating VPN options:
- Security and Privacy Features: Look for a VPN provider that offers robust security features, such as AES encryption, a strict no-logs policy, and support for secure protocols like OpenVPN or IKEv2. Ensure that the provider has a solid reputation for protecting user privacy.
- Server Network: A wide selection of server locations is crucial for a VPN. This allows you to access content from different regions and ensures a stable and fast connection. Check if the VPN provider has servers in the countries you require.
- Speed and Performance: Testimonials and user reviews can provide insights into the speed and performance of different VPN providers. Look for providers that offer fast and reliable connections to ensure smooth streaming, gaming, and browsing experiences.
- User-Friendly Interface: A user-friendly interface makes it easy to navigate and use the VPN app on your MacBook. Look for a provider that offers a sleek and intuitive interface, with features like one-click connection and server selection.
- Device Compatibility and Simultaneous Connections: Ensure that the VPN provider supports macOS and offers a dedicated app for the MacBook. Additionally, check how many simultaneous connections are allowed, as this determines how many devices you can protect with one subscription.
- Customer Support: Reliable customer support is essential in case you encounter any issues with your VPN. Look for providers that offer 24/7 support through various channels like live chat, email, or phone.
- Pricing and Plans: Consider your budget and compare the pricing plans offered by different VPN providers. Look for options that offer a good balance between affordability and the features you require.
Take the time to research and compare different VPN options before making a decision. Look for reputable VPN providers that offer a free trial or money-back guarantee, so you can test their service before committing to a long-term subscription.
Remember that the right VPN for your MacBook will depend on your specific needs and preferences. By considering these factors and conducting thorough research, you can make an informed decision and choose a VPN provider that meets your requirements.
Tips for Setting Up and Configuring Your VPN on MacBook
Once you have installed a VPN on your MacBook, there are some additional steps you can take to optimize its performance and ensure a seamless VPN experience. Here are some helpful tips for setting up and configuring your VPN:
- Enable the Kill Switch: Most reputable VPN providers offer a kill switch feature that automatically disconnects your internet connection if the VPN connection drops. This prevents your real IP address from being exposed and ensures that your online activities remain secure. Enable the kill switch feature in your VPN settings for added protection.
- Select the Right Protocol: VPN protocols determine the level of security and speed of the connection. OpenVPN is generally considered the most secure and reliable protocol. However, on some older MacBook models, it may cause a decrease in performance. In such cases, you can try using IKEv2 or L2TP/IPsec protocols for a balance between security and speed.
- Auto-Connect on Startup: To ensure that your MacBook always connects to the VPN when you start it up, enable the auto-connect feature in the VPN settings. This way, you won’t have to manually connect every time you use your MacBook.
- Use Split Tunneling (if applicable): Some VPN providers offer a split tunneling feature that allows you to choose which apps or websites should use the VPN connection and which ones should bypass it. This can be useful if you want to access local network devices while connected to the VPN.
- Frequent Software Updates: Keep your VPN app up to date with the latest software updates provided by the VPN provider. These updates often include bug fixes, security enhancements, and new features that can improve your VPN experience.
- Test Your Connection: After configuring your VPN, it’s a good idea to test your connection to ensure that everything is working correctly. Visit websites like dnsleaktest.com or ipleak.net to check if your IP address and DNS are properly masked by the VPN.
- Experiment with Server Locations: If you encounter slower connection speeds or difficulty accessing specific content, try connecting to different server locations. Sometimes, certain servers may be overloaded or experiencing network congestion, while others may offer better performance.
- Regularly Review VPN Settings: Periodically review your VPN settings to ensure they are aligned with your preferences. Check for any new features or updates offered by your VPN provider that can further enhance your privacy and security.
Following these tips will help you optimize your VPN settings on your MacBook, ensuring a secure and efficient VPN experience. Remember to consult the user manual or support documentation provided by your VPN provider for specific instructions on how to configure and customize your VPN settings.
Frequently Asked Questions about VPNs and MacBooks
Here are some common questions that users often have regarding VPNs and their usage on MacBooks:
1. Can I use a VPN on my MacBook?
Yes, you can use a VPN on your MacBook. Most VPN providers offer dedicated apps for macOS, making it easy to install and configure a VPN on your MacBook.
2. Is using a VPN legal?
Yes, using a VPN is legal in most countries. However, it’s important to note that using a VPN to engage in illegal activities is still prohibited. Always abide by the laws and regulations of your country when using a VPN.
3. Will a VPN slow down my internet connection?
Using a VPN may slightly decrease your internet speed due to the encryption and rerouting of your data traffic. However, a high-quality VPN service will have minimal impact on your speed, allowing you to browse, stream, and download content smoothly.
4. Can I use a free VPN on my MacBook?
While there are free VPN options available, it’s important to be cautious when using them. Free VPNs often come with limitations, such as data caps, slower speeds, and potential privacy concerns. Paid VPNs generally offer better performance, security, and support.
5. Can I use a VPN on public Wi-Fi networks?
Absolutely! In fact, using a VPN on public Wi-Fi networks is highly recommended. Public Wi-Fi networks are vulnerable to security risks, and a VPN can encrypt your data traffic, protecting it from potential eavesdropping or hacking attempts.
6. Can I access geo-restricted content with a VPN on my MacBook?
Yes, using a VPN allows you to bypass geographical restrictions and access content that is otherwise unavailable in your region. By connecting to a server in a different country, you can mask your IP address and access content from that specific location.
7. Can I use my VPN on multiple devices?
Most VPN providers allow multiple simultaneous connections under one subscription. This means you can use your VPN on multiple devices, such as your MacBook, smartphone, tablet, and other supported devices.
8. How often should I update my VPN app?
It’s important to update your VPN app regularly to ensure you have the latest security patches and features. Check for updates from your VPN provider and install them promptly to maintain optimal performance and security.
These FAQs address some of the commonly asked questions about VPNs and using them on MacBooks. If you have any specific concerns or technical issues, it’s always recommended to reach out to your VPN provider’s customer support for assistance.
Conclusion
Using a VPN on your MacBook can significantly enhance your online experience by providing an added layer of security, privacy, and access to geo-restricted content. With the increasing importance of online privacy and the potential risks associated with using public Wi-Fi networks, having a VPN on your MacBook has become essential.
In this article, we explored the benefits of using a VPN on your MacBook, including enhanced security, privacy protection, accessing restricted content, bypassing censorship, and secure P2P file sharing. We also provided a step-by-step guide on how to download and install a VPN on your MacBook, along with tips for choosing the right VPN and configuring it for optimal performance.
When selecting a VPN for your MacBook, it’s crucial to consider factors such as security features, server network, speed and performance, user-friendliness, device compatibility, customer support, and pricing plans. By conducting thorough research and choosing a reputable VPN provider, you can ensure a safe and seamless browsing experience.
Additionally, we provided tips for setting up and configuring your VPN on your MacBook, including enabling the kill switch, selecting the right protocol, auto-connecting on startup, and experimenting with server locations. These tips will help you optimize your VPN usage and ensure a secure internet connection.
Finally, we addressed frequently asked questions about VPNs and MacBooks, covering topics such as legality, speed impact, free VPNs, accessing geo-restricted content, and device compatibility. It’s crucial to stay informed about VPN usage and address any concerns or issues that may arise.
In conclusion, using a VPN on your MacBook is a valuable tool to protect your privacy, secure your data, access restricted content, and enjoy a safer online experience. By following the information and tips provided in this article, you can make informed decisions and enhance your browsing experience on your MacBook.