Introduction
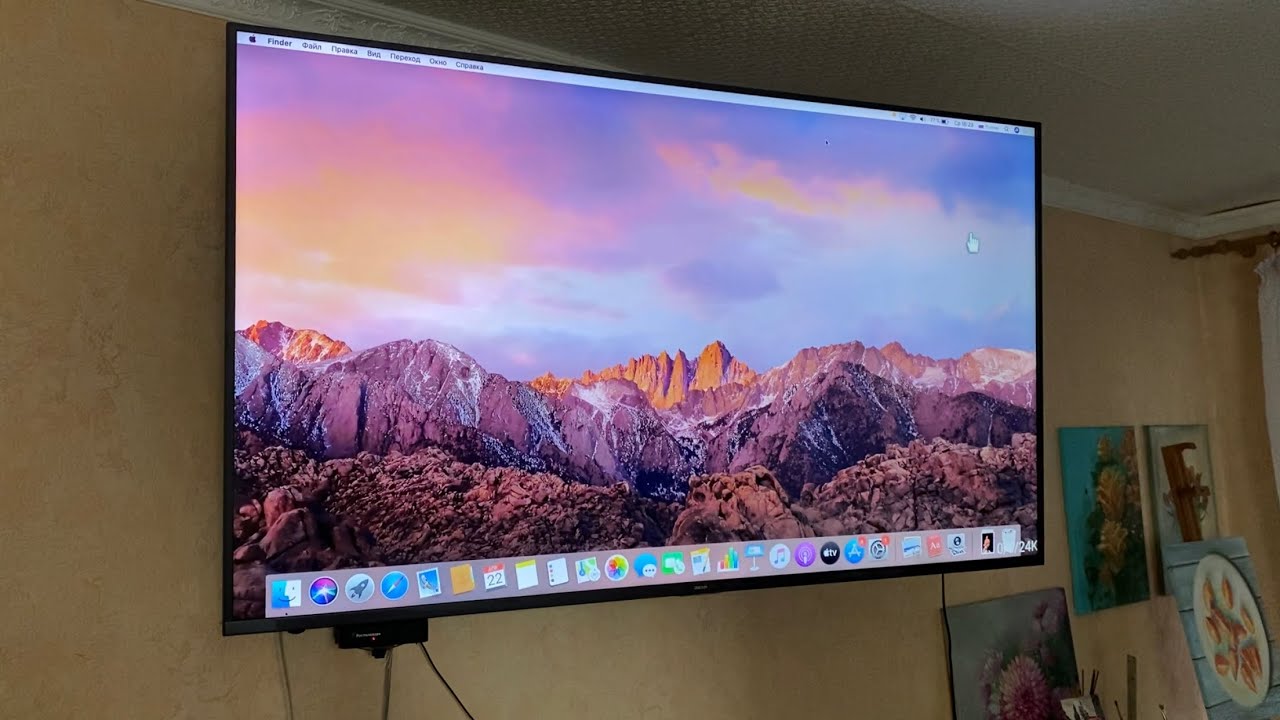
Welcome to the world of technology, where our gadgets are constantly evolving to provide us with more convenience and entertainment. If you are a proud Macbook owner and you have a smart TV, you might be wondering how to cast your Macbook screen to your TV to enjoy a larger display and share content with friends and family.
In this article, we will guide you through the steps on how to cast your Macbook to a smart TV effortlessly. Whether you want to stream movies, watch online videos, browse the web on a bigger screen, or give professional presentations, casting your Macbook screen to your smart TV can offer a whole new level of flexibility and enjoyment.
Before we dive into the instructions, it’s important to mention that there are different methods to cast your Macbook to a smart TV, but we will focus mainly on using AirPlay, which is a built-in feature in macOS that allows you to wirelessly mirror your Macbook screen to an Apple TV or an AirPlay-enabled smart TV.
To get started, you will need a few things:
- A Macbook that supports AirPlay (generally, Macbooks released in 2011 or later)
- A compatible smart TV with AirPlay support (Apple TV or a TV from brands like Samsung, LG, or Sony that have integrated AirPlay capabilities)
- A stable Wi-Fi connection to ensure smooth streaming
Once you have these prerequisites in place, you can proceed to the next steps to set up and cast your Macbook to your smart TV. But before we jump into the technical details, let’s briefly discuss the benefits of casting your Macbook screen to a smart TV.
By casting your Macbook screen, you can expand your display real estate and take advantage of a larger screen size to enjoy movies, TV shows, and videos in a more immersive manner. It also allows you to share your Macbook’s screen with others, making it ideal for presentations, collaborative work, or simply showing off your favorite photos or videos to friends and family.
Now that we’ve covered the basics, let’s move on to the step-by-step instructions on how to cast your Macbook to a smart TV using Airplay. So grab your popcorn, sit back, and relax as we guide you through the process.
Step 1: Connect your Macbook to your Smart TV
Before you can start casting your Macbook to your smart TV, you need to establish a physical connection between the two devices. The method of connection will depend on the type of smart TV you have.
Here are the common ways to connect your Macbook to your smart TV:
- Using an HDMI cable: This is the most straightforward method. Simply connect one end of the HDMI cable to the HDMI port on your Macbook and the other end to the HDMI port on your smart TV. Make sure to select the correct HDMI input on your TV to see your Macbook display.
- Using a Thunderbolt/Mini DisplayPort to HDMI adapter: If your Macbook has a Thunderbolt or Mini DisplayPort, you may need to use an adapter to connect it to the HDMI cable. Plug the adapter into your Macbook and connect the HDMI cable to the adapter and the TV.
- Using USB-C to HDMI: If you have a newer Macbook with USB-C ports, you can use a USB-C to HDMI adapter or cable to connect your Macbook to the TV. Plug the USB-C end into your Macbook and the HDMI end into the TV.
Once you have made the physical connection between your Macbook and smart TV, ensure that your TV is set to the correct HDMI input or source. If everything is connected properly, your Macbook screen should mirror on your smart TV.
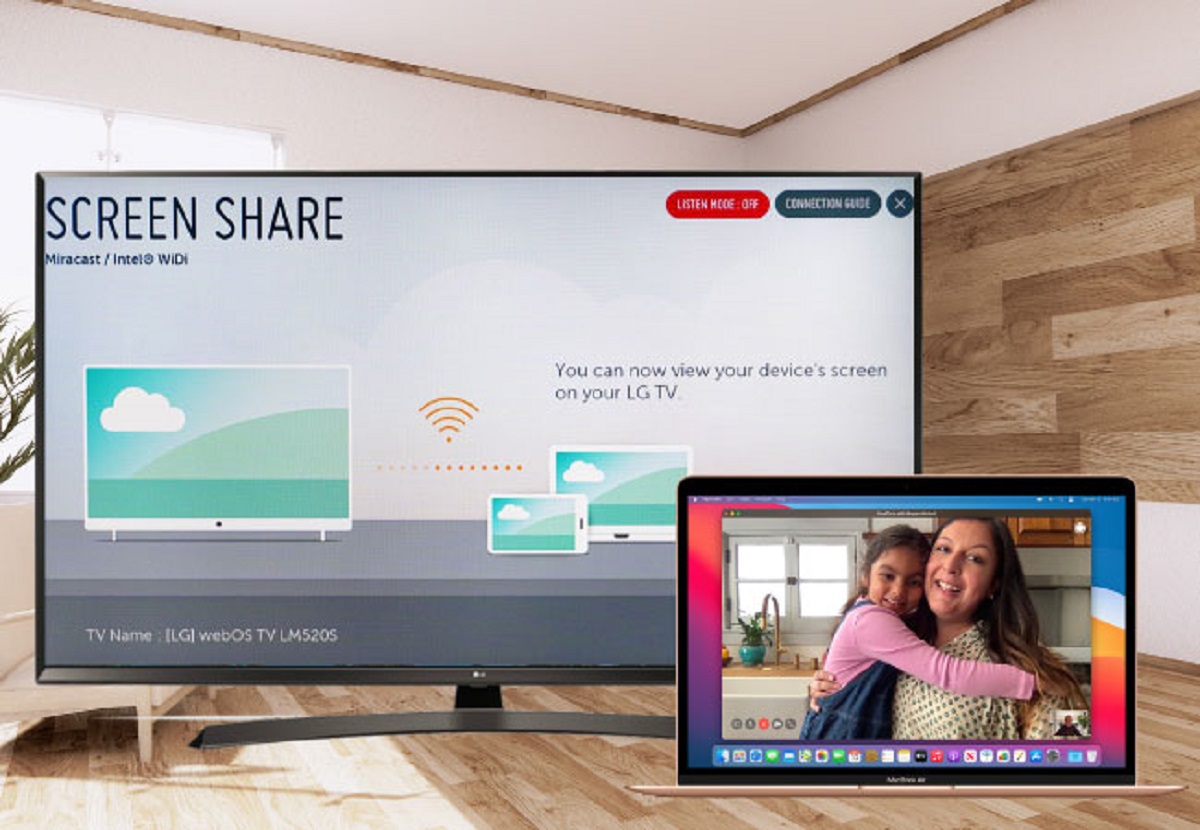
It’s worth noting that some smart TVs also support wireless screen mirroring using protocols like Miracast or Chromecast. However, in this guide, we will focus on using AirPlay for Macbooks.
Now that you have successfully connected your Macbook to your smart TV, you are ready to proceed to the next step and enable AirPlay on your Macbook. Keep in mind that the following steps may vary slightly depending on the version of macOS you are using, but the overall process should remain similar.
Step 2: Enable AirPlay on your Macbook
Now that you have connected your Macbook to your smart TV, it’s time to enable AirPlay on your Macbook. AirPlay is a built-in feature in macOS that allows you to wirelessly mirror your Macbook screen to an Apple TV or an AirPlay-enabled smart TV.
Here’s how you can enable AirPlay on your Macbook:
- Go to the Apple menu in the top-left corner of your screen and select System Preferences.
- Click on Displays.
- In the Displays window, navigate to the Arrangement tab.
- Check the box that says “Show mirroring options in the menu bar when available.”
- Close the Displays window.
- Look at the menu bar at the top of your screen. You should now see an AirPlay icon, which looks like a rectangle with an arrow pointing into it.
- If the AirPlay icon is not visible, you may need to click on the “Control Center” icon in the menu bar and enable AirPlay from there.
By enabling AirPlay on your Macbook, you have now unlocked the ability to wirelessly mirror your Macbook screen to your smart TV.
However, before you proceed with casting your Macbook screen, make sure that both your Macbook and smart TV are connected to the same Wi-Fi network. This is essential for AirPlay to work seamlessly.
Now that you have successfully enabled AirPlay on your Macbook, let’s move on to the next step where we will guide you on how to cast your Macbook screen to your smart TV.
Step 3: Cast your Macbook screen to your Smart TV
Now that you have enabled AirPlay on your Macbook and ensured that both your Macbook and smart TV are connected to the same Wi-Fi network, it’s time to cast your Macbook screen to your smart TV.
Follow these steps to cast your Macbook screen:
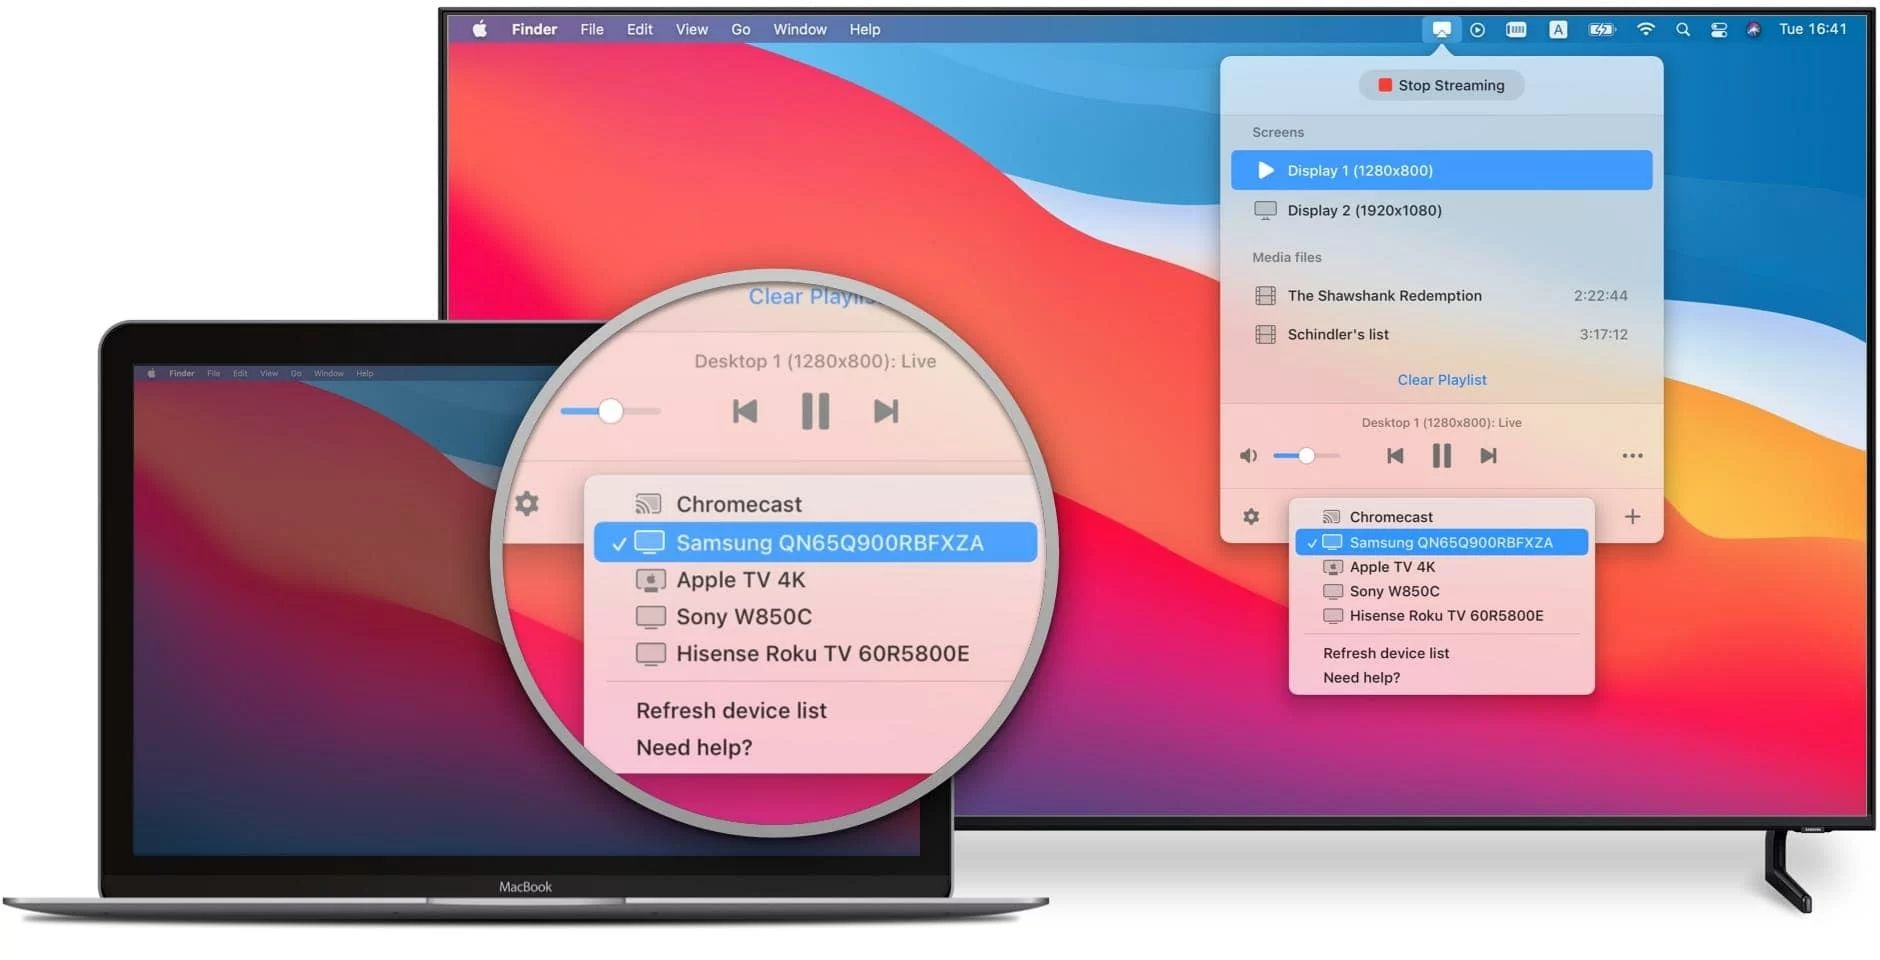
- Click on the AirPlay icon in the menu bar at the top of your Macbook screen.
- A list of available AirPlay devices will appear. Select your smart TV from the list.
- If prompted, enter the AirPlay passcode or password for your smart TV.
- Once connected, your Macbook screen should start mirroring on your smart TV. You can now see whatever is displayed on your Macbook screen on the TV.
That’s it! You have successfully cast your Macbook screen to your smart TV using AirPlay. You can now enjoy a larger display and share content with others conveniently.
It’s important to note that when you cast your Macbook screen to your smart TV, the audio will also be transmitted to the TV. So you can enjoy watching videos or listening to music with the sound coming from your TV speakers.
If you want to stop mirroring your Macbook screen, simply click on the AirPlay icon again and select “Turn AirPlay Off” or select “Disconnect” from the AirPlay menu.
Now that you have mastered the art of casting your Macbook screen, let’s move on to the next step to explore some additional settings and preferences to enhance your casting experience.
Step 4: Adjust settings and preferences
After successfully casting your Macbook screen to your smart TV, you may want to fine-tune the settings and preferences to optimize your viewing experience. Here are a few settings and options you can explore:
- Display resolution: Depending on your TV’s capabilities, you can adjust the display resolution on your Macbook to match the native resolution of your smart TV. This ensures that the content is displayed in the best possible quality.
- Display arrangement: If you have multiple displays connected to your Macbook, you can adjust the arrangement of the displays to ensure that the content appears correctly on your smart TV. You can access the display arrangement settings by going to System Preferences > Displays > Arrangement.
- Audio output: By default, when you mirror your Macbook screen to your smart TV, the audio is also transmitted to the TV. However, if you prefer to keep the audio output on your Macbook, you can change the audio settings. To do this, go to System Preferences > Sound and select the desired audio output device.
- Screen scaling: If the content on your Macbook screen appears too small or too large on your smart TV, you can adjust the screen scaling settings. Go to System Preferences > Displays > Display tab and adjust the scaling option to your preference.
- Mirroring options: When you click on the AirPlay icon, you will find additional mirroring options. You can choose to mirror the entire screen or only a specific app window. Experiment with these options to find what works best for you.
Remember to play around with these settings and preferences to find the optimal setup that suits your needs and enhances your viewing experience. You may need to adjust them differently for different types of content or when switching between different smart TVs.
Lastly, keep in mind that the availability of these settings and options may vary depending on the version of macOS you are using or the capabilities of your smart TV. It’s always a good idea to explore the settings menu on both your Macbook and smart TV to discover any additional customization options.
Now that you have customized the settings to your preference, you are all set to enjoy your Macbook screen on your smart TV. In the next step, we will discuss some common troubleshooting tips to help you resolve any issues that may arise during the casting process.
Step 5: Troubleshooting common issues
While casting your Macbook screen to your smart TV is typically a seamless experience, you may encounter some common issues that can hinder the casting process. Here are a few troubleshooting tips to help you resolve these issues:
- Ensure that both your Macbook and smart TV are connected to the same Wi-Fi network. A stable network connection is crucial for smooth screen mirroring.
- Check for updates: Make sure that your Macbook and smart TV have the latest software updates installed. Outdated software can often cause compatibility issues.
- Restart your devices: Sometimes, a simple restart can resolve temporary connectivity issues. Restart both your Macbook and smart TV, and then attempt to cast again.
- Check your network bandwidth: If you experience buffering or lag during screen mirroring, it might be due to limited network bandwidth. Close any unnecessary applications or devices that might be using up your network resources.
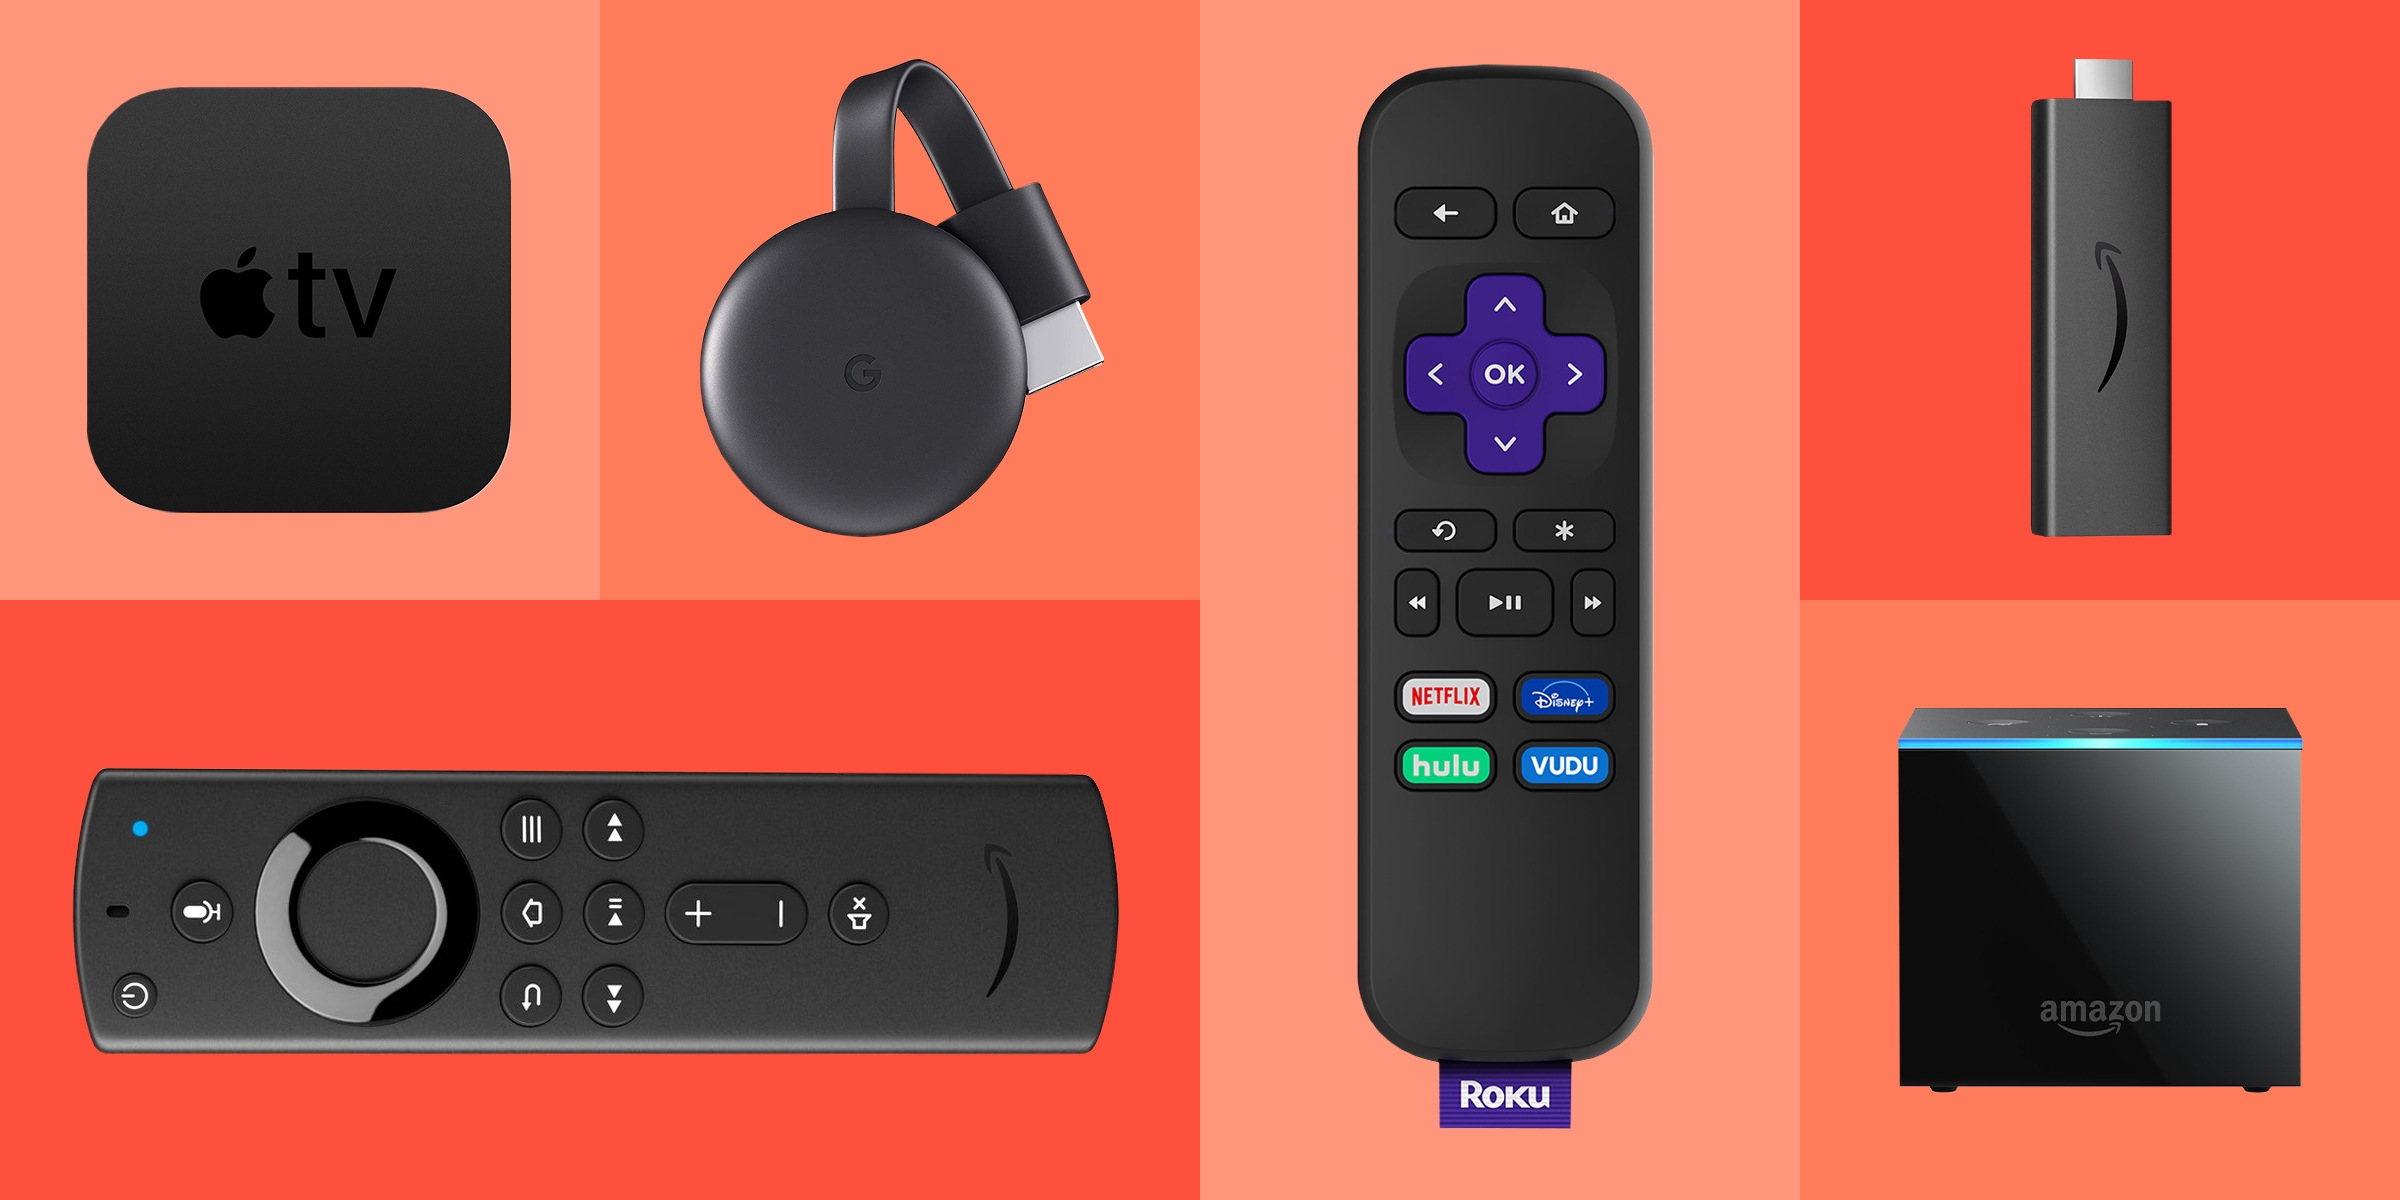
- Verify AirPlay compatibility: Not all smart TVs support AirPlay, so ensure that your TV model is AirPlay-enabled. If not, you may need to consider alternative methods such as using a streaming device like Apple TV.
- Disable VPN or firewall: Sometimes, VPN or firewall settings can interfere with AirPlay connections. Temporarily disable any VPN or firewall software on your Macbook and try casting again.
- Reset AirPlay settings: If all else fails, you can try resetting the AirPlay settings on your Macbook. Go to System Preferences > Displays > Display tab, hold down the Option key, and click on the “Detect Displays” button.
By following these troubleshooting tips, you should be able to resolve most common issues that arise during the casting process. However, if you are still encountering problems, refer to the user manual or support resources for your specific smart TV model for further assistance.
Now that you are armed with troubleshooting knowledge, you can confidently cast your Macbook screen to your smart TV without any hindrances. In the next section, we will provide a brief summary of the entire process and conclude our guide.
Conclusion
Casting your Macbook screen to your smart TV can open up a world of possibilities, allowing you to enjoy a larger display and share content with others. By following the steps outlined in this guide, you can easily connect your Macbook to your smart TV and enable AirPlay to wirelessly mirror your screen.
We started by connecting your Macbook to your smart TV using either an HDMI cable or an appropriate adapter. Then, we enabled AirPlay on your Macbook, ensuring that both devices are connected to the same Wi-Fi network. We then proceeded to cast your Macbook screen to your smart TV, providing you with a seamless viewing experience.
Additionally, we explored some settings and preferences that can be adjusted to enhance your casting experience, such as display resolution, audio output, and screen scaling. And finally, we discussed common troubleshooting tips to help you overcome any potential issues that may arise during the casting process.
Now that you are equipped with knowledge on how to cast your Macbook to your smart TV, it’s time to sit back, relax, and enjoy your favorite movies, videos, and presentations on the big screen. Whether you want to entertain loved ones, collaborate at work, or simply indulge in a cinematic experience, casting your Macbook screen to your smart TV offers a whole new level of convenience and enjoyment.
Remember, the specific steps and options may vary depending on the version of macOS you are using and the capabilities of your smart TV. Be sure to consult the user manuals or support resources for your specific devices for more detailed instructions if needed.
Now, go forth and cast away! Enjoy the wonders of your Macbook screen on your smart TV, and explore endless entertainment possibilities.