Introduction
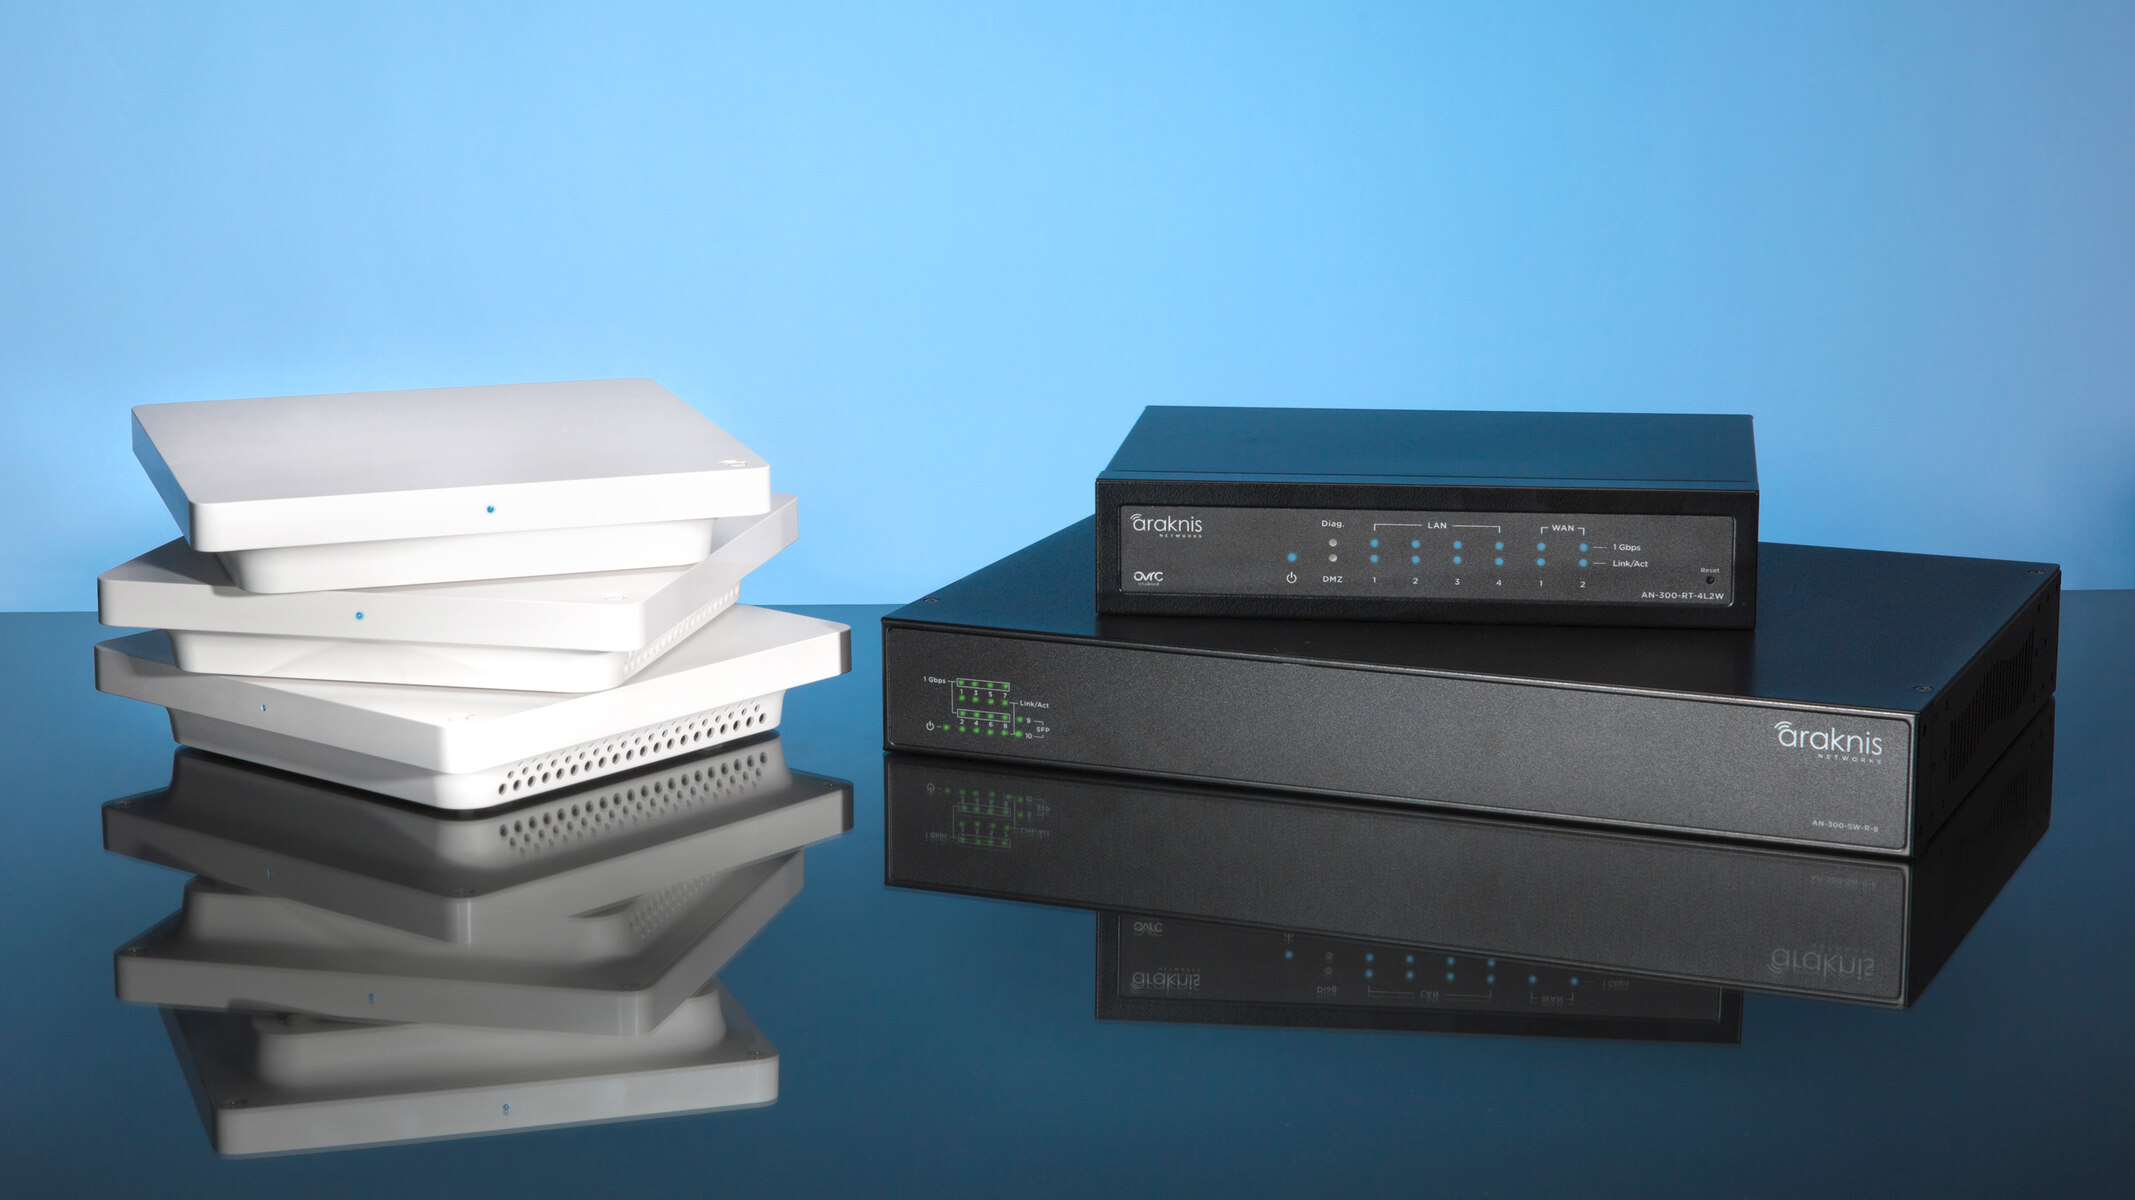
Welcome to the world of Araknis Network Switches! These powerful devices are designed to provide seamless networking solutions for both residential and commercial environments. Whether you're a tech enthusiast, a professional installer, or a business owner, understanding how to log in to your Araknis Network Switch is essential for optimizing its performance and customizing its settings to suit your specific needs.
In this guide, we will walk you through the step-by-step process of logging in to your Araknis Network Switch. By following these instructions, you will gain access to the switch's intuitive interface, where you can manage its configurations, monitor network activity, and troubleshoot any connectivity issues.
So, grab your preferred web browser, ensure that your device is connected to the Araknis Network Switch, and let's embark on this journey to unlock the full potential of your networking infrastructure.
Whether you're a seasoned IT professional or a tech-savvy homeowner, mastering the login process for your Araknis Network Switch will empower you to harness the full capabilities of this advanced networking solution. Let's dive in and explore the seamless connectivity that the Araknis Network Switch has to offer.
Step 1: Connect to the Araknis Network Switch
Before logging in to your Araknis Network Switch, it’s crucial to ensure that your device is properly connected to the switch. This physical connection lays the foundation for seamless access to the switch’s management interface. Follow these steps to establish a secure connection:
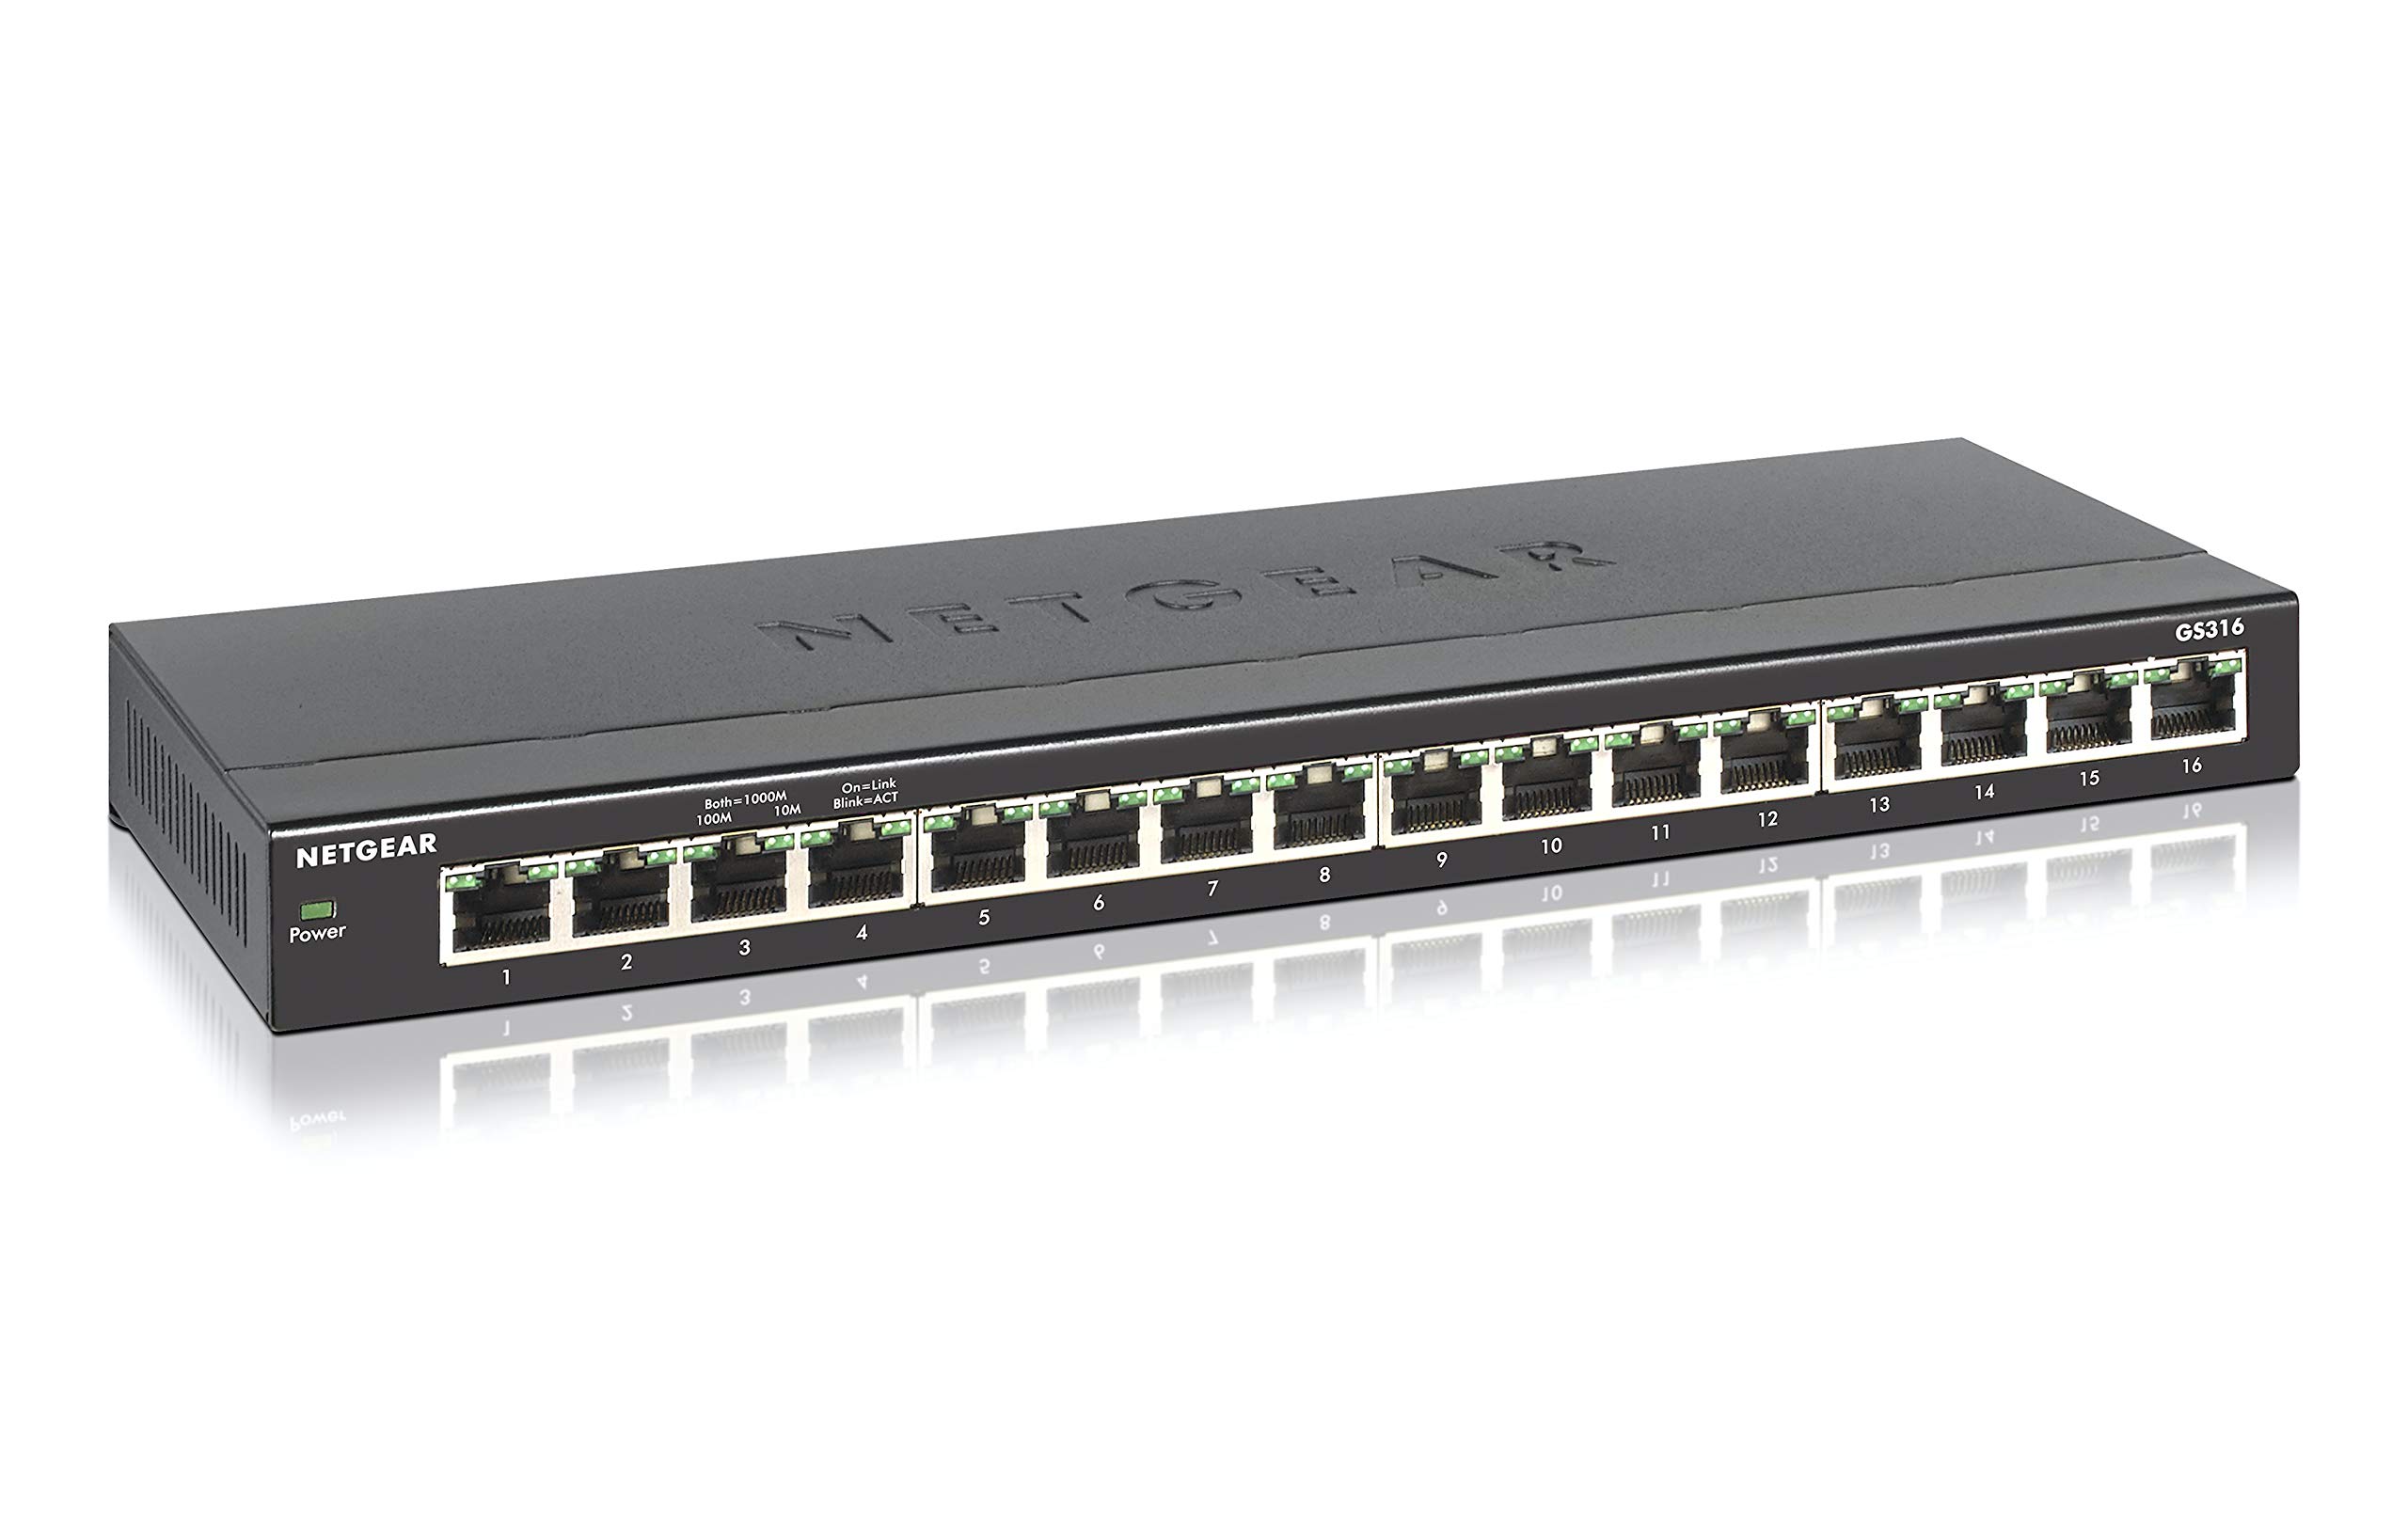
- Locate the Araknis Network Switch: Identify the physical location of your Araknis Network Switch within your network setup. Whether it’s mounted in a structured wiring enclosure or placed in a designated networking area, ensure that it is easily accessible for the connection process.
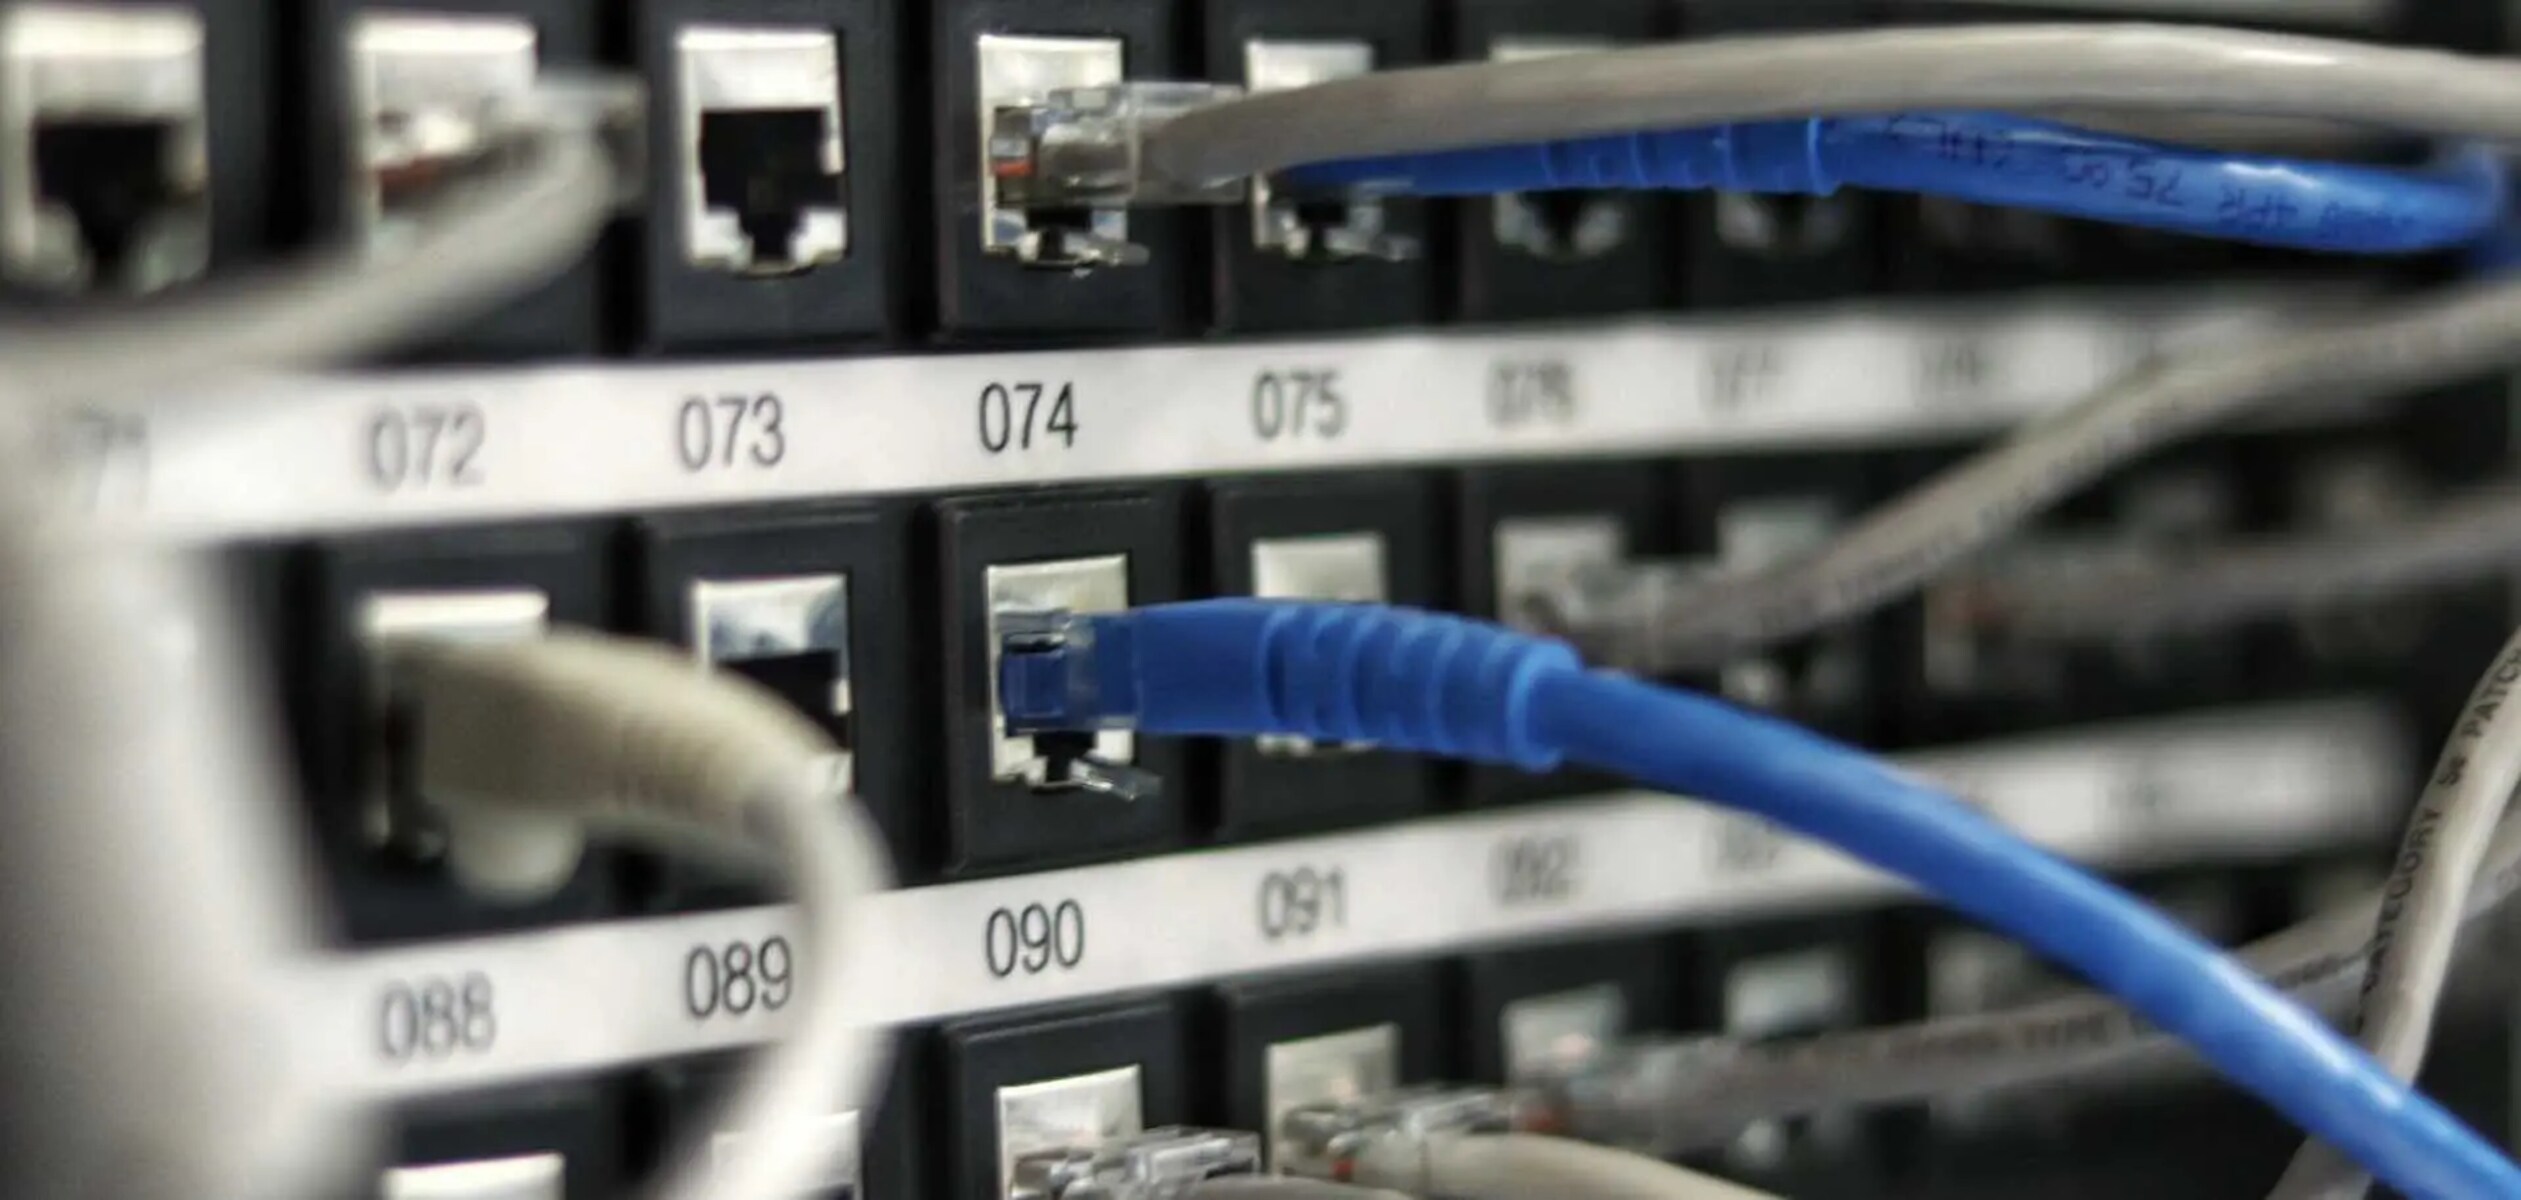
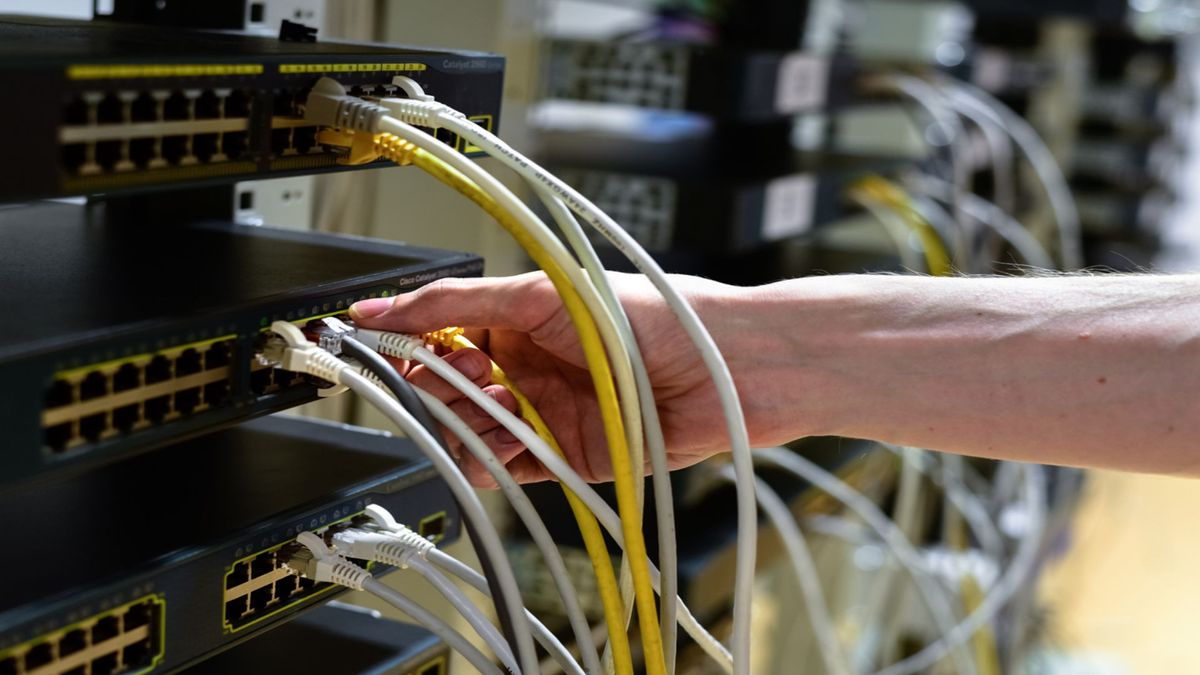
- Use an Ethernet Cable: Obtain an Ethernet cable of suitable length to reach from your computer or mobile device to one of the available ports on the Araknis Network Switch. The Ethernet cable serves as the direct link between your device and the switch, enabling seamless communication.
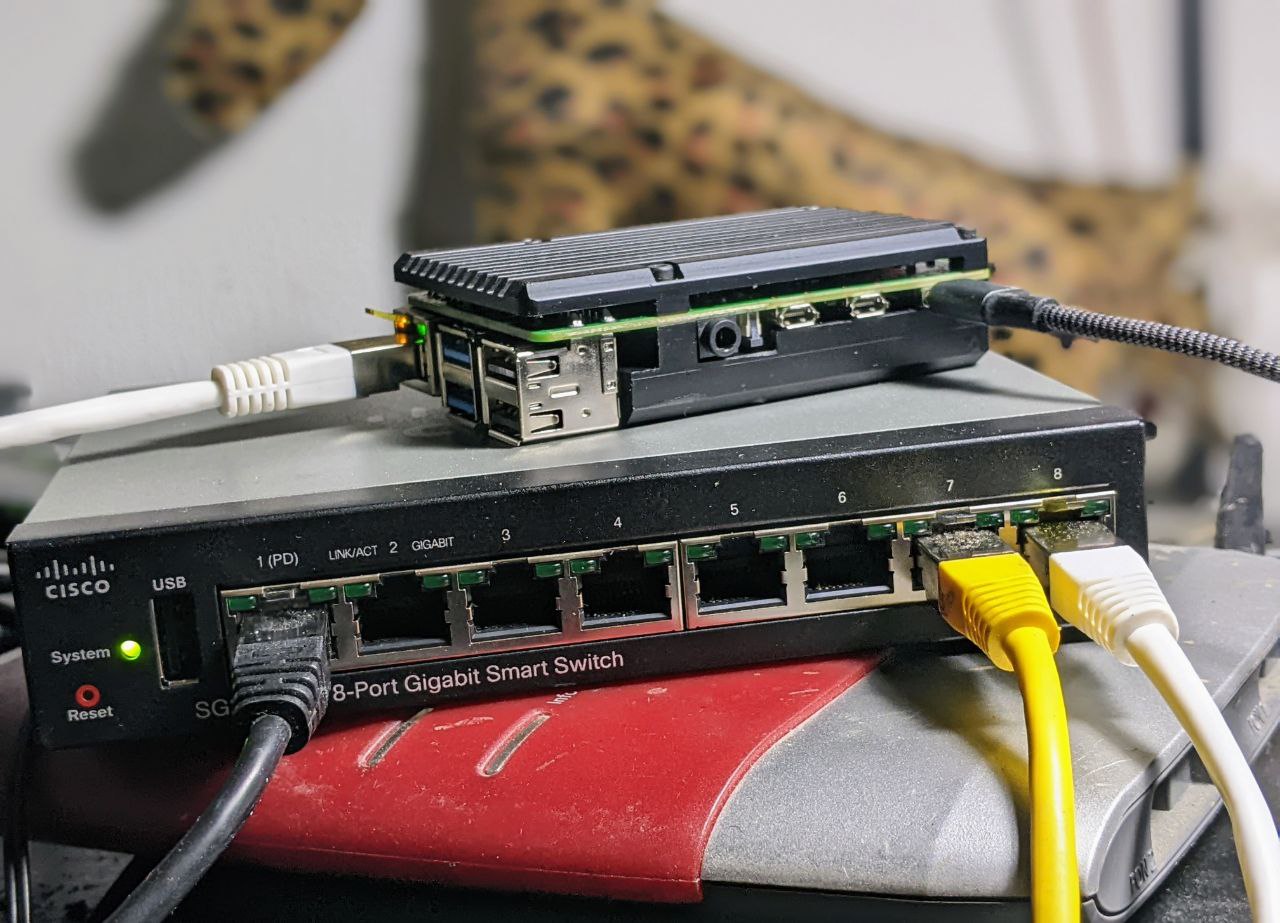
- Connect the Ethernet Cable: Plug one end of the Ethernet cable into an available port on the Araknis Network Switch. Then, connect the other end of the cable to the Ethernet port on your computer or mobile device. This physical connection establishes the pathway for data transmission between your device and the switch.
- Verify the Connection: Once the Ethernet cable is securely connected at both ends, verify that the link LED indicators on the switch and your device illuminate, indicating a successful physical connection. This visual confirmation ensures that data can flow between your device and the Araknis Network Switch.
By completing these steps, you have successfully established a physical connection between your computer or mobile device and the Araknis Network Switch. This essential connection sets the stage for the subsequent steps in the login process, allowing you to seamlessly access the switch’s management interface and unleash its full potential.
Step 2: Open a Web Browser
With the physical connection to the Araknis Network Switch in place, the next step in the login process involves accessing the switch’s management interface through a web browser. Follow these straightforward steps to open your preferred web browser and prepare for the login procedure:
- Select Your Web Browser: Launch the web browser of your choice on your computer or mobile device. Whether you prefer Google Chrome, Mozilla Firefox, Microsoft Edge, Safari, or any other modern browser, ensure that it is readily available for accessing the Araknis Network Switch’s management interface.
- Enter the Default IP Address: In the address bar of the web browser, type the default IP address of the Araknis Network Switch. Typically, the default IP address is 192.168.1.1, but it’s essential to refer to the switch’s documentation or the network configuration to confirm the precise IP address assigned to the switch within your network environment.
- Press Enter: After entering the default IP address in the web browser’s address bar, press the “Enter” key on your keyboard or tap the “Go” button within the browser interface. This action initiates a request to access the management interface of the Araknis Network Switch at the specified IP address.
By following these steps, you have successfully opened a web browser and entered the default IP address of the Araknis Network Switch. This prepares the browser to establish a connection with the switch’s management interface, setting the stage for the subsequent login process. With the web browser poised for interaction, you are ready to proceed to the next step and initiate the login procedure to access the advanced features and configurations of the Araknis Network Switch.
Step 3: Log In to the Araknis Network Switch
Now that you have established a physical connection to the Araknis Network Switch and opened a web browser, it’s time to log in to the switch’s management interface. This pivotal step grants you access to the switch’s configuration settings, monitoring tools, and diagnostic features. Follow these essential instructions to complete the login process:
- Enter the Default Login Credentials: Upon accessing the default IP address of the Araknis Network Switch in your web browser, you will be prompted to enter the login credentials. By default, the username is typically admin, and the password is araknis. It’s important to note that for security reasons, you should change these default credentials after initial login.
- Submit the Login Information: Input the default username and password into the designated fields on the login page of the switch’s management interface. Once the credentials are entered, proceed by clicking the “Login” or “Submit” button to initiate the authentication process.
- Access the Management Interface: Upon successful authentication, you will gain access to the intuitive management interface of the Araknis Network Switch. Here, you can explore a myriad of configuration options, network status indicators, and diagnostic tools to optimize the performance and reliability of your network infrastructure.
By following these steps, you have successfully logged in to the Araknis Network Switch, unlocking the powerful capabilities of its management interface. This access empowers you to customize network settings, monitor traffic, and troubleshoot connectivity issues, ensuring that your network operates at peak efficiency.
With the login process complete, you are now poised to harness the full potential of the Araknis Network Switch and tailor its functionalities to meet your specific networking requirements. Whether you’re a professional installer or a tech-savvy homeowner, mastering the login procedure is the gateway to leveraging the advanced features and performance enhancements offered by the Araknis Network Switch.
Conclusion
Congratulations! You have successfully navigated the process of logging in to your Araknis Network Switch, gaining access to its robust management interface and unlocking a world of networking possibilities. By following the step-by-step instructions outlined in this guide, you have positioned yourself to harness the full potential of this advanced networking solution.
As you venture into the management interface of the Araknis Network Switch, you are empowered to fine-tune network configurations, monitor traffic patterns, and troubleshoot connectivity issues with ease. Whether you are a professional integrator optimizing a commercial network or a homeowner seeking to enhance your residential setup, the ability to log in to the Araknis Network Switch marks the beginning of a journey toward seamless connectivity and enhanced network performance.
Remember, the login process is just the starting point. As you explore the myriad of features and settings within the switch’s management interface, consider customizing the configurations to align with your specific networking requirements. Additionally, it’s important to prioritize the security of your network by updating the default login credentials and implementing best practices for network protection.
With your newfound access to the Araknis Network Switch’s management interface, you are equipped to optimize network performance, troubleshoot issues, and adapt the switch’s settings to suit evolving networking needs. Embrace the flexibility and control offered by the Araknis Network Switch, and leverage its capabilities to create a reliable and efficient networking environment.
By mastering the login process and delving into the intricacies of the switch’s management interface, you have embarked on a journey toward seamless connectivity, robust network management, and enhanced user experiences. Whether you are a seasoned IT professional or an enthusiastic homeowner, the ability to log in to the Araknis Network Switch signifies a step toward unlocking the full potential of your network infrastructure.


