Introduction
Setting up a 16-port network switch is a fundamental step in establishing a robust and efficient network infrastructure. Whether you are expanding an existing network or creating a new one from scratch, a network switch serves as a pivotal component for interconnecting multiple devices, such as computers, printers, servers, and other networking equipment. This comprehensive guide will walk you through the essential steps to successfully set up a 16-port network switch, ensuring seamless connectivity and optimal network performance.
A network switch functions as a central hub, allowing devices within a local area network (LAN) to communicate with each other by forwarding data packets to their intended destinations. With 16 ports, this switch provides the capacity to accommodate a multitude of devices, making it suitable for small to mid-sized businesses, educational institutions, and home networks with substantial connectivity needs. By following the steps outlined in this guide, you will be able to establish a reliable network infrastructure that facilitates smooth data transmission and efficient resource sharing among connected devices.
From gathering the necessary equipment to testing the network connection, each step is crucial in ensuring that the network switch is properly set up and ready to facilitate seamless communication between devices. By the end of this guide, you will have the knowledge and confidence to set up a 16-port network switch effectively, empowering you to create a robust and interconnected network environment. Let's dive into the step-by-step process of setting up this essential networking component.
Step 1: Gather the necessary equipment
Before embarking on the setup process, it is essential to gather all the necessary equipment to ensure a smooth and efficient installation of the 16-port network switch. Here’s a comprehensive list of the essential items you will need:
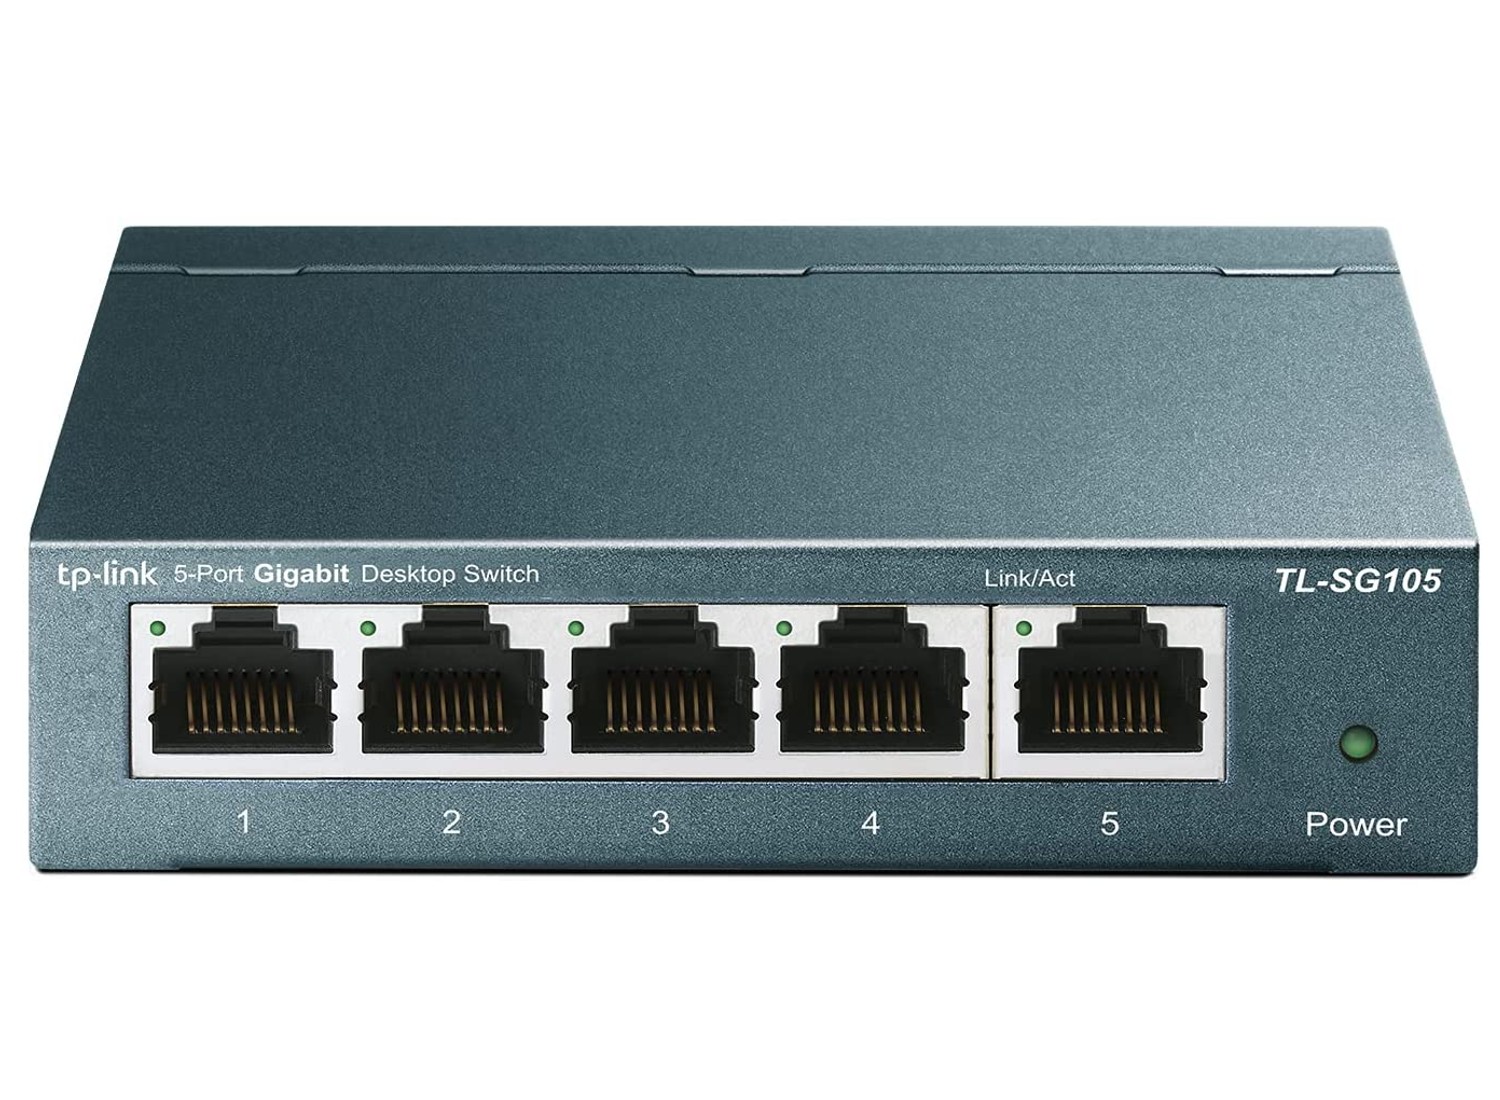
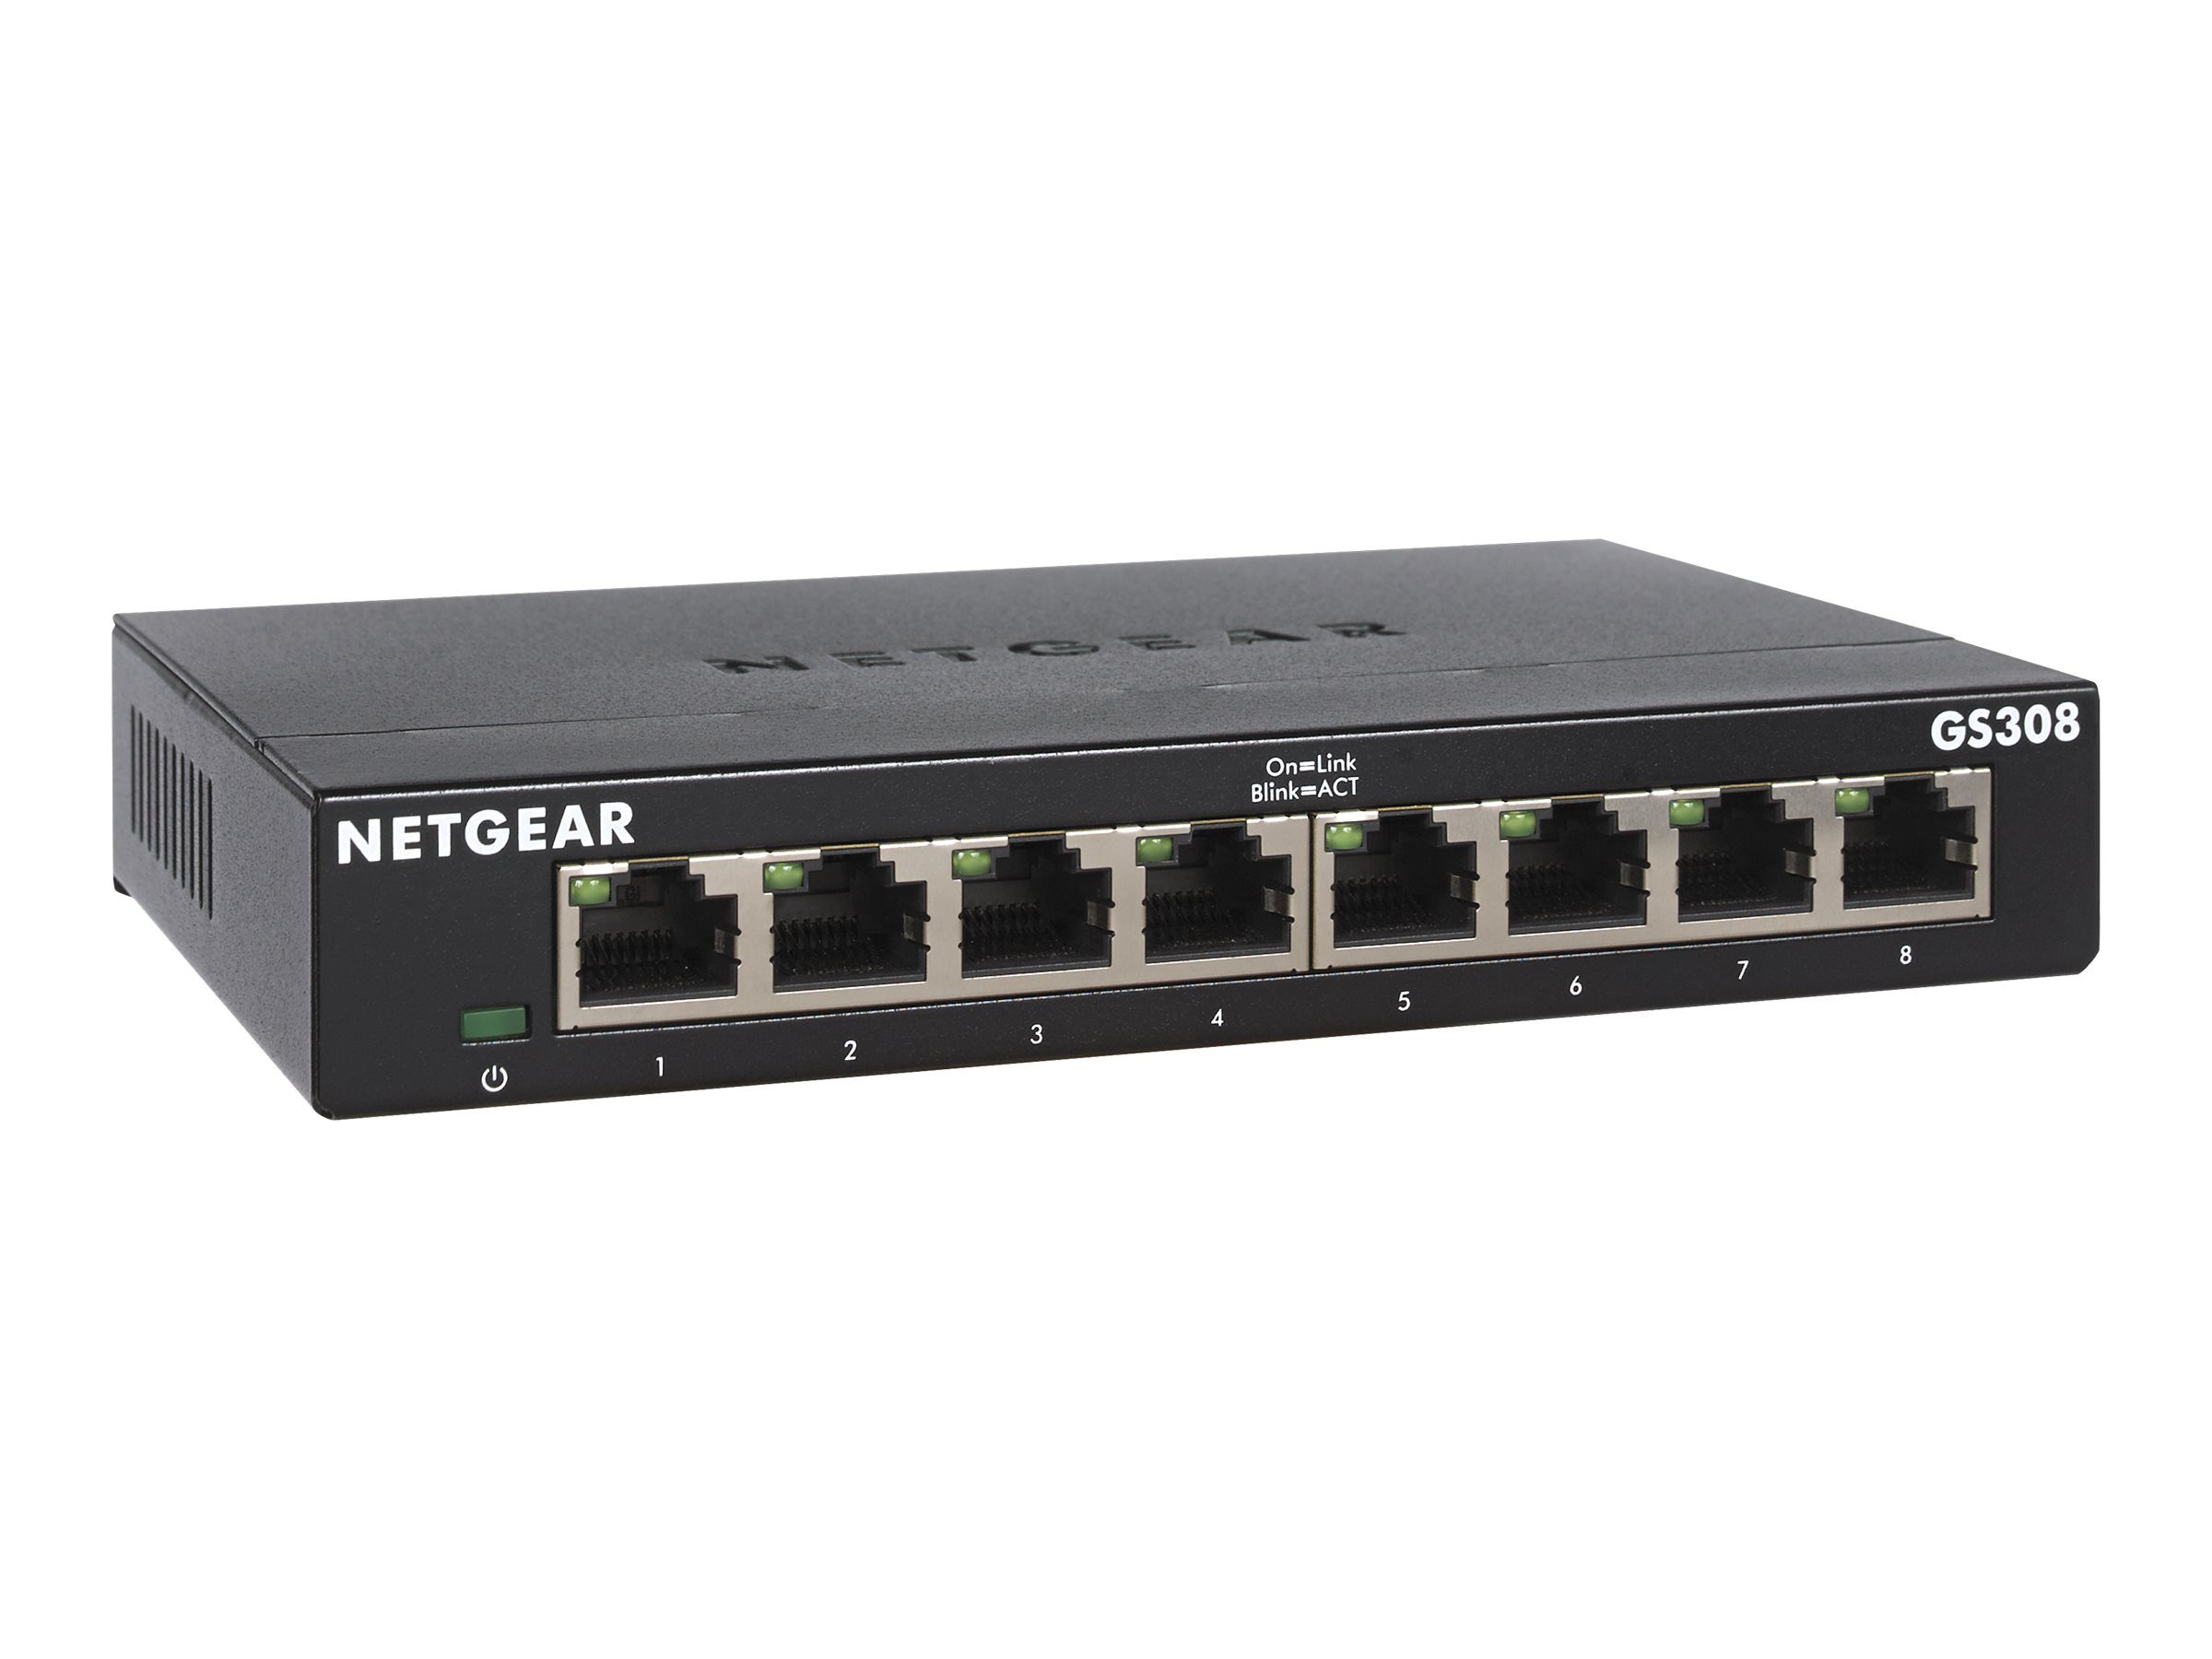
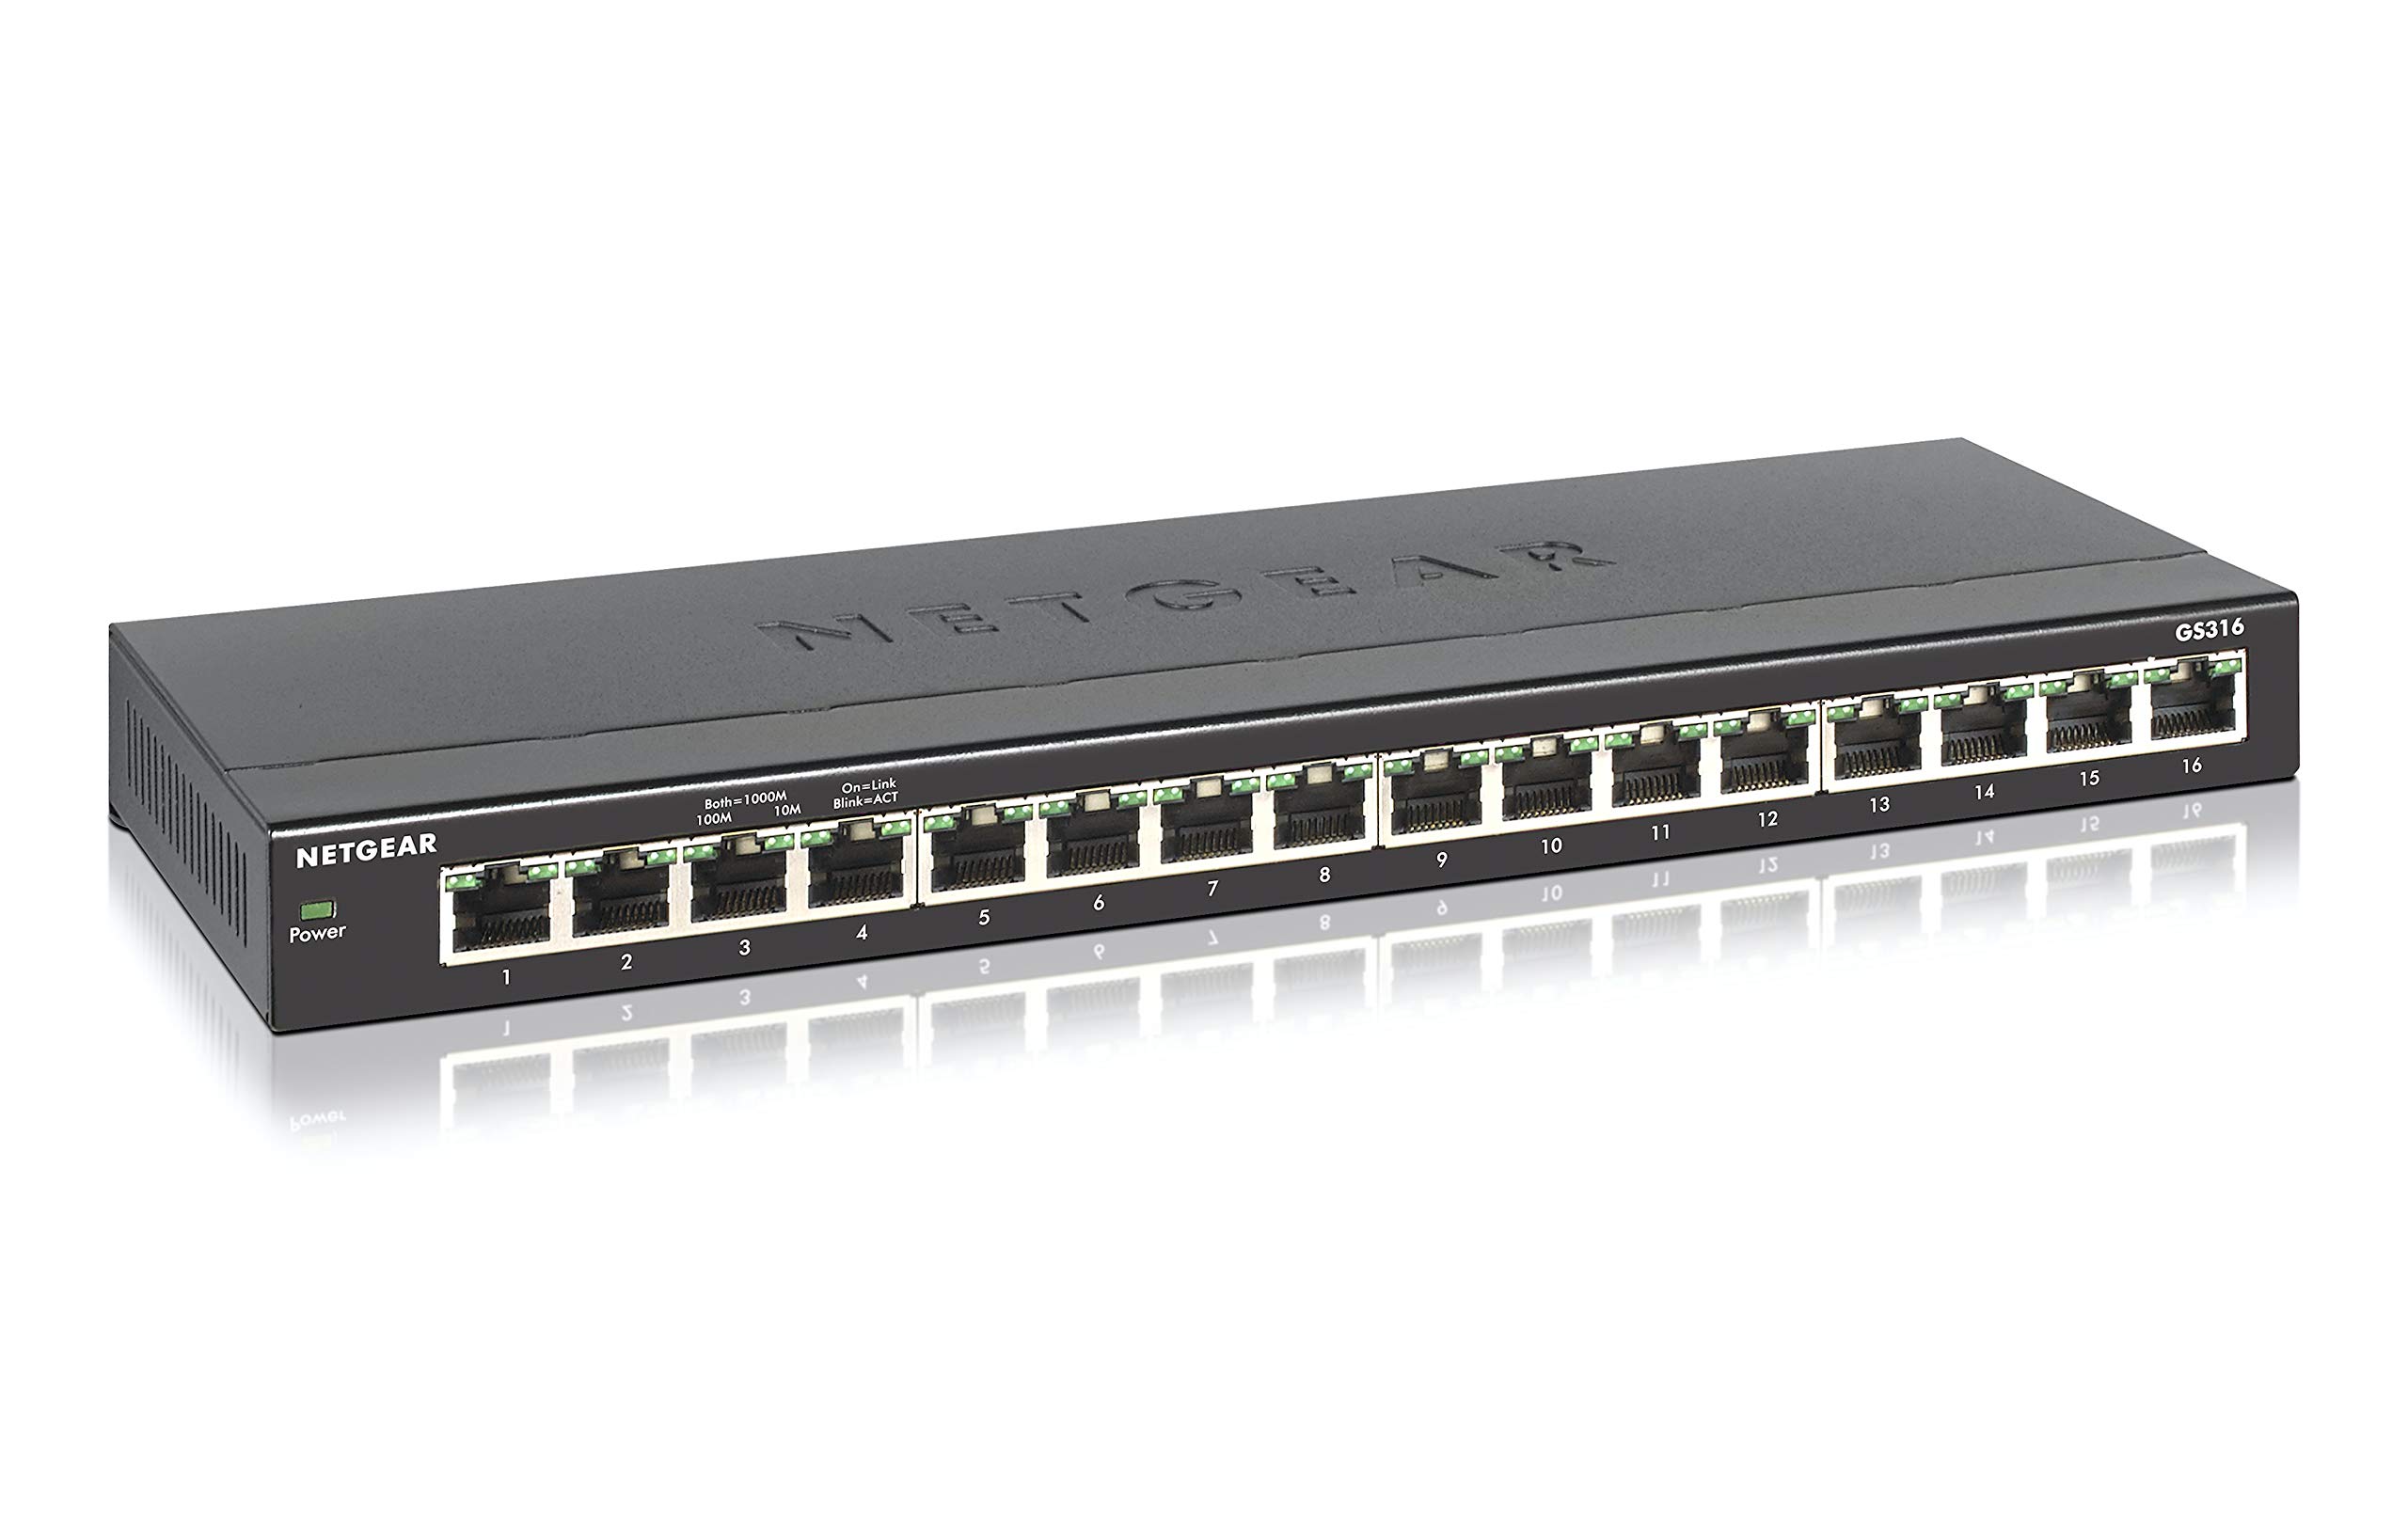
- 16-Port Network Switch: Select a high-quality 16-port network switch from a reputable manufacturer. Consider factors such as data transfer speed, PoE (Power over Ethernet) capability, and management features based on your specific networking requirements.
- Ethernet Cables: Procure an adequate number of Ethernet cables to connect the devices to the switch. Ensure that the cables are of sufficient length and comply with the required standards, such as Cat 5e or Cat 6, to support high-speed data transmission.
- Power Cord: Ensure that the switch is accompanied by a compatible power cord to supply the necessary electrical power. Verify that the power cord meets safety standards and is suitable for the electrical outlets in your location.
- Device Documentation: Retrieve the documentation and manuals provided with the network switch. Familiarize yourself with the installation procedures, technical specifications, and any additional configuration requirements outlined by the manufacturer.
- Labeling and Organization Tools: Prepare labeling and organization tools, such as cable ties, markers, and cable management accessories, to maintain a tidy and well-organized cabling infrastructure. Proper labeling facilitates easy identification and troubleshooting of network connections.
- Network Devices: Identify and gather the devices that will be connected to the network switch, including computers, printers, servers, and any other networking equipment. Ensure that each device is equipped with an Ethernet network interface for connectivity.
- Network Testing Tools: Optionally, consider acquiring network testing tools, such as cable testers or network diagnostic devices, to validate the integrity of the network connections and troubleshoot any potential issues during the setup process.
By assembling the necessary equipment in advance, you can streamline the setup process and address any potential logistical challenges proactively. The next step involves choosing the optimal location for installing the network switch within your premises.
Step 2: Choose the right location for the switch
Choosing the optimal location for installing the 16-port network switch is crucial for ensuring efficient network connectivity and accessibility. Consider the following factors when selecting the placement for the switch:
- Centralized Placement: Ideally, place the network switch in a centralized location within your premises to minimize cable lengths and facilitate equitable access for connected devices. Centralized placement helps in optimizing network performance and simplifies cable management.
- Ventilation and Cooling: Ensure that the chosen location provides adequate ventilation and cooling to prevent the switch from overheating. Avoid placing the switch in enclosed spaces or near heat-generating equipment to maintain optimal operating conditions.
- Accessibility: Select a location that allows for easy access to the switch for maintenance, troubleshooting, and future expansions. Accessibility is essential for performing regular maintenance tasks and swiftly addressing any network-related issues.
- Power Source Proximity: Place the switch in close proximity to a power outlet to facilitate convenient power connectivity. Consider the length of the power cord and ensure that it can reach the nearest electrical outlet without causing obstructions or safety hazards.
- Physical Security: Take into account the physical security of the chosen location to prevent unauthorized access or tampering with the network switch. If necessary, implement additional security measures to safeguard the switch from unauthorized manipulation.
- Cable Routing: Evaluate the feasibility of routing Ethernet cables from the connected devices to the switch location. Plan the cable routing to minimize potential interference, maintain cable organization, and prevent accidental damage to the cables.
Once you have identified the most suitable location based on the aforementioned considerations, proceed to the next step of connecting the switch to power to initiate the setup process.
Step 3: Connect the switch to power
After identifying the optimal location for the 16-port network switch, the next crucial step is to establish the power connection to initiate the setup process. Follow these steps to ensure a secure and reliable power connection:
- Verify Voltage Compatibility: Before connecting the switch to power, verify that the voltage requirements of the switch align with the electrical supply in your location. Ensure that the voltage rating of the switch matches the available power source to prevent damage due to voltage mismatches.
- Unpack and Inspect the Power Cord: Unpack the power cord provided with the network switch and inspect it for any signs of damage or wear. Ensure that the power cord is free from frayed insulation, exposed wires, or other potential hazards that could compromise electrical safety.
- Connect the Power Cord: Plug one end of the power cord into the power input port on the network switch, ensuring a secure and snug connection. Then, connect the other end of the power cord to a nearby electrical outlet, taking care to avoid creating trip hazards or obstructing walkways.
- Power On the Switch: Once the power cord is securely connected, power on the network switch using the designated power button or switch. Observe the switch for any LED indicators or display panel feedback to confirm that power has been successfully applied to the device.
- Power Surge Protection: Consider connecting the network switch to a power surge protector or uninterruptible power supply (UPS) to safeguard the device from power surges, fluctuations, and outages. Implementing surge protection measures helps in preserving the integrity of the switch and the connected network infrastructure.
By meticulously following these steps, you can ensure that the network switch is safely and securely powered, laying the foundation for the subsequent steps of connecting devices to the switch and configuring the network settings as needed.
Step 4: Connect devices to the switch
Once the 16-port network switch is securely powered, the next pivotal step involves connecting the intended devices to the switch to establish network connectivity. Follow these guidelines to ensure a seamless and organized connection process:
- Prepare Ethernet Cables: Gather the required Ethernet cables and ensure that they are of adequate length to reach from the connected devices to the network switch. Verify that the cables comply with the necessary standards, such as Cat 5e or Cat 6, to support high-speed data transmission.
- Identify Device Locations: Determine the locations of the devices that will be connected to the network switch, such as computers, printers, servers, and other networking equipment. Plan the routing of the Ethernet cables to each device, considering factors such as cable organization and potential interference avoidance.
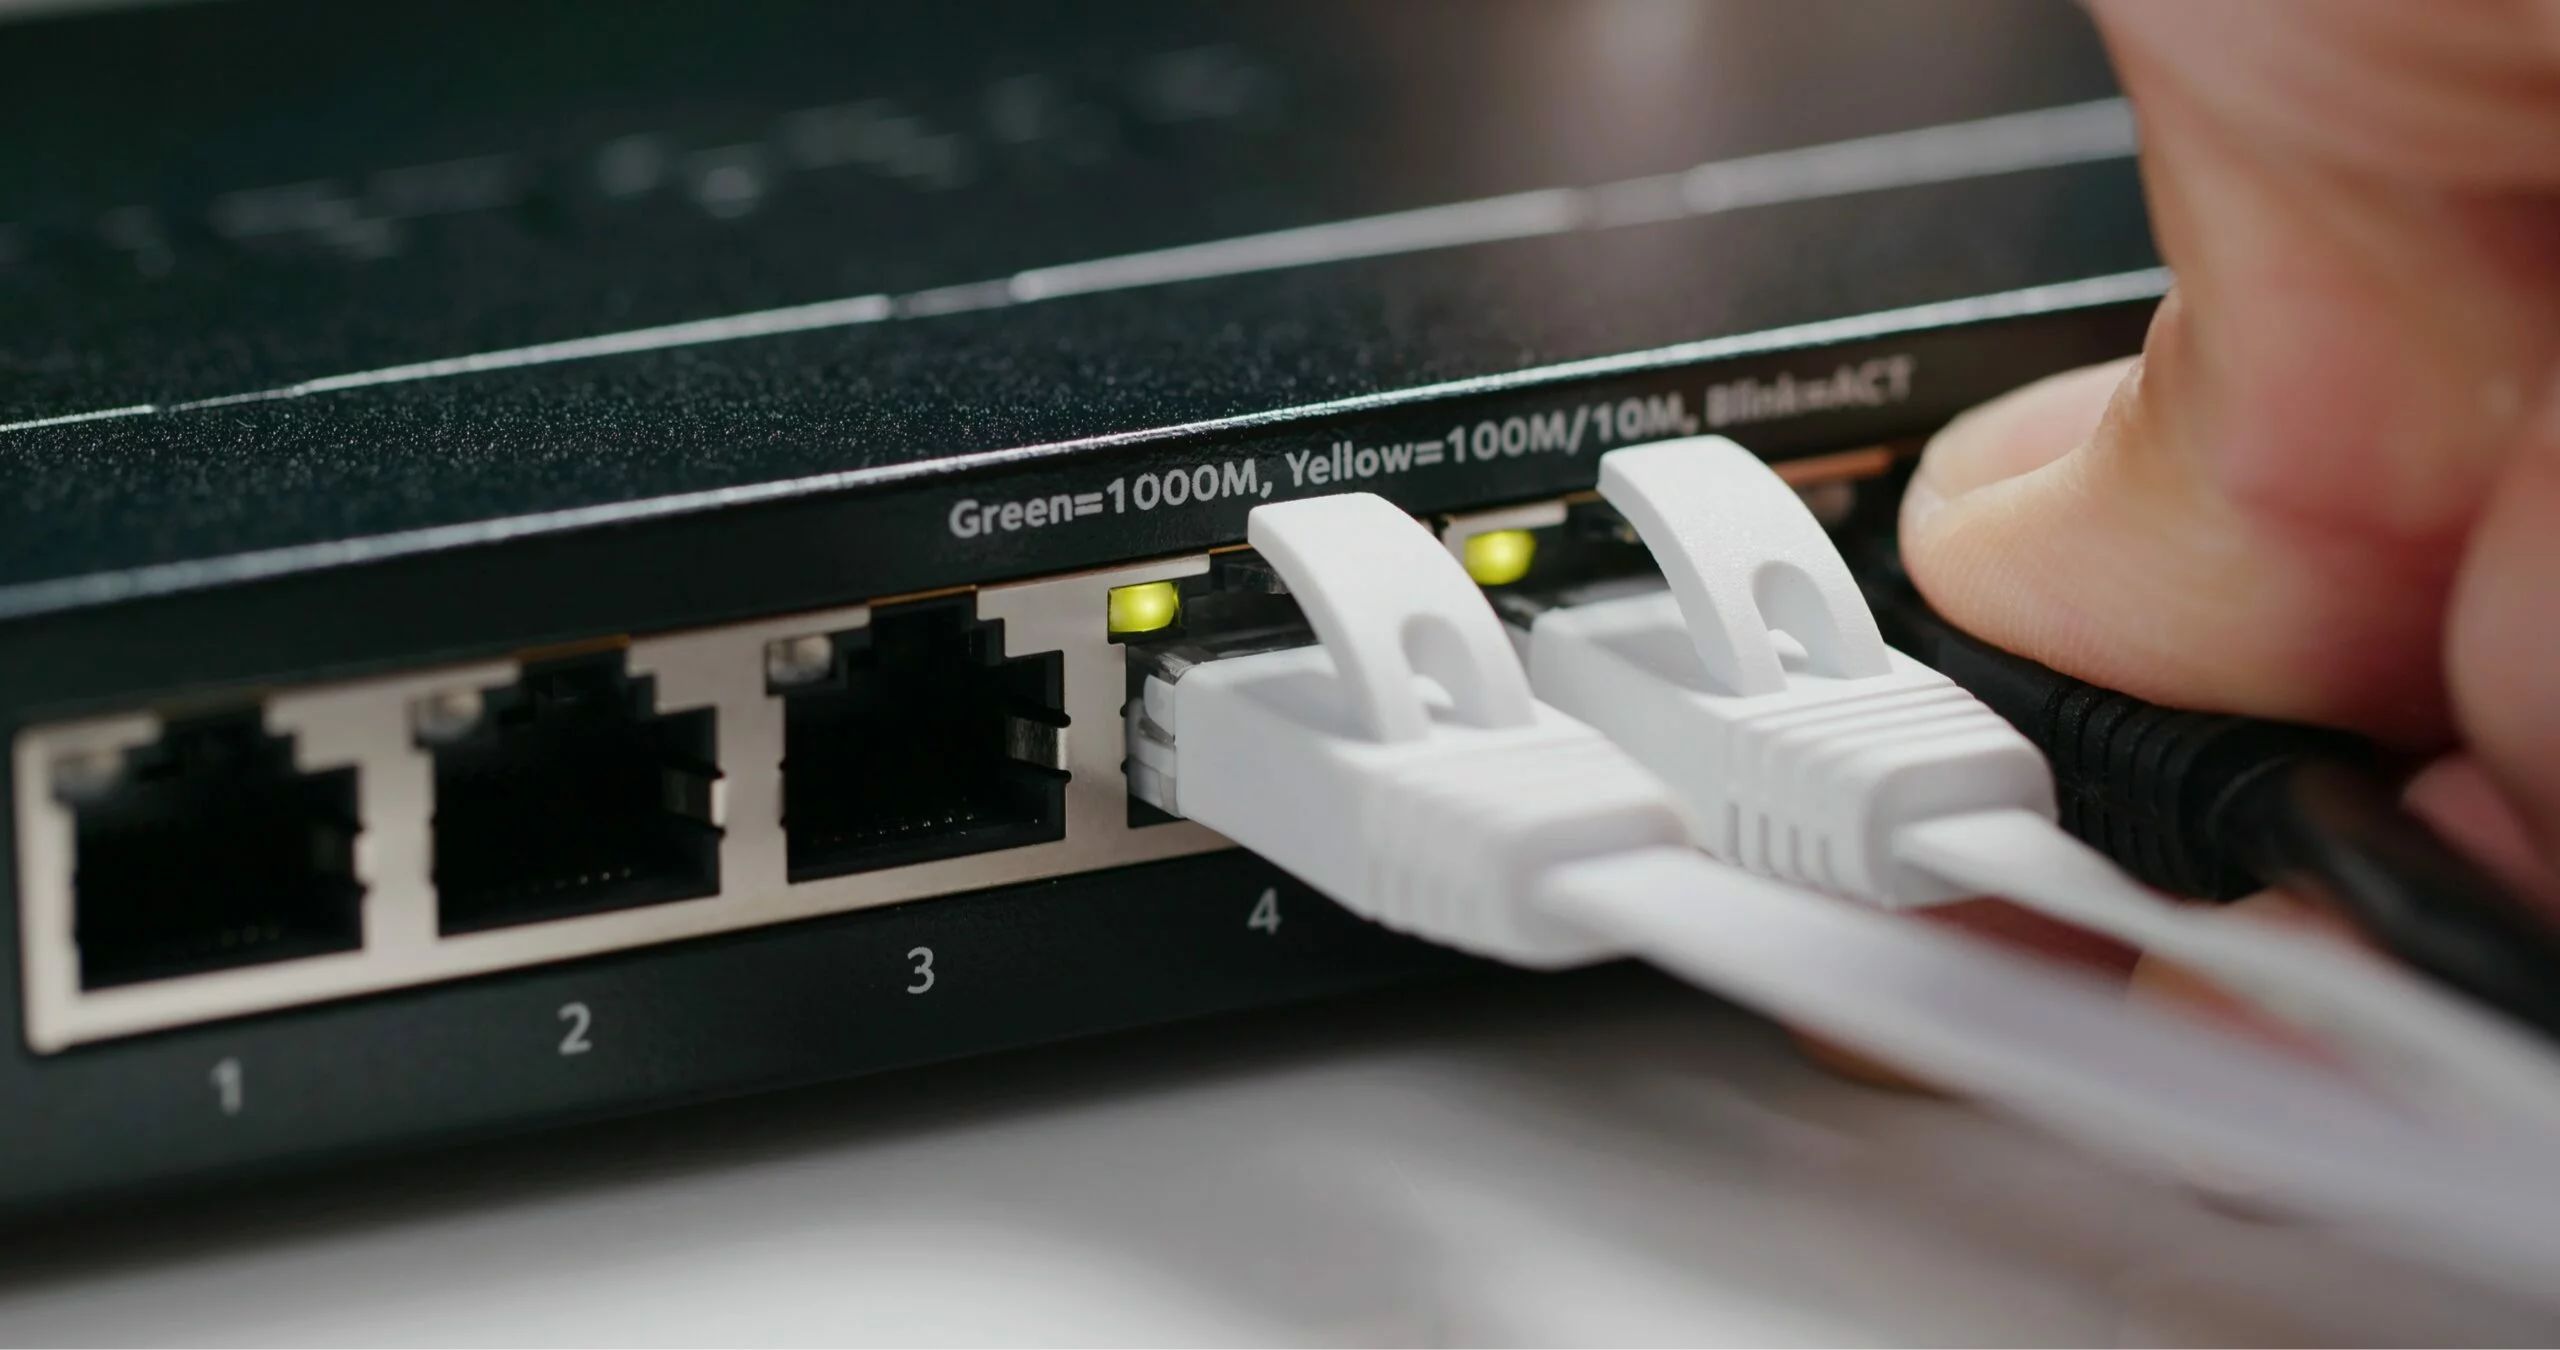
- Establish Device Connections: Using the prepared Ethernet cables, connect each device to an available port on the network switch. Ensure a secure and snug connection for each cable, avoiding excessive bending or tension that could compromise the integrity of the connections.
- Implement Cable Management: Organize the connected Ethernet cables using cable ties, cable management accessories, or other labeling tools to maintain a tidy and structured cabling infrastructure. Proper cable management facilitates easy identification of connections and simplifies future maintenance tasks.
- Verify Connection Status: Once the devices are connected to the switch, verify the connection status by checking the LED indicators on the switch ports. Confirm that the LEDs corresponding to the connected ports display active link and data transfer indicators, indicating successful network connectivity.
- Test Device Communication: Test the communication between the connected devices to ensure that data transmission is functioning as expected. Verify the ability of devices to communicate with each other and access network resources, such as shared files or network-connected peripherals.
By meticulously following these steps and ensuring proper cable organization, you can establish reliable network connections between the devices and the 16-port network switch, laying the groundwork for configuring the switch and validating the network setup.
Step 5: Configure the switch if necessary
Configuring the 16-port network switch is a critical step that allows you to tailor its settings to meet the specific requirements of your network infrastructure. While some switches may operate effectively with default settings, certain configurations may be necessary to optimize performance and security. Follow these essential steps to configure the switch as per your network needs:
- Access the Configuration Interface: Determine the method of accessing the switch’s configuration interface, which may involve using a web browser, a dedicated management application, or a command-line interface (CLI) via a console connection. Refer to the switch’s documentation for specific instructions on accessing the configuration interface.
- Set Administrative Credentials: If the switch requires authentication for configuration access, set up secure administrative credentials, such as usernames and passwords, to prevent unauthorized access to the switch’s settings. Implement strong and unique passwords to enhance security.
- Configure VLANs and Port Settings: If your network requires virtual LAN (VLAN) segmentation or specific port settings, configure the switch accordingly. Create VLANs to segment network traffic and assign ports to designated VLANs based on the connectivity requirements of your network devices.
- Enable Quality of Service (QoS): If your network demands prioritization of certain types of traffic, enable Quality of Service (QoS) settings on the switch to prioritize data streams, optimize bandwidth utilization, and ensure consistent performance for critical applications or services.
- Implement Security Measures: Enhance network security by configuring features such as port security, MAC address filtering, and access control lists (ACLs) to control and restrict access to the network resources. Implementing security measures helps in safeguarding the network from unauthorized access and potential threats.
- Monitor and Logging Settings: Configure monitoring and logging settings to facilitate the collection of network activity data, error logs, and performance metrics. Monitoring and logging features provide valuable insights into network operations and aid in troubleshooting and performance optimization.
By following these configuration steps, you can tailor the settings of the network switch to align with the specific requirements and operational parameters of your network, ensuring optimal performance and security. Once the switch is configured, proceed to the final step of testing the network connection to validate the setup.
Step 6: Test the network connection
After setting up and configuring the 16-port network switch, it is imperative to conduct comprehensive testing to verify the functionality and performance of the network connections. Testing the network connection ensures that data transmission is seamless, devices are communicating effectively, and the switch is operating as intended. Follow these essential steps to test the network connection:
- Ping Test: Utilize the ping command from a connected device to test the connectivity to other devices within the network. Verify that devices can successfully exchange data packets and communicate with each other without significant latency or packet loss.
- Bandwidth Testing: Conduct bandwidth testing using appropriate network diagnostic tools to measure the data transfer rates between devices and assess the overall network performance. Verify that the network switch can sustain the expected data throughput without degradation or bottlenecks.
- Device Accessibility: Ensure that all connected devices can access network resources, such as shared folders, network printers, and internet connectivity, without encountering connectivity issues or access restrictions. Validate that devices can seamlessly interact with the network infrastructure.
- VLAN Segmentation Testing: If VLANs are configured, test the segmentation by verifying that devices within each VLAN can communicate internally while maintaining isolation from devices in other VLANs. Confirm that VLAN configurations are functioning as intended.
- Quality of Service (QoS) Validation: Validate the effectiveness of Quality of Service (QoS) settings by prioritizing specific types of network traffic and observing the impact on data prioritization, latency reduction, and overall network performance for critical applications or services.
- Security Assessment: Conduct security assessments to ensure that configured security measures, such as port security, MAC address filtering, and access control lists, are effectively controlling network access and mitigating potential security risks.
By performing these comprehensive tests, you can validate the integrity of the network connections, assess the performance of the switch, and identify any potential issues that require further optimization or troubleshooting. Thorough testing is essential to ensure that the network switch is fully operational and capable of facilitating seamless communication and data exchange among connected devices.
Conclusion
Setting up a 16-port network switch is a foundational task in establishing a robust and interconnected network environment. By following the comprehensive steps outlined in this guide, you have acquired the essential knowledge and practical insights to successfully set up and configure a 16-port network switch, ensuring seamless connectivity and optimal network performance.
From gathering the necessary equipment to testing the network connection, each step plays a pivotal role in ensuring that the network switch is properly installed, powered, connected, and configured to meet the specific requirements of your network infrastructure. By meticulously executing each step, you have laid the groundwork for creating a reliable and efficient network environment that facilitates seamless data transmission and resource sharing among connected devices.
As you progress in your networking endeavors, remember the importance of regular maintenance, monitoring, and security assessments to uphold the integrity and performance of the network switch and the interconnected devices. Additionally, stay informed about advancements in networking technologies and best practices to continually optimize your network infrastructure.
By mastering the process of setting up a 16-port network switch, you have empowered yourself to contribute to the seamless operation and connectivity of your network, whether in a professional setting, educational institution, or home environment. Embrace the knowledge gained from this guide and continue to explore the ever-evolving landscape of networking to enhance your skills and capabilities in building and maintaining robust network infrastructures.