Introduction
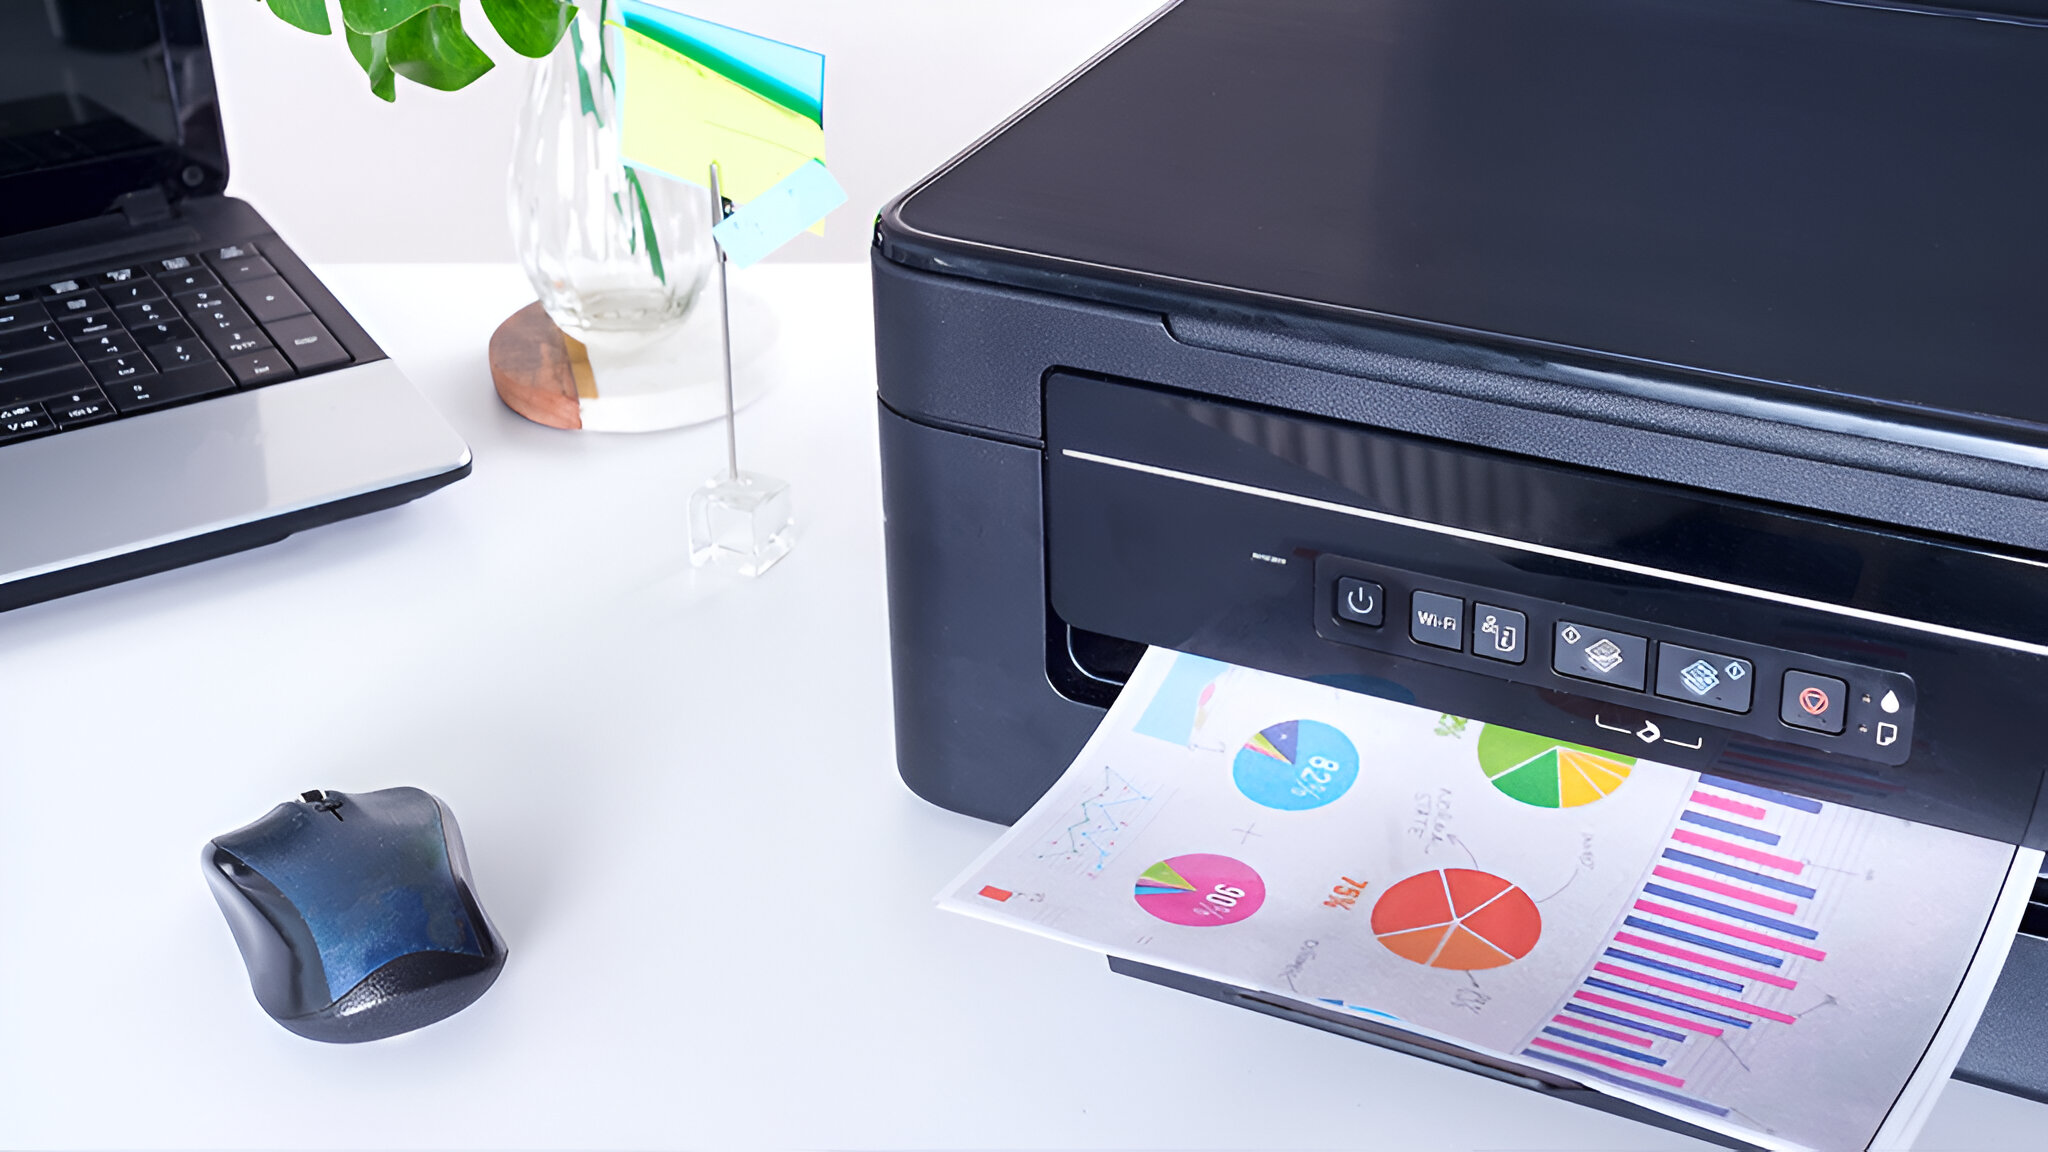
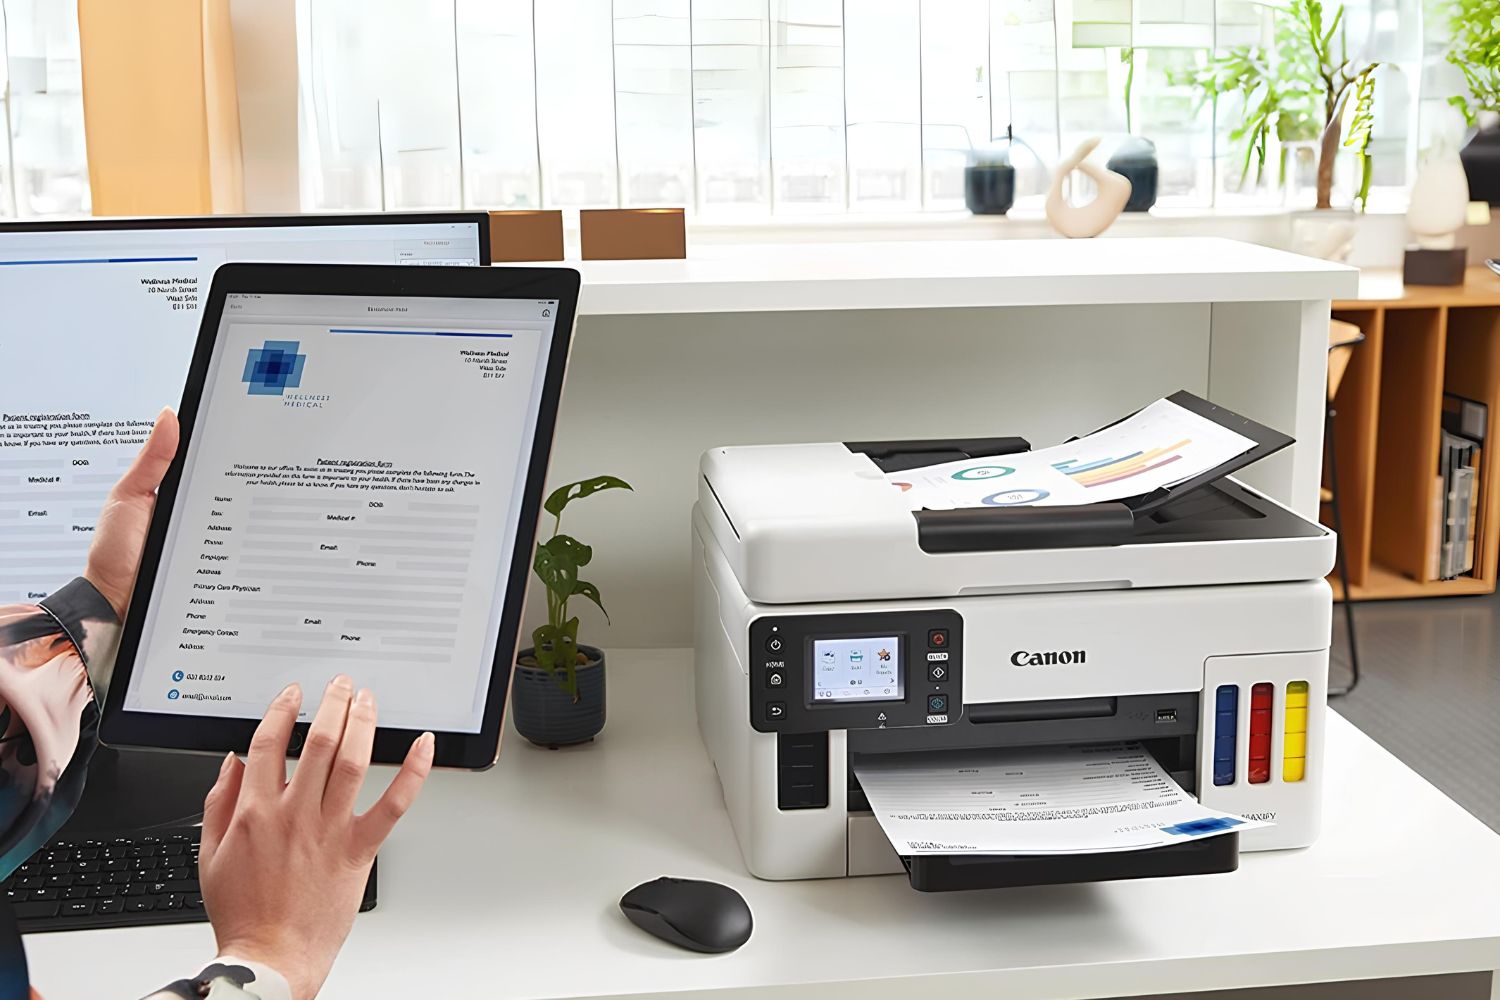
Linking your HP printer to a hotspot can provide you with the flexibility to print from virtually anywhere. Whether you're working from home, at a coffee shop, or in a shared workspace, setting up your HP printer to connect to a hotspot enables seamless printing without the need for a traditional wired or wireless network. This convenient setup allows you to print documents, photos, and more directly from your laptop, smartphone, or tablet, making it an ideal solution for individuals and professionals on the go.
In this comprehensive guide, we will walk you through the step-by-step process of linking your HP printer to a hotspot. By following these instructions, you can enjoy the freedom and convenience of printing from your HP printer using a hotspot connection. Whether you're a tech-savvy individual or someone who is new to printer configuration, this guide will provide you with clear and easy-to-follow instructions to complete the setup effortlessly.
By the end of this guide, you will have your HP printer successfully connected to a hotspot, allowing you to print documents and images with ease and efficiency. So, let's dive into the process and get your HP printer linked to a hotspot in no time.
Step 1: Turn on the HP Printer
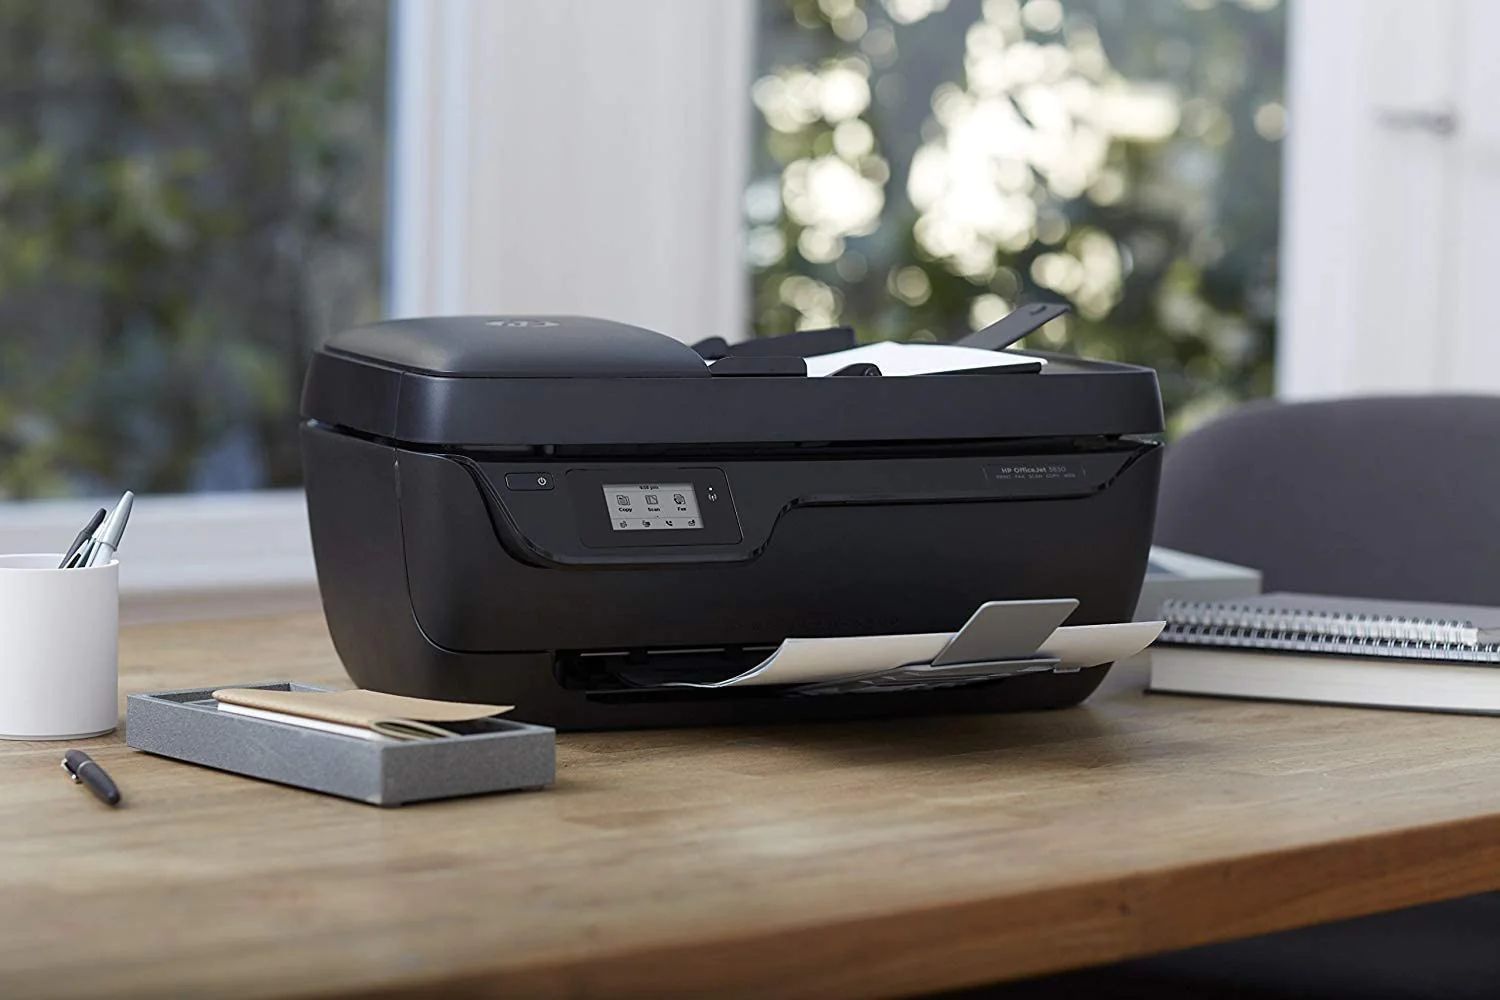
Turning on your HP printer is the first crucial step in the process of linking it to a hotspot. This step ensures that the printer is ready to establish a connection and receive print jobs from devices connected to the hotspot. Follow these simple yet essential instructions to power on your HP printer:
-
Power Connection: Begin by plugging the power cord of your HP printer into a suitable power outlet. Ensure that the power source is stable and reliable to prevent any interruption during the setup process.
-
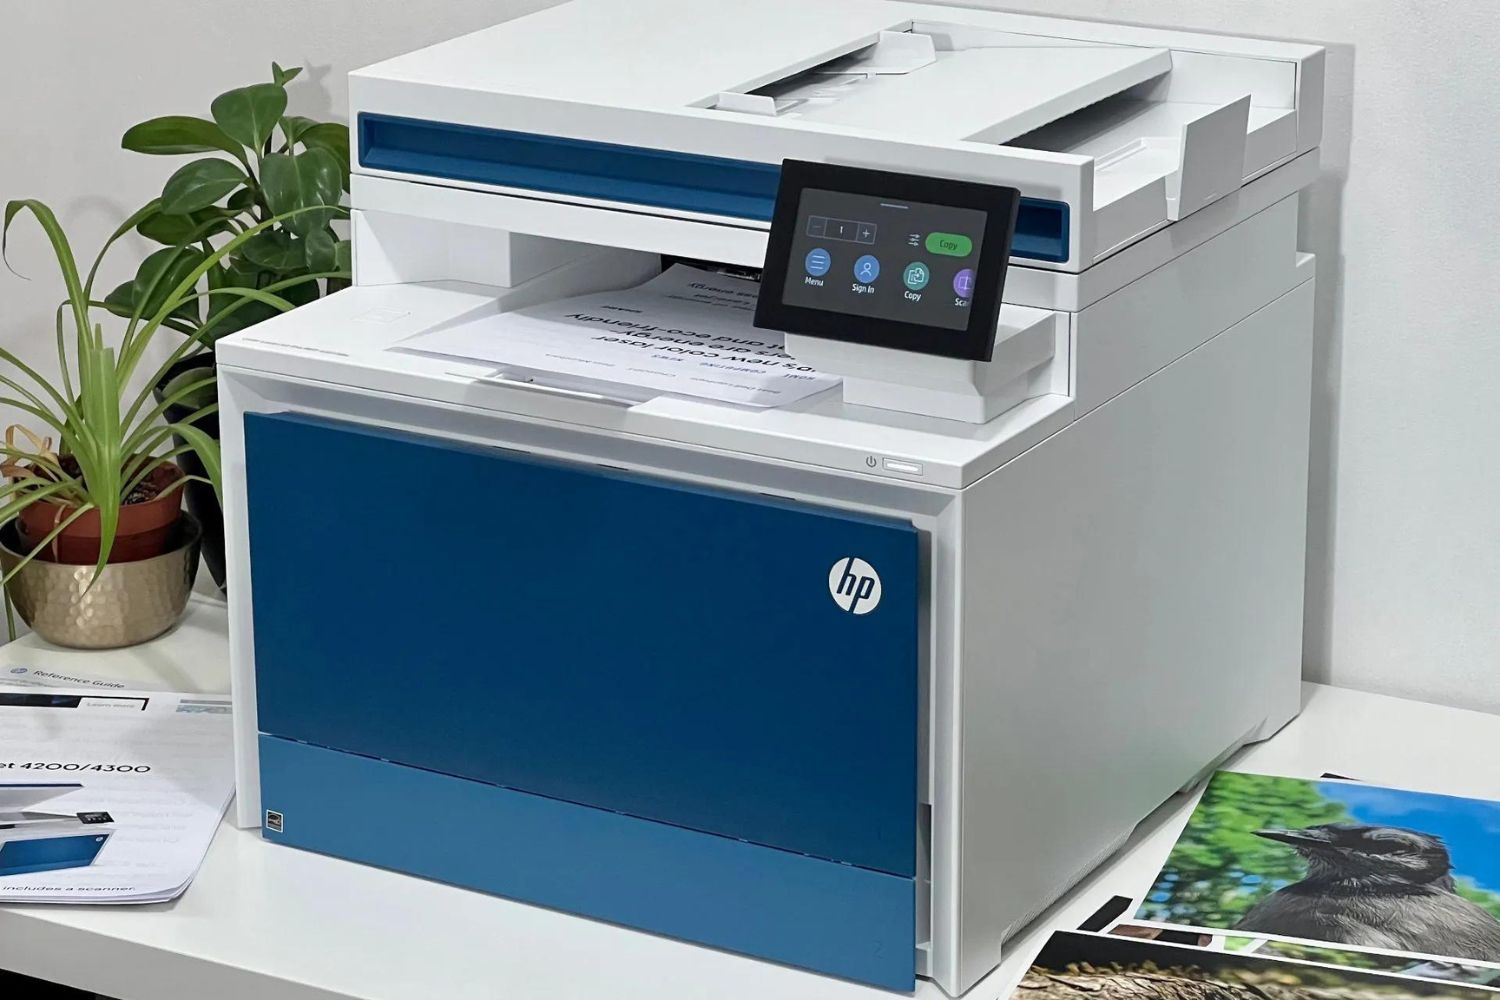
Power Button: Locate the power button on your HP printer. This button is typically situated on the control panel or near the display screen. Press the power button to turn on the printer. Upon activation, the printer will initiate its startup sequence, during which the internal components will initialize and prepare for operation.
-
Display Confirmation: As the printer powers on, the display screen, if available, will illuminate, indicating that the printer is booting up. Depending on the model of your HP printer, you may see the brand logo or a startup message on the display, confirming that the printer is successfully turning on.
-
Ready Status: Once the startup sequence is complete, the printer will enter a ready state, indicating that it is powered on and ready to receive print commands. At this point, the printer is prepared to establish a connection with the hotspot and begin printing documents or images sent from connected devices.
By ensuring that your HP printer is properly powered on, you can proceed to the next steps with confidence, knowing that the printer is ready to be linked to a hotspot and enable seamless printing from your devices. With the printer successfully turned on, you are now ready to move on to the next step of connecting to the hotspot, bringing you one step closer to the convenience of wireless printing from your HP printer.
Step 2: Connect to the Hotspot
Connecting your HP printer to a hotspot involves establishing a direct wireless connection between the printer and the hotspot network. This step is essential for enabling seamless communication between your devices and the printer, allowing you to send print jobs from anywhere within the hotspot's coverage area. Follow these detailed instructions to successfully connect your HP printer to the hotspot:
-
Access the Control Panel: Begin by navigating to the control panel of your HP printer. Depending on the model, the control panel may consist of a touchscreen display or a set of physical buttons and a small screen. Ensure that the printer's display is active and ready for input.
-
Navigate to Network Settings: Within the control panel menu, locate and select the "Network" or "Wireless" option. This will allow you to access the printer's wireless settings and initiate the process of connecting to a new network.
-
Choose the Hotspot Network: Upon accessing the wireless settings, your HP printer will display a list of available wireless networks, including the hotspot you intend to connect to. Use the control panel interface to select the hotspot network from the list of available options.
-
Enter the Hotspot Password (if required): If the hotspot network is secured with a password, the printer will prompt you to enter the network's security key. Using the control panel or touchscreen display, input the password carefully to ensure accuracy. Once entered, proceed to confirm and authenticate the connection.
-
Establish the Connection: After entering the hotspot password, the HP printer will initiate the connection process. It will attempt to establish a secure and stable connection to the hotspot network, allowing the printer to communicate with devices connected to the same network.
-
Connection Confirmation: Upon successful connection, the printer's display will indicate that it is now linked to the hotspot network. This confirmation ensures that the HP printer is ready to receive print jobs from devices, such as laptops, smartphones, or tablets, connected to the same hotspot.
By following these step-by-step instructions, you can successfully connect your HP printer to the hotspot, enabling seamless wireless printing from your devices. With the printer now linked to the hotspot network, you are ready to proceed to the next step of configuring the printer settings, ensuring that it is optimized for efficient and high-quality printing.
Step 3: Configure the Printer Settings
Configuring the printer settings is a crucial step in optimizing the performance and functionality of your HP printer within the hotspot network. By customizing the settings to suit your specific printing needs, you can ensure that the printer delivers high-quality prints and operates efficiently. Follow these detailed instructions to configure the printer settings seamlessly:
-
Access Printer Settings: Begin by accessing the printer's control panel or settings menu. Navigate to the "Settings" or "Setup" option, which allows you to modify various parameters related to print quality, paper handling, and network connectivity.
-
Wireless Settings: Within the printer settings menu, locate the "Wireless" or "Network" settings. Here, you can review and modify the wireless connection settings to ensure that the printer remains connected to the hotspot network without any interruptions.
-
Quality and Resolution: Adjust the print quality and resolution settings based on your preferences. Higher print quality and resolution settings result in sharper and more detailed prints, while lower settings conserve ink or toner. Select the appropriate quality level that aligns with your printing requirements.
-
Paper Type and Size: Specify the type and size of paper loaded in the printer's tray. This ensures that the printer accurately processes print jobs according to the specified paper dimensions, preventing misalignment or paper jams during printing.
-
Print Preferences: Explore the print preferences menu to customize settings such as color options, duplex printing (printing on both sides of the paper), and page layout. Tailoring these preferences allows you to optimize the printing process for specific documents or images.
-
Network Configuration: If your hotspot network uses specific network configurations or security protocols, ensure that the printer's network settings align with these requirements. This includes verifying the network encryption type, IP address settings, and network authentication methods.
-
Firmware Updates: Check for and install any available firmware updates for your HP printer. Firmware updates often include enhancements to network connectivity, printing speed, and overall performance. Keeping the printer's firmware up to date ensures that it operates with the latest optimizations and features.
-
Test Print: After configuring the printer settings, perform a test print to verify that the adjustments have been applied successfully. Use a sample document or image to assess the print quality and ensure that the printer functions as expected within the hotspot network.
By following these comprehensive steps to configure the printer settings, you can fine-tune your HP printer to deliver optimal performance and reliability within the hotspot environment. Customizing the settings according to your preferences and printing requirements ensures that the printer operates seamlessly, allowing you to enjoy the convenience of wireless printing from your connected devices.
Step 4: Test the Connection
After connecting your HP printer to the hotspot and configuring its settings, it is essential to validate the connection and ensure that the printer is ready to receive and process print jobs from devices within the hotspot network. Testing the connection allows you to confirm the seamless functionality of the printer and address any potential issues before initiating actual print tasks. Follow these detailed steps to effectively test the connection between your HP printer and the hotspot network:
-
Print Test Page: Using a connected device, such as a laptop or smartphone, send a test print job to the HP printer. This can be achieved by selecting a document or image and choosing the HP printer as the designated printing device. Initiate the print command and observe the printer's response.
-
Monitor Print Queue: Access the print queue on the connected device or the printer's control panel to verify that the print job has been successfully received and queued for printing. The print queue provides visibility into the status of print jobs and allows you to confirm that the document or image is ready for processing.
-
Printer Response: Observe the HP printer's response to the print command. The printer should promptly initiate the printing process, indicating that it has received the print job from the connected device. Listen for the printer's operational sounds and monitor the display, if available, for status updates.
-
Print Output: Once the print job is processed, retrieve the printed document or image from the printer's output tray. Inspect the print output for quality, ensuring that the content is accurately reproduced without any distortions or printing errors. Assess the clarity and accuracy of the printed material.
-
Wireless Stability: Evaluate the stability of the wireless connection between the HP printer and the hotspot network during the print test. Confirm that the printer maintains a consistent and reliable connection, without experiencing intermittent connectivity issues or disruptions.
-
Multiple Devices: If applicable, test the printer's ability to receive print jobs from multiple devices within the hotspot network. Send print commands from different devices to assess the printer's responsiveness and its capability to handle concurrent print tasks effectively.
By following these comprehensive steps to test the connection, you can validate the successful integration of your HP printer within the hotspot network. This process allows you to confirm the printer's readiness for wireless printing and ensures that it seamlessly communicates with connected devices, delivering reliable and high-quality print outputs. With the connection successfully tested, you can confidently utilize your HP printer within the hotspot environment, enjoying the convenience and flexibility of wireless printing from various devices.
Conclusion
In conclusion, linking your HP printer to a hotspot opens up a world of convenience and flexibility, allowing you to print from virtually anywhere within the coverage area of the hotspot network. By following the step-by-step process outlined in this guide, you have successfully configured your HP printer to seamlessly connect to the hotspot, empowering you to print documents, images, and more directly from your connected devices. The ability to print wirelessly from your laptop, smartphone, or tablet enhances your productivity and streamlines your printing experience, eliminating the constraints of traditional wired connections and network dependencies.
The process of turning on the HP printer, connecting it to the hotspot, configuring the printer settings, and testing the connection has equipped you with the knowledge and confidence to leverage the full potential of your HP printer within the hotspot environment. By ensuring that your printer is powered on, connected to the hotspot network, and optimized for efficient printing, you have embraced the convenience of wireless printing, enabling you to stay productive and responsive to your printing needs regardless of your location.
As you embark on your wireless printing journey with your HP printer linked to a hotspot, it is essential to leverage this newfound flexibility to streamline your workflow and elevate your printing experience. Whether you are working remotely, collaborating with colleagues, or simply seeking the convenience of on-the-go printing, the seamless integration of your HP printer within the hotspot network empowers you to achieve more with your printing tasks.
In the fast-paced and interconnected world of today, the ability to print wirelessly from your HP printer using a hotspot connection aligns with the demands of modern productivity and mobility. Embracing this wireless printing capability not only enhances your efficiency but also reflects your adaptability to evolving technological trends. By staying connected and responsive through wireless printing, you are positioned to meet the dynamic demands of your personal and professional printing needs, ensuring that you can print with ease and convenience wherever you go.
In essence, the successful linking of your HP printer to a hotspot signifies your readiness to embrace the future of printing, where wireless connectivity and seamless integration empower you to print without boundaries. With your HP printer now seamlessly integrated within the hotspot network, you are poised to embark on a wireless printing journey that transcends traditional limitations, offering you the freedom and flexibility to print on your terms, wherever you may be.


