Introduction
Welcome to this guide on how to test an APC UPS battery. APC (American Power Conversion) is a well-known manufacturer of uninterruptible power supplies (UPS) that provide backup power to critical devices in the event of a power outage. The battery is a crucial component of a UPS, and it is important to regularly test its health and performance to ensure reliable backup power.
Testing the UPS battery is a proactive measure that helps identify potential issues before they cause a complete failure when you need the UPS the most. It allows you to assess whether the battery can still hold a charge, deliver the expected runtime, and perform optimally under load.
In this guide, we will explore various techniques to effectively test an APC UPS battery. We will cover both manual and software-based methods to evaluate battery health and identify any signs of deterioration or damage. By following these steps, you can gain confidence in the reliability of your UPS system and take the necessary actions to replace the battery if required.
Before we dive into the testing methods, it is important to emphasize the need for safety precautions. Working with batteries involves handling potentially hazardous materials and electrical components. Be sure to follow all safety guidelines provided by APC and exercise caution throughout the testing process.
Now, let’s explore the steps to test an APC UPS battery to ensure that it is functioning optimally and prepared to provide reliable backup power when needed.
Safety Precautions
When working with batteries and electrical equipment, it is crucial to prioritize your safety. Here are some important safety precautions to keep in mind before testing an APC UPS battery:
- Turn off the UPS: Before starting any battery testing procedures, make sure to turn off and unplug the UPS from the power source. This will prevent any electrical shocks or accidents during the testing process.
- Wear protective gear: Put on safety gloves and goggles to protect yourself from any potential acid spills or electrical hazards. It is always better to be safe than sorry when dealing with batteries.
- Work in a well-ventilated area: Batteries can emit harmful fumes, so ensure that you perform the tests in a well-ventilated space. If possible, conduct the battery testing outdoors or in a room with proper ventilation to prevent the accumulation of toxic gases.
- Keep flammable materials away: Avoid having any flammable materials such as paper, fabrics, or gases near the battery testing area. This will help mitigate the risk of fire or explosion if a battery-related incident occurs.
- Familiarize yourself with the user manual: Read the user manual provided by APC for specific safety instructions related to your particular UPS model. The manual will outline any specific precautions or procedures that should be followed during the testing process.
- Avoid contact with exposed terminals: Never touch the battery terminals with bare hands or any conductive material. Always use insulated tools or gloves when handling batteries to prevent electrical shocks or short circuits.
- Discharge any static electricity: Before handling the battery, discharge any static electricity by touching a grounded object. Static charges can damage the battery or cause electrical hazards, so it’s important to eliminate them before performing any tests.
Following these safety precautions will help ensure a safe testing process and minimize the risk of accidents or injuries. Remember, if you have any doubts or concerns about your safety, consult a professional or contact APC for assistance.
Checking the Battery Status Indicator
Most APC UPS units are equipped with a battery status indicator that provides a quick overview of the battery’s health. This indicator can help you determine if the battery needs further testing or replacement. Here’s how to check the battery status:
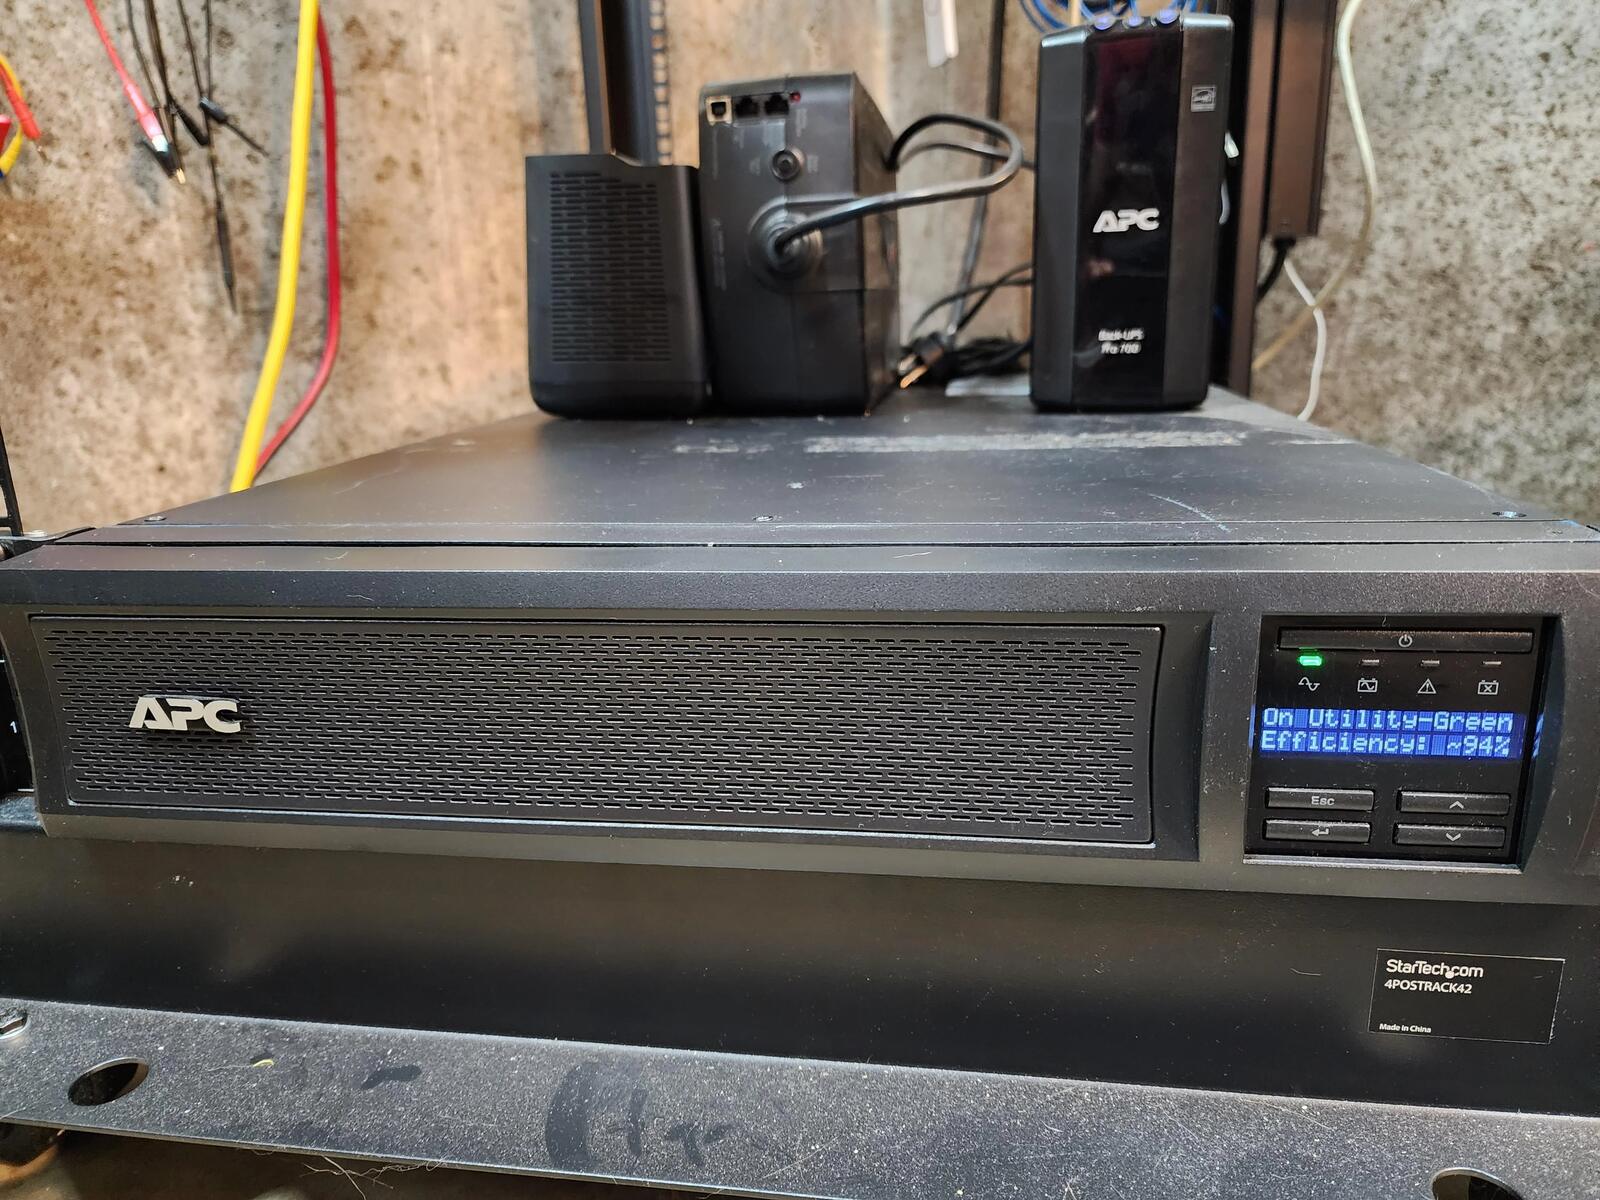
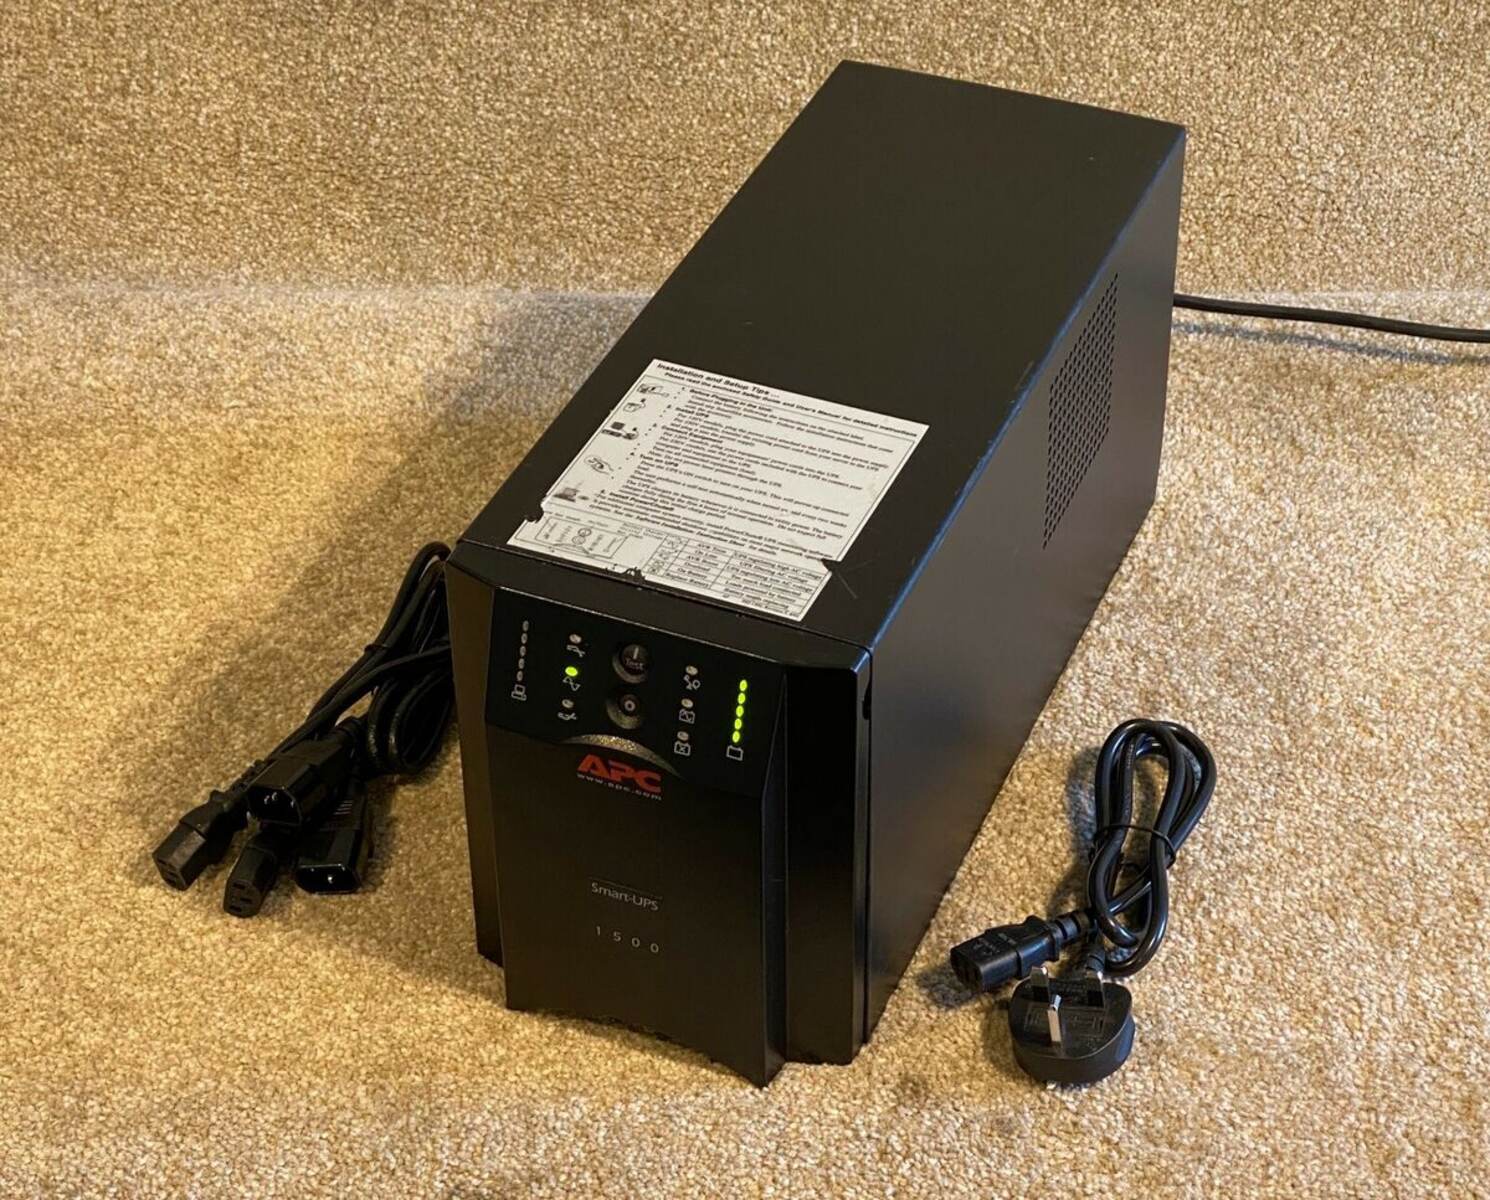
- Locate the battery status indicator: The battery status indicator is typically located on the front panel of the UPS. It may be a series of LED lights or an LCD display that shows the battery’s condition.
- Observe the indicator lights: If your UPS has LED lights, check their color or sequence to understand the battery status. Green lights usually indicate that the battery is in good health, while yellow or red lights may indicate a potential issue.
- Read the LCD display (if applicable): Some UPS models have an LCD display that provides more detailed information about the battery’s status. Navigate through the display menu to find the battery status section and review the information provided.
- Take note of any error messages: If the battery status indicator displays any error codes or error messages, consult the user manual or the APC support website for guidance on what these errors mean and how to address them.
- Reset the battery status indicator: In some cases, the battery status indicator may need to be reset after testing or replacing the battery. Refer to the user manual for instructions on how to perform a reset, if necessary.
Checking the battery status indicator is a quick and convenient way to get an initial assessment of the battery’s health. However, it is important to note that the indicator alone may not provide a comprehensive evaluation of the battery’s performance. Therefore, it is recommended to proceed with additional testing methods to obtain a more accurate understanding of the battery’s condition.
Testing the Battery Voltage
To get a more accurate assessment of the APC UPS battery’s health, you can test the battery voltage using a multimeter. This method helps determine if the battery is holding a charge within the acceptable range. Here’s how to test the battery voltage:
- Gather the necessary tools: You will need a digital multimeter and the appropriate cables or probes for voltage testing.
- Turn off and unplug the UPS: Ensure that the UPS is turned off and disconnected from the power source before proceeding with the voltage testing.
- Set the multimeter to voltage mode: Turn the multimeter dial to the DC voltage setting (VDC) to measure the battery voltage. Choose a high enough voltage range to accommodate the expected battery voltage.
- Attach the multimeter probes: Connect the red probe to the positive (+) battery terminal and the black probe to the negative (-) battery terminal. Ensure a secure and firm connection.
- Read the battery voltage: The multimeter will display the battery voltage on its screen. A fully charged battery typically measures around 12.6 to 12.8 volts. If the voltage is significantly lower than this range, it may indicate a weak or worn-out battery.
- Perform a “load” voltage test (optional): If your multimeter has a “load” or “battery test” function, you can use it to measure the battery voltage under a simulated load. This test provides a more accurate evaluation of the battery’s capacity to deliver power under real-world conditions.
- Compare the results to the manufacturer’s specifications: Refer to the user manual or the APC website to find the recommended voltage range for your UPS battery. Compare your measured voltage to these specifications to determine if the battery is within the acceptable range.
Testing the battery voltage is a useful method to assess the battery’s charge-holding capacity. However, it is important to note that voltage testing is just one aspect of battery health evaluation. For a more comprehensive assessment, consider performing additional tests such as runtime testing and load testing.
Conducting a Runtime Test
A runtime test is crucial in determining how long the APC UPS battery can sustain power during an actual outage. It helps verify if the battery is capable of providing the expected backup time based on its specified capacity. Here’s how to conduct a runtime test:
- Prepare the load: Connect devices to the UPS that represent the typical power consumption during an outage. Ensure that the total power draw does not exceed the UPS capacity or the battery’s maximum load rating.
- Turn on the UPS and monitor the runtime: Start the UPS and record the time when it switches from utility power to battery power. Keep an eye on the UPS or use monitoring software to observe when the battery power reaches a critically low level or when the UPS shuts down completely.
- Calculate the runtime: Measure the time it took for the UPS to go from utility power to the battery’s critical level. This will give you an indication of the actual runtime provided by the battery during an outage.
- Compare the result to the expected runtime: Cross-reference the measured runtime with the expected runtime specified by the manufacturer for your specific UPS model. If the actual runtime deviates significantly from the expected value, it may indicate a problem with the battery’s capacity or efficiency.
- Consider external factors: Keep in mind that runtime can be affected by various factors such as temperature, battery age, and load fluctuations. Consider these factors when evaluating the runtime results.
Conducting a runtime test provides valuable insights into the actual performance of the APC UPS battery. It helps verify if the battery can meet the specified backup time and ensures that it will function reliably during power outages. If the measured runtime falls significantly short of the expected runtime, it may indicate a need for battery replacement or further investigation into the UPS system.
Performing a Load Test
In addition to testing the runtime, performing a load test is a crucial step in evaluating the capacity and performance of an APC UPS battery. It helps determine if the battery can handle the expected power load during an outage without experiencing significant voltage drop or premature shutdown. Here’s how to perform a load test:
- Choose an appropriate load: Select devices that represent the typical power load during an outage. Ensure that the total power draw does not exceed the UPS capacity or the battery’s maximum load rating.
- Connect the load: Connect the chosen devices to the UPS via the battery backup outlets. Make sure to distribute the load evenly across the outlets to avoid overloading a single circuit.
- Turn on the UPS: Start the UPS and observe how it handles the load. Monitor the voltage stability and any signs of excessive voltage drop.
- Monitor the battery level: Keep an eye on the battery level using the UPS’s status indicator or monitoring software. Note any fluctuations or rapid depletion of the battery during the load test.
- Observe the UPS behavior: Watch for any unusual noises, odors, or abnormal UPS behavior during the load test. These signs may indicate a problem with the battery or the UPS system.
- Record the test results: Document the test duration, the behavior of the UPS, and any observations related to the battery’s performance. This information will help you evaluate the overall health of the battery.
- Compare the results to specifications: Cross-reference the load test results with the manufacturer’s specifications to ensure that the UPS and battery are performing within the expected range. If the battery cannot handle the load or exhibits significant voltage drops, it may be time for a battery replacement.
Performing a load test provides valuable insights into the battery’s ability to handle the anticipated power load during an outage. If the battery struggles to maintain stable voltage or experiences rapid depletion under load, it may indicate a need for battery replacement. Regular load testing is a proactive way to ensure the reliability and efficiency of your APC UPS battery.
Using Software to Monitor Battery Health
APC provides software tools that allow users to monitor and assess the health of their UPS battery. These software solutions offer real-time monitoring, reporting, and alerting capabilities, enabling you to stay informed about the battery’s performance. Here’s how to use software to monitor the battery health:
- Choose the appropriate software: APC offers various software options, such as PowerChute Business Edition and PowerChute Personal Edition, depending on the UPS model and user requirements.
- Download and install the software: Visit the APC website and download the software compatible with your UPS. Follow the installation instructions provided to set up the software on your computer.
- Connect the UPS to your computer: Use the appropriate communication cable provided by APC to connect your UPS to the computer where the software is installed. Ensure a secure and proper connection.
- Launch the software and configure settings: Open the software and configure the necessary settings, such as notifications, event logging, and battery health monitoring options. Customize the alerts and notifications based on your preferences.
- Monitor the battery health: The software will display real-time information about the UPS and battery status, including voltage, load, runtime, and battery health indicators. Use the software interface to regularly check the battery health and monitor any changes or potential issues.
- Review the software reports: The software may provide detailed reports and historical data on battery performance, events, and system health. Review these reports periodically to identify any patterns of battery degradation or irregularities.
- Set up email or SMS alerts (optional): Configure the software to send email or SMS alerts if the battery health drops below a certain threshold or if any critical events occur. This feature allows you to receive timely notifications and take appropriate actions to address battery-related issues.
Using software to monitor battery health provides a convenient and proactive approach to staying informed about the UPS battery’s performance. By leveraging real-time monitoring and reporting capabilities, you can identify any potential problems early on and take necessary steps to ensure optimal battery health and longevity.
Inspecting for Physical Damage or Leakage
Regular inspection for physical damage or leakage is an essential part of maintaining the health and safety of an APC UPS battery. Visual inspection can help identify any visible signs of deterioration, corrosion, or potential leaks that may affect the battery’s performance. Here’s how to inspect for physical damage or leakage:
- Turn off and unplug the UPS: Before performing any inspection, make sure to turn off and disconnect the UPS from the power source to avoid any electrical accidents.
- Examine the battery casing: Carefully inspect the exterior of the battery for any physical damage, such as cracks, bulges, or dents. These signs may indicate internal damage or deterioration of the battery.
- Check for corrosion: Look for any signs of corrosion on the battery terminals or connectors. Corrosion can impair the battery’s ability to conduct electricity and may need to be cleaned or addressed accordingly.
- Inspect for leakage: Check for any signs of leakage around the battery casing. Leaking batteries pose a safety hazard and can damage the UPS or other equipment. If you notice any leakage, take appropriate precautions and contact the manufacturer or a professional for guidance.
- Ensure proper ventilation: Confirm that there is adequate airflow around the UPS and battery to prevent overheating. Remove any obstructions blocking the ventilation vents or fans on the UPS unit.
- Review maintenance logs: If available, refer to any maintenance logs or records of the UPS system. Check for past issues or incidents related to physical damage, leakage, or battery maintenance. This information can provide insights into previous battery health or performance issues.
- Take appropriate action: If you identify any physical damage, corrosion, or leakage during the inspection, consult the user manual or contact APC support for guidance. Depending on the severity of the issue, it may be necessary to replace the battery or seek professional assistance.
Regular inspection for physical damage or leakage is crucial in ensuring the safety and reliability of the APC UPS battery. By identifying and addressing any visible issues promptly, you can extend the battery’s lifespan and maintain proper functionality of your UPS system.
Replacing the Battery if Necessary
If the APC UPS battery fails any of the tests or exhibits signs of deterioration, it may be necessary to replace the battery. Replacing a worn-out or faulty battery is crucial to maintain the reliable performance of the UPS. Here’s how to replace the battery if necessary:
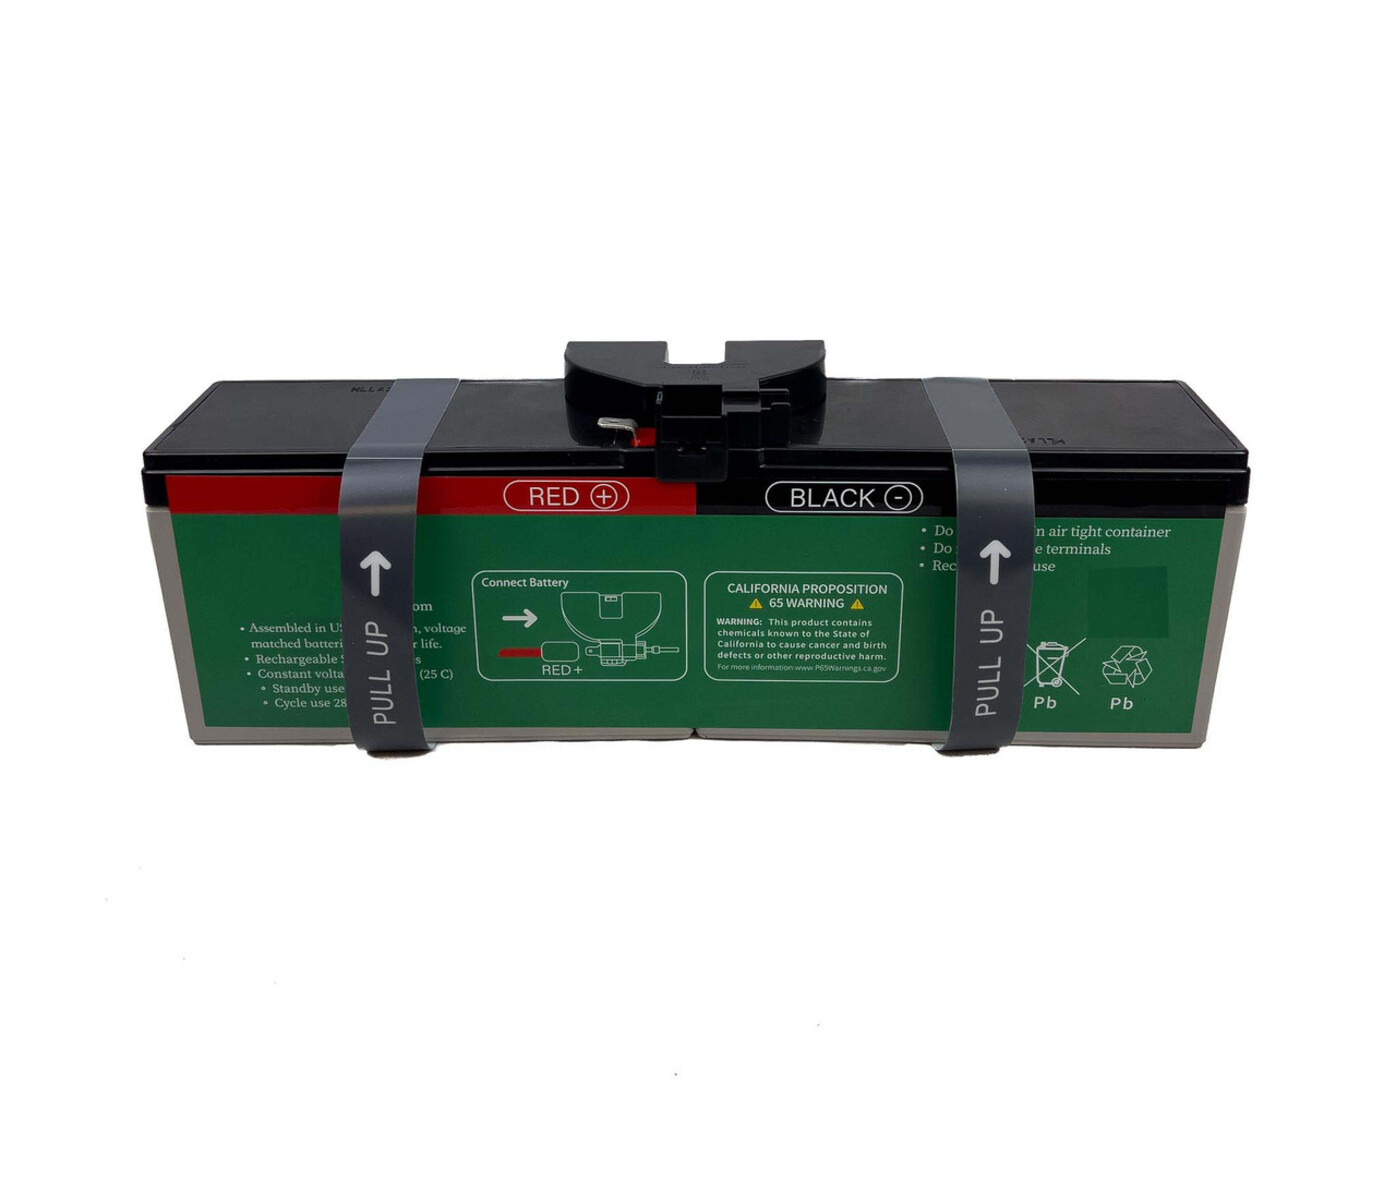
- Identify the correct replacement battery: Refer to the user manual or APC’s website to determine the compatible replacement battery for your specific UPS model. Note the battery model number and specifications for the replacement process.
- Turn off and unplug the UPS: Make sure to turn off and disconnect the UPS from the power source before replacing the battery to avoid any electrical hazards.
- Open the battery compartment: Locate the battery compartment on the UPS unit. Depending on the model, it may have a slide-out tray or a cover that needs to be removed to access the battery.
- Remove the old battery: Disconnect the battery cables or connectors attached to the old battery. Carefully remove the battery from the compartment, ensuring that you do not damage any surrounding components.
- Install the new battery: Take the new replacement battery and place it into the battery compartment, aligning it properly. Connect the battery cables or connectors to the corresponding terminals, ensuring a secure and tight connection.
- Close the battery compartment: If there is a cover or tray, securely close it to keep the battery in place and protect it from external elements.
- Plug in and turn on the UPS: Once the new battery is installed, plug in the UPS to the power source and turn it on. Monitor the UPS and observe the battery status to ensure the new battery is functioning correctly.
- Dispose of the old battery properly: Since batteries contain hazardous materials, it is essential to dispose of the old battery properly. Check with local regulations for guidelines on disposing of batteries or consider recycling options.
- Perform additional battery tests: After replacing the battery, perform the earlier mentioned tests, such as voltage testing, runtime testing, and load testing, to ensure that the new battery is functioning optimally and providing reliable backup power.
Replacing the APC UPS battery when necessary is crucial to maintain the integrity and performance of the UPS system. By following the proper replacement process, you can ensure a smooth transition and continue to rely on your UPS for uninterrupted power during outages.
Conclusion
Testing and maintaining an APC UPS battery is essential to ensure reliable backup power and protect critical devices during power outages. By following the steps outlined in this guide, you can effectively assess the battery’s health, identify any potential issues, and take appropriate actions to maintain its performance. Here’s a recap of the key points discussed:
- Safety Precautions: Always prioritize safety when working with batteries. Follow recommended safety guidelines and use protective gear to minimize any risks.
- Checking the Battery Status Indicator: Start by examining the battery status indicator on the UPS unit to get a quick overview of the battery’s health.
- Testing the Battery Voltage: Utilize a multimeter to measure the battery voltage, ensuring it falls within the acceptable range specified by APC.
- Conducting a Runtime Test: Perform a runtime test to determine how long the battery can sustain power during an actual outage and compare the results with the expected runtime.
- Performing a Load Test: Assess the battery’s capacity to handle the expected power load during an outage without significant voltage drop or premature shutdown.
- Using Software to Monitor Battery Health: Employ APC’s software tools to monitor battery health in real-time, receive alerts, and access detailed reports on battery performance.
- Inspecting for Physical Damage or Leakage: Regularly inspect the battery for any signs of physical damage, corrosion, or leakage that may affect its performance and safety.
- Replacing the Battery if Necessary: If the battery fails the tests or exhibits significant deterioration, follow the proper battery replacement process to ensure continued reliable performance of the UPS.
By incorporating these steps into your regular maintenance routine, you can prolong the life of your APC UPS battery, mitigate potential issues, and have confidence in its ability to provide uninterrupted power during critical situations. Remember to consult the user manual, APC’s support resources, or seek professional assistance whenever needed. Regular testing and maintenance will ensure that your APC UPS battery remains in optimal condition, ready to safeguard your devices and data in the event of a power outage.