Introduction
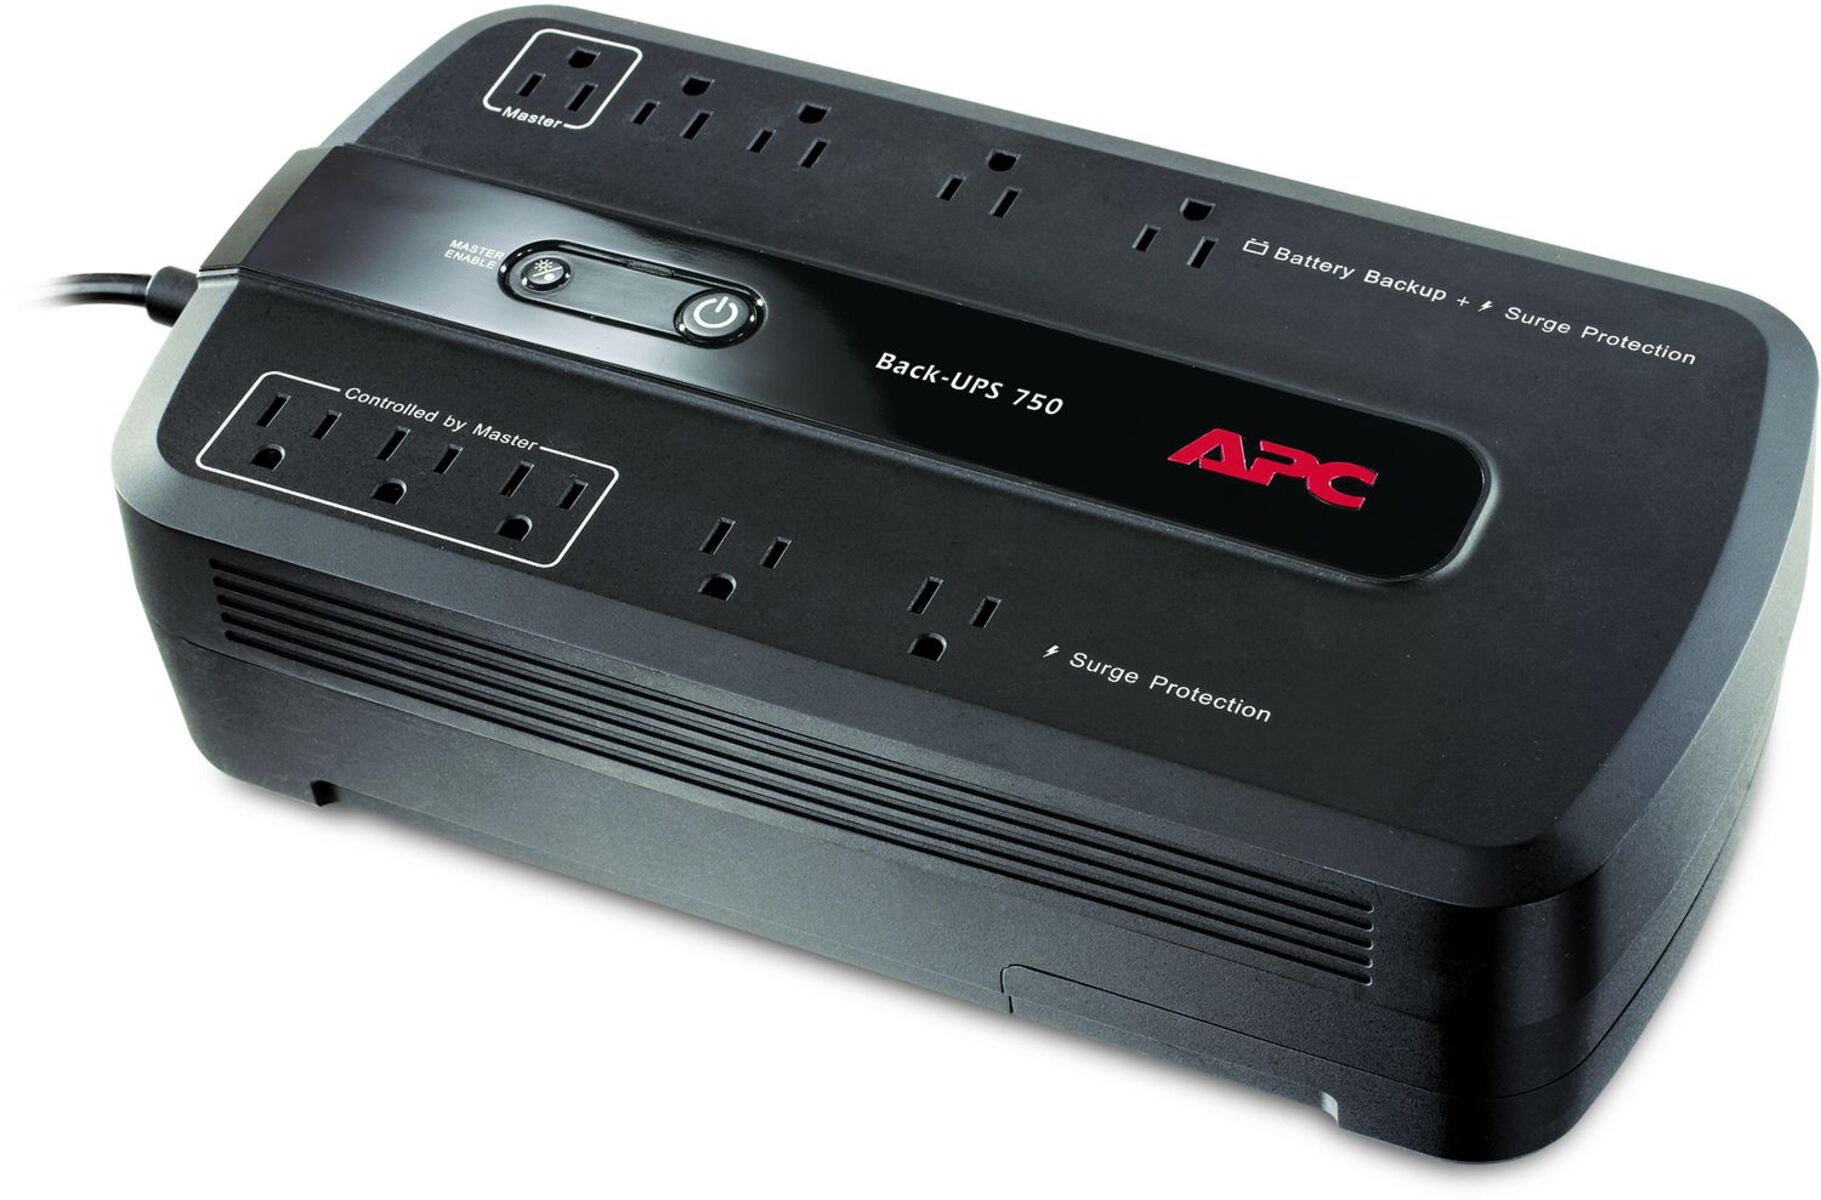
When it comes to maintaining the reliable operation of your APC UPS (Uninterruptible Power Supply), replacing the battery is an essential task. Over time, the battery in your APC UPS will eventually wear out and become less effective, compromising its ability to provide backup power during outages.
Replacing an APC UPS battery may seem daunting at first, but with the right tools and a little know-how, it can be a straightforward process. Whether you are experiencing warning signs of a failing battery or it’s simply time for a routine replacement, this guide will walk you through the steps to successfully replace the battery in your APC UPS.
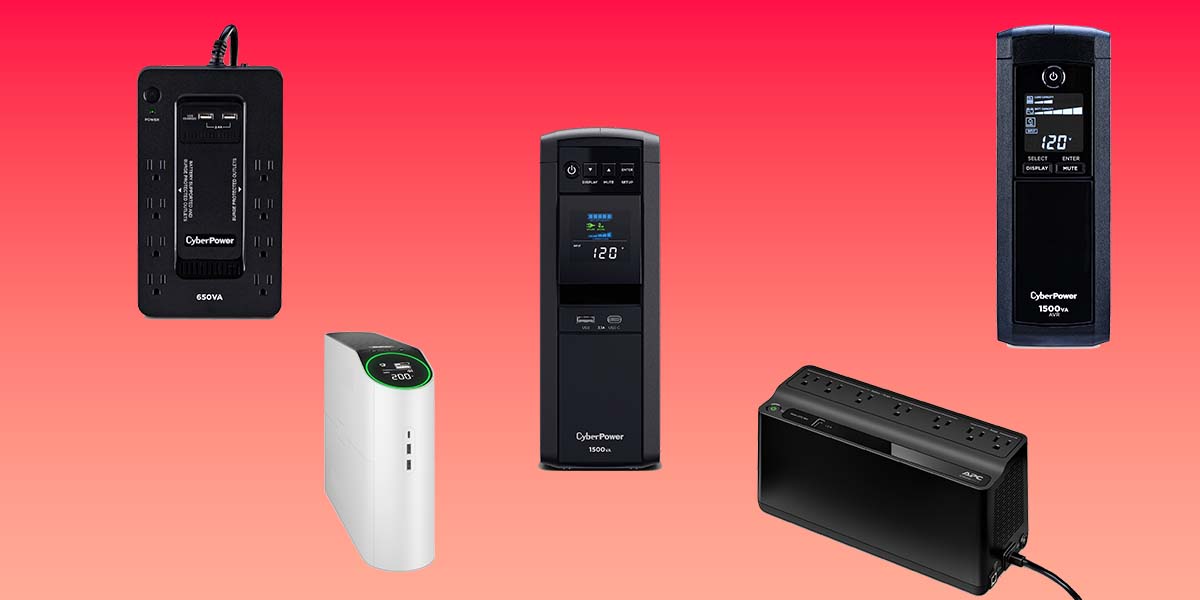
It is important to note that APC UPS models vary, and different models may have slightly different procedures for battery replacement. However, the general steps outlined in this guide should apply to most APC UPS models.
Before we dive into the step-by-step process, it is essential to ensure your safety. When dealing with electrical equipment, always prioritize your safety by following the necessary precautions. This includes wearing protective gloves and glasses, working in a well-ventilated area, and disconnecting the APC UPS from the power source before starting any work.
Now, let’s get started with replacing the battery in your APC UPS.
Step 1: Determine the APC UPS model and battery type
Before embarking on the battery replacement process, it’s crucial to identify the APC UPS model and the specific battery type it requires. Different APC UPS models may use different battery types, so determining the correct battery type is vital for a successful replacement.
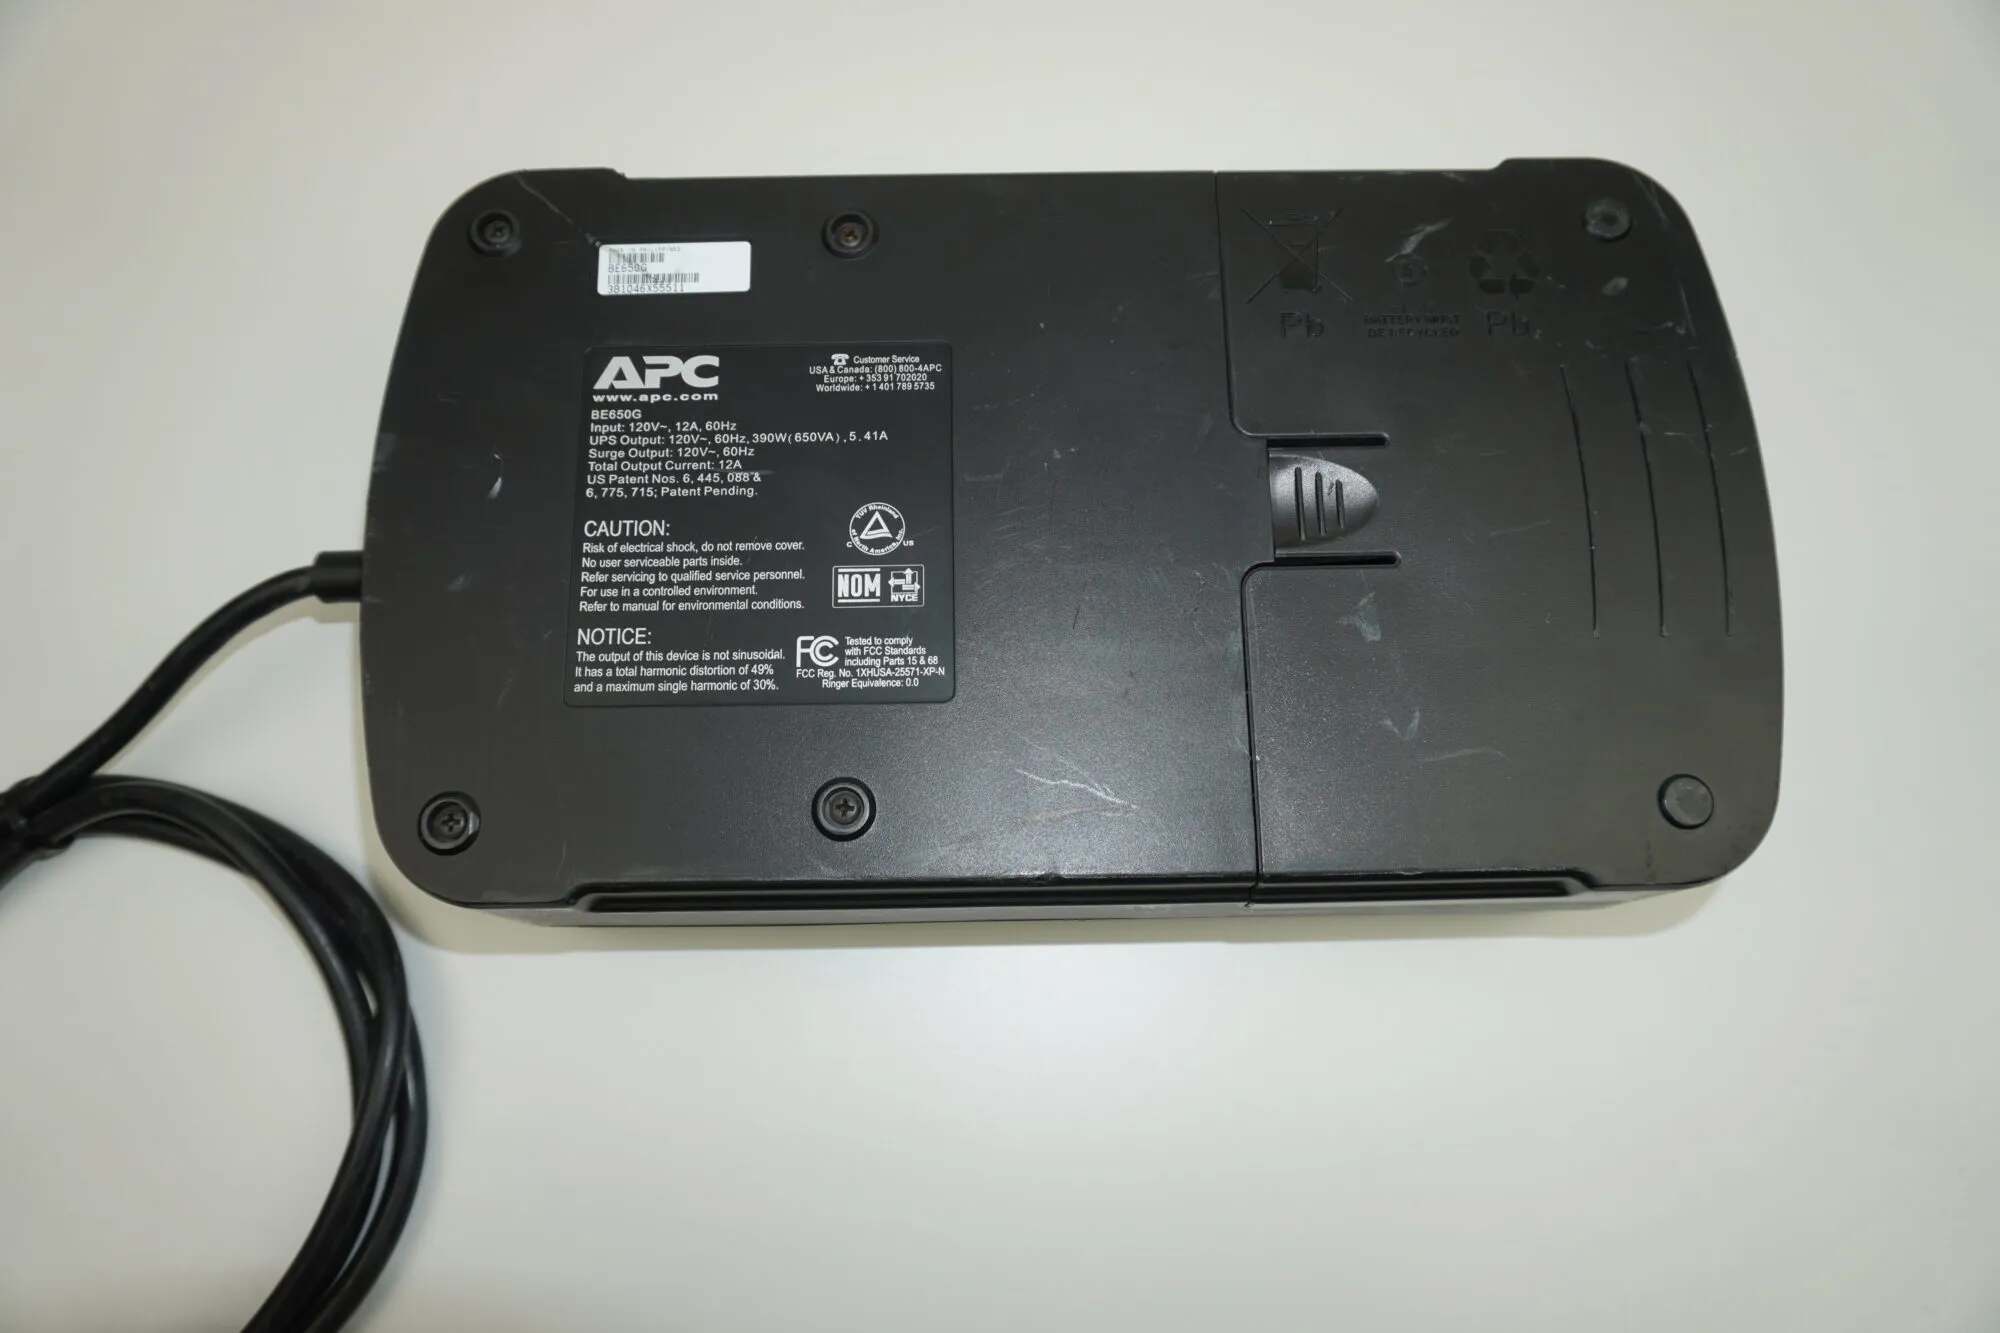
You can usually find the model and serial number of your APC UPS on the front or back of the unit. Once you have located this information, you can search for the specific model’s documentation on the APC website or consult the user manual that came with your APC UPS.
The user manual will provide you with the necessary information regarding the battery type and any specific instructions for replacement. Additionally, you can also find this information by doing a quick online search with the APC UPS model number.
When identifying the battery type, pay attention to specifications such as the voltage, capacity, and form factor. These details are crucial to ensure you purchase the correct replacement battery for your APC UPS. It’s essential to choose a battery with matching specifications to maintain the optimal performance and compatibility of your APC UPS.
Once you have determined the APC UPS model and the battery type required, you can proceed with gathering the necessary tools and safety precautions, which will be covered in the next step.
Step 2: Gather the necessary tools and safety precautions
Before you begin the battery replacement process, it’s essential to gather the necessary tools and take appropriate safety precautions to ensure a smooth and safe procedure.
Here are the tools and safety precautions you’ll need:
- Protective gloves and safety glasses: To protect your hands and eyes during the battery replacement process, it’s crucial to wear gloves and safety glasses.
- Replacement battery: Make sure you have the correct replacement battery for your APC UPS, as determined in Step 1. Ensure it matches the voltage, capacity, and form factor specified.
- Screwdriver: Depending on the APC UPS model, you may need a screwdriver to remove any screws securing the battery compartment cover. Check the user manual for any specific instructions on the type of screwdriver required.
- Clean cloth: It’s advisable to have a clean cloth handy to wipe away any dirt or dust from the battery compartment or the new battery.
- Work area: Find a well-ventilated and clear workspace where you can comfortably carry out the battery replacement process. Make sure there is ample space to maneuver and access the APC UPS.
- Unplugged APC UPS: Ensure that the APC UPS is disconnected from the power source before starting any work. This is crucial for your safety and to avoid any potential electrical hazards.
By gathering these tools and following these safety precautions, you are now ready to proceed to the next step: turning off the APC UPS.
Step 3: Turn off the APC UPS
Before you begin replacing the battery in your APC UPS, it’s crucial to turn off the unit to ensure your safety and prevent any potential damage. Follow these steps to turn off the APC UPS:
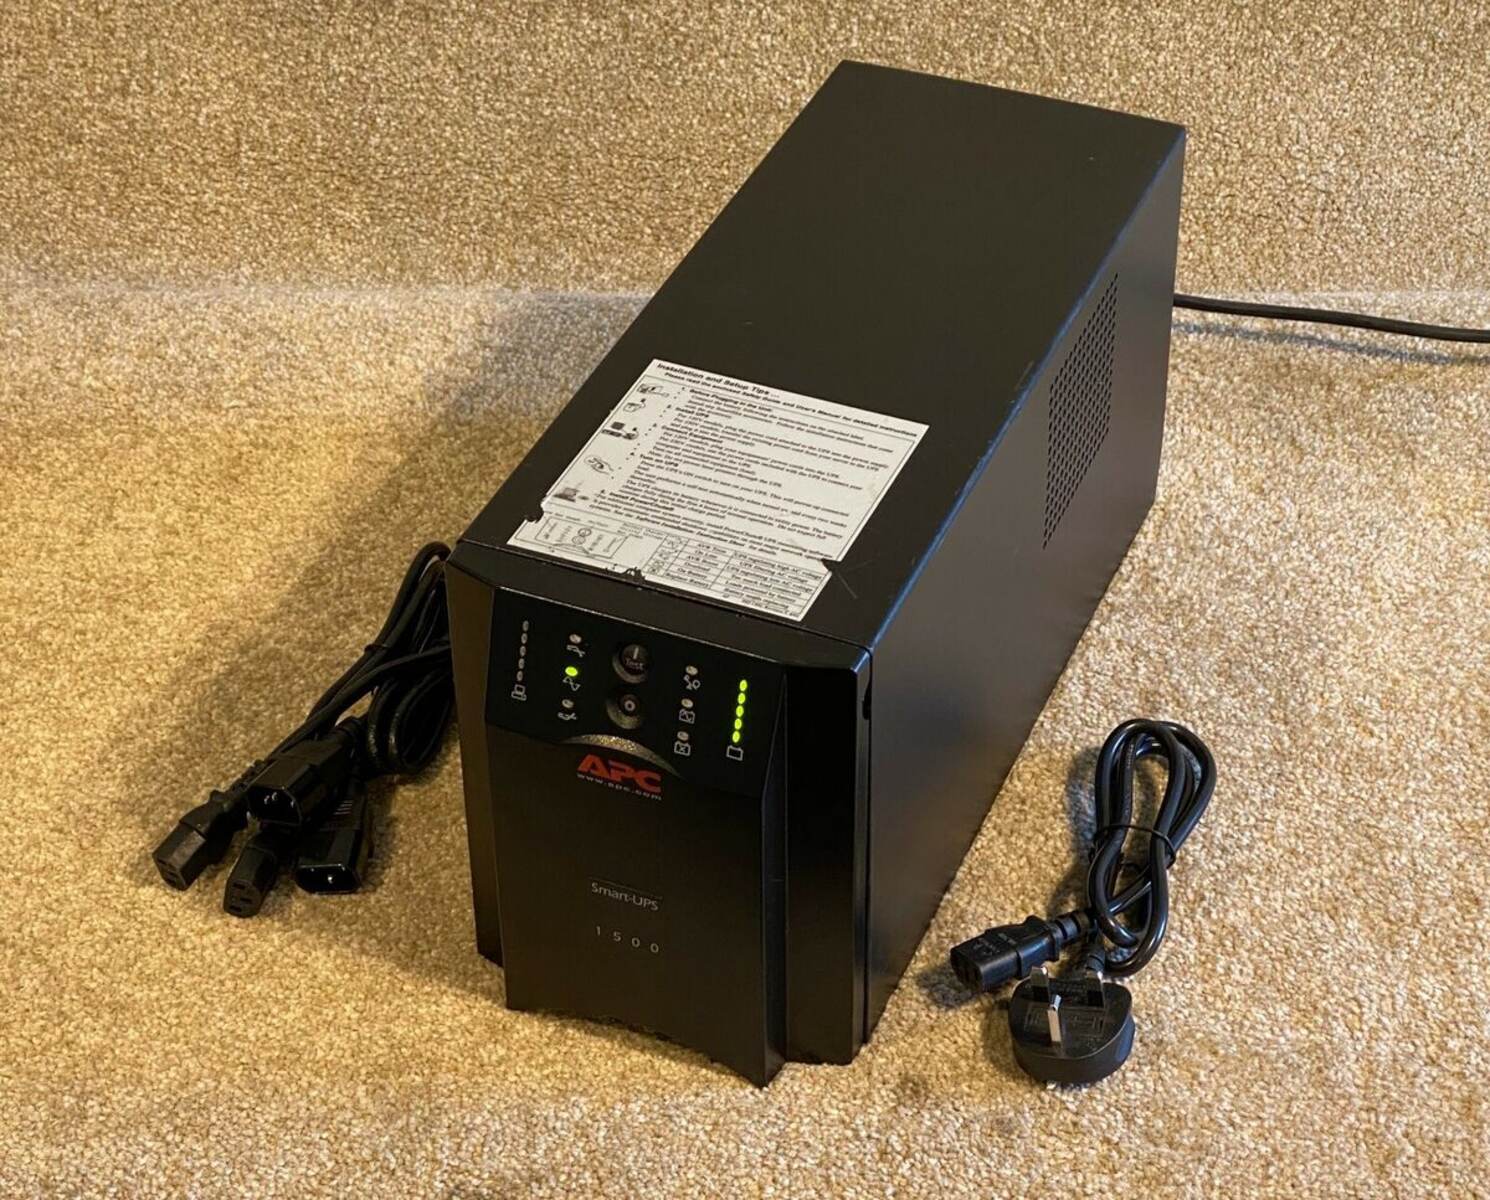
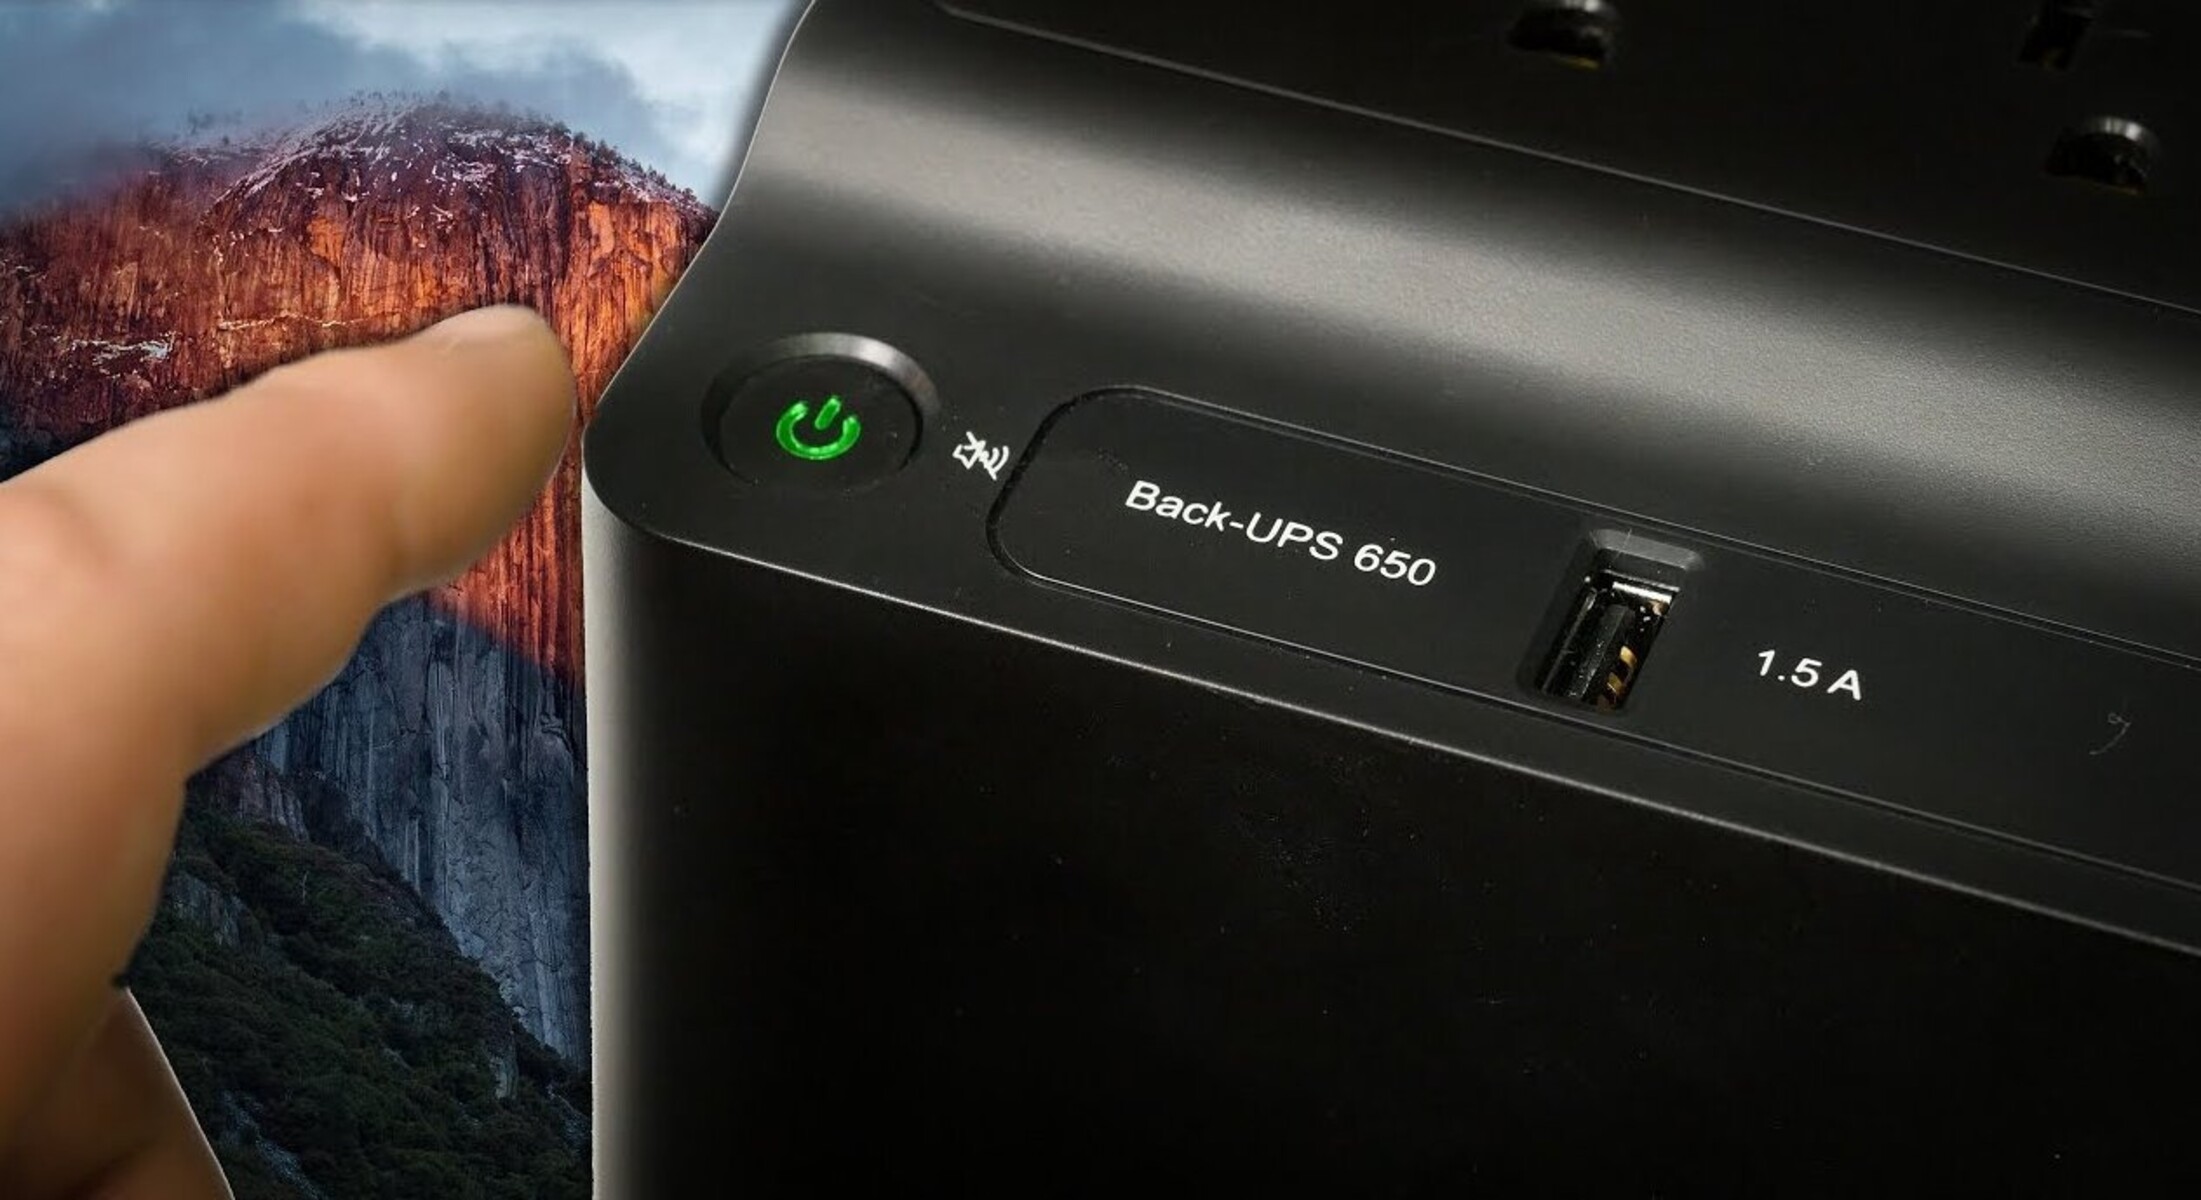
- Locate the power button or switch on the front or top of your APC UPS.
- Press and hold the power button or switch for a few seconds until the LED indicators on the unit turn off. This indicates that the APC UPS is now powered down.
- Double-check that the APC UPS is completely shut off and there are no remaining lights or indications of power.
Turning off the APC UPS is an essential precautionary measure to avoid any electrical shock or injury during the battery replacement process. It also helps ensure that the APC UPS is not attempting to provide power while you are working on it.
Once you have successfully turned off your APC UPS, you can proceed to the next step: unplugging the unit from the power source.
Step 4: Unplug the APC UPS from the power source
After turning off the APC UPS, the next step is to disconnect it from the power source to ensure your safety and prevent any risk of electric shock during the battery replacement process.
Follow these steps to unplug the APC UPS from the power source:
- Locate the power cord connected to the back or side of the APC UPS.
- Gently grasp the plug and firmly pull it out of the electrical outlet or power strip.
- Ensure that the power cord is completely disconnected from the APC UPS and the wall outlet or power strip.
By unplugging the APC UPS from the power source, you eliminate any chance of accidental electric shock while working with the battery. This step is crucial for your safety throughout the battery replacement process.
Once you have successfully unplugged the APC UPS, you can proceed to the next step: opening the battery compartment.
Step 5: Open the battery compartment
With the APC UPS safely disconnected from the power source, it’s now time to open the battery compartment to access the old battery. Follow these steps to open the battery compartment:
- Locate the battery compartment on the APC UPS. The exact position may vary depending on the model, but it is usually located on the back or bottom of the unit.
- Inspect the battery compartment cover for any screws or latches that may be securing it in place. If there are screws, use the appropriate screwdriver to remove them. If there are latches, release them to unlock the cover.
- Gently lift or slide the battery compartment cover to expose the old battery. Be cautious not to force it or apply excessive pressure to avoid damaging the cover or the APC UPS.
Once the battery compartment is open, take a moment to inspect the interior for any signs of corrosion or damage. If you notice any, it is advisable to consult the user manual or seek professional assistance before continuing with the replacement process.
By opening the battery compartment, you have gained access to the old battery and are ready to proceed to the next step: removing the old APC UPS battery.
Step 6: Remove the old APC UPS battery
Now that you have opened the battery compartment, it’s time to remove the old battery from your APC UPS. Follow these steps to safely remove the old APC UPS battery:
- Before touching the battery, make sure you are wearing protective gloves and safety glasses to minimize any potential hazards.
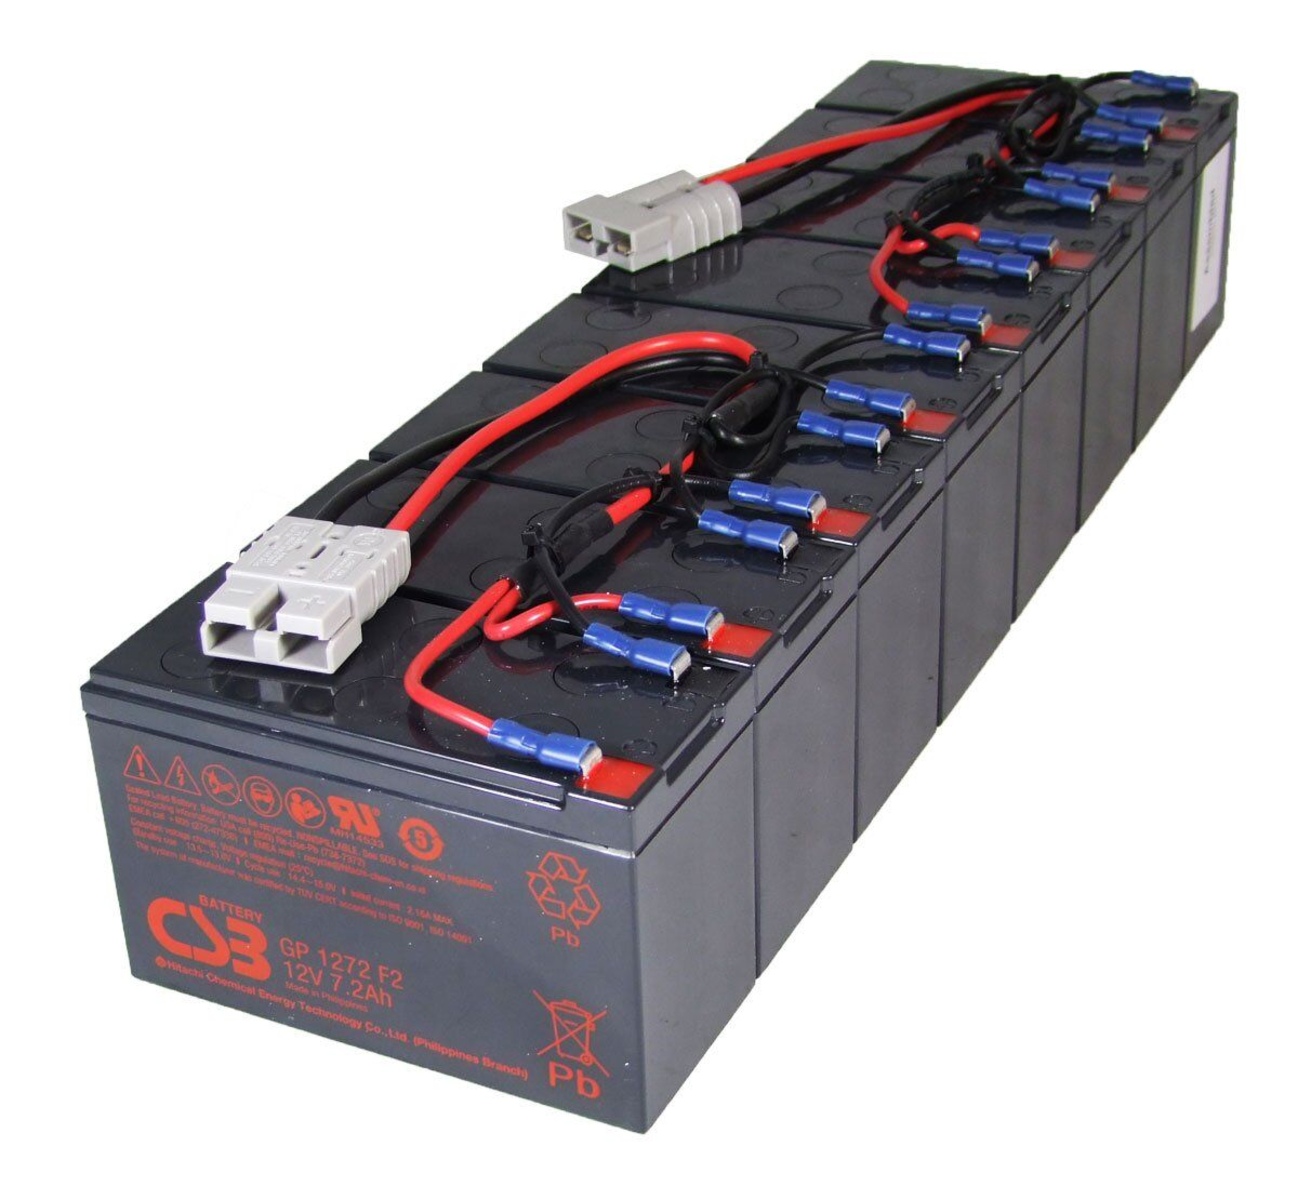
- Inspect the old battery and locate any connecting cables or wires running to it. Take note of how they are connected and the specific terminals they are attached to.
- Disconnect any cables or wires from the old battery, carefully using a twisting or pulling motion. If the cables are connected to terminals, use a wrench or pliers to loosen the nuts holding them in place.
- Once all the cables are detached, carefully lift the old battery out of the APC UPS. Be mindful of its weight, as some batteries can be heavy.
- Place the old battery aside in a safe and proper disposal area, in accordance with local regulations for battery disposal.
During the process of removing the old APC UPS battery, it’s crucial to exercise caution and avoid any contact with bare hands or other parts of your body. Follow all safety precautions to prevent injury or damage during this step.
With the old battery removed, you are now ready to proceed to the next step: inserting the new APC UPS battery.
Step 7: Insert the new APC UPS battery
Now that the old battery has been safely removed, it’s time to insert the new APC UPS battery. Follow these steps to ensure a proper installation:
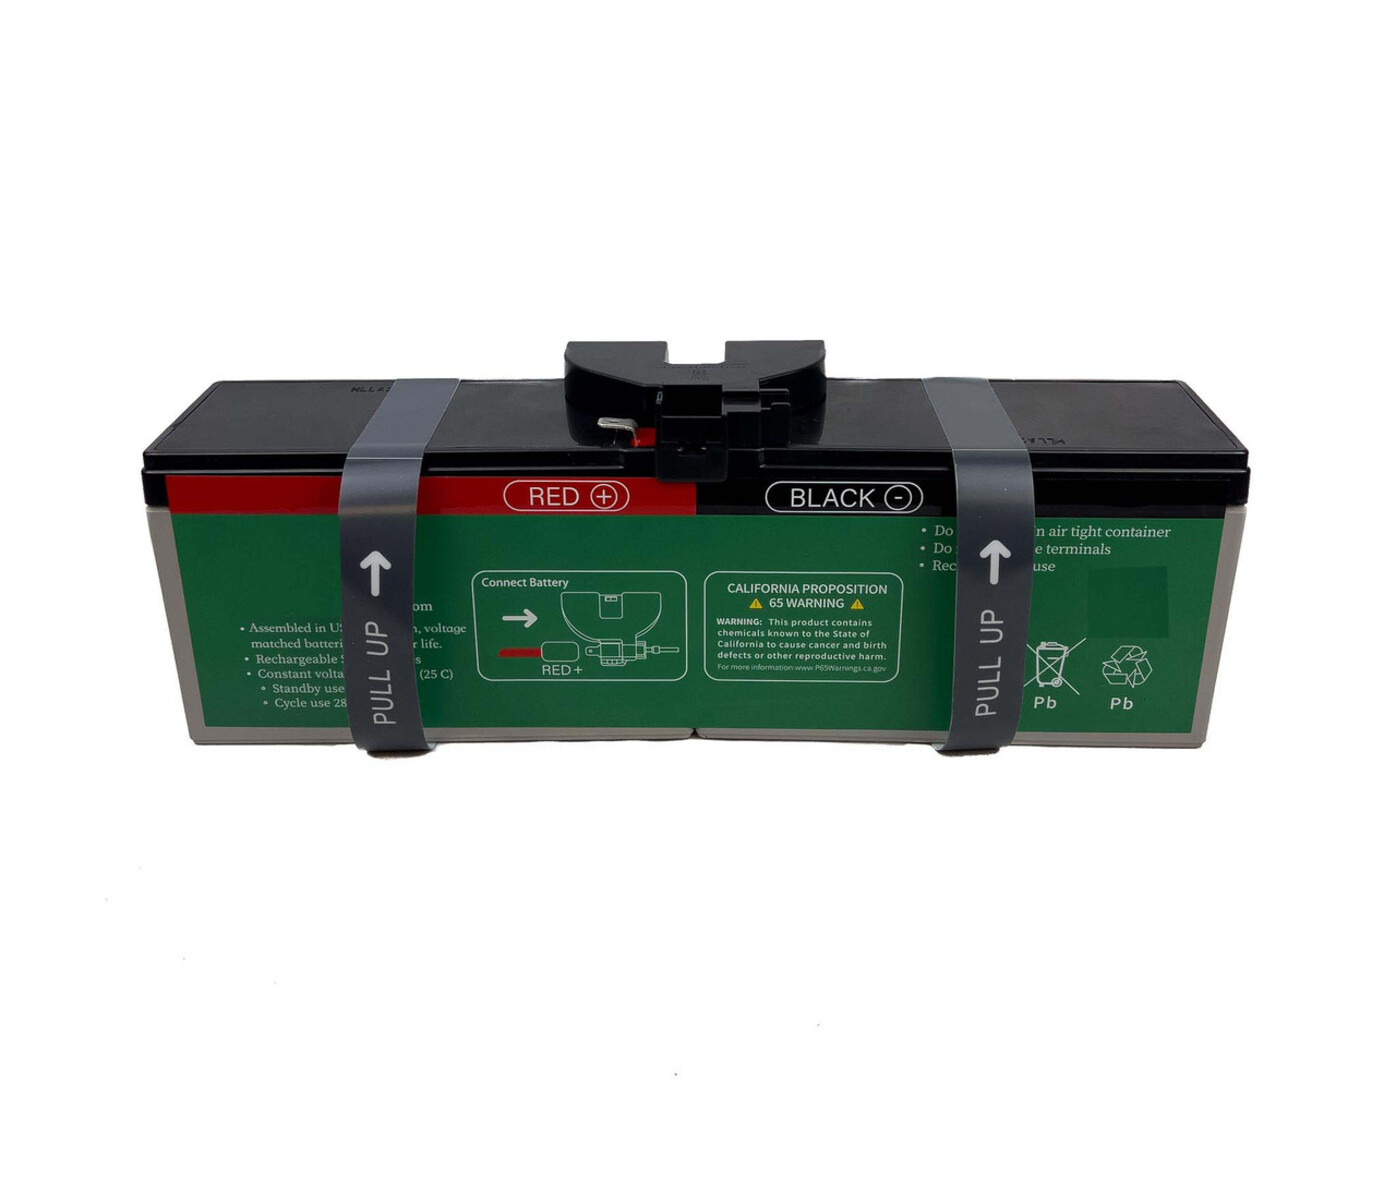
- Take the new APC UPS battery and inspect it for any visible damage or defects. Ensure that it matches the specifications of the old battery and is compatible with your APC UPS model.
- Position the new battery in the battery compartment, aligning it with the terminals and connectors inside. Be cautious not to force the battery into place.
- Connect the cables and wires to the appropriate terminals on the new battery. Refer to the notes you made during the removal of the old battery to ensure correct connections.
- If the cables are attached to terminals, use a wrench or pliers to securely tighten the nuts, ensuring a stable connection.
- Double-check all connections to ensure they are firm and secure, minimizing any risk of loose or disconnected wires.
It’s essential to handle the new battery with care during the installation process to avoid damage or short-circuits. Ensure that all connections are correctly made, and the battery is securely positioned within the battery compartment.
By successfully inserting the new APC UPS battery, you have completed a major step in the battery replacement process. Now, it’s time to move on to the next step: closing the battery compartment.
Step 8: Close the battery compartment
After inserting the new APC UPS battery, the next step is to close the battery compartment and secure it properly. Follow these steps to ensure a secure closure:
- Gently lower the battery compartment cover back into place, ensuring it aligns properly with the APC UPS unit.
- If there are screws that secure the cover, use the appropriate screwdriver to reinsert and tighten them. If there are latches, engage them to lock the cover securely.
- Ensure that the battery compartment cover is snugly closed and there are no gaps or loose parts.
It’s crucial to properly close the battery compartment to provide protection to the new battery and maintain the integrity of the APC UPS unit. A secure closure minimizes the risk of any damage to the battery or the APC UPS itself.
Once the battery compartment is securely closed, you can proceed to the next step: plugging the APC UPS back into the power source.
Step 9: Plug the APC UPS back into the power source
With the battery compartment securely closed, it’s time to reconnect the APC UPS to the power source and prepare it for operation. Follow these steps to plug the APC UPS back into the power source:
- Locate the power cord that you previously disconnected from the APC UPS.
- Take the plug end of the power cord and insert it firmly into the appropriate electrical outlet or power strip.
- Ensure that the power cord is securely connected and there are no loose connections or exposed wires.
- Verify that the electrical outlet or power strip is functioning correctly and providing power.
When plugging the APC UPS back into the power source, it’s essential to check for any signs of damage or wear on the power cord. If you notice any issues, it’s advisable to replace the power cord to maintain optimal safety and performance of the APC UPS.
With the APC UPS plugged back into the power source, you are now ready to proceed to the final step: turning on the APC UPS.
Step 10: Turn on the APC UPS
The final step in the battery replacement process is to turn on the APC UPS and ensure that it is functioning properly. Follow these steps to turn on the APC UPS:
- Locate the power button or switch on the front or top of your APC UPS.
- Press the power button or switch to turn on the APC UPS.
- Observe the LED indicators or screen on the APC UPS to verify that it is powered on.
- Allow the APC UPS a few moments to initialize and run self-tests to ensure proper functionality.
- Check that the battery status indicator on the APC UPS indicates a full charge or an appropriate level based on the battery capacity.
By turning on the APC UPS, you will confirm that the new battery is properly installed and that the UPS is ready to provide backup power during outages. The self-tests conducted by the APC UPS during startup will also ensure that it is functioning correctly.
If you encounter any issues or error messages during the startup process, consult the user manual or contact APC support for assistance.
Congratulations! You have successfully completed the battery replacement process for your APC UPS. Your APC UPS is now equipped with a fresh battery and ready to provide reliable backup power when needed.
Conclusion
Replacing the battery in your APC UPS is a necessary maintenance task to ensure the continued reliability of the unit. By following the step-by-step process outlined in this guide, you can safely and successfully replace the battery in your APC UPS.
Throughout the process, it’s important to prioritize your safety by wearing protective gloves and safety glasses when handling the batteries and following all recommended safety precautions. Take your time and carefully perform each step to avoid any damage to the APC UPS or the new battery.
Remember to determine the correct APC UPS model and battery type, gather the necessary tools, turn off the APC UPS, unplug it from the power source, open the battery compartment, remove the old battery, insert the new battery, close the battery compartment, plug the APC UPS back into the power source, and finally, turn on the APC UPS.
Once the battery replacement is complete, the APC UPS is ready to provide reliable backup power during outages, ensuring the continuous operation of your connected devices and protecting them from unexpected power disruptions.
If you have any specific questions or encounter any difficulties during the battery replacement process, consult the user manual provided with your APC UPS or reach out to APC support for assistance.
By regularly maintaining and replacing the battery in your APC UPS, you can have peace of mind knowing that your critical devices and equipment are safeguarded against power interruptions.