Introduction
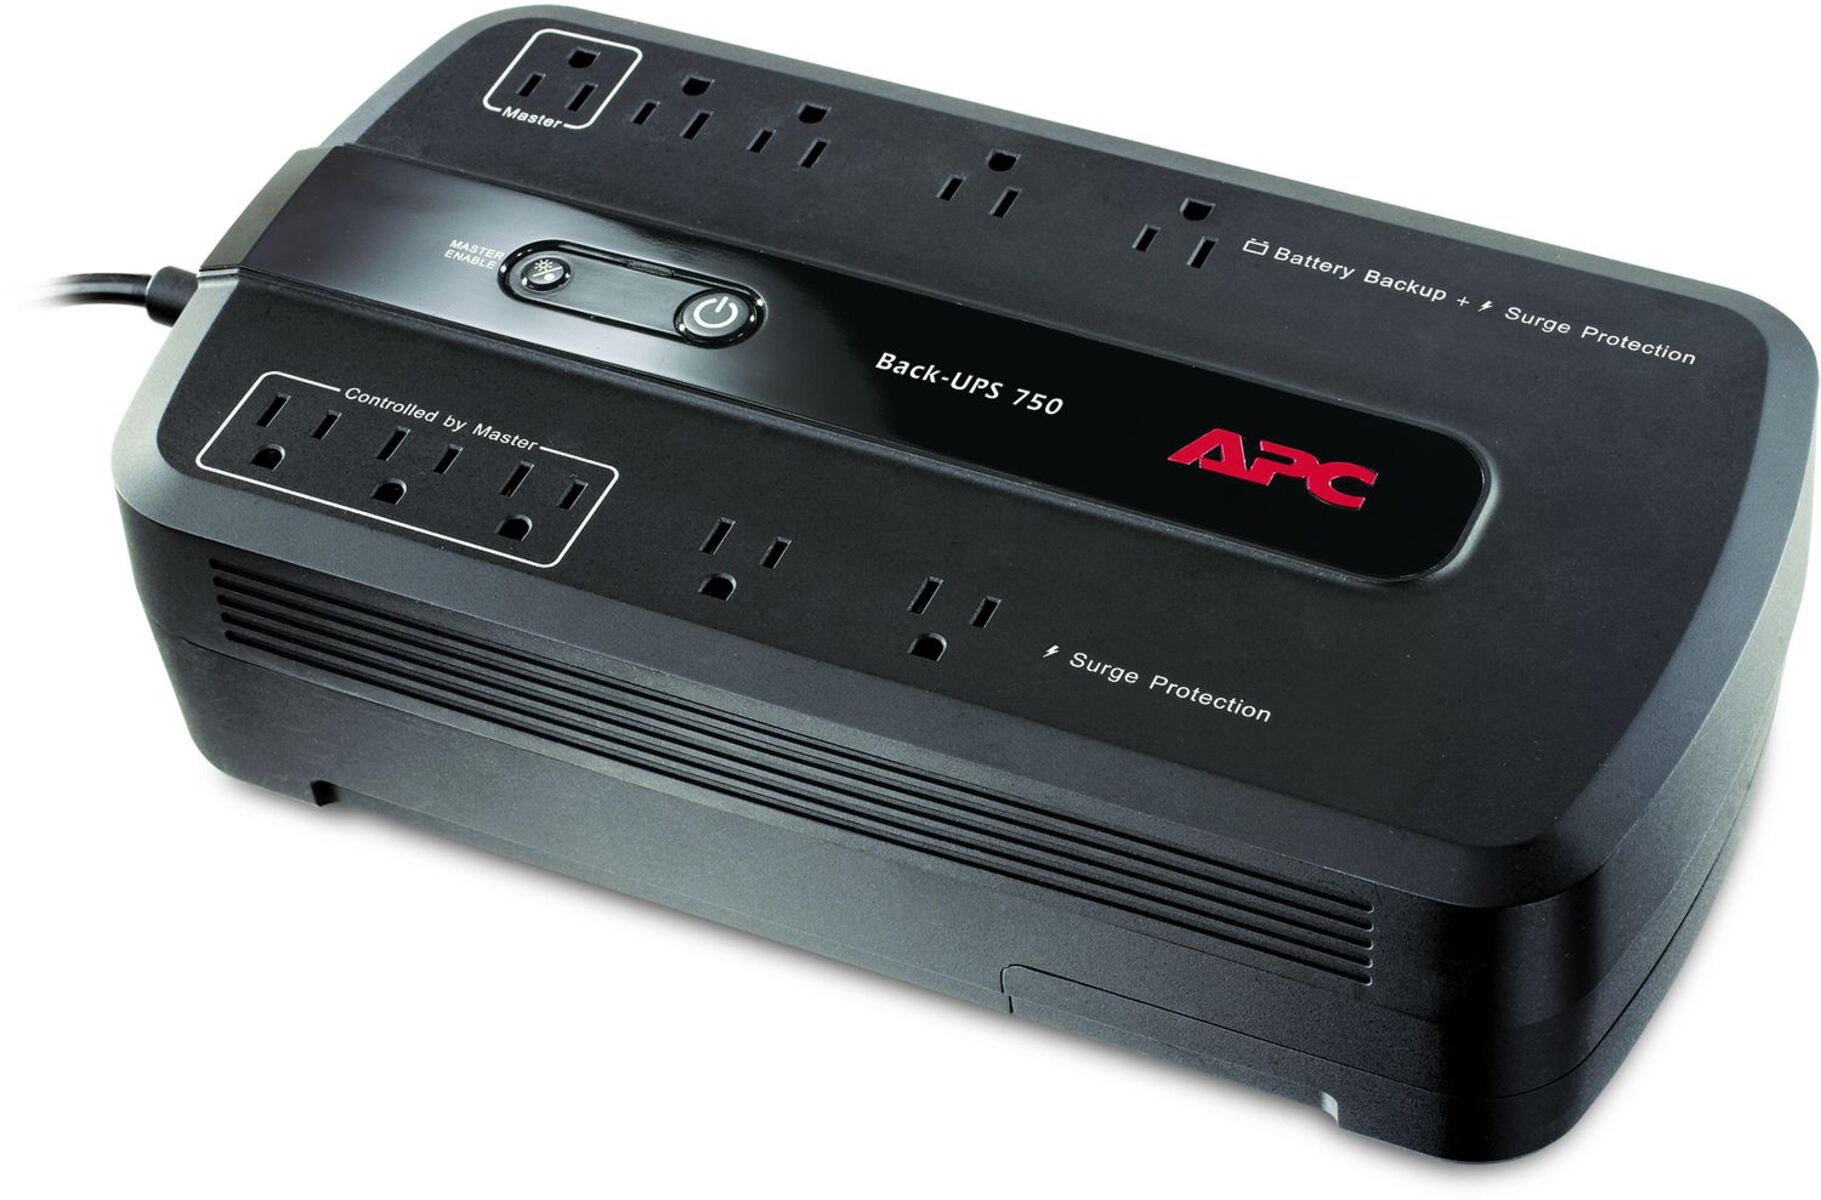
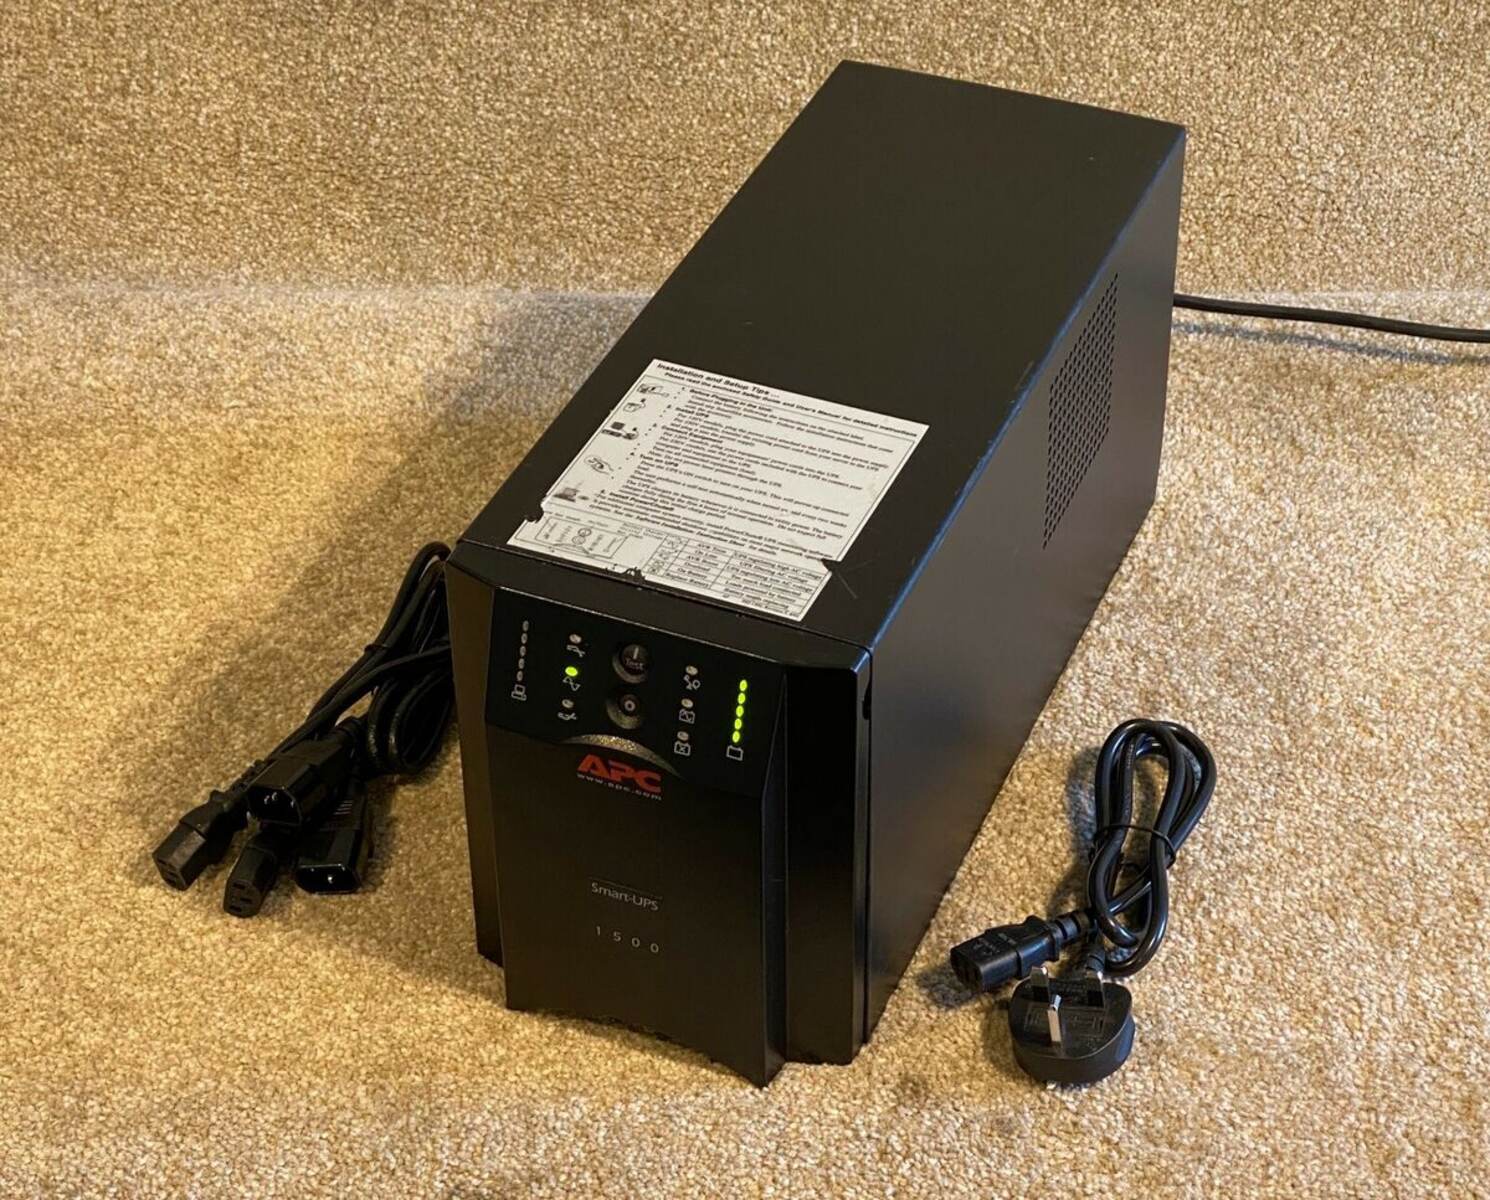
Welcome to our guide on how to replace the APC 1100 UPS battery. The APC 1100 UPS is a reliable power backup solution that provides uninterrupted power supply to your essential devices in case of a power outage. However, over time, the battery might degrade and need replacement to ensure optimal performance.
Replacing the battery in your APC 1100 UPS is a relatively simple process that can be done with a few basic tools and some careful steps. In this guide, we will walk you through the necessary steps to safely and efficiently replace the battery in your APC 1100 UPS.
Before we begin, it’s important to note that working with batteries involves some risks, including electrical shock. It is vital to take necessary precautions and follow the instructions carefully. If you are unsure or uncomfortable with any step, it’s best to seek professional assistance.
Now, let’s get started and ensure your APC 1100 UPS continues to provide reliable power backup by replacing the battery.
Step 1: Gather the necessary tools
Before replacing the battery in your APC 1100 UPS, it’s important to gather all the necessary tools to ensure a smooth and hassle-free process. Here is a list of tools that you will need:
- Phillips screwdriver
- Flathead screwdriver
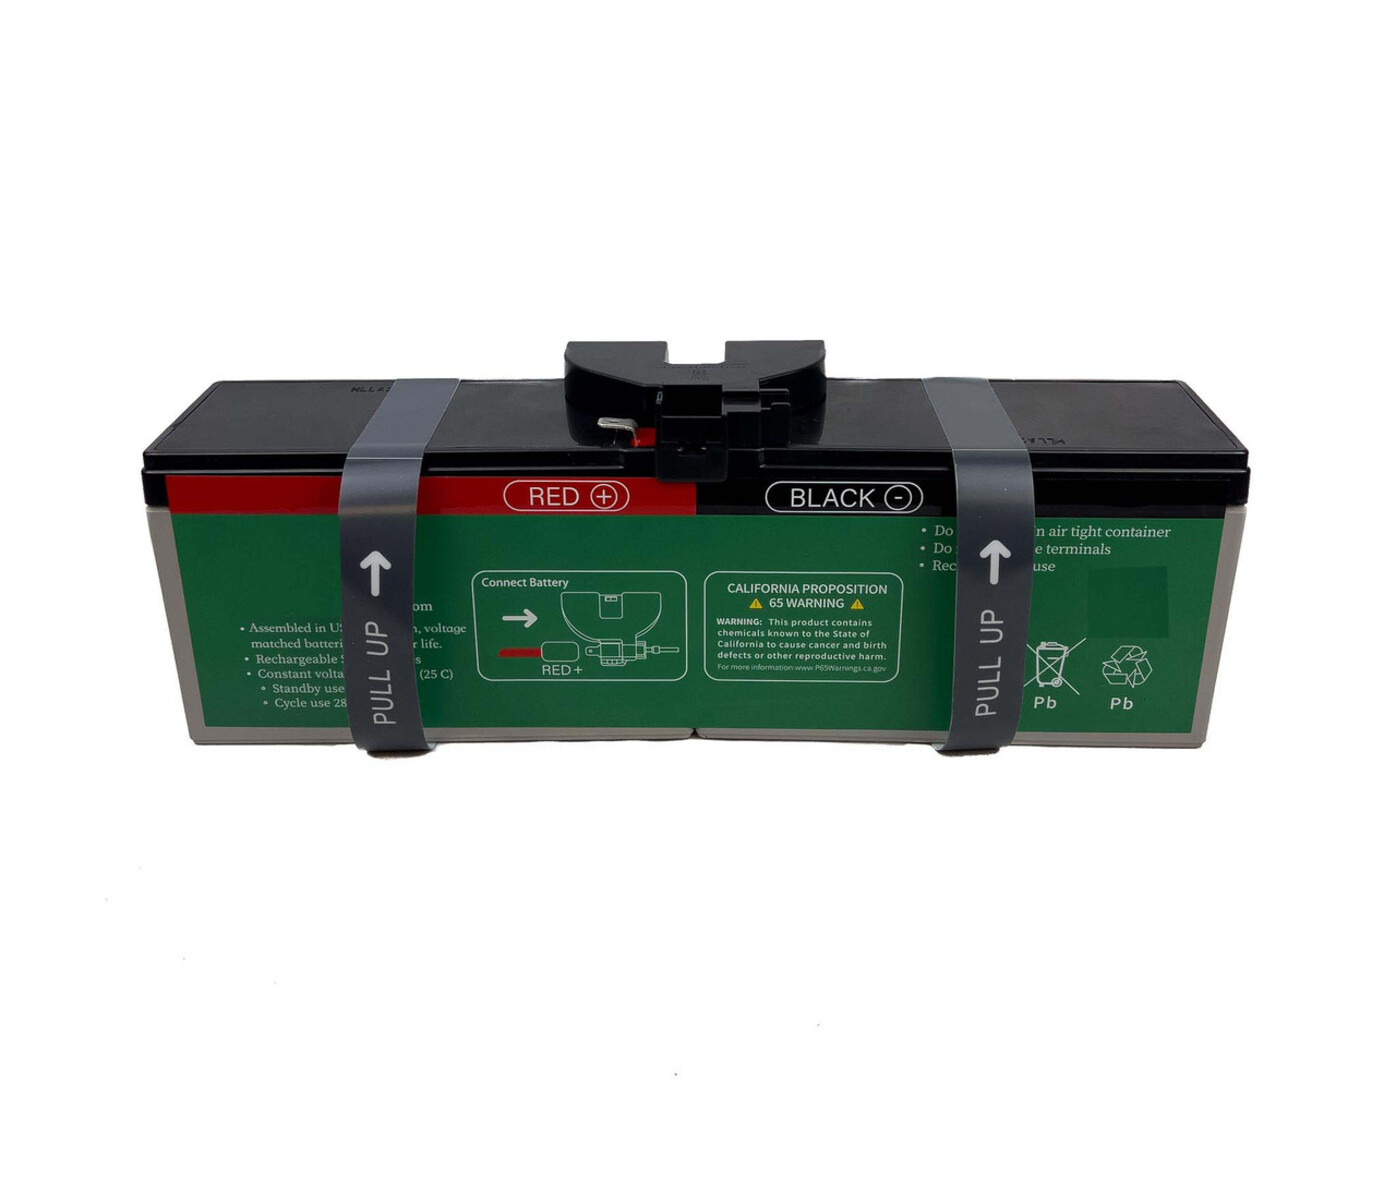
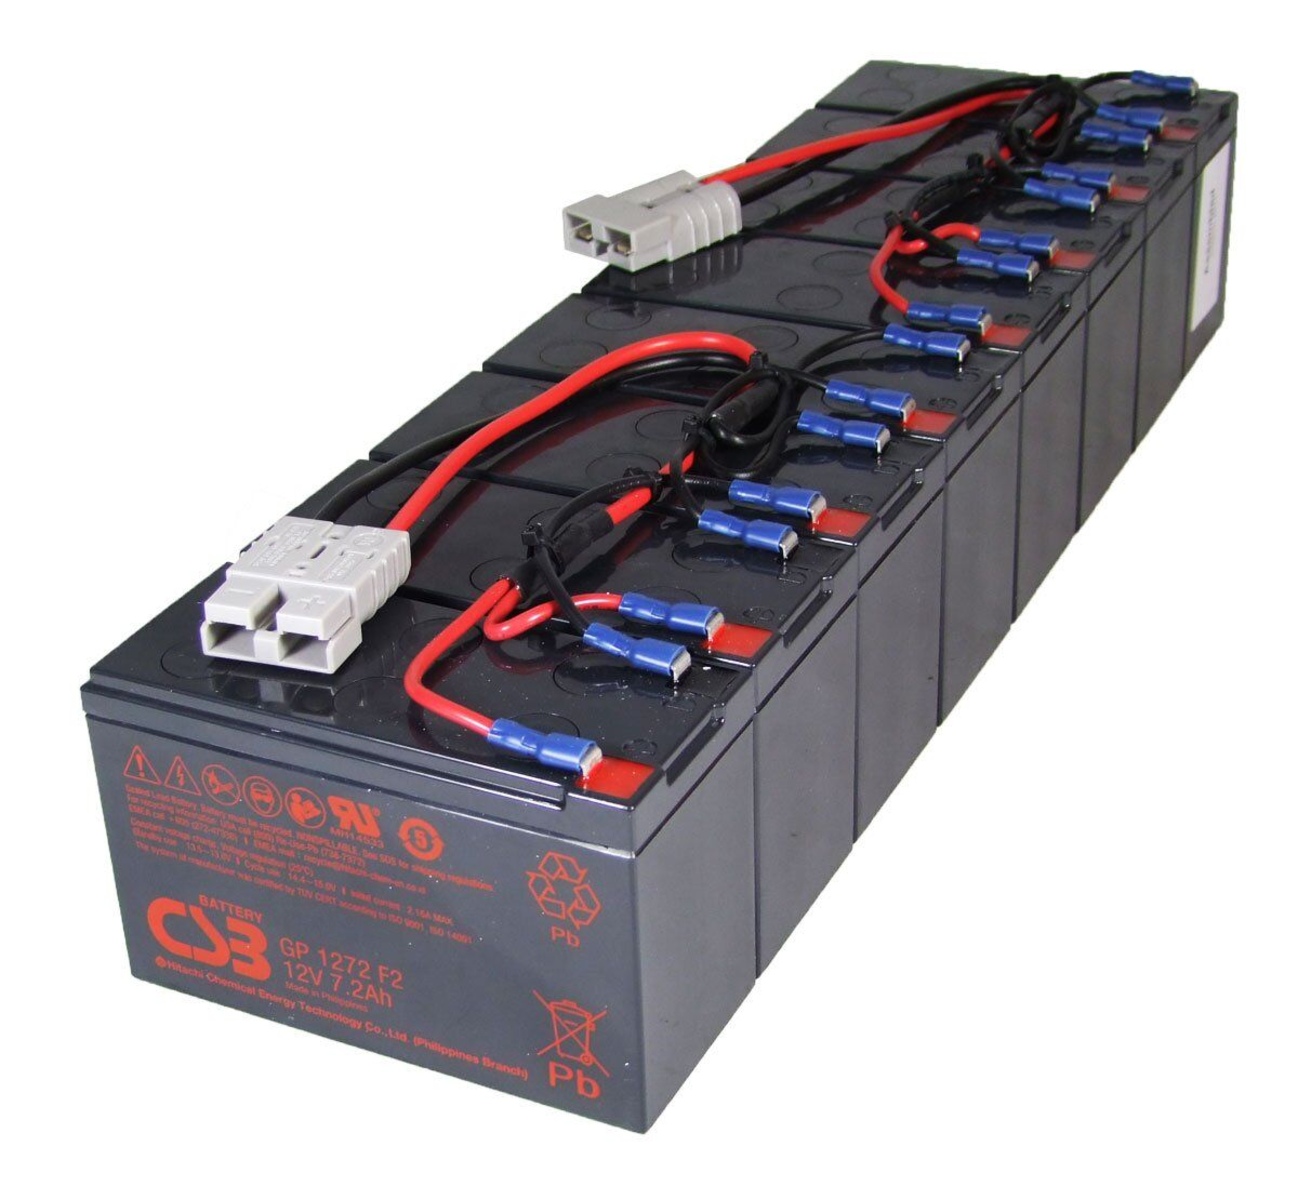
- Replacement battery
- Anti-static wrist strap (optional but recommended)
- Clean cloth or towel
- Workspace with good lighting
The Phillips screwdriver will be used to remove the screws that hold the UPS cover in place, while the flathead screwdriver may come in handy to gently pry open any clips or connectors during the battery replacement process.
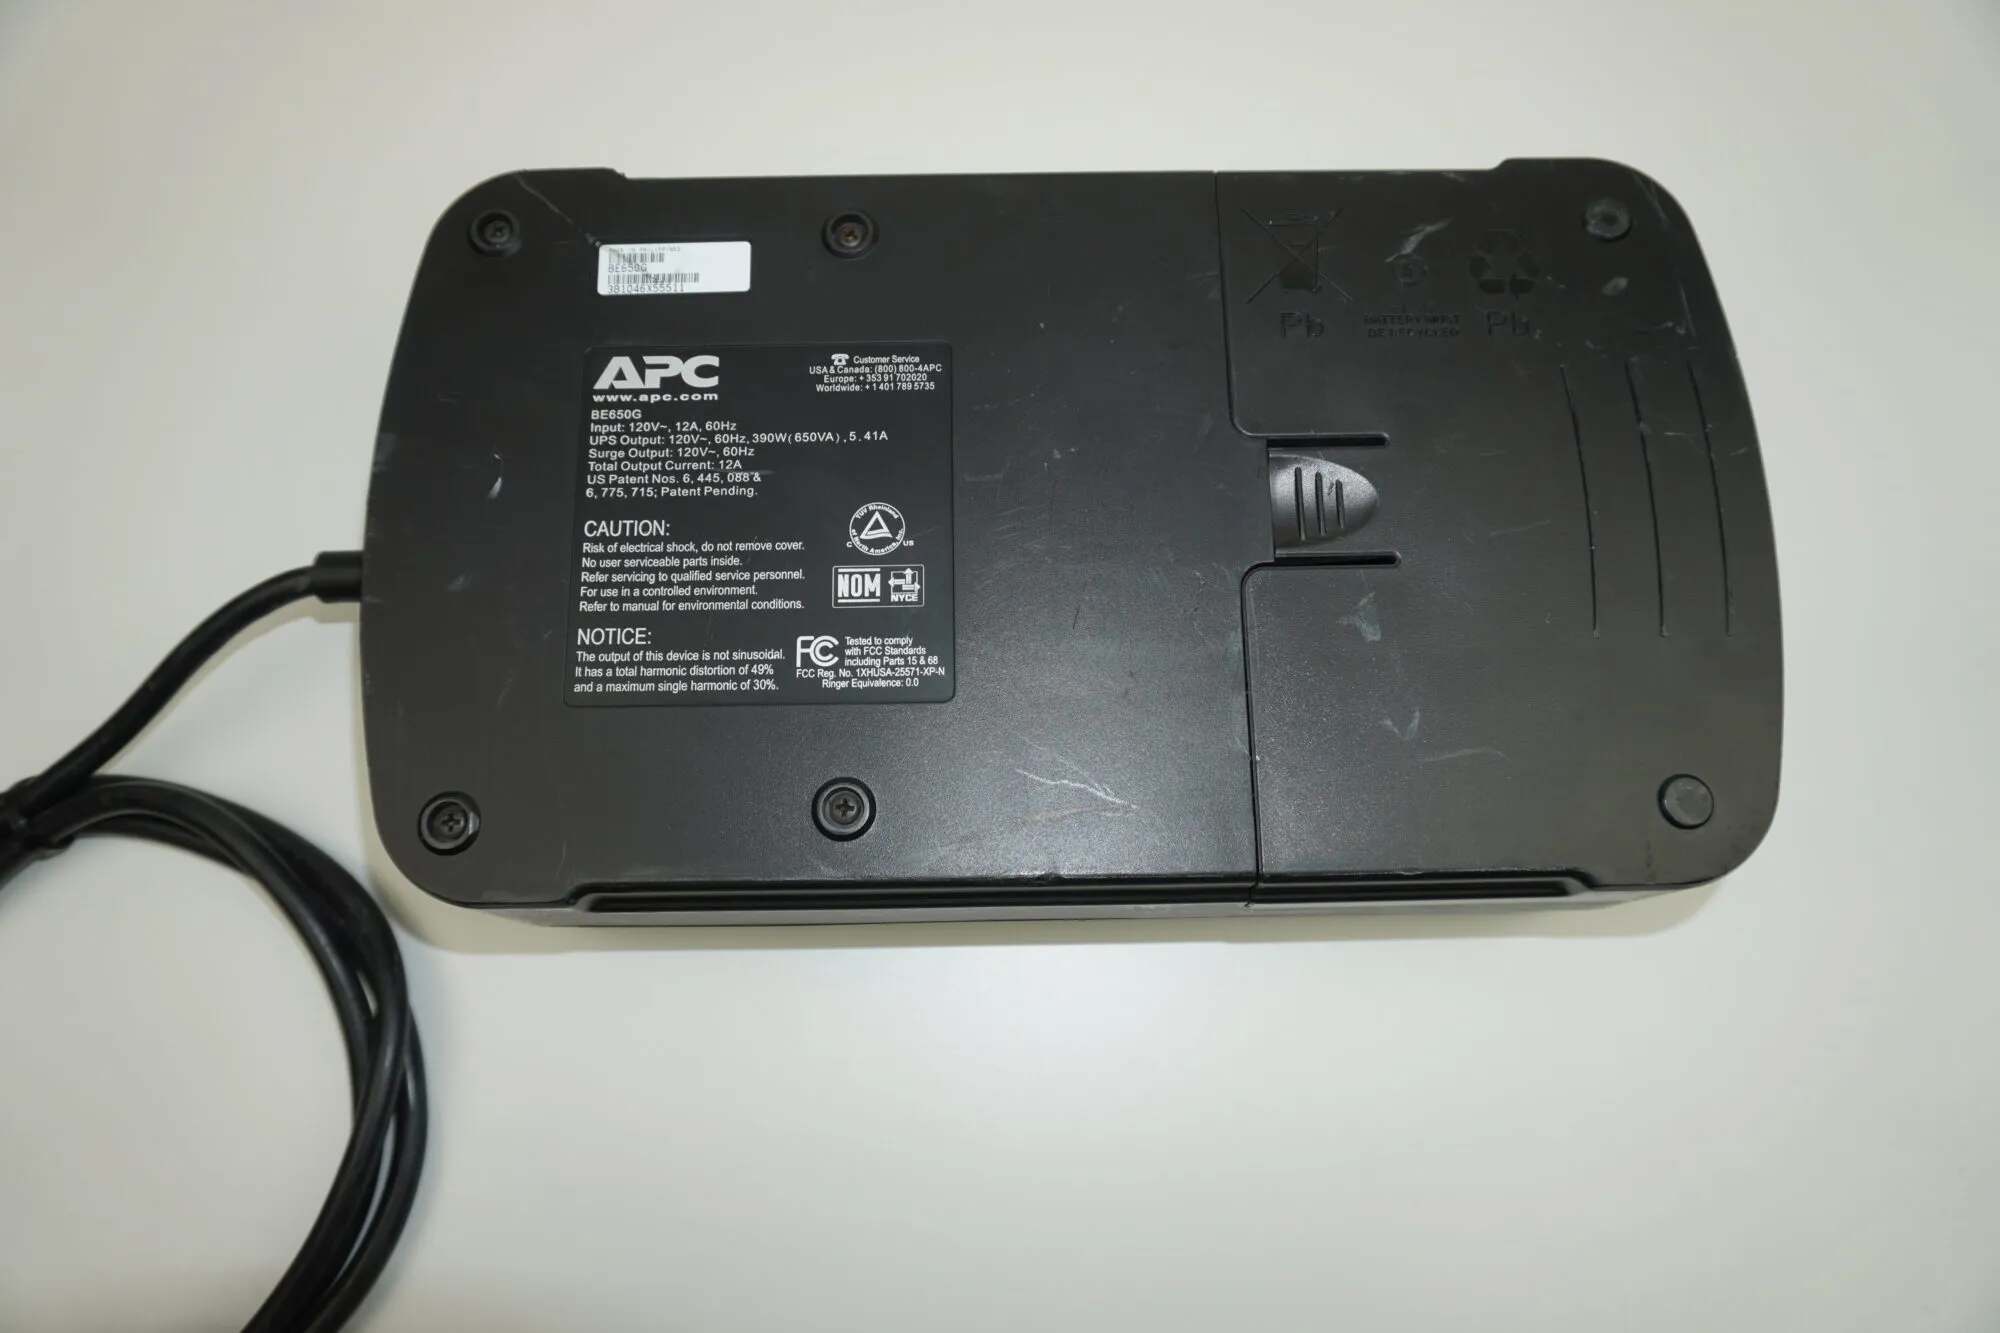
It’s crucial to ensure that you have a compatible replacement battery for your APC 1100 UPS. Check the UPS manual or APC’s website for the specific battery model number or part number that is compatible with your UPS model. This will ensure that the replacement battery fits and functions properly in your UPS.
An anti-static wrist strap is recommended to prevent electrostatic discharge and protect sensitive electrical components from damage during handling. If you don’t have one, be sure to touch a grounded metal surface to discharge any static electricity before working on the UPS.
Lastly, having a clean cloth or towel handy can help keep your workspace organized and free from any dirt or debris that may interfere with the battery replacement process.
Once you have gathered all the necessary tools, you are ready to move on to the next step: preparing for the battery replacement.
Step 2: Prepare for battery replacement
Before replacing the battery in your APC 1100 UPS, it’s important to take a few preparatory steps to ensure a safe and efficient replacement process. Follow these steps:
- Power Off: Ensure that the APC 1100 UPS is powered off and disconnected from any power source. This is essential for your safety and to prevent any electrical hazards during the battery replacement process.
- Remove Load: Disconnect any devices connected to the UPS to avoid any potential power interruptions or damage to the devices during the battery replacement.
- Unplug Power Cord: Remove the power cord from the wall outlet and disconnect any other cables connected to the UPS. This will eliminate any source of power and allow you to work on the UPS without any risk.
- Surface Preparation: Place the UPS on a sturdy and flat surface with enough space to work comfortably. Ensure that the surface is clean and free from any debris or objects that could obstruct the battery replacement process.
- Static Discharge: If you have an anti-static wrist strap, fasten it securely to your wrist and attach the other end to a grounded metal object. This will prevent static electricity from damaging the UPS components during handling. If you don’t have an anti-static wrist strap, touch a grounded metal surface to discharge any static electricity before proceeding.
By preparing for the battery replacement with these steps, you will create a safe environment to work in and minimize the risk of electrical shock or damage to your APC 1100 UPS.
Step 3: Disconnect the UPS from power source
In order to safely replace the battery in your APC 1100 UPS, you need to disconnect it from the power source. Follow these steps:
- Double-check Power Off: Ensure that the APC 1100 UPS is turned off and disconnected from any power source. This includes unplugging the power cord from the wall outlet and any other cables connected to the UPS.
- Inspect for Power Indicator: Take a moment to visually check the UPS for any power indicator lights that may still be illuminated, signaling the presence of residual power. If you see any lights, press and hold the power button on the UPS for a few seconds to completely discharge any remaining power.
- Wait for Capacitor Discharge: After powering off the UPS, it is advisable to wait for a few minutes to allow the capacitors to discharge completely. This step is crucial to prevent any potential electrical discharge that may pose a risk during the battery replacement.
- Confirm Disconnection: Double-check that all power sources are disconnected from the UPS by inspecting the power cord and any other cables that were connected to the unit. Make sure there are no loose connections.
- Verify No Power Flow: As an added precaution, use a voltage tester or multimeter to confirm that there is no power flow to the UPS. This step is especially important if you are uncertain about the power status of the unit.
By following these steps, you will ensure that your APC 1100 UPS is completely disconnected from any power source, minimizing the risk of electrical shock and providing a safe environment for battery replacement.
Step 4: Remove the top cover of the UPS
Now that you have safely disconnected the APC 1100 UPS from the power source, it’s time to remove the top cover to gain access to the battery compartment. Follow these steps to remove the top cover:
- Locate the screws: Carefully inspect the sides and rear of the UPS to identify any screws that hold the top cover in place. Typically, there are two or four screws that need to be removed.
- Use a screwdriver: Choose the appropriate size of the Phillips screwdriver and gently unscrew the screws from the designated spots. Place the screws in a safe location to avoid misplacement.
- Pry open the cover: With the screws removed, place your fingers on the edges of the top cover and gently lift it up. Be cautious as there may be clips or connectors holding the top cover in place. If needed, use a flathead screwdriver to help pry open the cover without applying excessive force.
- Set the cover aside: Once the top cover is successfully removed, place it in a secure location where it won’t get damaged or obstruct your workspace. You now have clear access to the internal components of the APC 1100 UPS.
It’s important to note that some UPS models may have different procedures or additional steps involved in removing the top cover. Consult the user manual or manufacturer’s website for specific instructions related to your APC 1100 UPS model.
By carefully following these steps, you will be able to remove the top cover of your APC 1100 UPS and proceed to the next phase of the battery replacement process.
Step 5: Locate the battery compartment
With the top cover of your APC 1100 UPS removed, the next step is to locate the battery compartment. Follow these steps to find the battery compartment:
- Inspect the internal components: Take a moment to familiarize yourself with the internal layout of the UPS. Look for any labels or indicators that may guide you to the battery compartment.
- Refer to the user manual: If you’re unsure about the exact location of the battery compartment, consult the user manual or manufacturer’s website for specific instructions or diagrams. This will provide you with a clear understanding of where to find the battery compartment.
- Identify the battery compartment: Typically, the battery compartment is a rectangular compartment located near the bottom of the UPS. It may be protected by a plastic cover or held in place by screws.
- Inspect for battery connectors: Look for the battery connectors within the battery compartment. These connectors are usually metal terminals that connect to the battery’s terminals.
Keep in mind that the location of the battery compartment may vary slightly depending on the model of your APC 1100 UPS. Properly identifying the battery compartment will ensure that you proceed with the replacement process accurately.
If you’re unable to locate the battery compartment or have any doubts, it’s always best to consult the user manual or contact the manufacturer’s support for further guidance.
By following these steps, you will successfully locate the battery compartment of your APC 1100 UPS, allowing you to proceed with the battery replacement process smoothly.
Step 6: Disconnect the old battery
Now that you have located the battery compartment of your APC 1100 UPS, it’s time to disconnect the old battery. Follow these steps to safely disconnect the old battery:
- Ensure safety measures: Before proceeding, it’s important to reiterate the importance of safety. Confirm that the UPS is still disconnected from any power source and that you are wearing an anti-static wrist strap or have discharged any static electricity through a grounded metal surface.
- Inspect battery connectors: Take a close look at the battery connectors within the battery compartment. Identify the positive (+) and negative (-) terminals on the battery and the corresponding connectors.
- Disconnect the cables: Locate the cables connected to the battery’s terminals. Gently detach the connectors from the terminals, starting with the negative (-) connector and then the positive (+) connector. Use a slight twisting motion if needed, but be careful not to exert excessive force or damage the connectors.
- Secure the cables: Keep the disconnected cables away from the battery terminals to avoid accidental contact. You can use tape or cable ties to secure them out of the way and prevent any potential short circuits while working on the UPS.
- Inspect for additional connectors: Some UPS models may have additional connectors or wires that are connected to the old battery. If you come across any, carefully disconnect them following the same procedure as before.
- Remove the old battery: Once all the connectors are detached, carefully lift the old battery out of the battery compartment. Take note of its orientation and positioning for later reference when inserting the new battery.
Properly disconnecting the old battery is crucial for the safe and successful replacement process. By following these steps, you can ensure that the old battery is disconnected and ready to be replaced with a new one.
Step 7: Insert the new battery
After disconnecting the old battery, it’s time to insert the new battery into the battery compartment of your APC 1100 UPS. Follow these steps to ensure a proper installation:
- Check battery specifications: Before inserting the new battery, double-check that it is the correct and compatible replacement for your APC 1100 UPS. Refer to the user manual or manufacturer’s website for the specific battery model or part number.
- Orient the new battery: Take note of the orientation and positioning of the old battery that you removed. Ensure that the new battery is aligned in the same direction to ensure proper fitment and compatibility.
- Place the battery: Carefully lower the new battery into the battery compartment, aligning it with the connectors and positioning it in the same manner as the old battery was installed. Make sure the battery is seated securely and rests evenly in the compartment.
- Connect the cables: Starting with the positive (+) terminal, attach the cable connector to the corresponding battery terminal. Use a gentle twisting motion to ensure a secure and tight connection that minimizes the risk of accidental disconnection. Repeat the same process for the negative (-) terminal.
- Double-check connections: Once the cables are connected, inspect the connectors to ensure a proper and tight connection. Avoid any loose or improperly attached cables that may lead to power interruptions or other issues.
It’s essential to properly insert the new battery into the APC 1100 UPS to ensure reliable and uninterrupted power backup. By following these steps, you can safely and securely install the new battery, getting one step closer to restoring the optimal performance of your UPS.
Step 8: Reassemble the UPS
With the new battery successfully installed in your APC 1100 UPS, it’s time to reassemble the unit. Follow these steps to put everything back together:
- Retrieve the top cover: Locate the top cover that you set aside earlier. Ensure that it is clean and free from any debris or obstructions.
- Align the cover: Position the top cover carefully over the UPS, ensuring that it aligns properly with the chassis and the screw holes.
- Screw the cover in place: Using the Phillips screwdriver, insert and tighten the screws into the designated screw holes to secure the top cover. Start with one corner and work your way around, ensuring that the cover is held firmly in place but not over-tightened.
- Verify secure fit: Once all the screws are tightened, gently wiggle the top cover to ensure it is securely attached and there are no loose parts. This step will confirm that the cover is fitted correctly.
It’s important to note that some UPS models may have additional steps or variations in the reassembly process. Refer to the user manual or manufacturer’s instructions for the specific model of your APC 1100 UPS if you encounter any discrepancies.
By following these steps, you can successfully reassemble your APC 1100 UPS after replacing the battery. This restores the integrity and functionality of the unit, ensuring proper operation when connected to the power source.
Step 9: Reconnect the UPS to the power source
After reassembling the APC 1100 UPS, the next step is to reconnect it to the power source. Follow these steps to ensure a safe and proper reconnection:
- Verify proper placement: Before reconnecting the UPS, check that it is placed in its desired location. Ensure that there is enough space around the unit for proper ventilation and that it is positioned securely on a stable surface.
- Inspect power cord: Take a close look at the power cord to ensure that it is free from any damage, fraying or wear. If any issues are detected, replace the power cord with a suitable replacement provided by the manufacturer.
- Plug in the power cord: Insert the power cord firmly into the power outlet. Ensure that it is securely connected and that there is a stable and secure electrical connection.
- Connect other devices: If you had disconnected any devices from the UPS during the battery replacement process, now is the time to reconnect them. Make sure to plug them into the appropriate outlets on the UPS.
- Switch on the UPS: Locate the power switch or button on the UPS and turn it on. The UPS will power up and start providing backup power to the connected devices.
- Monitor UPS operation: After reconnecting the UPS to the power source, keep an eye on the indicators or display on the unit to ensure that it is functioning properly. Check for any error codes or abnormal behavior that may require further attention.
It’s important to note that the time it takes for the UPS to fully charge the new battery may vary. Allow the UPS sufficient time to charge the battery before relying on it for backup power in case of a power outage.
By following these steps, you can successfully reconnect your APC 1100 UPS to the power source, ensuring the continuous and reliable operation of your vital devices.
Step 10: Test the new battery
After replacing the battery and reconnecting the APC 1100 UPS to the power source, it’s crucial to test the new battery to ensure its functionality and the proper operation of the UPS. Follow these steps to test the new battery:
- Perform a self-test: Most UPS models, including the APC 1100, have a self-test function. Consult the user manual or manufacturer’s instructions on how to initiate a self-test. The UPS will simulate a power outage to determine if the new battery can supply backup power to the connected devices. Monitor the test results and any error codes that may be displayed.
- Observe battery charging progress: After the self-test, keep an eye on the UPS indicators or display to monitor the battery charging progress. The UPS may indicate the battery charge level or an estimated runtime based on the new battery’s capacity. Ensure that the battery is charging without any issues.
- Check for abnormal behavior: During the testing phase, pay attention to any unusual or abnormal behavior exhibited by the UPS or the connected devices. Look out for any error codes, unexpected shutdowns, or poor battery performance. If you notice any issues, refer to the user manual or contact the manufacturer for troubleshooting steps or further assistance.
- Monitor backup power during an outage: If possible, simulate a power outage to check if the UPS provides uninterrupted power to the connected devices. Note the runtime and ensure that the UPS can sustain the necessary load for an adequate duration. If the UPS does not meet the required backup power needs, consult the manufacturer for further guidance or consider upgrading to a higher-capacity battery.
- Document and maintain records: Keep a record of the battery replacement date, test results, and any observations during the testing phase. This documentation will be helpful for future reference and can assist in diagnosing any issues that may arise in the future.
By following these steps and thoroughly testing the new battery, you can ensure that your APC 1100 UPS is functioning optimally and ready to provide reliable backup power to your essential devices in case of a power outage.
Conclusion
Replacing the battery in your APC 1100 UPS is an important maintenance task to ensure the continued reliability and performance of your power backup solution. By following the steps outlined in this guide, you can successfully replace the battery and restore the optimal functionality of your UPS.
Throughout the process, it is crucial to prioritize safety. Disconnecting the UPS from the power source, wearing an anti-static wrist strap, and taking necessary precautions will help prevent any accidents or electrical hazards.
Gathering the necessary tools, preparing for the battery replacement, and carefully disconnecting the old battery are important initial steps. Locating the battery compartment, inserting the new battery, and reassembling the UPS require attention to detail and accuracy.
Once the new battery is installed and the UPS is reconnected to the power source, conducting a thorough test is vital. Performing a self-test, monitoring battery charging progress, observing for abnormal behavior, and testing backup power during an outage will ensure the proper functioning of the new battery.
Remember to document the battery replacement and test results for future reference. This information will be valuable should any issues arise or for future battery replacement cycles.
By following this guide, you can confidently and safely replace the battery in your APC 1100 UPS, ensuring uninterrupted power backup and peace of mind for your essential devices.


