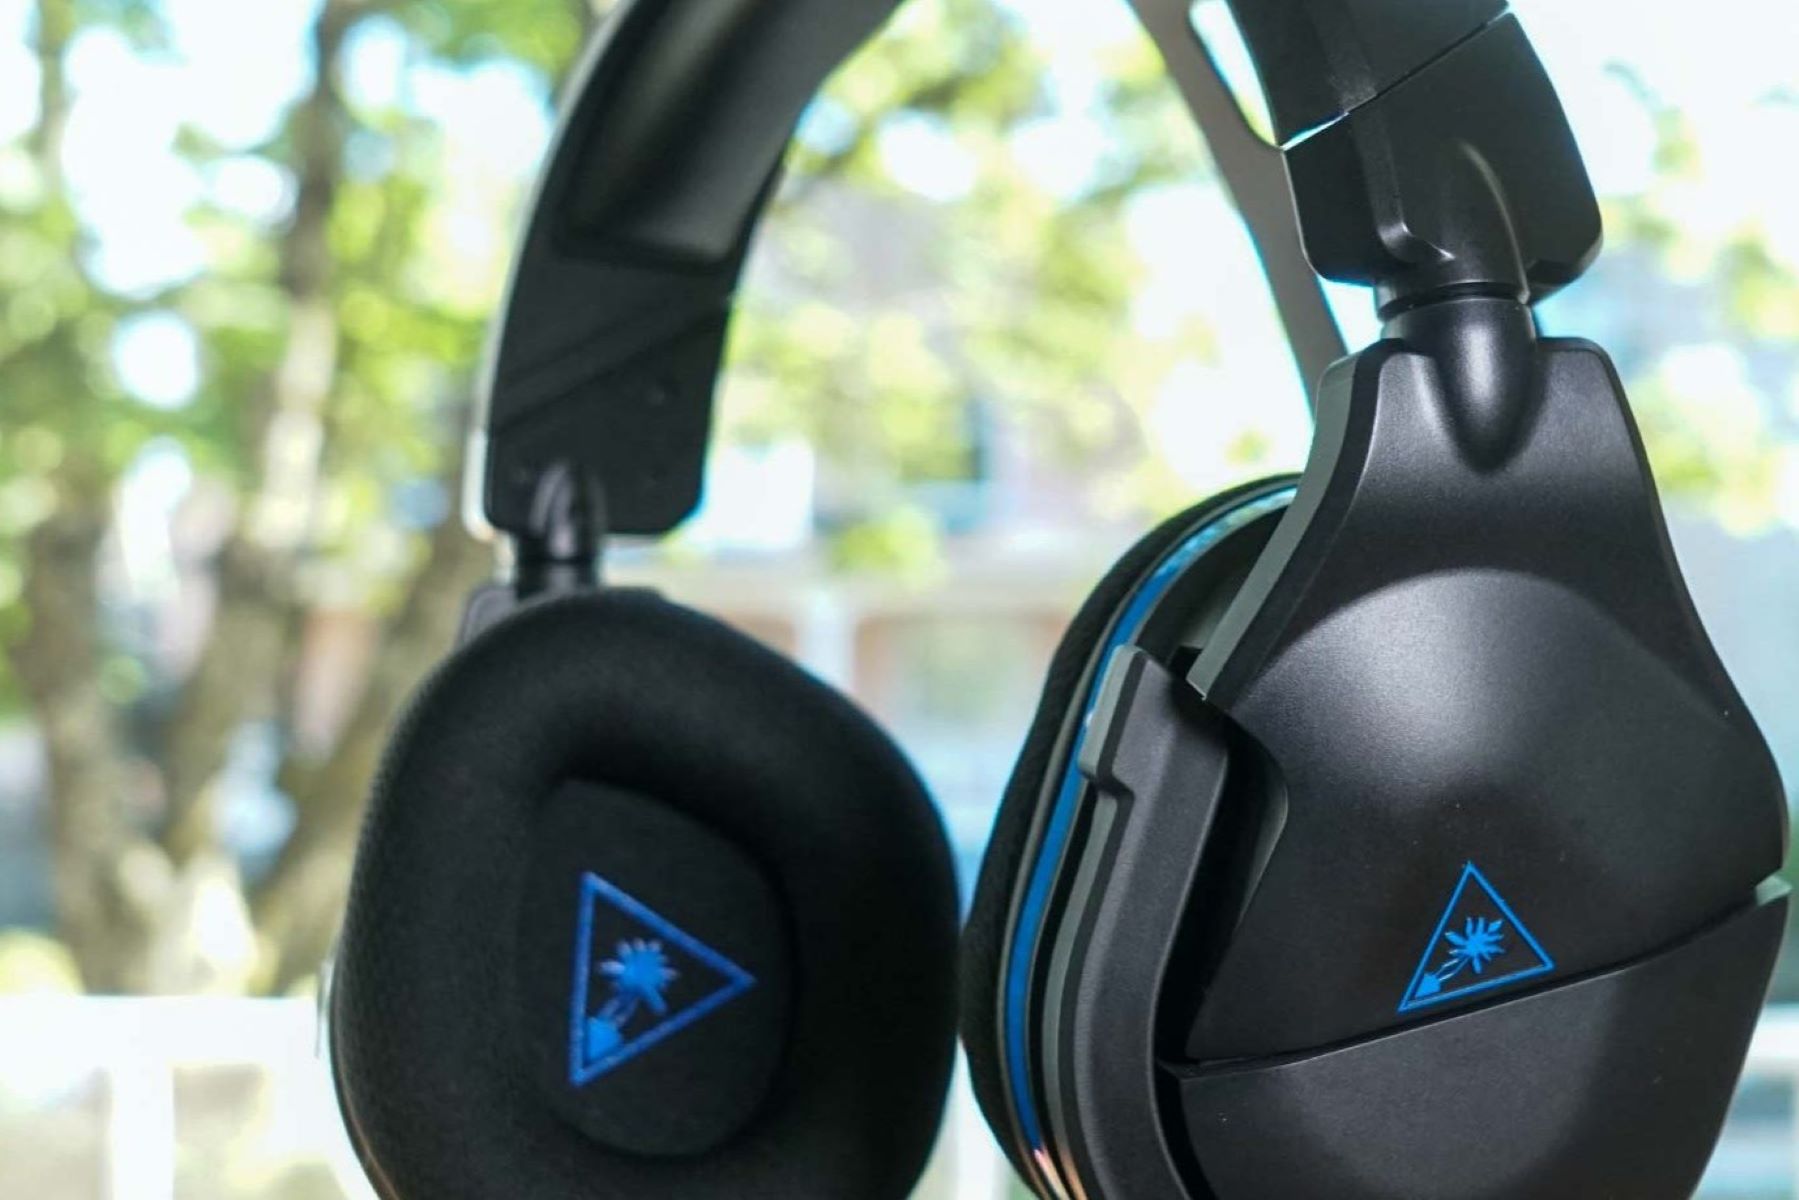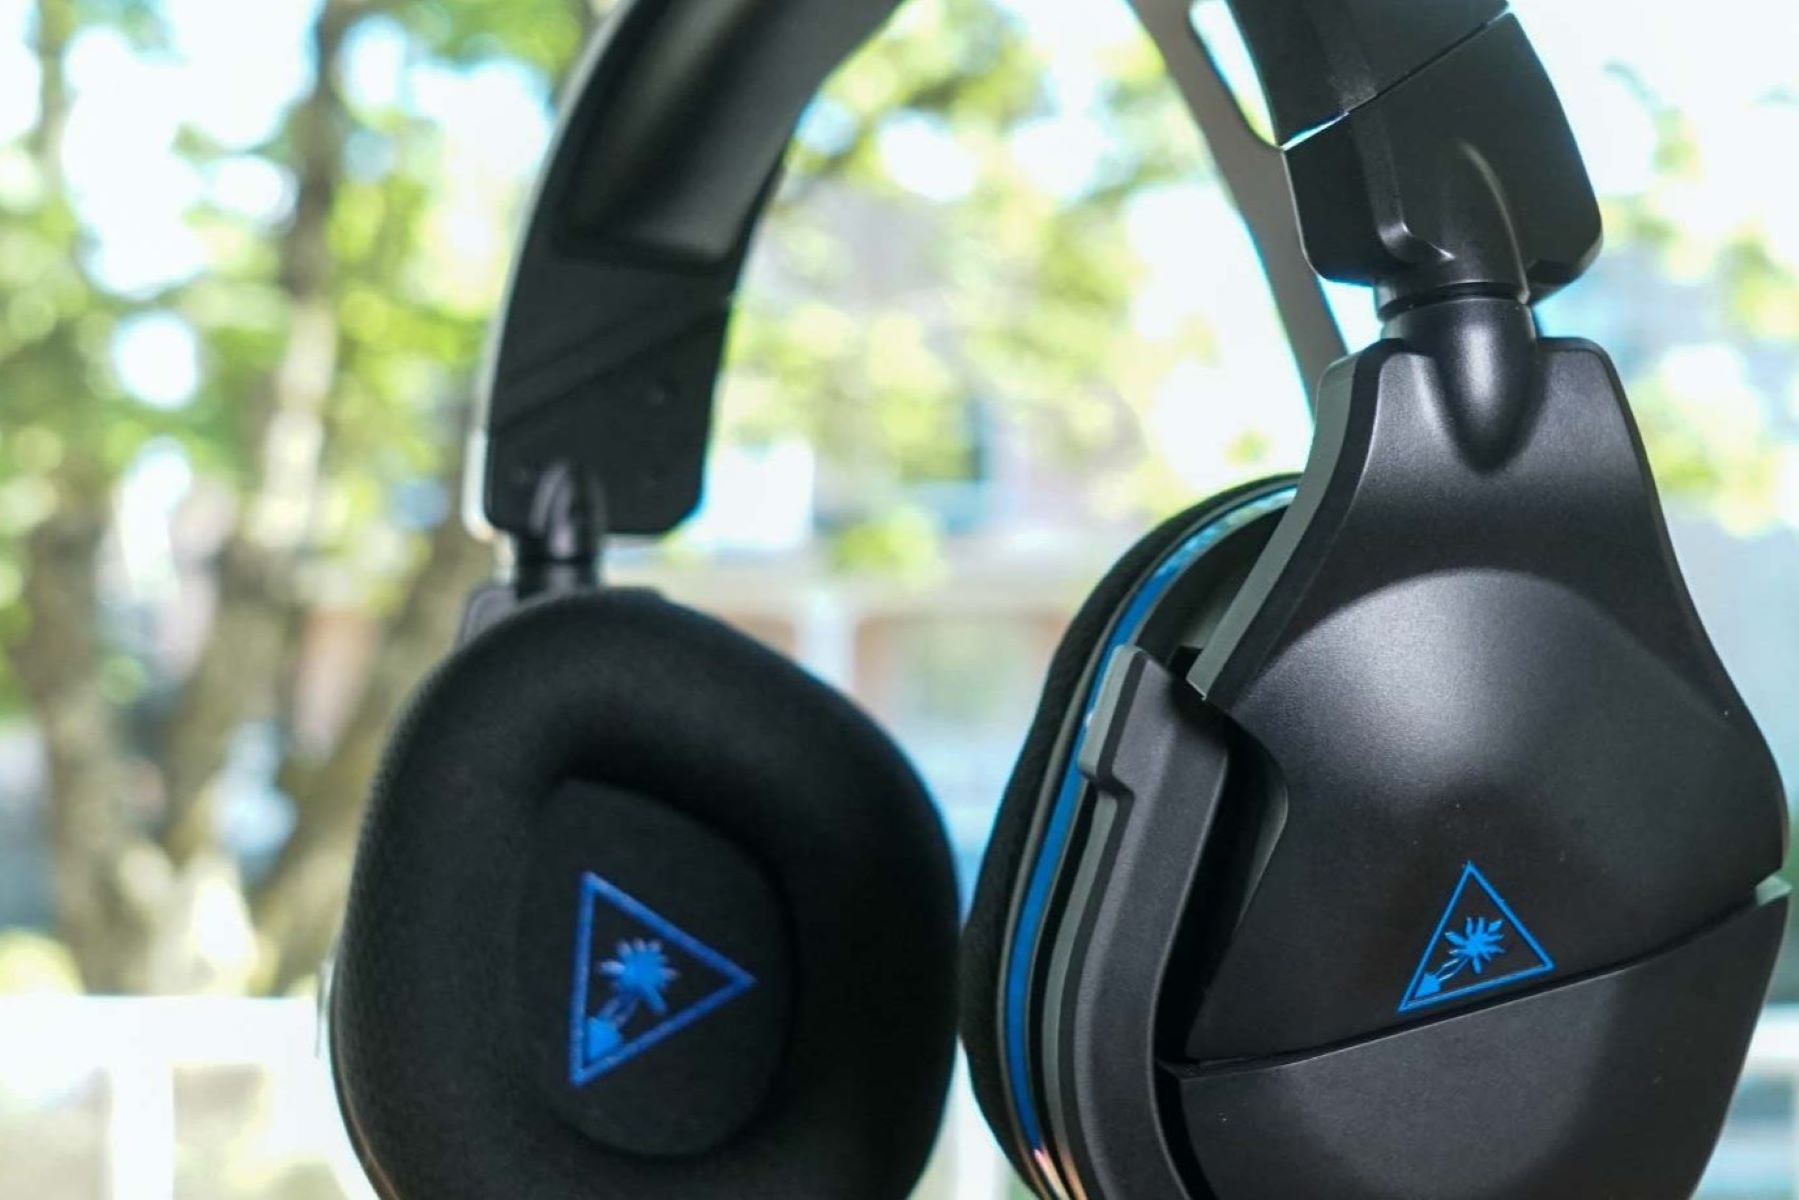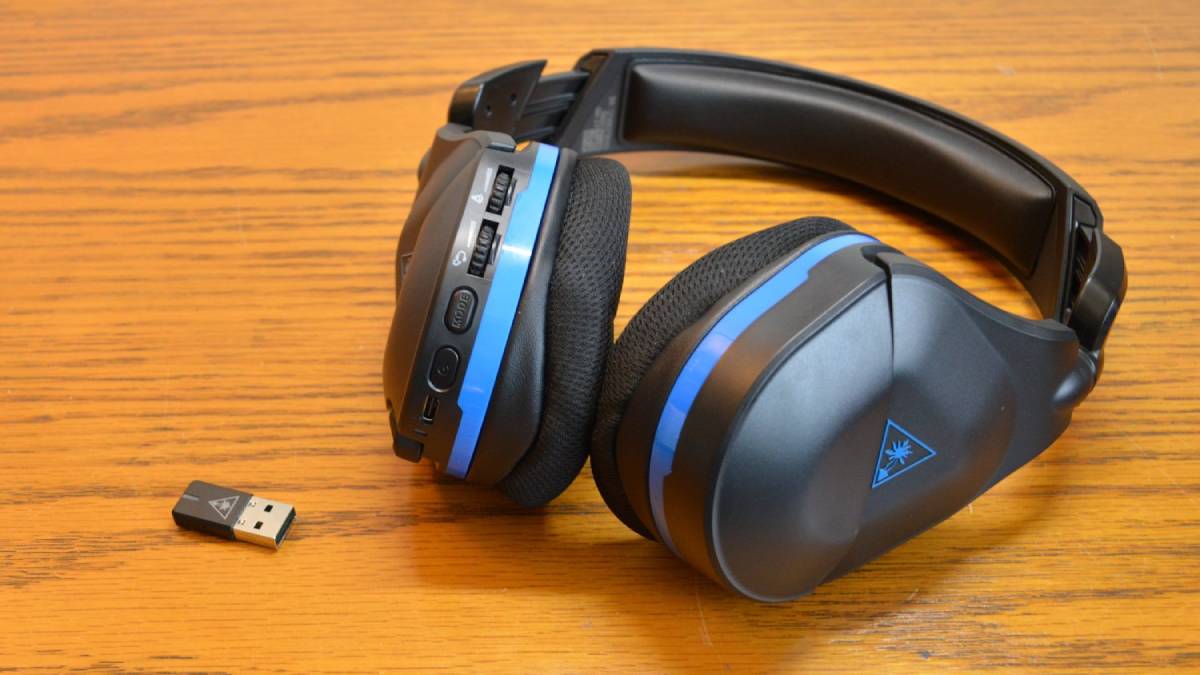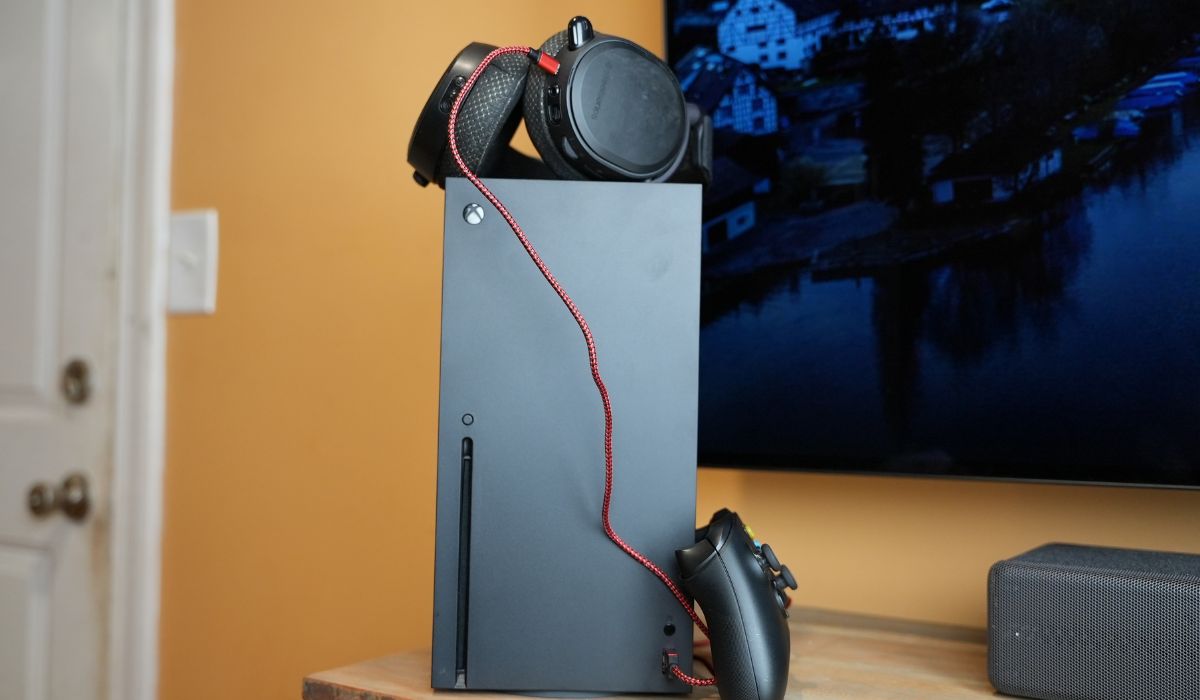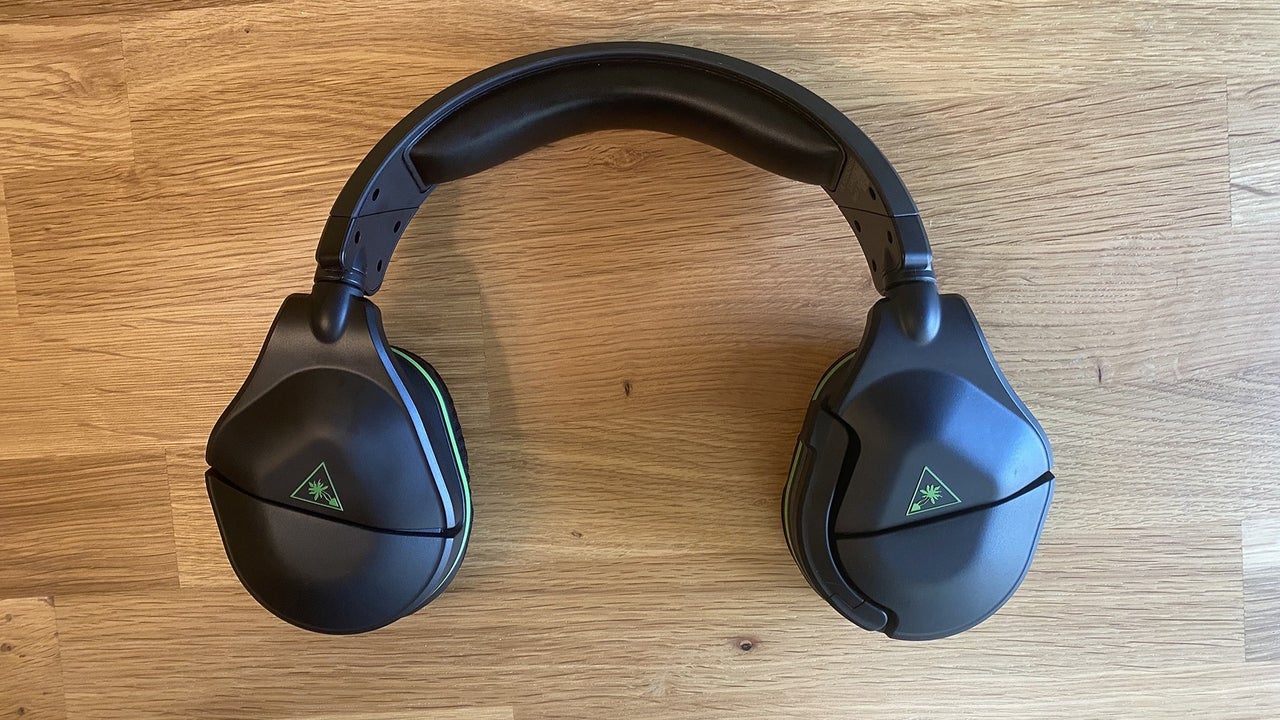
To connect your Turtle Beach headset to your Xbox, plug the 3.5mm cable into the controller's bottom jack for wired models, or insert the USB transmitter into the console for wireless models; for Xbox Wireless Protocol headsets, press the Pair button on the console after putting the headset in pairing mode. If you also want to use it on a computer, the steps for connecting Turtle Beach headset to PC differ slightly. The Xbox will automatically detect a wired headset, while wireless models require a one-time pairing process that applies to both Xbox One and Xbox Series X|S.
Connect your Turtle Beach headset to your Xbox
Your Turtle Beach headset works with both Xbox One and Xbox Series X|S, but the physical connection method depends on your specific model. Follow the steps below for your headset type, and remember that connecting a headset to a console is always the first step before any audio customization.
Wired headsets (3.5mm jack)
- Locate the 3.5mm audio jack on the bottom of your Xbox controller.
- Insert the headset's 3.5mm connector firmly into the jack until it clicks.
- The Xbox console will automatically detect the wired headset and route all audio to it.
- No additional pairing or setup is required for wired models.
USB wireless headsets (with transmitter)
- Check if your USB transmitter has a mode switch (common on Stealth 600 and Stealth 700 Gen 3 models).
- Set the mode switch to "XBOX" before plugging it into the console.
- Insert the USB transmitter into a USB-A port on your Xbox console (front or rear).
- Press and hold the power button on your headset for approximately two seconds to power it on.
- The headset will automatically pair with the transmitter once powered on.
Xbox Wireless Protocol headsets (no USB transmitter)
- Turn on your Xbox console and wait for the home screen to load.
- Locate the Pair button on your Xbox console. On older Xbox One models, it's on the left side near the disc drive; on Xbox One S/X and Series X|S, it's on the lower right of the front panel.
- Press the Pair button on the console once.
- Wait for the LEDs on both the headset and the console to turn solid, this confirms successful pairing.
Configure your Xbox audio settings for the headset
After the physical connection, you need to adjust the console's audio output for optimal performance. These settings ensure your headset delivers virtual surround sound and balanced chat/game audio. Apply these Turtle Beach headset setup tips to get the most from your hardware.
Access the audio settings menu
- Press the Xbox button on your controller to open the Guide.
- Navigate to the "Profile & System" tab (gear icon).
- Select "Settings".
- Go to "General" → "Volume & Audio Output".
Recommended audio configuration
- In the "Headset Audio" column, set "Headset Format" to "Windows Sonic For Headphones", this free option provides virtual surround sound.
- Alternative formats like Dolby Atmos (paid trial available) or DTS Headphone:X can be selected if you prefer, but Windows Sonic requires no purchase.
- Press the Xbox button to return to the Guide, then select the "Audio" section (speaker icon).
- Set "Headset Volume" to maximum (100%).
- Set "Headset Chat Mixer" to the middle position to balance game audio and voice chat equally.
- Adjust "Mic Monitor" to your preferred level, this controls how much of your own voice you hear through the headset.
Test the audio and microphone
Once connected and configured, you must verify that both game audio and voice communication work correctly. This step prevents issues during multiplayer sessions and confirms the headset's positional audio capabilities.
Game audio validation
- Launch a game with rich sound design (e.g., an open-world title or FPS).
- Move your character and listen for directional cues, footsteps, gunfire, or environmental sounds should have clear left/right positioning.
- Check that dialogue and music are crisp without distortion at high volumes.
- If audio seems flat or mono, revisit the Headset Format setting and ensure Windows Sonic is selected.
Microphone and chat test
- Speak normally and ask your party member to confirm your voice is clear and audible.
- Verify that background noise (fans, keyboard clicks) is minimized, your mic should pick up your voice primarily.
- Speak at different volumes to check that the Mic Monitor feedback is comfortable and not distracting.
- If your voice is too quiet, increase the Mic Monitor level or check the physical mic boom position.
After completing these tests, your Turtle Beach headset is fully integrated with your Xbox. You'll hear game audio with accurate spatial cues, and your teammates will understand you clearly. The setup process takes less than five minutes, but the result is a dramatically improved gaming experience.
For the wider topic, see connecting a headset to a console.