Introduction
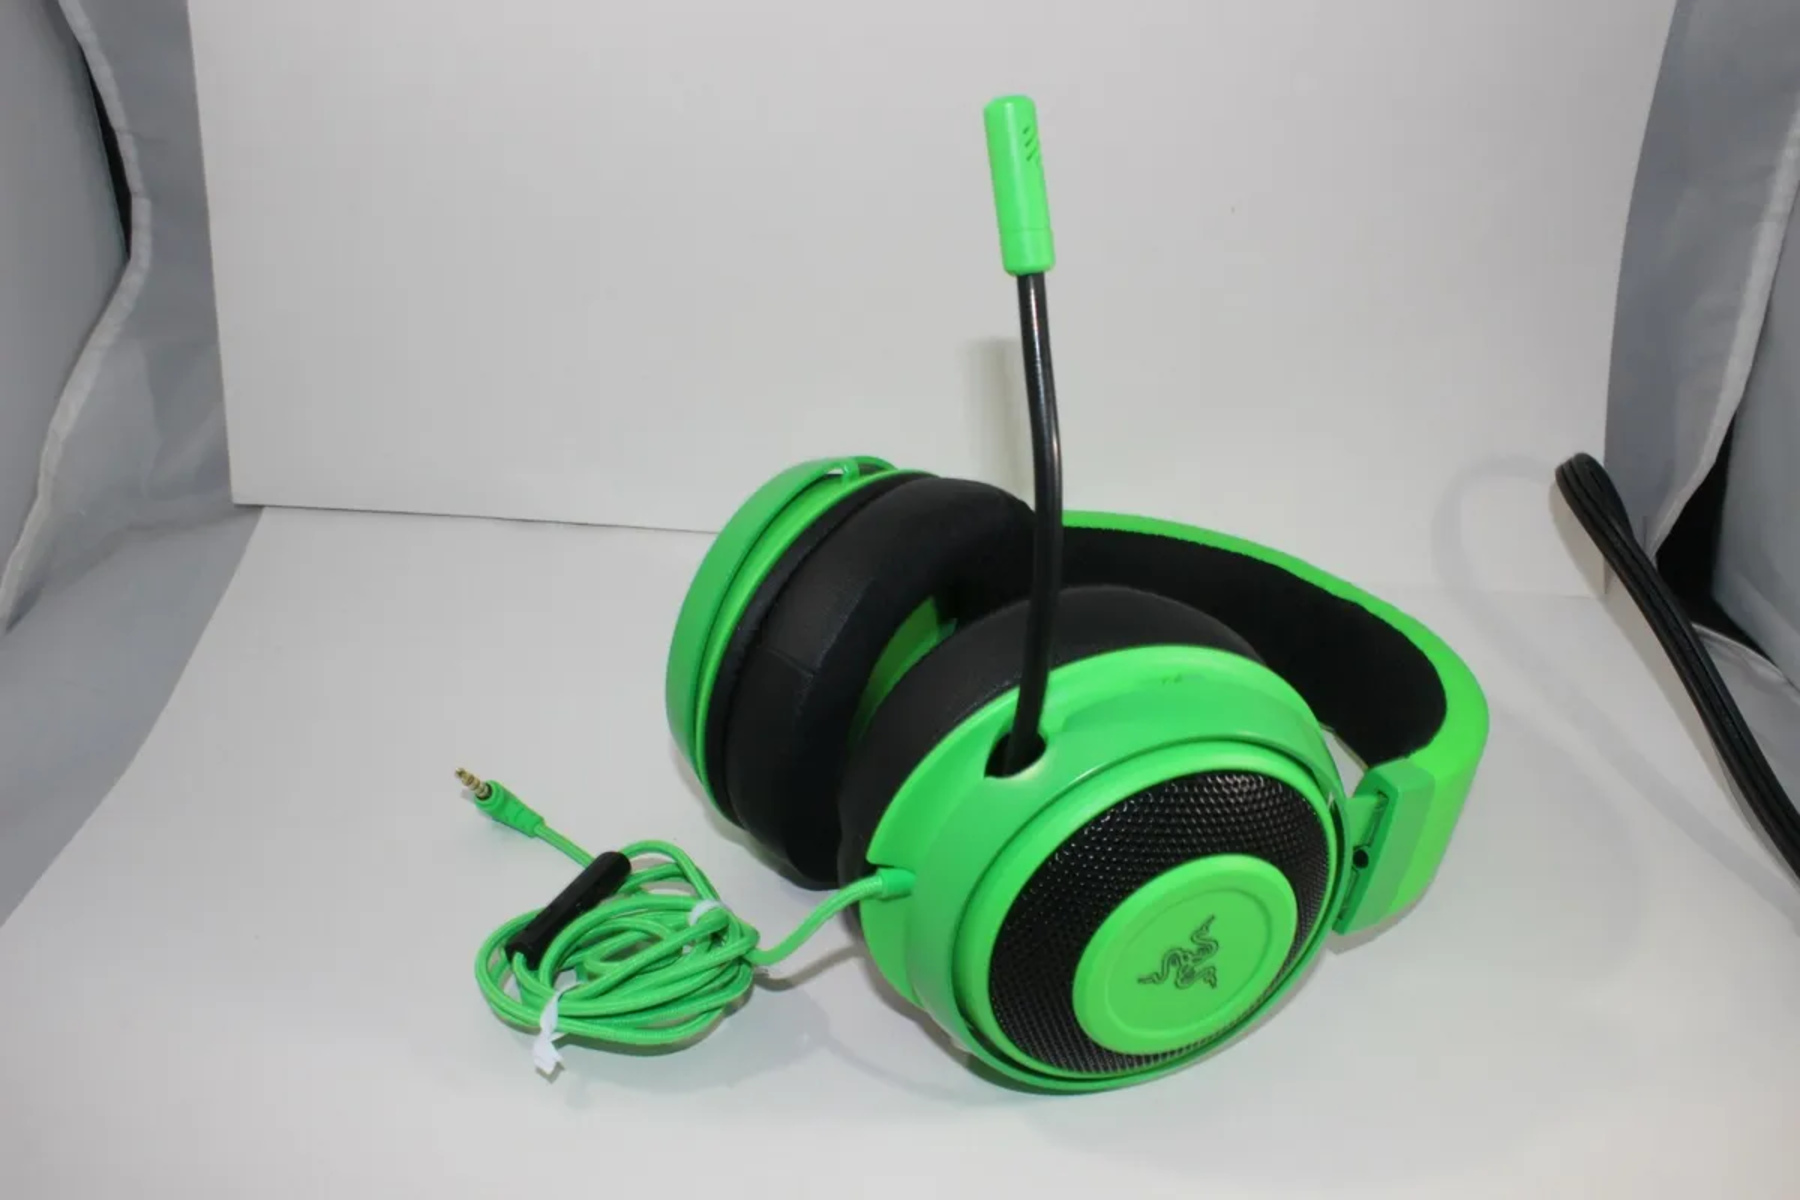
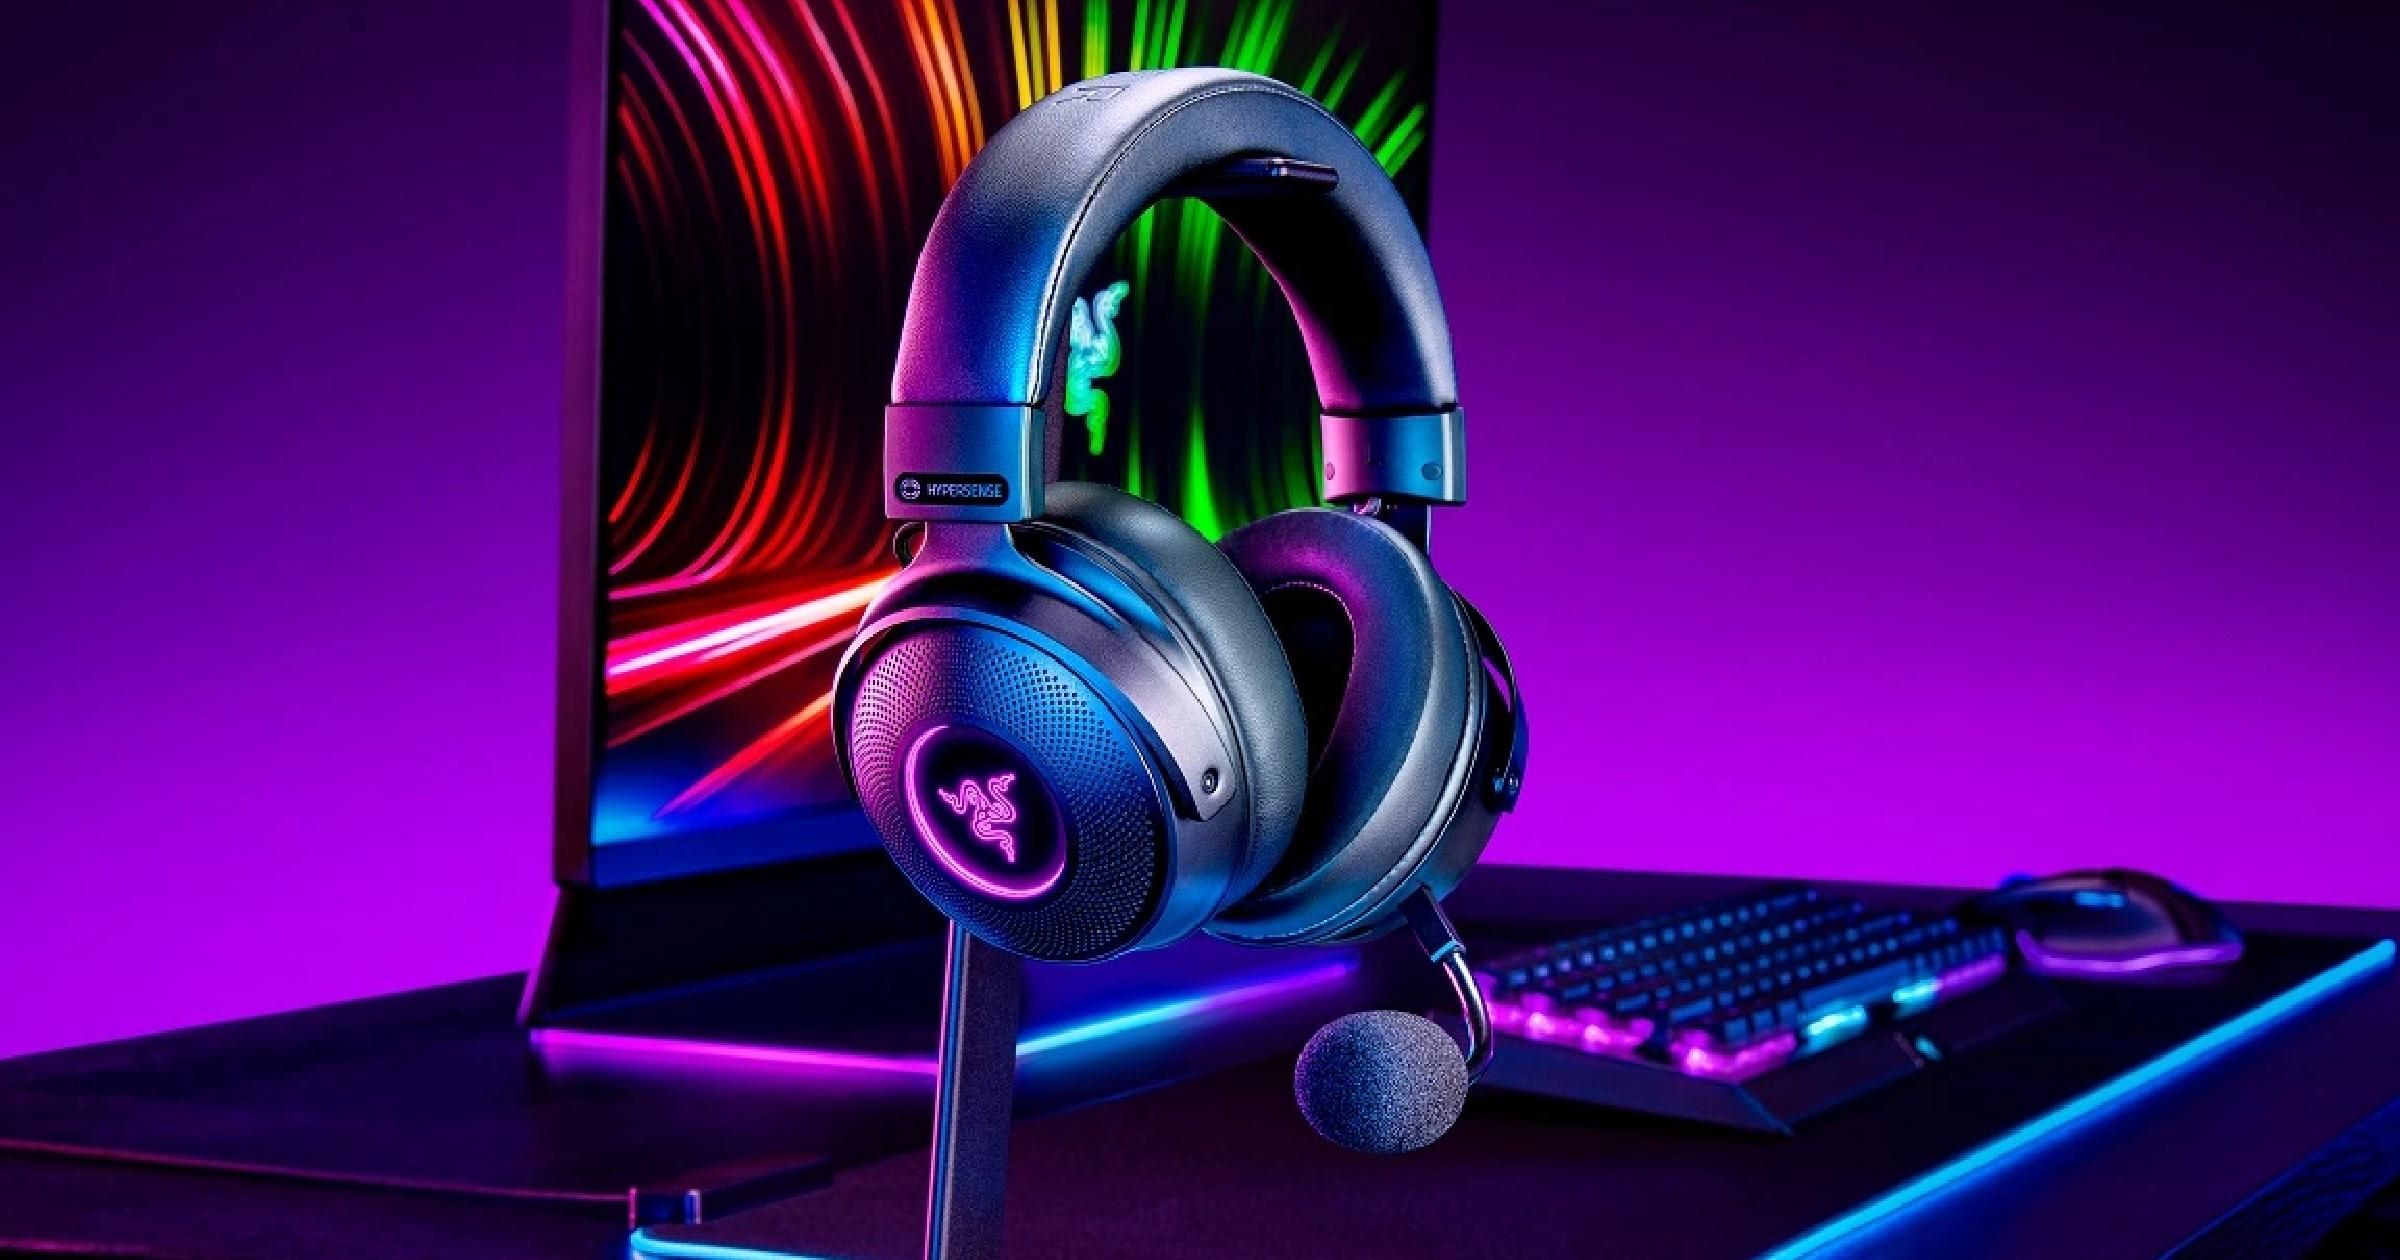
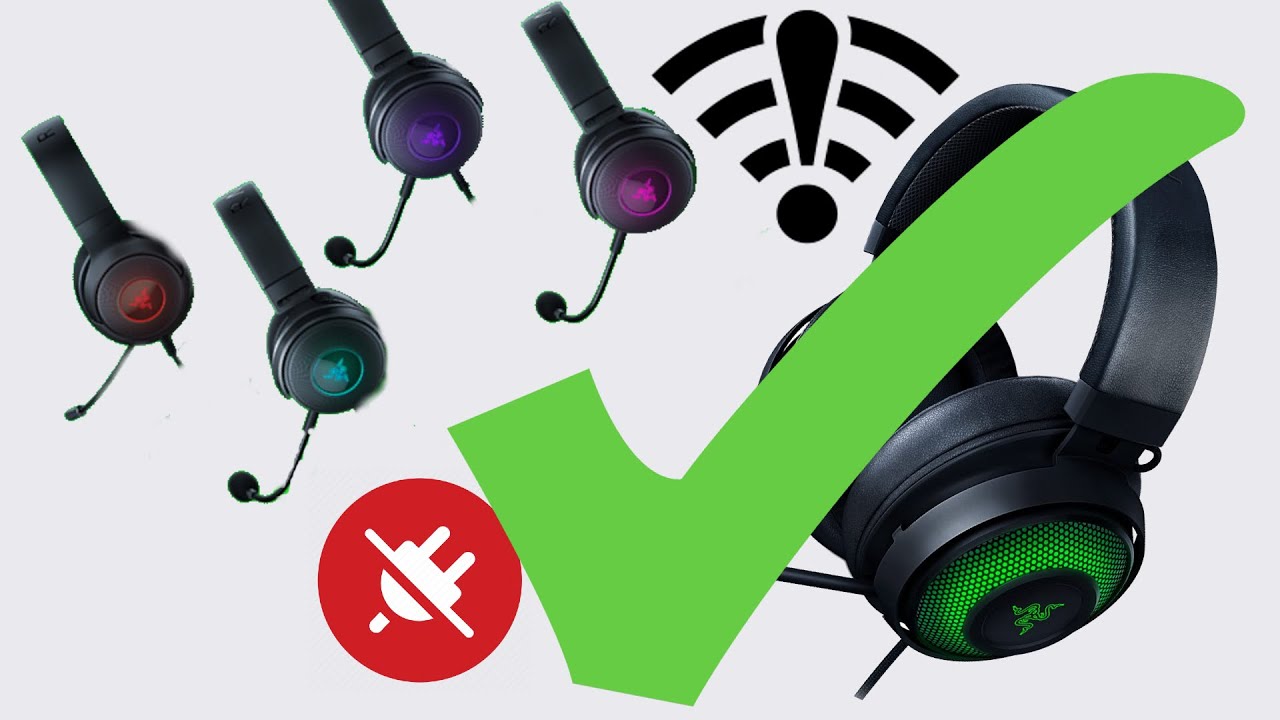
Embracing the immersive world of gaming often involves a myriad of accessories and gadgets, each contributing to an enhanced gaming experience. One such essential component is the Razer headset, renowned for its exceptional audio quality and comfort. However, there are instances when disconnecting the Razer headset from the Xbox controller becomes necessary. Whether it's to switch to a different audio output or to take a break from the intense gaming session, knowing how to disconnect the Razer headset from the Xbox controller is a valuable skill for any gamer.
In this guide, we will walk through the step-by-step process of disconnecting your Razer headset from your Xbox controller. This simple yet crucial task ensures a seamless transition in your gaming setup, allowing you to adapt to various gaming scenarios with ease. By following these steps, you can effortlessly switch between different audio outputs or take a moment to immerse yourself in the ambient sounds of your gaming environment.
As we delve into the intricacies of this process, it's essential to note that understanding the nuances of your gaming setup empowers you to make the most of your gaming experience. Whether you're a seasoned gamer or just embarking on your gaming journey, mastering the art of disconnecting your Razer headset from your Xbox controller adds a layer of versatility to your gaming arsenal.
With that said, let's embark on this journey to unlock the freedom of disconnecting your Razer headset from your Xbox controller, empowering you to tailor your gaming audio experience to your preferences and needs. So, grab your controller, put on your gaming headset, and let's delve into the seamless process of disconnecting your Razer headset from your Xbox controller.
Step 1: Unplugging the Razer Headset from the Xbox Controller
Disconnecting your Razer headset from the Xbox controller is a straightforward process that begins with a simple action: unplugging the headset from the controller.
-
Locate the Headset Connector: The first step is to identify the connector where your Razer headset is plugged into the Xbox controller. This connector is typically located at the bottom of the controller, adjacent to the audio jack.
-
Gently Remove the Cable: Once you've located the connector, gently grasp the cable near the connector and carefully unplug it from the controller. It's important to exercise caution and avoid applying excessive force to prevent any damage to the cable or the controller.
-
Store the Headset Safely: After unplugging the headset, it's advisable to store it in a safe and secure location, such as a headset stand or a designated storage area. Properly storing your Razer headset helps maintain its longevity and ensures that it's readily accessible for your next gaming session.
By following these simple steps, you can effortlessly disconnect your Razer headset from the Xbox controller, allowing for seamless transitions between different audio setups or moments of respite from intense gaming sessions. This process empowers you to adapt your gaming environment to your preferences, whether it involves switching to a different audio output or taking a break while keeping your gaming setup organized and well-maintained.
Step 2: Adjusting the Xbox Audio Settings
Once you have successfully disconnected your Razer headset from the Xbox controller, the next crucial step is to adjust the audio settings on your Xbox to ensure a seamless transition to an alternative audio output.
-
Navigate to the Xbox Settings: Begin by pressing the Xbox button on your controller to open the guide. From there, navigate to the "System" tab and select "Settings." This will provide access to a range of configurable options, including audio settings.
-
Select Display & Sound: Within the Settings menu, locate and select the "Display & Sound" option. This will open a submenu containing various audio and visual settings that can be customized to suit your preferences.
-
Adjust Audio Output: Under the "Display & Sound" menu, select the "Audio Output" option. Here, you can choose your preferred audio output device from the available list of options. If you are switching from a headset to external speakers or another audio device, simply select the desired output to route the audio accordingly.
-
Customize Audio Settings: Depending on your audio setup, you may have additional options to customize the audio output further. This can include adjusting the volume levels, configuring audio presets, or fine-tuning the equalizer settings to optimize the audio experience based on your preferences.
-
Test the Audio Output: After making the necessary adjustments, it's advisable to test the audio output to ensure that the settings have been configured correctly. Play a brief snippet of audio or launch a game to verify that the sound is being routed to the intended output device.
By meticulously adjusting the Xbox audio settings, you can seamlessly transition from using your Razer headset to an alternative audio output, whether it's external speakers, a soundbar, or another audio device. This flexibility empowers you to curate your gaming audio experience according to your preferences, allowing for a dynamic and immersive gaming environment tailored to your specific needs.
With the audio settings successfully adjusted, you are now equipped to enjoy your gaming experience with the audio output of your choice, seamlessly transitioning between different audio setups with ease. This adaptability ensures that your gaming environment remains versatile and optimized to deliver an immersive audio experience, enhancing the overall enjoyment of your gaming sessions.
Step 3: Testing the Audio Output
After making adjustments to the audio settings on your Xbox and transitioning from using your Razer headset to an alternative audio output, it is essential to thoroughly test the audio output to ensure that the settings are configured correctly. This crucial step ensures that the audio is being routed to the intended output device, whether it's external speakers, a soundbar, or any other audio system you have chosen.
To begin the testing process, navigate to the media or gaming content that you intend to experience with the newly configured audio output. This can involve playing a snippet of music, launching a game, or accessing any audio-visual content that allows you to assess the quality and functionality of the audio output.
As you initiate the audio playback, pay close attention to the sound emanating from the selected output device. Verify that the audio is clear, immersive, and accurately reflects the intended audio experience. Listen for nuances in the sound, such as spatial effects, dynamic range, and overall clarity, to ensure that the audio output aligns with your expectations.
Additionally, it is advisable to assess the volume levels and ensure that they are appropriate for the selected output device. Adjust the volume settings as needed to achieve an optimal listening experience, taking into account factors such as ambient noise levels and personal preferences for audio intensity.
During the testing phase, it is beneficial to engage with various types of audio content, including music, dialogue-heavy scenes, and action-packed sequences if applicable. This comprehensive approach allows you to evaluate the audio output across different genres and scenarios, providing a holistic understanding of how the audio settings perform in diverse contexts.
Furthermore, if your gaming setup includes spatial audio technologies or surround sound systems, take the opportunity to experience the spatial audio effects and directional sound cues. This can involve navigating through immersive gaming environments, where spatial audio enhances the sense of realism and spatial awareness, contributing to a heightened gaming experience.
By thoroughly testing the audio output, you can confidently affirm that the transition from using your Razer headset to the alternative audio output has been successful. This meticulous approach ensures that the audio settings are optimized to deliver an engaging and immersive audio experience, tailored to your preferences and gaming environment.
With the audio output thoroughly tested and confirmed to meet your expectations, you are now ready to fully immerse yourself in your gaming or media content, enjoying the benefits of a seamlessly configured audio setup that enhances your overall entertainment experience.
Conclusion
In conclusion, the ability to disconnect your Razer headset from the Xbox controller represents a pivotal aspect of optimizing your gaming experience. By following the step-by-step process outlined in this guide, you have gained valuable insights into seamlessly transitioning between different audio setups, enabling you to tailor your gaming environment to your preferences and needs.
The journey of disconnecting your Razer headset from the Xbox controller begins with the simple act of unplugging the headset from the controller, ensuring a gentle and cautious approach to safeguard the integrity of the equipment. This initial step sets the stage for a smooth transition to alternative audio outputs, granting you the freedom to adapt your audio setup according to your gaming environment and personal preferences.
Subsequently, adjusting the Xbox audio settings empowers you to customize the audio output to align with your desired experience, whether it involves switching to external speakers, soundbars, or other audio devices. The ability to fine-tune the audio settings and test the output ensures that you can curate an immersive and dynamic audio environment, enhancing the overall enjoyment of your gaming sessions.
Thoroughly testing the audio output serves as the final checkpoint, allowing you to verify the seamless transition from using your Razer headset to the alternative audio setup. This comprehensive testing phase ensures that the audio settings are optimized to deliver a captivating and immersive audio experience, enriching your gaming and media content with high-fidelity sound and spatial audio enhancements.
As you embrace the newfound freedom of disconnecting your Razer headset from the Xbox controller, remember that this process embodies the essence of adaptability and personalization in the gaming realm. Whether you seek a change in audio ambiance, a break from wearing the headset, or a transition to a different gaming setup, the ability to effortlessly disconnect your Razer headset enriches your gaming journey with versatility and convenience.
Ultimately, mastering the art of disconnecting your Razer headset from the Xbox controller elevates your gaming experience, granting you the flexibility to seamlessly transition between different audio outputs and configurations. This newfound freedom empowers you to immerse yourself in the captivating world of gaming, enriched by a tailored audio environment that aligns with your preferences and amplifies the immersive nature of your gaming endeavors.