Introduction
Welcome to the exciting world of Razer headsets! Whether you're a seasoned gamer, a music enthusiast, or a professional who relies on crystal-clear audio, a Razer headset can elevate your listening experience to new heights. In this guide, we'll walk you through the process of setting up and configuring your Razer headset on your PC, ensuring that you get the most out of this cutting-edge audio technology.
Razer is renowned for its commitment to delivering top-tier gaming peripherals, and their headsets are no exception. With advanced features such as immersive surround sound, customizable EQ settings, and ergonomic designs for extended comfort, Razer headsets are designed to immerse you in your favorite games, music, and multimedia content. By following the steps outlined in this guide, you'll be able to unleash the full potential of your Razer headset and enjoy a truly immersive audio experience.
Whether you've just unboxed your brand-new Razer headset or you're looking to optimize the settings of your existing device, this guide is tailored to help you every step of the way. From the initial setup process to fine-tuning the audio settings using Razer Synapse software, we've got you covered. By the end of this walkthrough, you'll have a deep understanding of how to harness the power of your Razer headset, allowing you to enjoy unparalleled audio quality tailored to your preferences.
So, if you're ready to dive into the world of premium audio and elevate your listening experience, let's get started with unboxing and connecting your Razer headset!
Step 1: Unboxing and Connecting Your Razer Headset
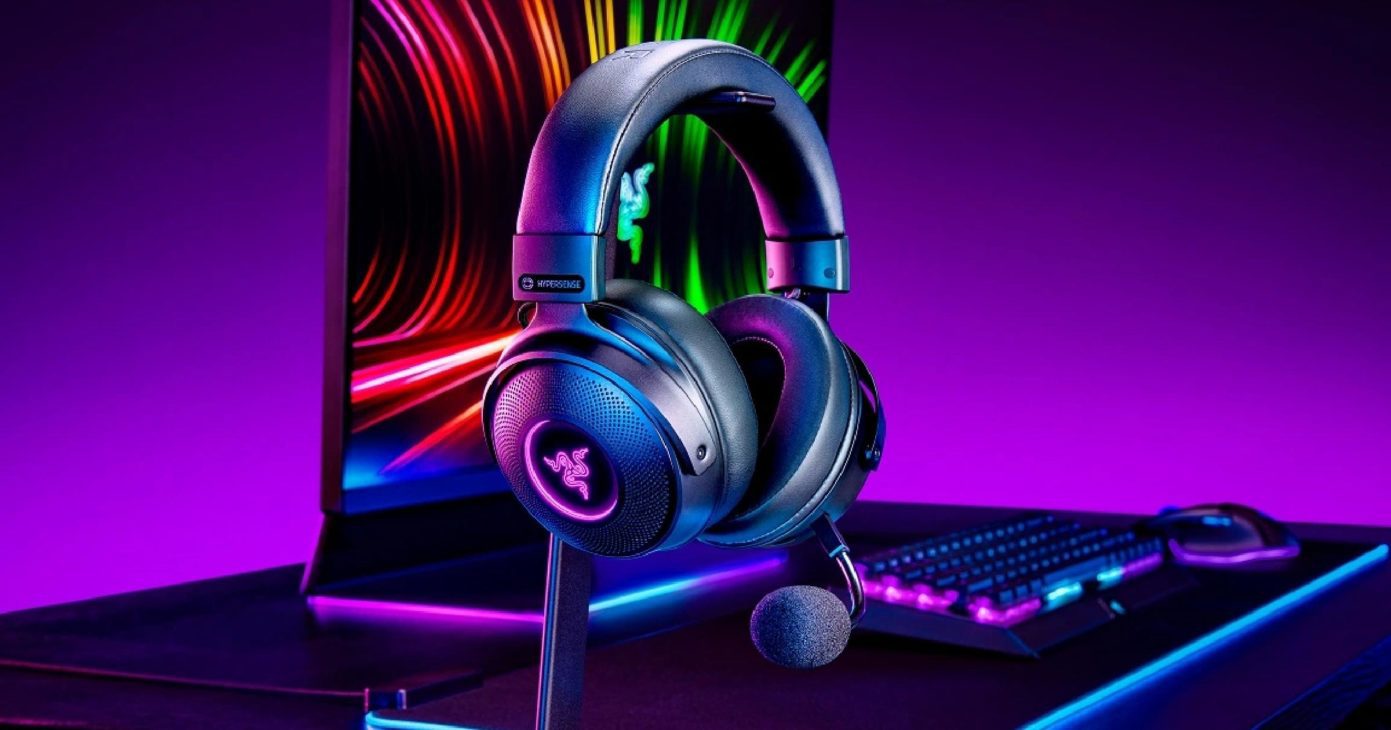
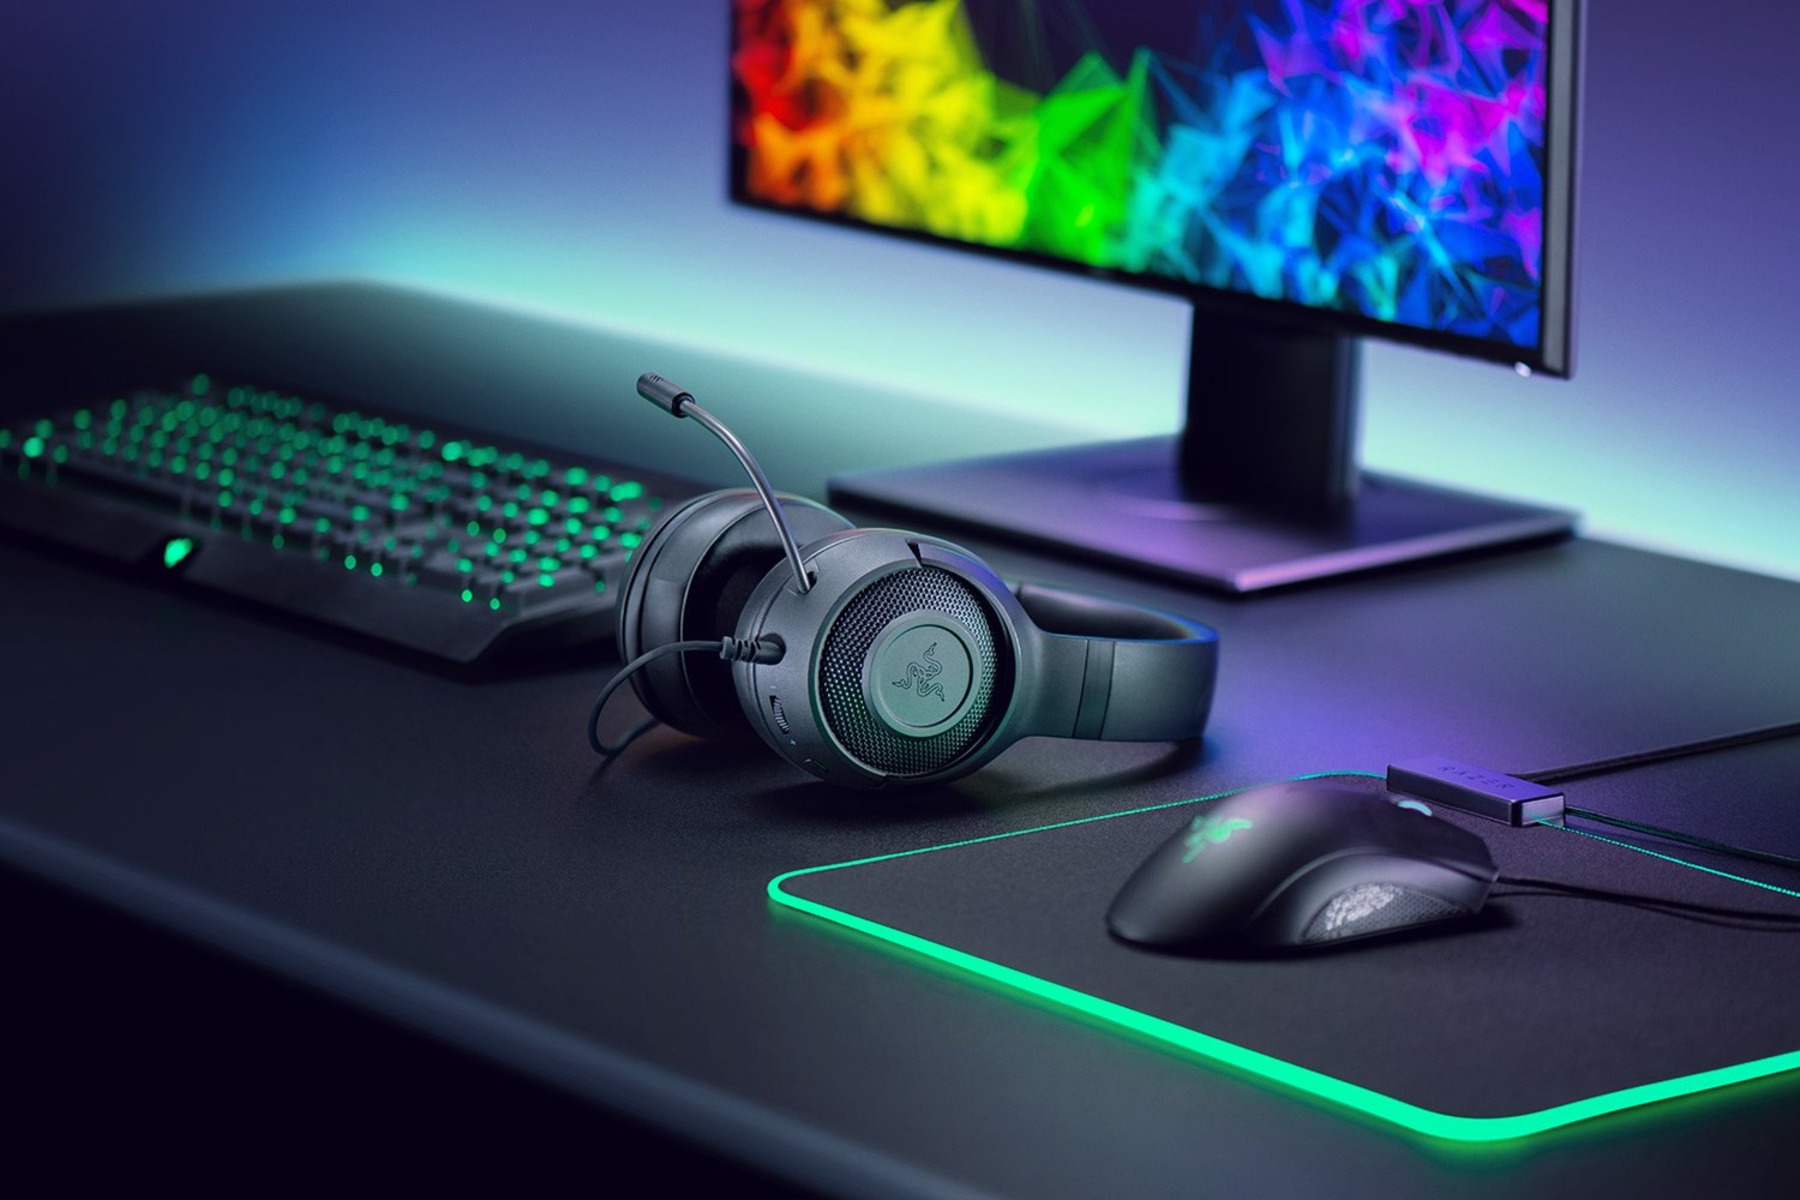
Upon unboxing your Razer headset, you're greeted with a sleek and meticulously designed audio masterpiece. Carefully remove the headset from its packaging, taking note of any included accessories such as detachable microphones, audio splitter cables, or carrying cases. Razer is known for its attention to detail, and this is evident from the moment you lay eyes on your new headset.
Next, it's time to connect your Razer headset to your PC. Depending on the model, your Razer headset may utilize a USB connection, a 3.5mm audio jack, or both. For USB-based headsets, simply plug the USB connector into an available USB port on your PC. This connection method often provides seamless compatibility and enables access to advanced features such as surround sound and customizable lighting effects.
If your Razer headset uses a 3.5mm audio jack, locate the corresponding audio ports on your PC. Most PCs feature separate jacks for audio input and output, often color-coded as green for audio output and pink for audio input. Insert the headset's audio connectors into the appropriate jacks, ensuring a secure connection for optimal audio performance.
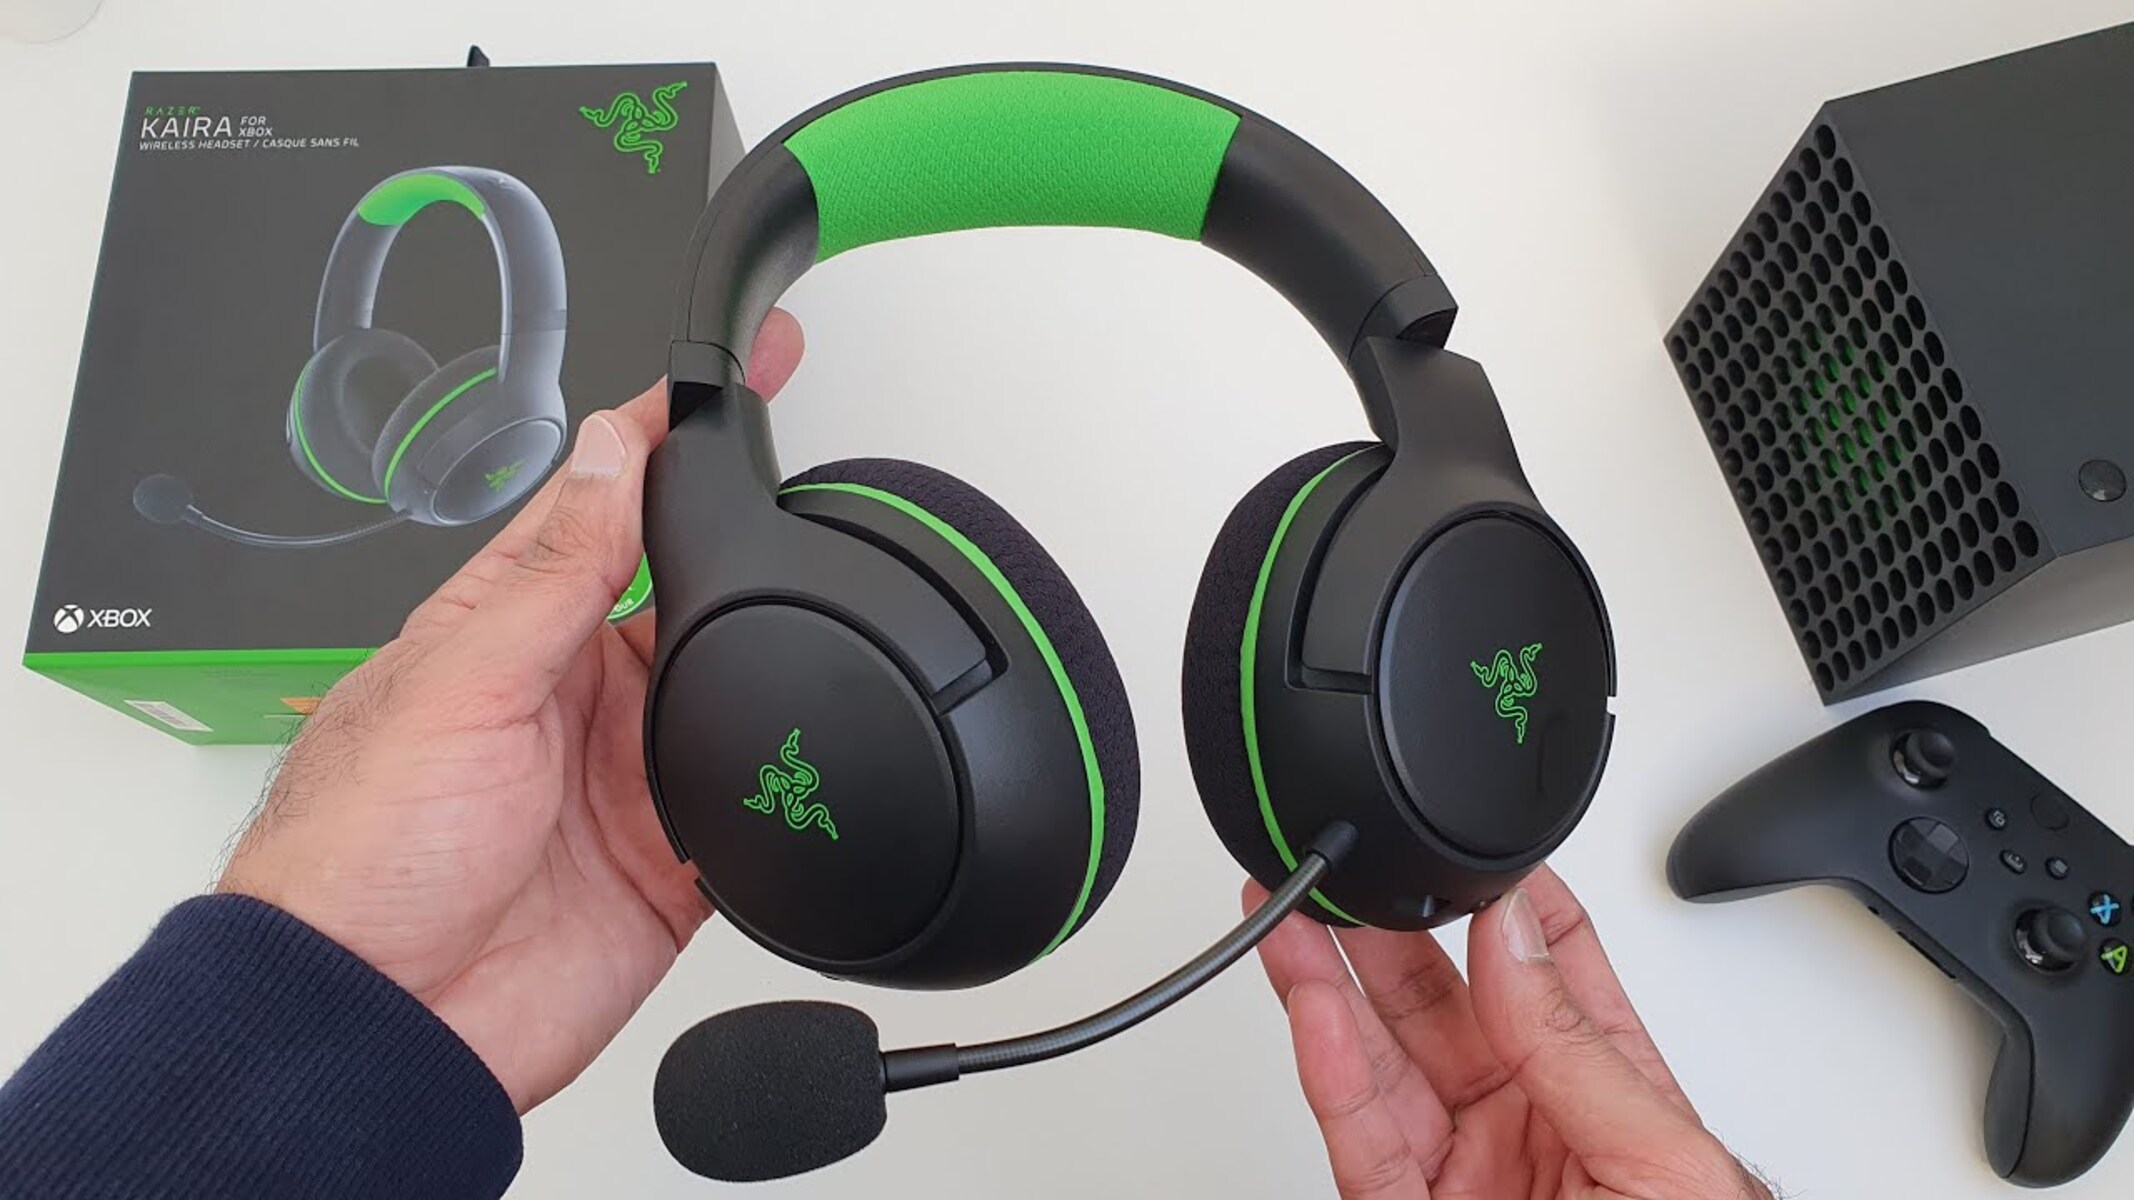
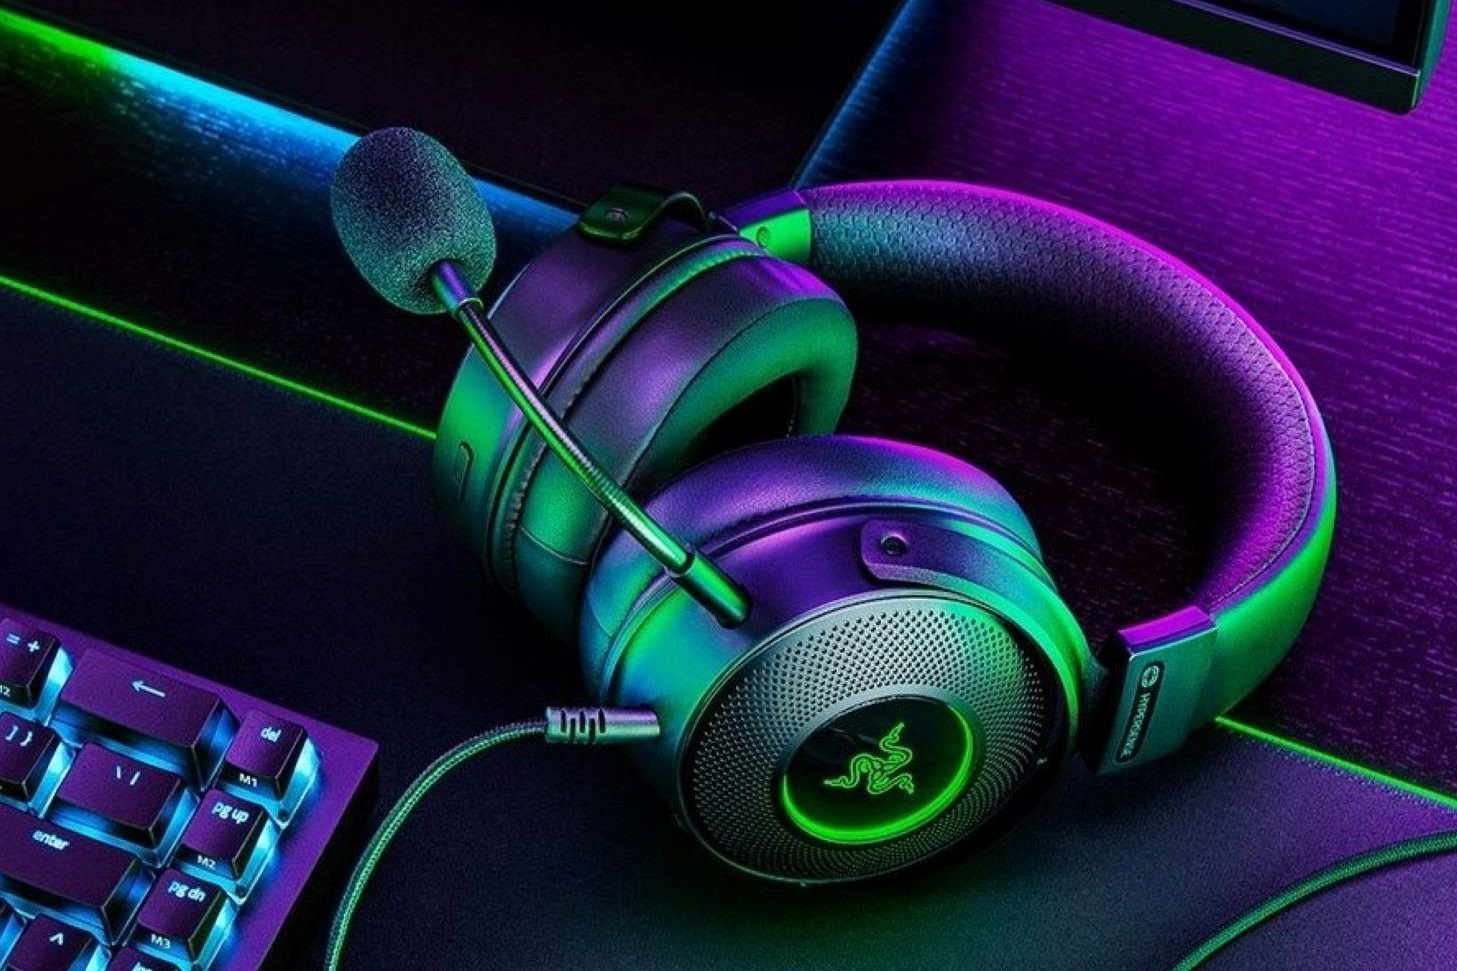
For Razer headsets equipped with detachable microphones, carefully attach the microphone to the designated port on the headset. This step is crucial for enabling voice communication during gaming sessions or online calls. The secure attachment ensures clear and reliable voice capture, allowing you to communicate with precision during intense gaming moments or important conversations.
Once your Razer headset is connected to your PC, it's time to power it up and immerse yourself in the audio experience. Some Razer headsets feature inline controls for adjusting volume, muting the microphone, and toggling surround sound modes, providing convenient access to essential functions without needing to navigate software interfaces.
With your Razer headset now connected and ready to deliver exceptional audio performance, you're one step closer to unlocking its full potential. The next steps involve installing Razer Synapse software and fine-tuning the audio settings to personalize your listening experience. Get ready to embark on a journey of audio excellence as we delve into the next phase of configuring your Razer headset on your PC.
Step 2: Installing Razer Synapse Software
Installing Razer Synapse software is a pivotal step in unleashing the full potential of your Razer headset. This powerful configuration tool serves as the gateway to a myriad of customization options, allowing you to fine-tune audio settings, create personalized sound profiles, and synchronize your headset with other Razer peripherals for a cohesive gaming setup.
To begin, navigate to the official Razer website or the Razer Synapse download page. Here, you can access the latest version of Razer Synapse software tailored for your specific headset model. The intuitive interface of the Razer website ensures a seamless download experience, enabling you to acquire the software with ease.
Once the Razer Synapse installer is downloaded, proceed to launch the installation process. Follow the on-screen prompts to complete the installation, ensuring that you grant the necessary permissions for the software to integrate seamlessly with your operating system.
Upon successful installation, launch Razer Synapse to initiate the setup process for your Razer headset. The software provides a user-friendly interface, guiding you through the initial configuration steps to establish a connection with your headset. Depending on your headset model, Razer Synapse may automatically detect and recognize your device, streamlining the setup process for a hassle-free experience.
As you delve into the capabilities of Razer Synapse, you'll discover a wealth of customization options at your fingertips. From adjusting equalizer settings to fine-tuning surround sound parameters, Razer Synapse empowers you to tailor the audio output to suit your preferences. Additionally, advanced features such as microphone sensitivity adjustments, voice clarity enhancements, and immersive audio effects further enrich the listening experience, ensuring that every sound detail is optimized to perfection.
Furthermore, Razer Synapse offers the convenience of cloud synchronization, allowing you to save your personalized settings to the cloud. This feature ensures that your meticulously crafted sound profiles and configuration preferences are readily accessible across multiple devices, delivering a consistent audio experience tailored to your specifications.
In essence, installing Razer Synapse software is a gateway to a realm of audio customization possibilities. By leveraging the intuitive interface and advanced features of Razer Synapse, you can unlock the full potential of your Razer headset, transforming it into a personalized audio powerhouse that caters to your unique listening preferences. With Razer Synapse at your disposal, you're poised to embark on an audio journey defined by precision, immersion, and unparalleled sound quality.
Step 3: Configuring Audio Settings on Your PC
Configuring the audio settings on your PC is a crucial aspect of optimizing the performance of your Razer headset. By fine-tuning the audio output and ensuring seamless integration with your PC's sound system, you can elevate your listening experience to new heights of immersion and clarity.
Begin by accessing the audio settings on your PC. Depending on your operating system, you can typically access these settings by right-clicking the volume icon in the system tray and selecting "Open Sound settings" or a similar option. Alternatively, you can navigate to the Control Panel or System Preferences and locate the audio settings from there.
Once you've accessed the audio settings, take a moment to review the available options. Most modern PCs offer a range of audio configuration settings, including output device selection, volume controls, and equalizer settings. Ensure that your Razer headset is selected as the default audio output device to channel all audio through the headset for an immersive listening experience.
Next, explore the volume controls to adjust the output level of your Razer headset. Fine-tune the volume to a comfortable level that suits your preferences and ensures clear and distortion-free audio playback. Additionally, some PCs offer individual volume controls for specific applications or system sounds, providing granular control over audio output.
In addition to volume adjustments, delve into the equalizer settings to further refine the audio output. Many PCs feature built-in equalizer presets or customizable equalizer bands, allowing you to adjust the frequency response to enhance bass, treble, and overall sound balance. Experiment with different equalizer configurations to find the optimal settings that complement your listening preferences and the capabilities of your Razer headset.
Furthermore, explore any advanced audio settings available on your PC, such as spatial sound enhancements, virtual surround sound options, and communication prioritization features. These settings can significantly impact the spatial awareness, depth, and clarity of audio playback, especially in the context of gaming and multimedia content.
By meticulously configuring the audio settings on your PC, you can ensure that your Razer headset delivers exceptional audio performance tailored to your preferences. The seamless integration of your headset with your PC's audio system, combined with personalized equalizer adjustments and advanced audio enhancements, culminates in a captivating listening experience that showcases the full potential of your Razer headset.
Step 4: Customizing Your Razer Headset Settings in Razer Synapse
Customizing your Razer headset settings in Razer Synapse opens the door to a realm of personalized audio excellence. This powerful software empowers you to fine-tune every aspect of your headset's performance, ensuring that it aligns perfectly with your unique preferences and usage scenarios.
Upon launching Razer Synapse, you're greeted by an intuitive interface that provides comprehensive control over your Razer headset. The software seamlessly detects your connected headset, presenting you with a range of customization options tailored to your specific model. From here, you can delve into a multitude of settings to craft a listening experience that resonates with your individual audio preferences.
One of the key features within Razer Synapse is the ability to adjust the equalizer settings. This functionality allows you to finely tune the frequency response of your headset, enabling you to enhance bass, tweak midrange frequencies, or fine-tune the treble to achieve the perfect audio balance. Whether you're immersing yourself in the explosive soundscapes of a gaming environment or savoring the nuances of a meticulously produced music track, the equalizer settings in Razer Synapse grant you the flexibility to tailor the audio output to your exact specifications.
Furthermore, Razer Synapse offers advanced features such as surround sound configuration. Depending on your headset model, you can leverage virtual surround sound technology to expand the spatial awareness and immersion of your audio experience. By customizing the surround sound settings within Razer Synapse, you can create a captivating audio environment that places you at the center of the action, whether you're navigating virtual battlefields or enjoying cinematic content.
In addition to audio adjustments, Razer Synapse provides the flexibility to customize the lighting effects on compatible Razer headsets. If your headset features customizable RGB lighting, you can use Razer Synapse to personalize the lighting patterns, colors, and effects, allowing you to synchronize the visual aesthetic of your headset with your gaming setup or personal style.
Moreover, Razer Synapse facilitates the creation of multiple sound profiles, enabling you to save and switch between custom configurations with ease. Whether you prefer distinct audio settings for gaming, music, or communication, Razer Synapse empowers you to create dedicated profiles that cater to each scenario, ensuring that your Razer headset adapts seamlessly to your diverse audio needs.
By customizing your Razer headset settings in Razer Synapse, you're embarking on a journey of audio personalization that elevates your listening experience to unprecedented levels of immersion and precision. The software serves as a gateway to a wealth of customization options, enabling you to sculpt the audio output of your Razer headset to mirror your unique preferences and amplify the enjoyment derived from every sound that graces your ears.
Step 5: Testing Your Razer Headset
With your Razer headset fully configured and customized to your preferences, it's time to put it to the test and experience the immersive audio performance it has to offer. Testing your Razer headset allows you to validate the settings, ensure optimal audio quality, and revel in the captivating soundscapes that it can deliver across various applications and media content.
Begin the testing phase by immersing yourself in a diverse range of audio experiences. Whether it's firing up your favorite game title, queuing up a playlist of music genres, or indulging in a cinematic masterpiece, exploring different audio sources allows you to gauge the versatility and fidelity of your Razer headset. Pay attention to the clarity of dialogue, the depth of spatial awareness in gaming environments, and the richness of musical details as you navigate through different audio content.
In gaming scenarios, put your Razer headset through its paces by venturing into dynamic virtual worlds that showcase the headset's ability to convey positional audio cues with precision. Whether it's pinpointing the direction of approaching adversaries, discerning environmental nuances, or immersing yourself in the atmospheric sound design of virtual landscapes, testing the headset in gaming environments provides valuable insights into its spatial audio capabilities and overall immersion factor.
Furthermore, explore the intricacies of music playback to appreciate the headset's fidelity across diverse musical genres. From the punchy basslines of electronic tracks to the delicate nuances of classical compositions, your Razer headset should faithfully reproduce the sonic intricacies and deliver a captivating auditory journey that resonates with the essence of each musical piece.
During these testing sessions, take advantage of the customized sound profiles you've created in Razer Synapse to seamlessly switch between different audio configurations tailored to specific content types. Whether you're activating a gaming-optimized profile for intense virtual battles or switching to a music-centric profile for an immersive listening session, the ability to seamlessly transition between sound profiles underscores the versatility and adaptability of your Razer headset in catering to diverse audio experiences.
By thoroughly testing your Razer headset across various content types and applications, you can gain a comprehensive understanding of its capabilities and performance across the spectrum of audio entertainment. The testing phase serves as a validation of the meticulous configurations and customizations you've applied, reaffirming that your Razer headset stands ready to deliver an unparalleled audio experience that aligns with your discerning preferences and elevates your immersion in every sonic endeavor.
Conclusion
Congratulations on successfully setting up and configuring your Razer headset on your PC. By following the comprehensive steps outlined in this guide, you've embarked on a journey of audio excellence, harnessing the full potential of your Razer headset to elevate your listening experience to unprecedented levels of immersion and precision.
From the moment you unboxed your Razer headset and carefully connected it to your PC, you were introduced to the meticulous craftsmanship and advanced audio technologies that define Razer's commitment to delivering top-tier gaming peripherals. The seamless integration of your headset with your PC, coupled with the installation of Razer Synapse software, laid the foundation for a personalized audio journey tailored to your unique preferences.
As you ventured into the realm of Razer Synapse, you discovered a wealth of customization options that empowered you to sculpt the audio output of your headset with precision. Whether it was fine-tuning equalizer settings, experimenting with surround sound configurations, or personalizing lighting effects, Razer Synapse served as a gateway to a realm of audio personalization that resonated with your individual preferences.
The meticulous configuration of audio settings on your PC further enhanced the synergy between your Razer headset and your computing environment, ensuring that every sound detail was optimized to perfection. By delving into the intricacies of audio adjustments and advanced settings, you fine-tuned the spatial awareness, clarity, and depth of your audio playback, culminating in a captivating listening experience that showcased the full potential of your Razer headset.
The testing phase allowed you to validate the meticulously crafted configurations and experience the immersive audio performance of your Razer headset across diverse content types and applications. Whether it was navigating virtual battlefields, indulging in musical escapades, or savoring cinematic soundscapes, your Razer headset faithfully reproduced the sonic intricacies and delivered a captivating auditory journey that resonated with the essence of each audio experience.
In conclusion, by setting up and configuring your Razer headset on your PC, you've unlocked a world of audio excellence defined by precision, immersion, and unparalleled sound quality. Your Razer headset now stands as a personalized audio powerhouse, finely tuned to mirror your unique preferences and amplify the enjoyment derived from every sound that graces your ears. As you continue to immerse yourself in the captivating audio experiences that await, remember that your Razer headset is poised to deliver an unparalleled auditory journey that resonates with your discerning preferences and elevates your immersion in every sonic endeavor.