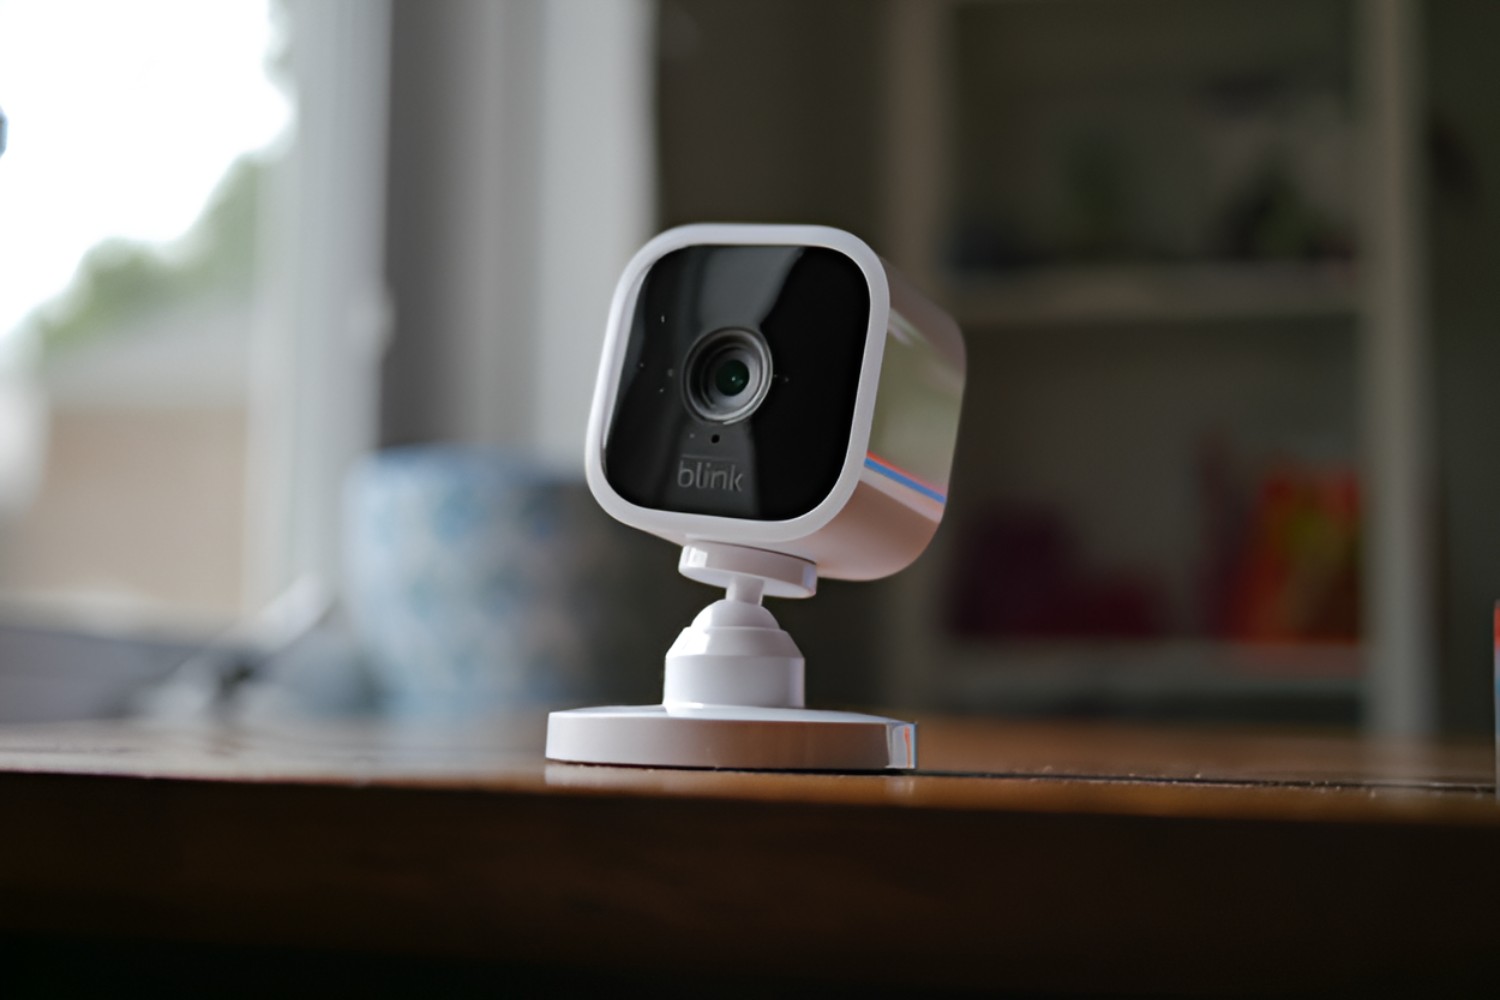
To turn off the blue light on your Blink camera, you need to disable the Status LED, which is the small blue indicator that lights up when the camera records or streams live video. The exact method depends on your camera model: newer Blink cameras use an in-app setting, while older XT and XT2 models require a physical switch inside the battery compartment.
Disabling the Status LED on most Blink cameras (app-based)
For Blink Outdoor 4, Indoor and Outdoor (3rd Gen), Mini, Mini 2, and Wired Floodlight cameras, the Status LED is controlled entirely through the Blink app. This is the simplest way to turn off the blue light, giving you immediate control without touching the hardware.
- Open the Blink app on your smartphone and log in to your account.
- Select the specific camera you want to adjust from the list of devices.
- Tap Device Settings, then choose General Settings.
- Tap Status LED to open the available options.
- Choose Always Off to disable the blue light completely, or select When Recording if you want the light to appear only during recording or live view sessions.
For Mini, Mini 2, and Wired Floodlight cameras, you may also see an Always On option, which keeps the light lit at all times. Once you select your preferred setting, the change takes effect immediately, there is no save button or confirmation step required.
Turning off the light on Blink XT and XT2 (physical switch)
Blink XT and XT2 cameras do not have an app-based Status LED setting, so you must use the hardware switch located inside the battery compartment. This older design requires a few extra seconds but is just as effective for discreet surveillance.
- Remove the back cover of the camera by sliding it off or pressing the release tab, depending on your model.
- Look inside the battery compartment for a small switch labeled REC. LED, which sits next to the serial number sticker.
- Slide the switch to the OFF position to disable the blue recording light.
- Replace the back cover securely before mounting or using the camera again.
This physical switch overrides all software behavior, so the blue light will stay off regardless of whether the camera is recording, streaming, or idle.
Adjusting the Blink Video Doorbell light
The Blink Video Doorbell uses a different setting called Button LED, which controls the light around the doorbell button rather than a separate status indicator. Open the Blink app, navigate to Device Settings, then General Settings, and tap Button LED to choose from Always On (Wired only), Off when Recording, or When Recording. Selecting Off when Recording is ideal if you want the doorbell to remain inconspicuous during motion events or live view, while still lighting up briefly when someone presses the button.
Blue Status LED vs. infrared night vision
The blue Status LED is completely separate from the infrared (IR) lights used for night vision, so turning off the blue light will not affect your camera's ability to see in the dark. IR lights activate automatically in low-light conditions or when a thumbnail is refreshed, and they are configured under Video and Photo Settings > Night Vision in the app. In auto mode, the IR lights do not remain on continuously, they only switch on when the camera needs to capture footage in darkness, which means you can disable the blue LED without sacrificing nighttime performance. If your app settings do not match these descriptions, update the Blink app to the latest version to ensure you have access to the correct menus and options.