Introduction
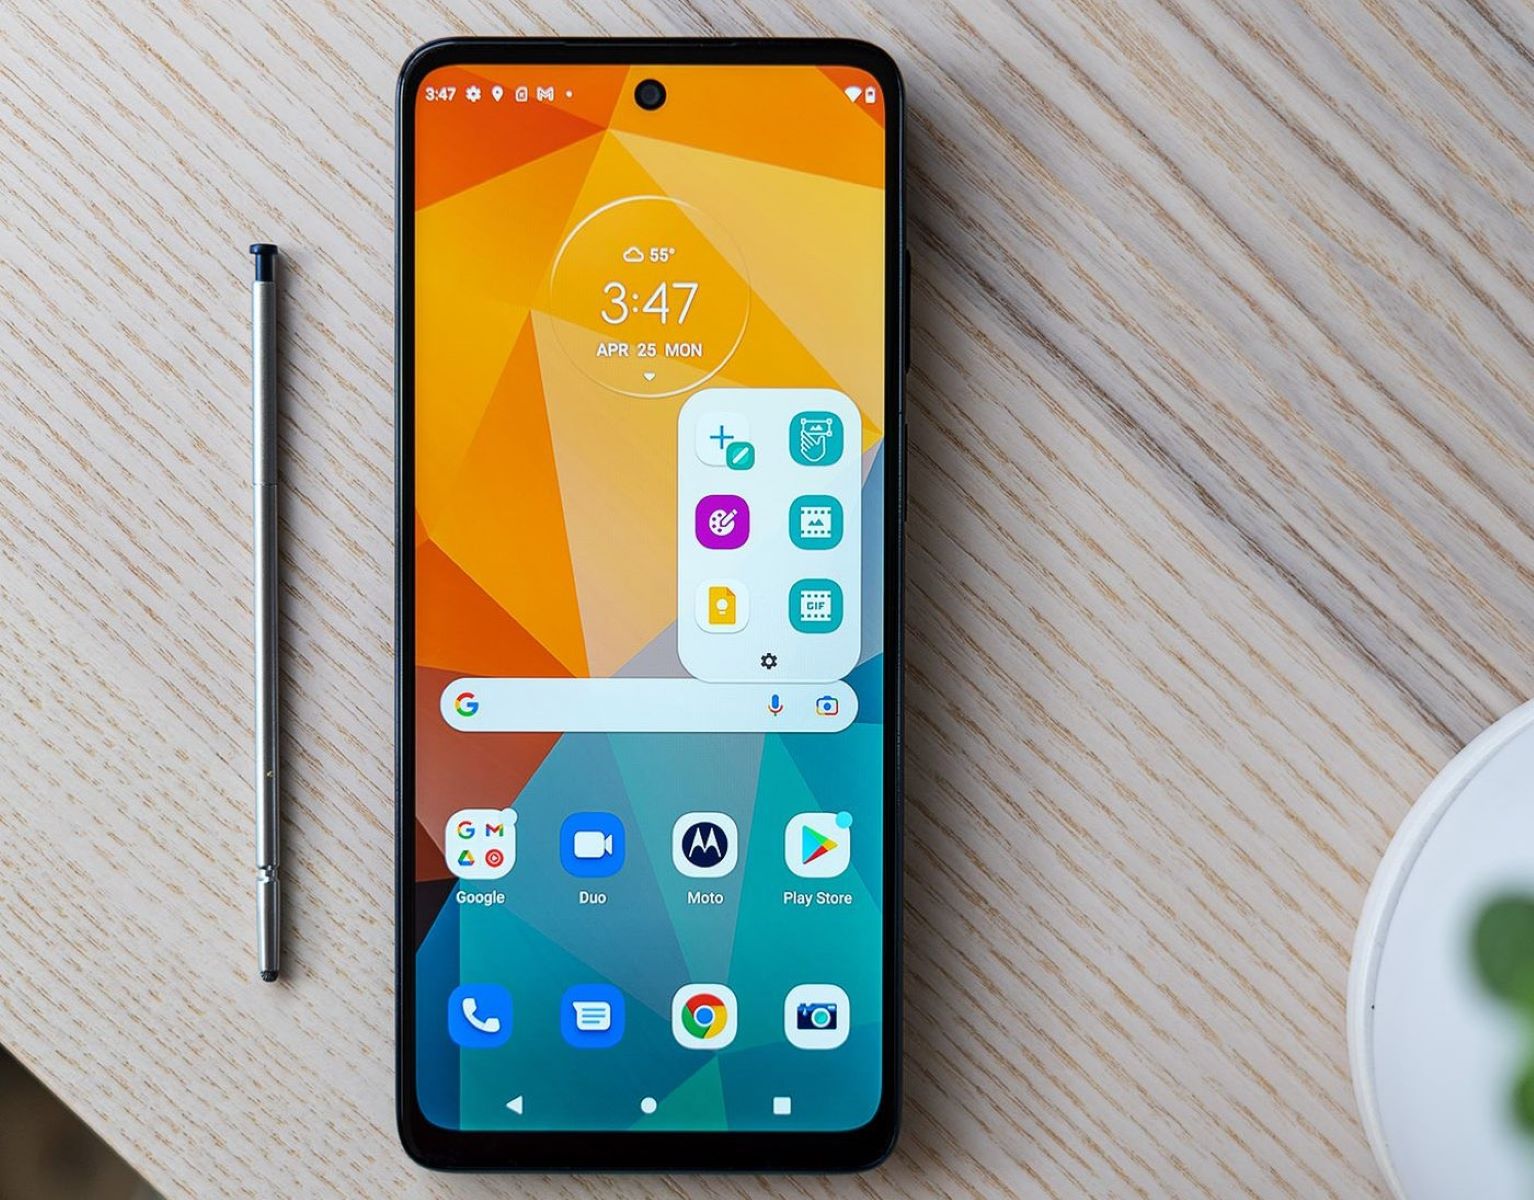
Welcome to the screen surgery of the Moto G Stylus! If you've unfortunately cracked or damaged your phone's display, fear not, as we'll guide you through the process of replacing the screen with ease. Whether you're a tech enthusiast or a DIY novice, this step-by-step guide will empower you to tackle the repair like a pro.
The Moto G Stylus is a remarkable device, known for its sleek design and impressive display. However, accidents happen, and a shattered screen can be disheartening. Instead of shelling out a hefty sum for professional repairs, you can take matters into your own hands and restore your device to its former glory. By following this comprehensive guide, you'll gain a deeper understanding of your smartphone's inner workings while saving money in the process.
Throughout this tutorial, we'll walk you through each crucial step, from disassembling the phone to carefully installing the new display. You'll need a few tools and materials, a steady hand, and a bit of patience. By the end of this journey, you'll have a newfound sense of accomplishment and a fully functional Moto G Stylus.
So, roll up your sleeves, gather your tools, and let's embark on this screen replacement adventure together. With our guidance, you'll be well-equipped to conquer this repair and breathe new life into your beloved Moto G Stylus. Let's dive in and get started on reviving your device!
Tools and Materials Needed
Before delving into the screen replacement process, it’s essential to gather the necessary tools and materials. Here’s a comprehensive list of what you’ll need:
- Small Phillips screwdriver
- Plastic opening tools
- Heat gun or hairdryer
- New Moto G Stylus display
- Adhesive strips or adhesive glue
- Tweezers
- Spudger tool
- Clean cloth
- Double-sided adhesive tape
- Container for organizing screws
These tools and materials are crucial for a successful screen replacement. The small Phillips screwdriver will be used to remove the screws securing the back cover and the display. Plastic opening tools are essential for prying open the phone without causing damage. Additionally, a heat gun or hairdryer will help soften the adhesive securing the display to the frame, making it easier to remove.
Of course, the most important component is the new Moto G Stylus display. Ensure that you have a high-quality replacement display that is compatible with your device model. Adhesive strips or adhesive glue will be necessary to secure the new display in place. Tweezers and a spudger tool will aid in handling delicate components and disconnecting cables without causing damage.
Lastly, a clean cloth, double-sided adhesive tape, and a container for organizing screws will contribute to a smooth and organized repair process. Having these tools and materials at your disposal will streamline the screen replacement and minimize the risk of complications.
Now that you’ve gathered the necessary tools and materials, you’re ready to embark on the journey of replacing the Moto G Stylus display. With these resources at hand, you’ll be well-prepared to navigate the intricate process of repairing your device’s screen.
Step 1: Removing the Back Cover
The first step in the screen replacement process is to carefully remove the back cover of your Moto G Stylus. This step requires precision and patience to avoid damaging the cover or the internal components of the device. Here’s a detailed guide on how to accomplish this:
- Power Off the Device: Before beginning the disassembly, ensure that your Moto G Stylus is powered off to prevent any potential electrical hazards.
- Locate the Screws: Using a small Phillips screwdriver, carefully remove the screws that secure the back cover to the frame of the device. Place the screws in a container to keep them organized and prevent loss.
- Utilize Plastic Opening Tools: Gently insert plastic opening tools along the edges of the back cover to gradually pry it open. Take your time and apply even pressure to avoid snapping or bending the cover.
- Remove the Back Cover: Once the adhesive and clips are loosened, carefully lift and remove the back cover from the Moto G Stylus. Be mindful of any cables or connectors that may still be attached to the cover.
By following these steps meticulously, you’ll successfully remove the back cover of your Moto G Stylus without causing any damage. It’s crucial to exercise caution and patience during this process to ensure a smooth transition to the subsequent steps of the screen replacement.
With the back cover removed, you’re one step closer to accessing the internal components of the device and proceeding with the screen replacement. The careful removal of the back cover sets the stage for the subsequent steps, allowing you to proceed with confidence as you navigate the intricate repair process.
Step 2: Disconnecting the Battery
Before proceeding with the screen replacement, it’s crucial to disconnect the battery of your Moto G Stylus to ensure safety and prevent any electrical mishaps. Here’s a detailed guide on how to safely disconnect the battery:
- Identify the Battery Connector: Locate the battery connector on the device’s motherboard. It is usually connected to the motherboard via a cable and a connector.
- Use a Spudger Tool: Gently and carefully pry up the battery connector using a spudger tool. Apply even pressure and ensure that the connector is disconnected from the motherboard.
- Verify Disconnection: After disconnecting the battery, verify that there is no power running through the device by attempting to power it on. If the device does not power on, the battery has been successfully disconnected.
By following these steps, you’ll effectively disconnect the battery of your Moto G Stylus, mitigating the risk of electrical accidents during the screen replacement process. It’s crucial to handle the battery with care and attention to detail to ensure a safe and successful repair experience.
With the battery safely disconnected, you’re ready to proceed to the next steps of the screen replacement process with confidence. This pivotal step sets the stage for the seamless continuation of the repair, allowing you to focus on the subsequent tasks without concerns about electrical safety.
Step 3: Removing the Old Display
With the battery safely disconnected, you can now proceed to remove the old display from your Moto G Stylus. This step requires precision and attention to detail to avoid damaging the delicate components. Here’s a comprehensive guide on how to remove the old display:
- Apply Heat: Use a heat gun or hairdryer to apply gentle heat to the edges of the display. This will soften the adhesive securing the display to the frame, making it easier to remove.
- Utilize Plastic Opening Tools: Carefully insert plastic opening tools between the display and the frame, gradually loosening the adhesive. Exercise patience and apply even pressure to avoid damaging the display or the frame.
- Slowly Lift the Display: Once the adhesive is sufficiently loosened, slowly lift the old display away from the frame. Be mindful of any cables or connectors that may still be attached to the display.
- Disconnect Display Cables: If there are any cables or connectors attached to the old display, carefully disconnect them to fully remove the display from the device.
By following these steps diligently, you’ll successfully remove the old display from your Moto G Stylus, paving the way for the installation of the new display. It’s crucial to handle the old display with care to avoid causing any damage to the internal components of the device.
With the old display removed, you’re now prepared to move on to the next crucial step of installing the new display. This milestone marks a significant progression in the screen replacement process, bringing you closer to revitalizing your Moto G Stylus with a brand-new display.
Step 4: Installing the New Display
Now that the old display has been successfully removed, it’s time to proceed with the installation of the new display on your Moto G Stylus. This step is pivotal in the screen replacement process and requires precision and attention to detail. Here’s a comprehensive guide on how to install the new display:
- Inspect the New Display: Before installation, carefully inspect the new display to ensure that it is free from any defects or damage. Verify that it is compatible with your Moto G Stylus model.
- Connect Display Cables: If the new display requires connecting cables or connectors, carefully attach them to the designated ports on the device, ensuring a secure and proper connection.
- Align the Display: Gently position the new display onto the frame, ensuring that it aligns perfectly with the edges of the device. Take your time to align the display accurately before applying pressure.
- Apply Adhesive: If the new display does not come with pre-installed adhesive, carefully apply double-sided adhesive tape or adhesive strips to secure the display to the frame.
- Secure the Display: Once the adhesive is in place, gently press down on the new display to ensure a secure bond with the frame. Apply even pressure to the edges to guarantee a uniform adhesion.
By meticulously following these steps, you’ll effectively install the new display on your Moto G Stylus, setting the stage for a fully restored and functional device. It’s imperative to handle the new display with care and precision to avoid any potential damage during the installation process.
With the new display securely installed, you’re now poised to move forward with the subsequent steps of the screen replacement process. This significant milestone brings you closer to rejuvenating your Moto G Stylus with a pristine and fully operational display, breathing new life into your device.
Step 5: Reconnecting the Battery
With the new display securely in place, the next crucial step in the screen replacement process is to reconnect the battery of your Moto G Stylus. This step is essential to restore power to the device and ensure that the new display functions optimally. Here’s a detailed guide on how to reconnect the battery:
- Locate the Battery Connector: Identify the battery connector on the device’s motherboard, ensuring that it is easily accessible for reconnection.
- Align the Connector: Carefully align the battery connector with the corresponding port on the motherboard, ensuring a proper and secure fit.
- Apply Gentle Pressure: Once aligned, gently apply pressure to the battery connector to ensure that it is firmly seated in place, establishing a stable connection.
- Verify Power Restoration: After reconnecting the battery, verify that the device powers on successfully, indicating that the new display is receiving power and functioning as intended.
By meticulously following these steps, you’ll effectively reconnect the battery of your Moto G Stylus, paving the way for the restoration of power to the device and the successful activation of the new display. It’s crucial to handle the battery connector with care and attention to detail to ensure a secure and reliable connection.
With the battery successfully reconnected, your Moto G Stylus is now poised to undergo the final steps of the screen replacement process, bringing you closer to experiencing the full functionality of the newly installed display. This pivotal milestone marks a significant progression in the repair journey, setting the stage for the device’s revitalization.
Step 6: Replacing the Back Cover
As the screen replacement process nears completion, the final step involves replacing the back cover of your Moto G Stylus. This step is essential to encase the internal components securely and restore the device to its original state. Here’s a comprehensive guide on how to replace the back cover:
- Inspect the Back Cover: Before replacement, inspect the back cover to ensure that it is free from any damage and is compatible with your Moto G Stylus model.
- Align the Cover: Gently position the back cover over the device, ensuring that it aligns perfectly with the edges and ports. Take your time to align the cover accurately before proceeding.
- Apply Even Pressure: Once aligned, apply even pressure to the back cover, ensuring that it snaps securely into place. Press along the edges to guarantee a uniform fit.
- Reinstall Screws: Using a small Phillips screwdriver, reinsert and tighten the screws to secure the back cover to the frame, ensuring that it is firmly in place.
By meticulously following these steps, you’ll successfully replace the back cover of your Moto G Stylus, enclosing the internal components and completing the screen replacement process. It’s imperative to handle the back cover with care and precision to avoid any potential damage during the replacement process.
With the back cover securely in place, your Moto G Stylus is now fully equipped with a brand-new display and restored functionality. This final milestone signifies the successful completion of the screen replacement, bringing your device back to its optimal condition and ready for seamless use.
Conclusion
Congratulations on successfully completing the screen replacement process for your Moto G Stylus! By following this comprehensive guide, you’ve not only revitalized your device but also gained valuable insights into its inner workings. The journey of disassembling, replacing, and reassembling the display has empowered you to take control of your device’s maintenance and saved you the expense of professional repairs.
Throughout this endeavor, you’ve navigated through crucial steps, from delicately removing the back cover to reconnecting the battery and installing the new display with precision. Each stage required patience, attention to detail, and a steady hand, and your dedication has paid off with a fully restored and functional device.
As you reflect on this experience, you’ve likely developed a deeper appreciation for the craftsmanship and engineering behind the Moto G Stylus. Moreover, you’ve honed your skills in device maintenance and repair, setting the stage for future DIY endeavors and a greater understanding of technology.
By embracing this screen replacement adventure, you’ve not only saved money but also gained a sense of accomplishment and empowerment. Your Moto G Stylus now boasts a pristine display, ready to serve you seamlessly in your daily endeavors.
Remember, should you encounter any challenges or require further assistance in the future, don’t hesitate to refer back to this guide or seek support from the vibrant community of tech enthusiasts and DIY aficionados. Your journey doesn’t end here; it’s a testament to your resourcefulness and willingness to tackle new challenges.
With a renewed device in your hands and newfound knowledge under your belt, you’re well-prepared to embark on your next technological adventure. Whether it’s mastering a new repair or exploring the endless possibilities of your device, you’re equipped to embrace the ever-evolving world of technology with confidence and enthusiasm.