Introduction
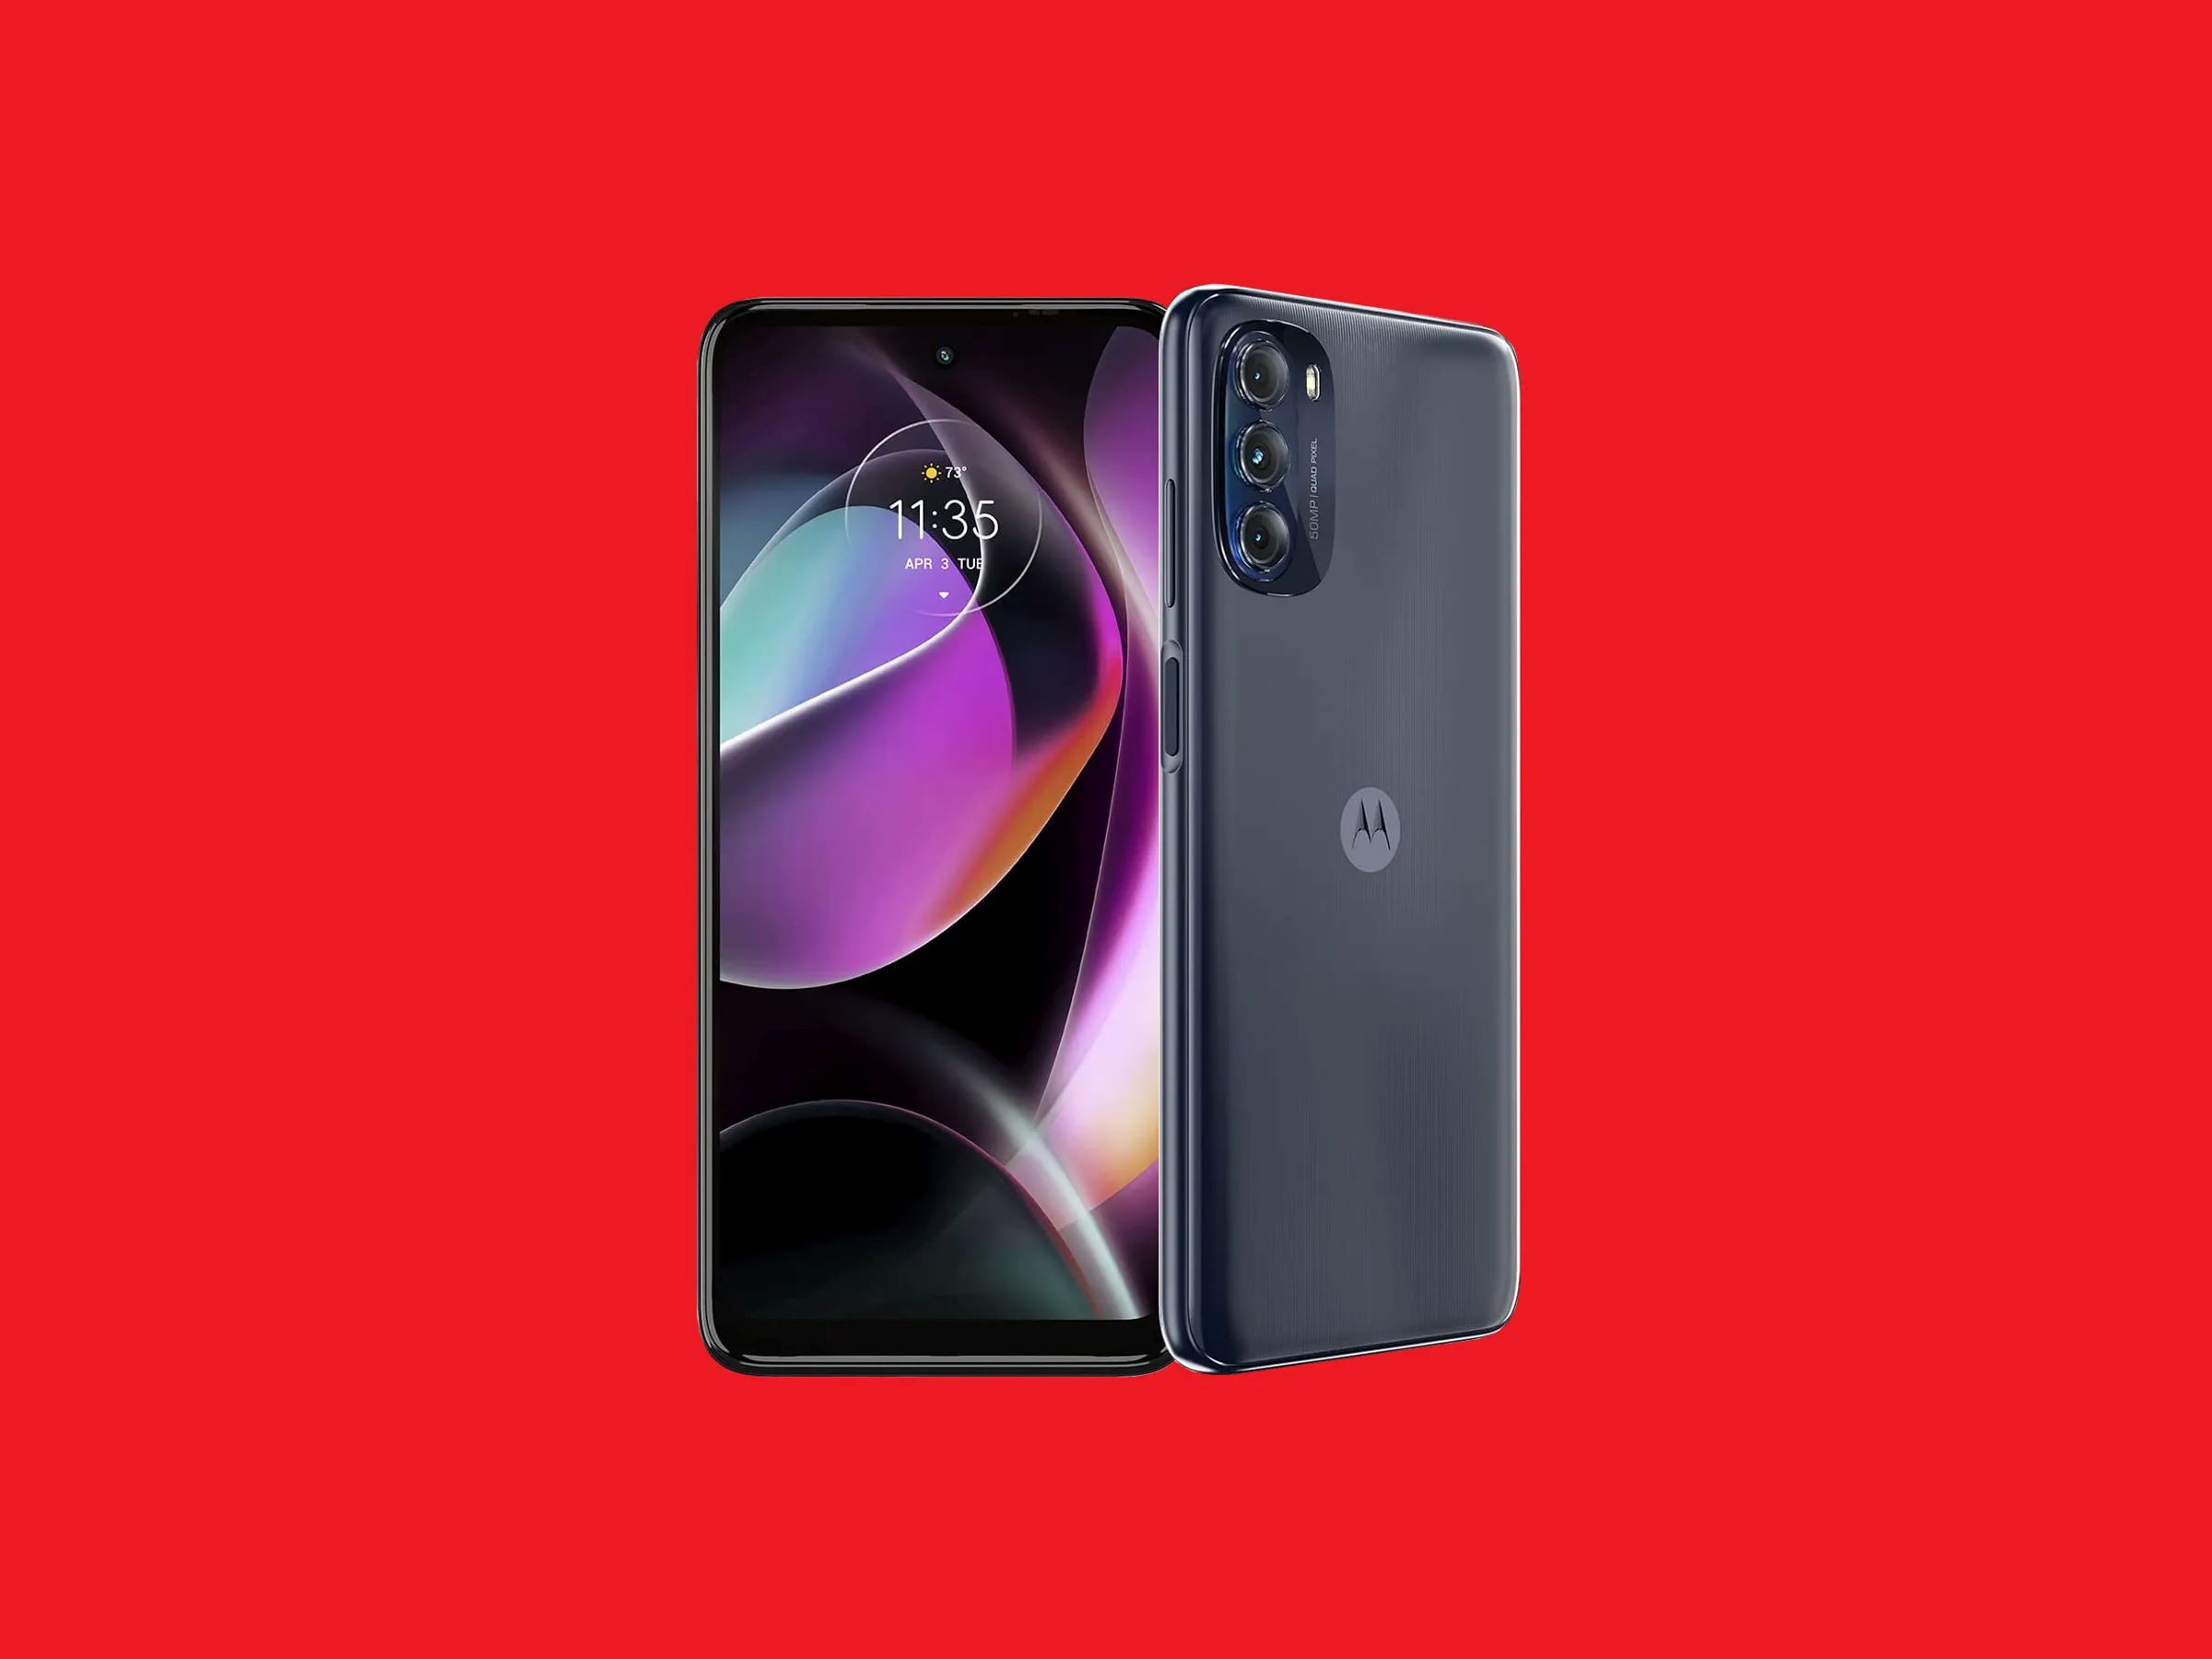
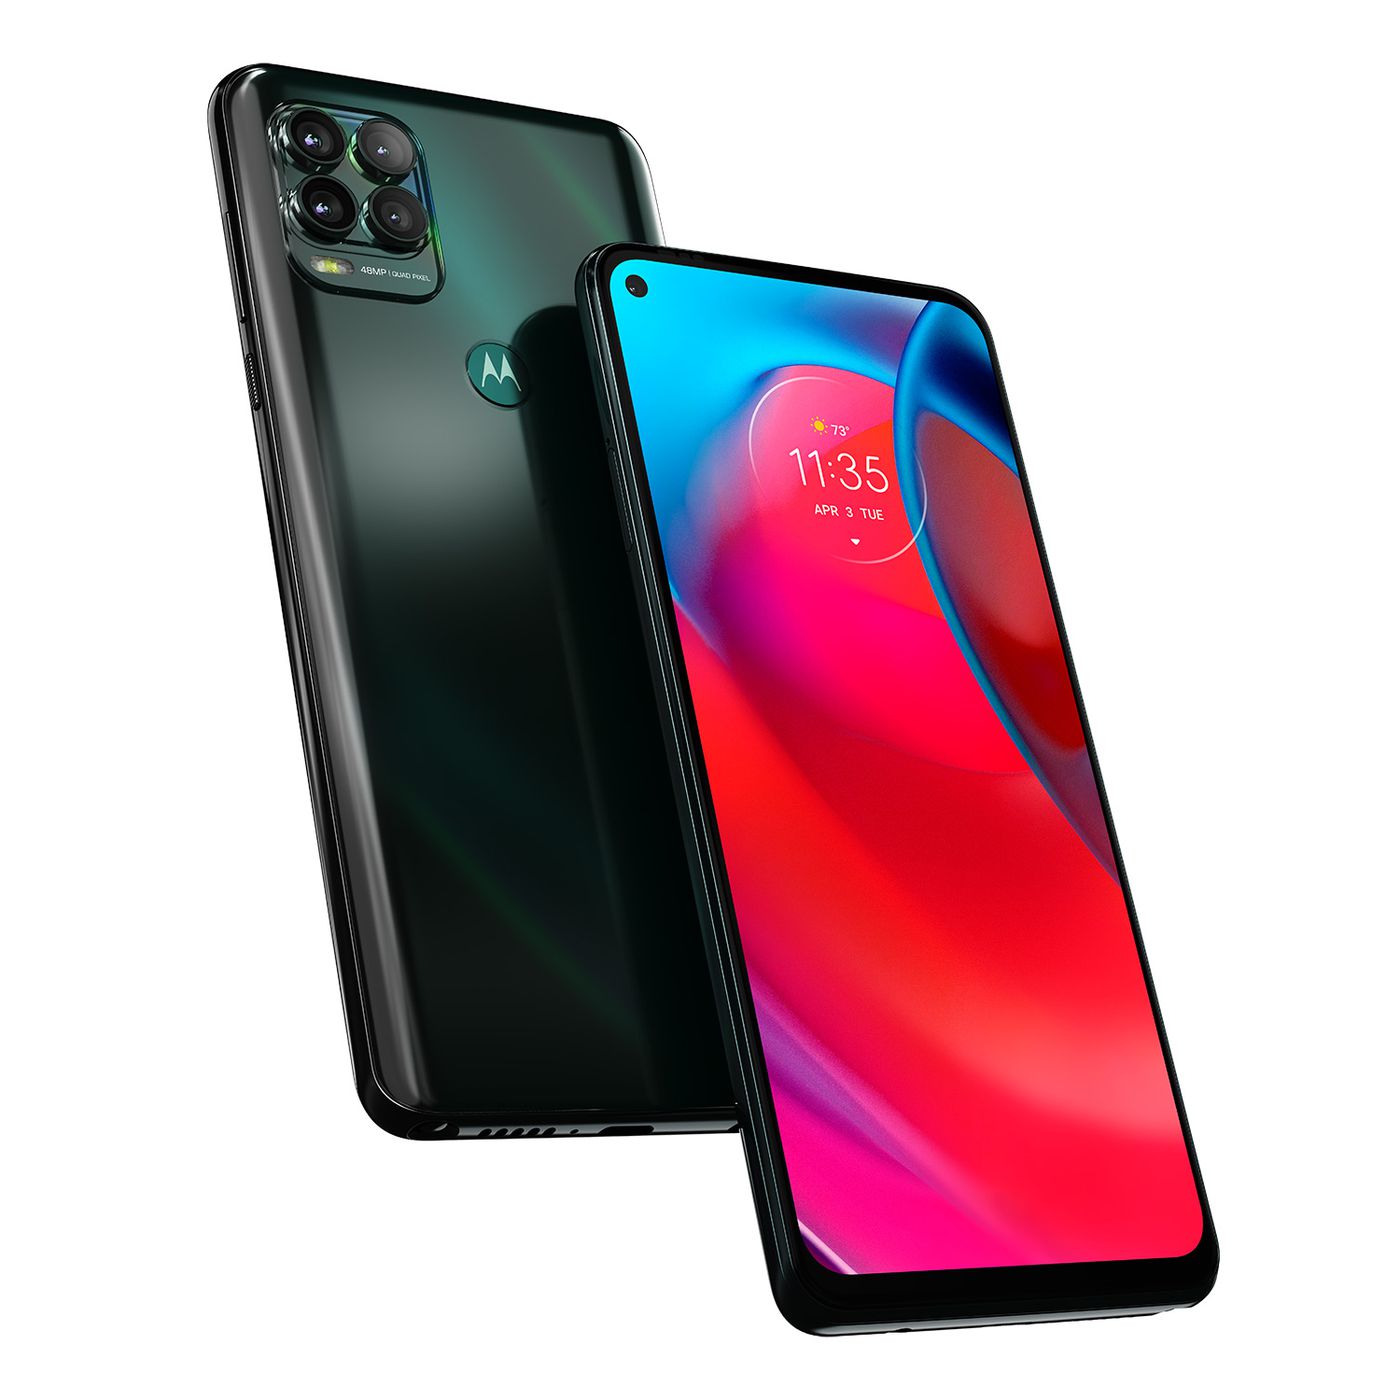
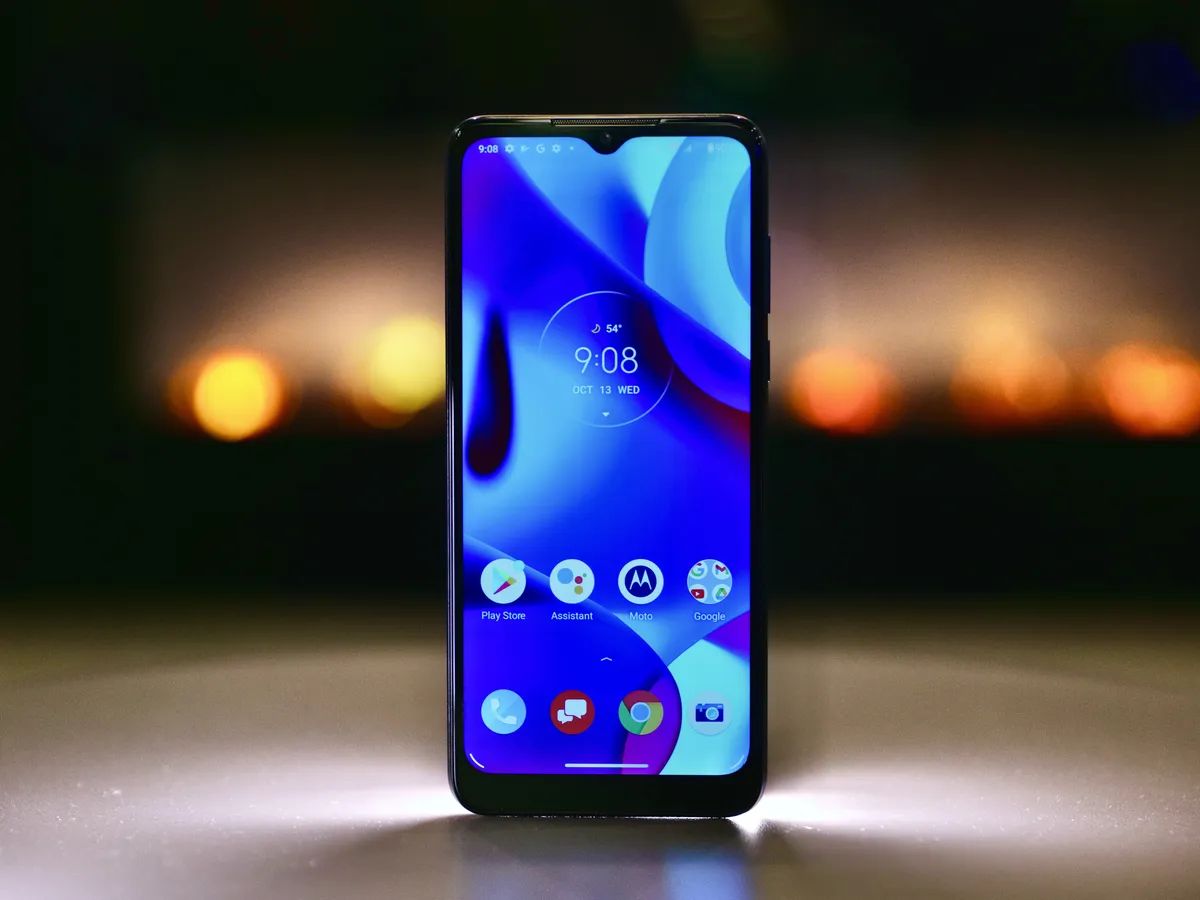
Capturing screenshots on your Moto G Stylus 5G is a handy way to preserve memorable moments, save important information, or share content with friends and family. Whether you want to capture a hilarious conversation, save a recipe, or document a high score in your favorite game, knowing how to take a screenshot is essential. In this guide, we'll explore various methods to capture screenshots on your Moto G Stylus 5G, ensuring that you can effortlessly capture and share your device's screen content.
Taking a screenshot is a simple yet powerful feature that allows you to freeze a specific moment on your device's display. Whether you're a social media enthusiast, a tech-savvy individual, or someone who loves to share interesting content with friends, knowing how to capture a screenshot is a valuable skill. With the Moto G Stylus 5G, you have several options for taking screenshots, each offering its own unique advantages. From using hardware buttons to utilizing the Quick Settings panel and even leveraging the convenience of Google Assistant, you'll discover a range of methods to suit your preferences.
In this comprehensive guide, we'll walk you through each method step by step, ensuring that you can confidently capture screenshots on your Moto G Stylus 5G. Additionally, we'll explore how to edit and share your screenshots, allowing you to personalize and distribute your captured content with ease. By the end of this guide, you'll be equipped with the knowledge and skills to effortlessly capture, customize, and share screenshots on your Moto G Stylus 5G, enhancing your overall user experience. So, let's dive in and explore the various methods for capturing and managing screenshots on your device.
Using the Power and Volume Down Buttons
One of the most straightforward methods to capture a screenshot on your Moto G Stylus 5G is by using the physical buttons on the device. This method is quick, convenient, and doesn’t require navigating through menus or settings. Follow these simple steps to capture a screenshot using the Power and Volume Down buttons:
- Locate the Buttons: Identify the Power button, typically located on the right side of your device, and the Volume Down button, usually positioned on the opposite side.
- Prepare the Screen: Navigate to the content you want to capture in the screenshot. Ensure that the desired content is displayed on the screen and is ready to be captured.
- Simultaneously Press the Buttons: Press and hold the Power button and the Volume Down button simultaneously for a brief moment. Be sure to press both buttons at the same time to trigger the screenshot capture.
- Confirm the Screenshot: Upon successfully capturing the screenshot, you may hear a camera shutter sound, and the screen may briefly flash to indicate that the screenshot has been saved.
- Access the Screenshot: Once the screenshot is captured, it will be saved to your device’s gallery or the designated screenshots folder, allowing you to access and view it at any time.
Using the Power and Volume Down buttons to capture a screenshot offers a seamless and intuitive method for freezing your device’s screen content. This approach is ideal for quickly capturing moments during gameplay, saving important information from web pages, or preserving entertaining social media posts. Whether you’re a casual user or a multitasking professional, mastering this method ensures that you can effortlessly capture and save valuable content on your Moto G Stylus 5G.
Using the Quick Settings Panel
Another convenient method for capturing screenshots on your Moto G Stylus 5G is through the Quick Settings panel. This approach provides a user-friendly and accessible way to capture and manage your device’s screen content. Follow these steps to capture a screenshot using the Quick Settings panel:
- Open the Quick Settings Panel: Swipe down from the top of the screen to access the Quick Settings panel. This panel contains various quick access toggles and shortcuts for essential device functions.
- Locate the Screenshot Icon: Within the Quick Settings panel, look for the “Screenshot” icon. It is typically represented by a small phone-shaped outline with dotted lines or other recognizable symbols.
- Tap the Screenshot Icon: Once you’ve located the Screenshot icon, simply tap on it to initiate the screenshot capture process. Tapping the icon will instantly capture the current screen and save it as a screenshot.
- Access the Screenshot: After capturing the screenshot, you will receive a notification confirming the successful capture. You can tap on the notification to view, edit, or share the screenshot directly from the notification panel.
The Quick Settings panel offers a convenient and efficient way to capture screenshots without the need to use physical buttons or navigate through complex menus. This method is particularly useful for users who prefer a simplified and accessible approach to capturing and managing screenshots. Whether you’re browsing the web, reading emails, or engaging in social media activities, the Quick Settings panel provides a seamless solution for capturing and accessing your device’s screen content with ease.
Using Google Assistant
Google Assistant offers a convenient hands-free method for capturing screenshots on your Moto G Stylus 5G. This feature is especially useful when you need to capture a screenshot quickly and effortlessly. Here’s how to use Google Assistant to capture a screenshot:
- Activate Google Assistant: To activate Google Assistant, you can either say “Hey Google” or long-press the Home button on your device. Alternatively, you can use the voice command “OK Google” if it’s enabled on your device.
- Issue the Command: Once Google Assistant is active, issue the command “Take a screenshot” or “Capture a screenshot.” Google Assistant will instantly capture the current screen and save it as a screenshot without requiring any physical button presses.
- Access the Screenshot: After capturing the screenshot, you can locate it in your device’s gallery or the designated screenshots folder. Additionally, Google Assistant may provide options to edit, share, or delete the screenshot directly from the Assistant interface.
Utilizing Google Assistant to capture screenshots offers a hands-free and voice-activated approach, making it ideal for situations where using physical buttons or navigating menus may be inconvenient. Whether you’re cooking in the kitchen, working on a project, or simply prefer voice commands, Google Assistant provides a seamless and efficient way to capture and manage screenshots on your Moto G Stylus 5G. This method not only enhances accessibility but also adds a touch of convenience to your overall user experience.
Editing and Sharing Screenshots
Once you’ve captured a screenshot on your Moto G Stylus 5G, you have the flexibility to edit and share the captured content, allowing you to personalize and distribute the screenshots according to your preferences. Here’s how you can edit and share your screenshots:
- Access the Screenshot: To edit or share a screenshot, navigate to your device’s gallery or the designated screenshots folder, where the captured screenshots are typically stored.
- Editing Options: Upon locating the screenshot, you can tap on it to access various editing options. Depending on your device’s features, you may be able to crop the screenshot, add annotations, draw on the screenshot, or apply filters and effects to enhance the captured content.
- Sharing the Screenshot: After editing the screenshot, you can easily share it with others. Tap the share icon or the share option within the gallery interface to send the screenshot through messaging apps, social media platforms, email, or other communication channels.
Editing and sharing screenshots empowers you to customize and distribute your captured content, adding a personal touch and allowing you to communicate visually with friends, family, or colleagues. Whether you want to highlight specific details, add captions, or simply share a moment with others, the editing and sharing capabilities on your Moto G Stylus 5G enable you to express yourself creatively and effectively.
By leveraging these features, you can enhance the impact of your screenshots and tailor them to suit various communication and storytelling needs. Whether you’re sharing a funny meme, providing visual feedback, or collaborating on a project, the ability to edit and share screenshots seamlessly elevates your overall user experience on the Moto G Stylus 5G.