Introduction
Creating your own stylus for your Android device can be a fun and rewarding DIY project. Whether you enjoy crafting or simply want to save some money, making your own stylus can be a great way to personalize your touchscreen experience. With just a few simple materials and a little creativity, you can craft a stylus that works seamlessly with your Android device, allowing you to navigate, draw, and write with ease.
In this step-by-step guide, we will walk you through the process of creating your own stylus for your Android device. Not only is this an enjoyable project, but it also provides a practical solution for those who prefer using a stylus for their touchscreen interactions. By following these instructions, you can customize your stylus to your liking and enjoy the satisfaction of using a tool that you crafted yourself.
Crafting your own stylus is an excellent way to unleash your creativity and explore the world of DIY technology. Whether you are a seasoned crafter or new to DIY projects, this guide will equip you with the knowledge and skills needed to make a functional and personalized stylus for your Android device. So, gather your materials and let's embark on this exciting journey of creating your very own stylus!
Materials Needed
Before you begin crafting your own stylus for your Android device, it’s essential to gather the necessary materials. The items listed below are readily available and can be easily obtained from various sources, making the process of creating your stylus convenient and accessible.
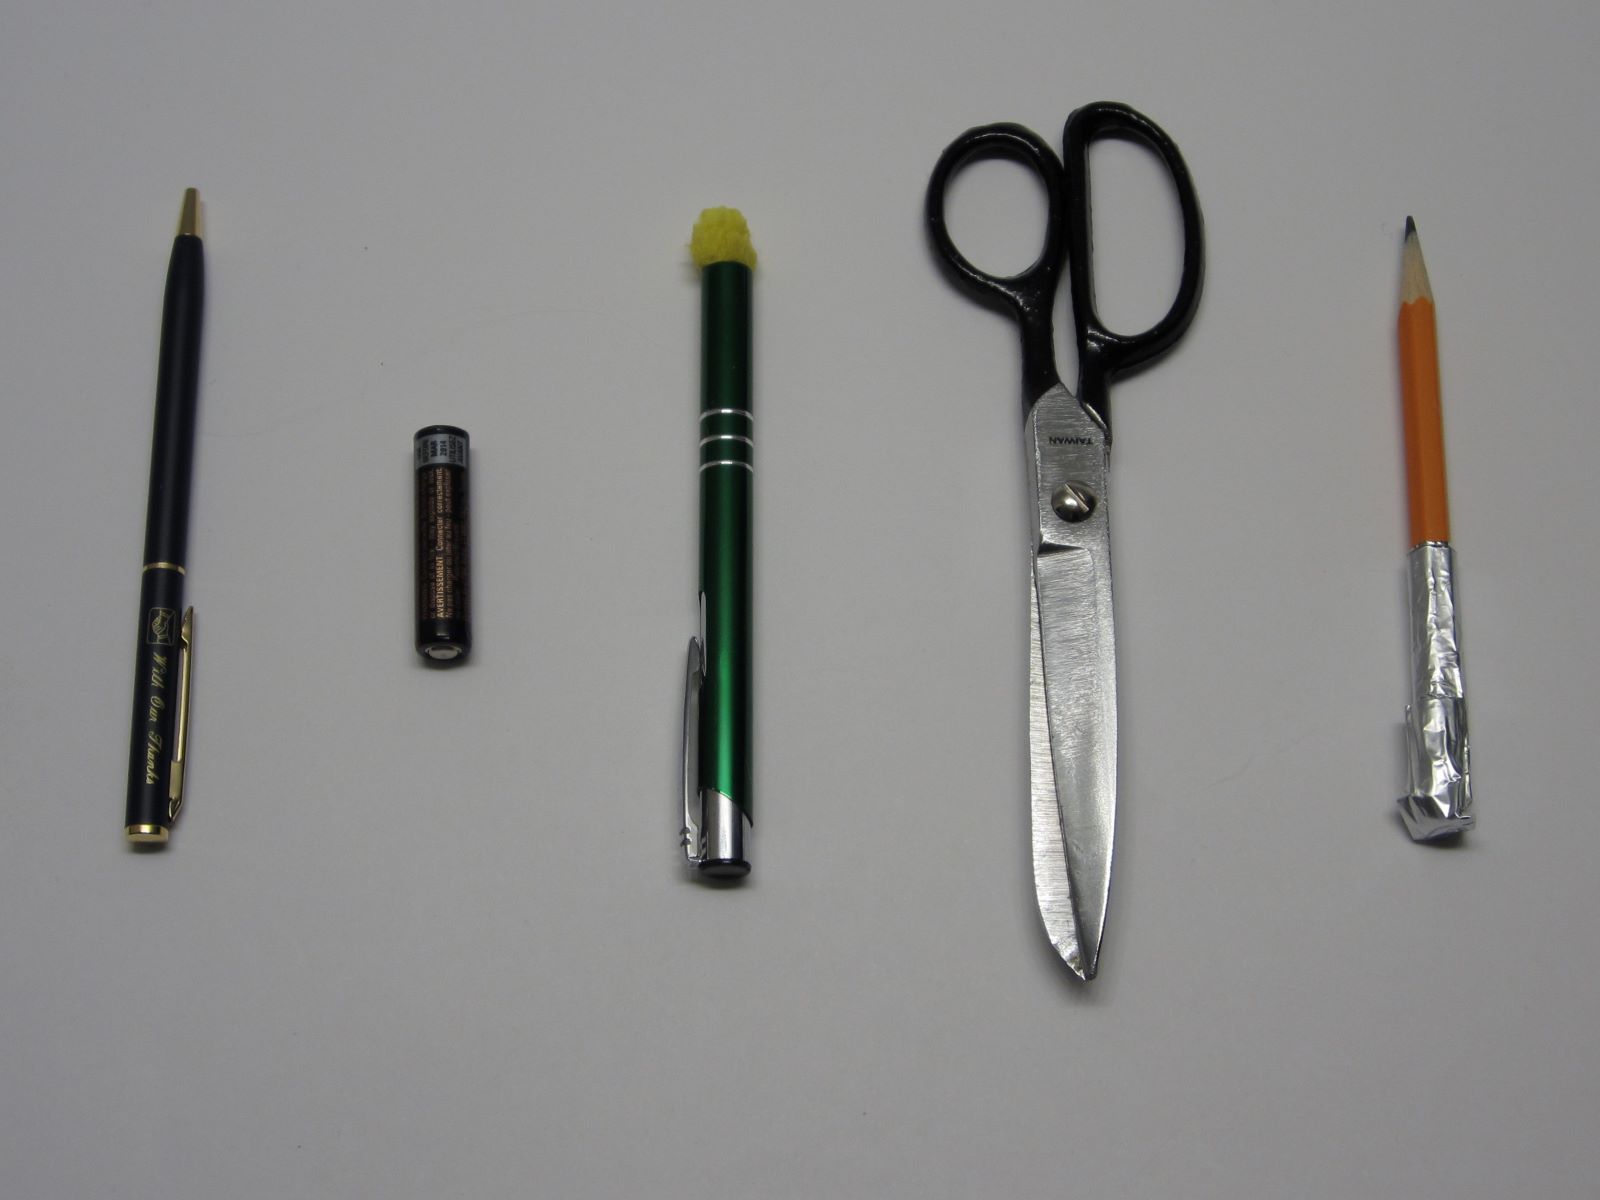
- Ballpoint Pen: Look for a ballpoint pen with a removable cap and a smooth barrel. The pen will serve as the foundation for your stylus.
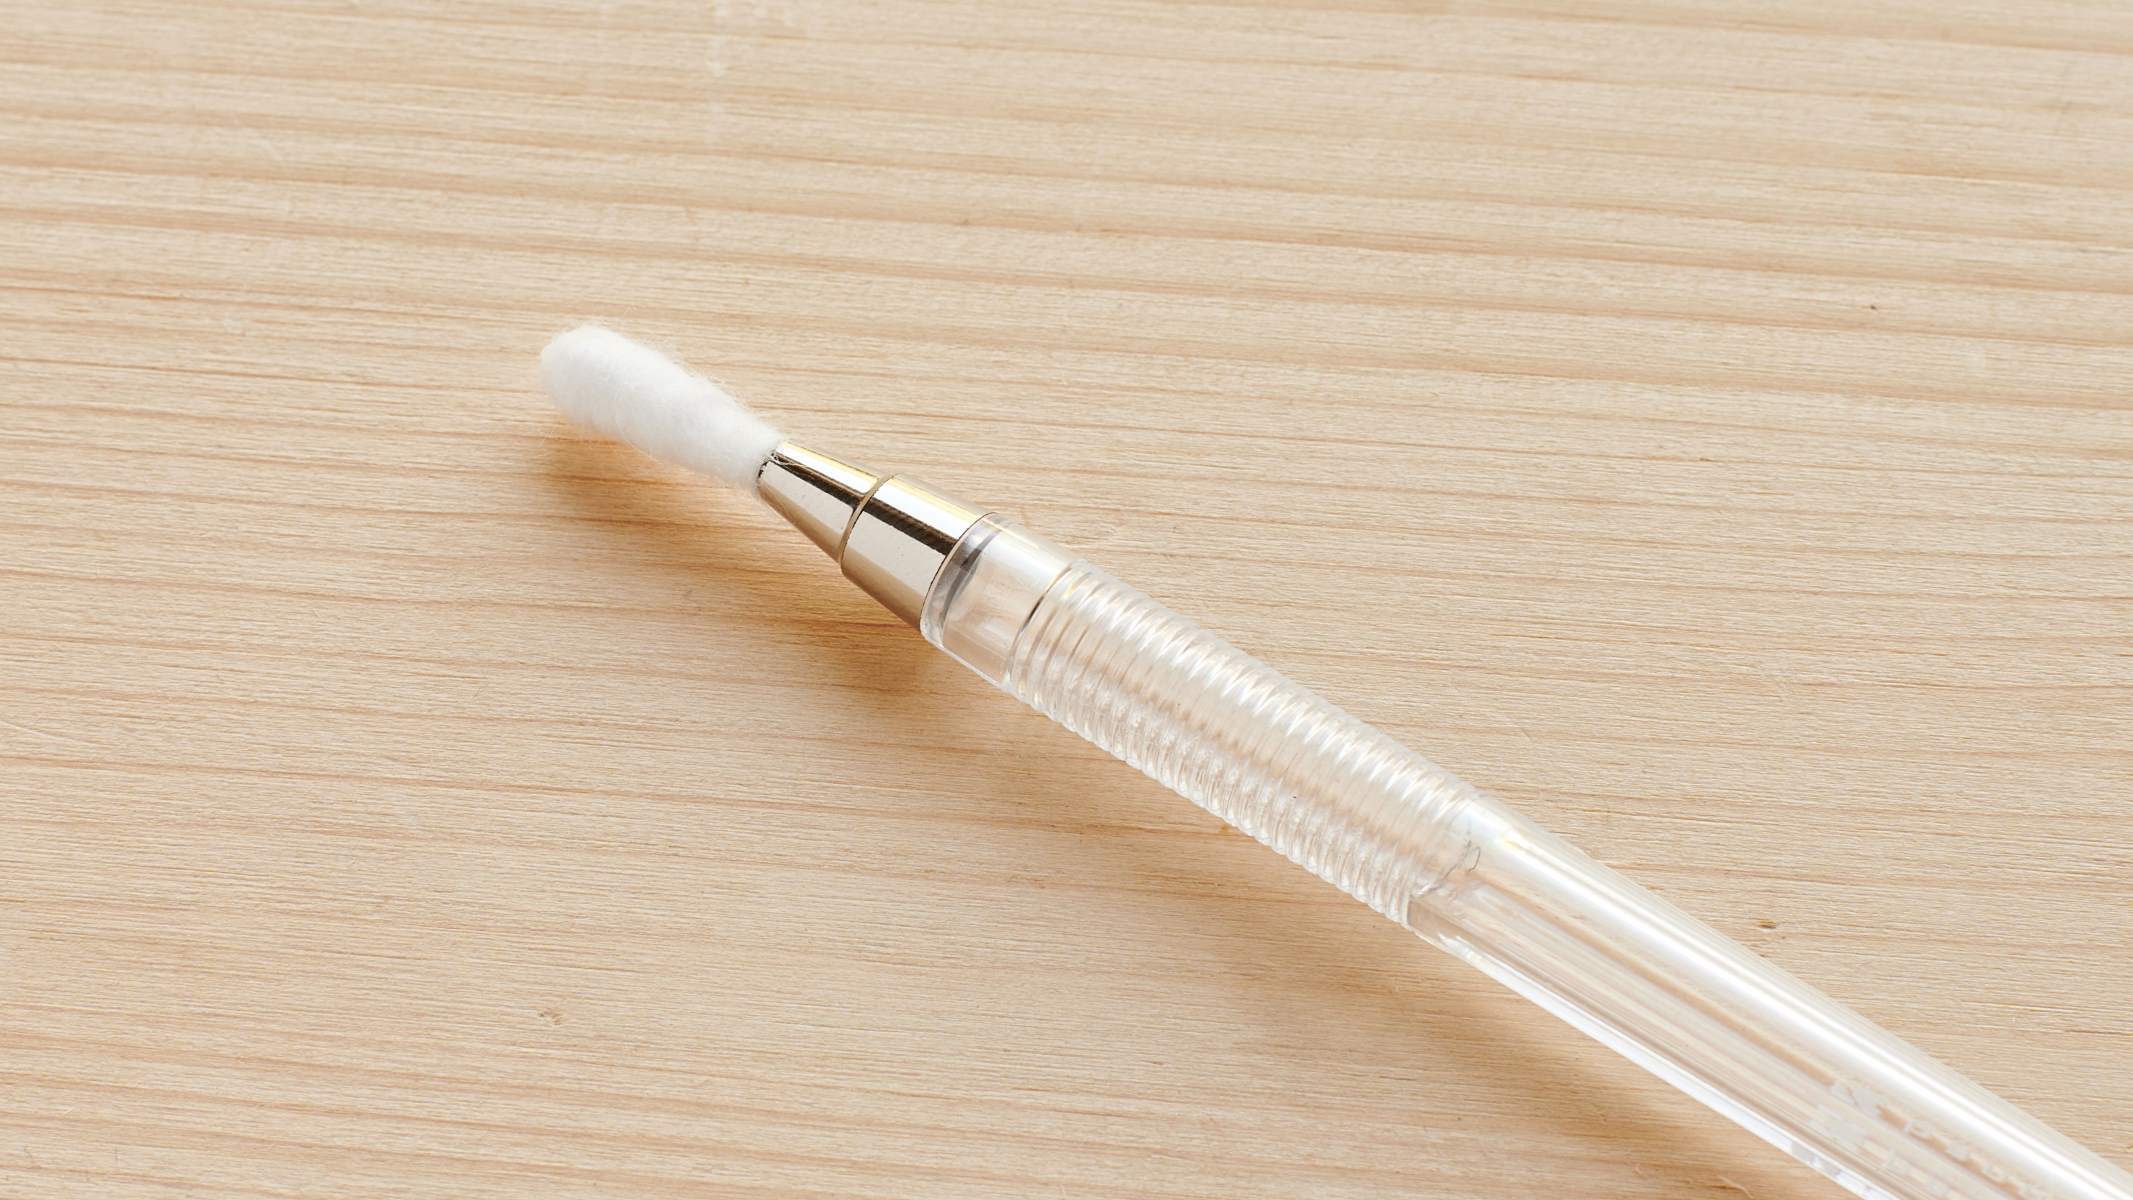
- Foam or Conductive Foam: This material will be used to create the conductive tip of the stylus. Conductive foam is an excellent choice as it facilitates smooth interaction with the touchscreen.
- Aluminum Foil: A small piece of aluminum foil is required to enhance the conductivity of the stylus tip. This common household item plays a crucial role in ensuring the effectiveness of the stylus on the touchscreen.
- Scissors: A pair of scissors is necessary for cutting and shaping the foam and aluminum foil to the desired dimensions. Ensure that the scissors are sharp and suitable for precise cutting.
- Tape: A small piece of adhesive tape will be used to secure the aluminum foil to the foam, ensuring that the components of the stylus remain intact.
- Craft Knife (Optional): If you prefer a craft knife for cutting and shaping the materials, it can be used as an alternative to scissors. Exercise caution when handling sharp objects.
By acquiring these materials, you are well-equipped to embark on the journey of creating your own stylus for your Android device. Once you have gathered these items, you are ready to proceed to the next step of preparing the materials for the stylus assembly.
Step 1: Prepare the Materials
Before delving into the assembly of your DIY stylus, it’s crucial to prepare the materials for the crafting process. This step sets the foundation for creating a functional and personalized stylus that seamlessly interacts with your Android device’s touchscreen. Follow these simple guidelines to ensure that your materials are ready for the assembly phase:
- Ballpoint Pen Preparation: Begin by disassembling the ballpoint pen. Remove the cap and any internal components, such as the ink cartridge, leaving only the smooth barrel of the pen. This barrel will form the main structure of the stylus.
- Foam Cutting: Cut a small piece of foam to serve as the conductive tip of the stylus. The dimensions of the foam should allow it to fit snugly onto the end of the pen barrel, ensuring a secure attachment.
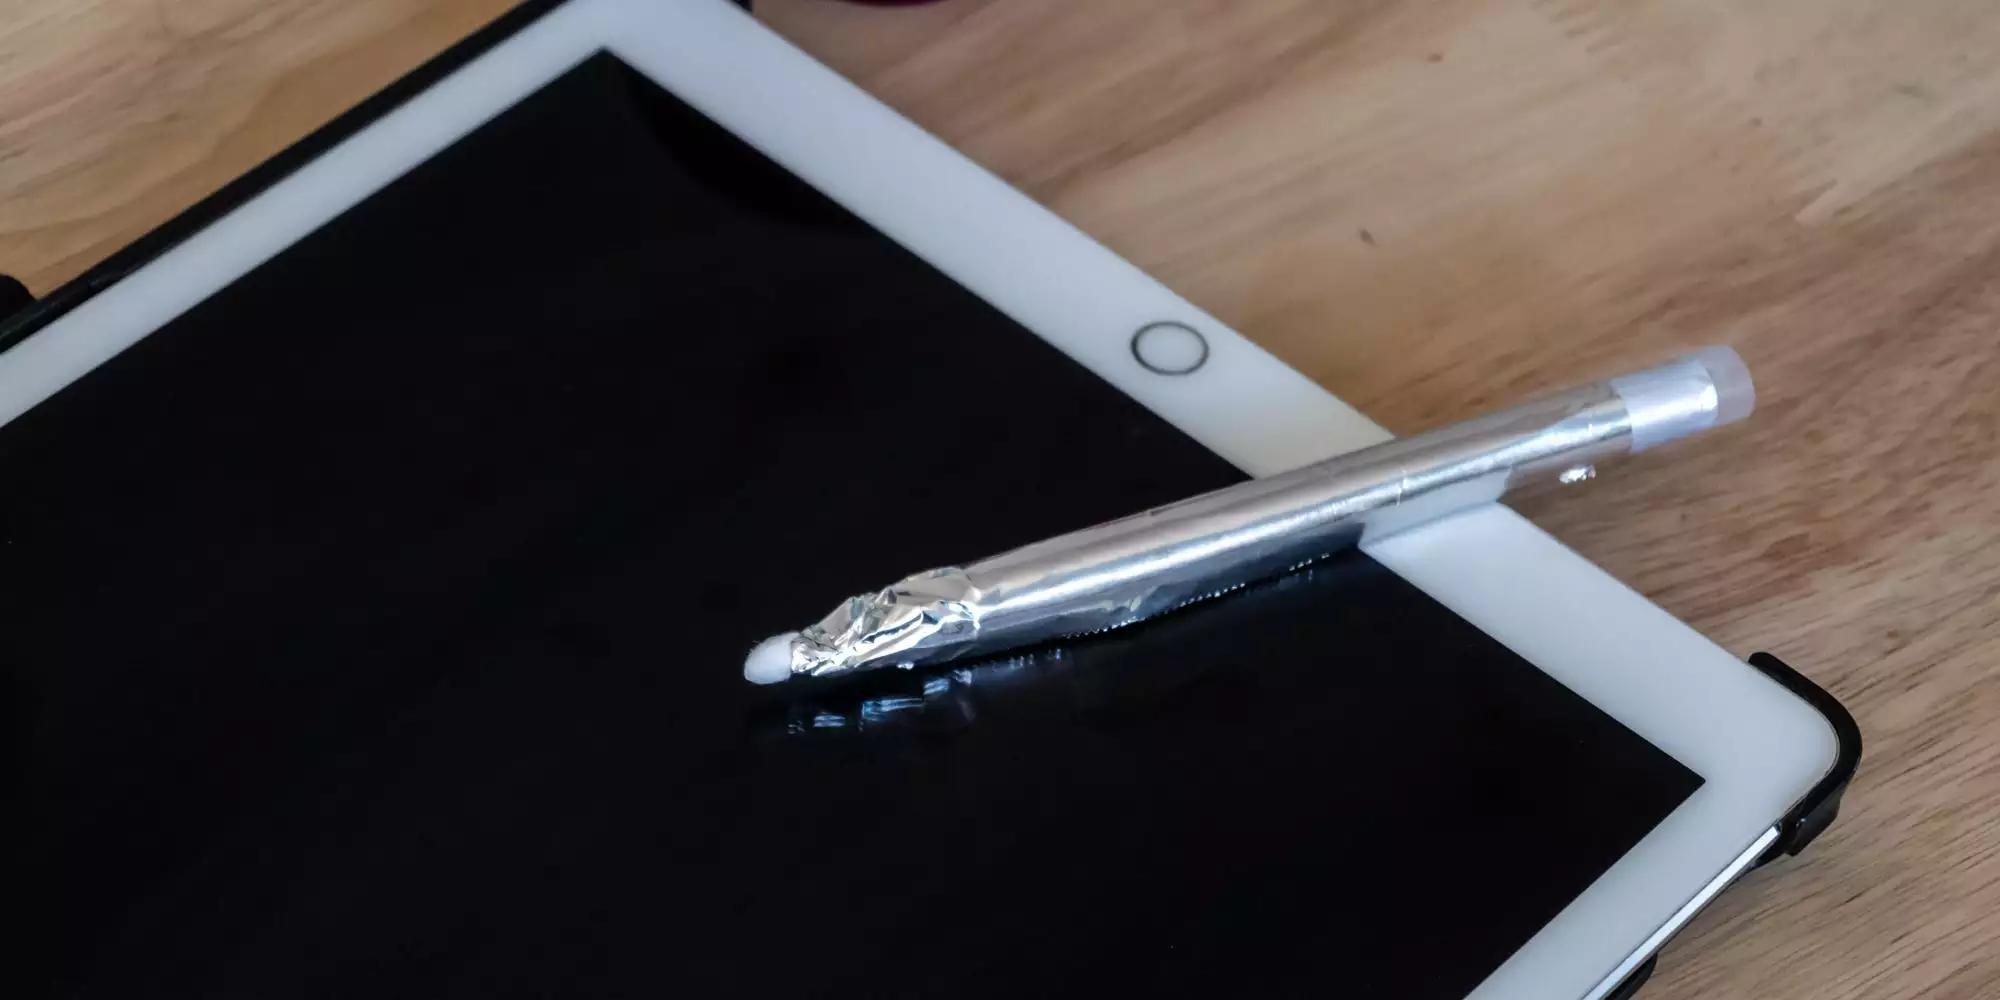
- Aluminum Foil Application: Cut a tiny piece of aluminum foil and affix it to the end of the foam. The aluminum foil enhances the conductivity of the stylus, enabling precise interaction with the touchscreen.
- Securing the Components: Use a small piece of adhesive tape to firmly secure the aluminum foil to the foam tip. This ensures that the components remain intact during use, providing a durable and reliable stylus.
By meticulously preparing the materials according to these instructions, you are laying the groundwork for assembling a high-quality stylus that caters to your specific touchscreen needs. With the materials ready, you are now poised to proceed to the next step of assembling the stylus, bringing you closer to the completion of your personalized DIY creation.
Step 2: Assemble the Stylus
With the materials prepared, it’s time to embark on the exciting phase of assembling your DIY stylus. This step involves combining the components to create a functional and user-friendly stylus that seamlessly interacts with your Android device’s touchscreen. Follow these straightforward instructions to assemble your custom stylus:
- Reassemble the Pen: Place the foam with the attached aluminum foil onto the end of the ballpoint pen barrel. Ensure that the foam fits securely and snugly, providing stability for the stylus tip.
- Secure the Components: Use the adhesive tape to firmly secure the foam and aluminum foil to the end of the pen barrel. This step is crucial for ensuring that the components remain intact during use, guaranteeing a durable and reliable stylus.
- Refine the Shape (Optional): If desired, refine the shape of the foam tip to achieve the desired precision and comfort. This optional step allows for customization based on individual preferences.
- Test the Stylus: Once the components are assembled, it’s time to test the stylus on your Android device’s touchscreen. Verify that the stylus interacts accurately with the screen, allowing for smooth navigation, drawing, and writing.
By following these steps, you will successfully assemble a personalized stylus that caters to your specific touchscreen needs. The process of assembling the stylus not only provides a sense of accomplishment but also offers a practical and cost-effective solution for enhancing your touchscreen interactions. With the stylus assembled and tested, you are now ready to proceed to the final step of testing the functionality of your DIY creation.
Step 3: Test the Stylus
After assembling your DIY stylus, it’s essential to conduct thorough testing to ensure its functionality and compatibility with your Android device’s touchscreen. This step allows you to verify the effectiveness of the stylus and make any necessary adjustments before fully utilizing it for various touchscreen interactions. Follow these guidelines to test your custom stylus:
- Touchscreen Interaction: Begin by testing the stylus on your Android device’s touchscreen. Navigate through menus, open applications, and interact with various elements to assess the responsiveness and accuracy of the stylus.
- Drawing and Writing: Test the stylus’s capabilities by engaging in drawing and writing activities on the touchscreen. Evaluate the precision and comfort provided by the stylus, ensuring that it meets your expectations for creative and productive tasks.
- Pressure Sensitivity (if applicable): If your Android device supports pressure-sensitive stylus input, explore the pressure sensitivity of your DIY stylus. Test varying levels of pressure to gauge the stylus’s responsiveness and sensitivity to touch.
- Comfort and Ergonomics: Assess the comfort and ergonomics of the stylus during prolonged use. Ensure that the stylus design aligns with your preferences for extended touchscreen interactions, promoting a comfortable and enjoyable user experience.
By thoroughly testing the stylus across these aspects, you can confidently determine its suitability for your touchscreen activities. Any necessary adjustments or refinements can be made based on the testing outcomes, ensuring that your DIY stylus aligns with your specific needs and preferences. With the stylus successfully tested and refined, you are now equipped with a personalized tool for enhancing your Android device interactions.
Conclusion
Congratulations on successfully crafting your own stylus for your Android device! By following the step-by-step guide outlined in this DIY project, you have embarked on a rewarding journey of creativity and innovation. The process of creating a personalized stylus not only offers a practical solution for touchscreen interactions but also provides a fulfilling experience of crafting a functional tool with your own hands.
Through careful preparation, assembly, and testing, you have transformed everyday materials into a versatile and user-friendly stylus that complements your Android device. The ability to customize the stylus according to your preferences and touchscreen needs adds a unique touch to your digital interactions, enhancing your creativity and productivity.
By engaging in this DIY project, you have gained valuable insights into the world of technology crafting, empowering yourself to explore further DIY endeavors and innovative solutions. The satisfaction of using a stylus that you crafted yourself not only saves costs but also reflects your ingenuity and resourcefulness.
As you embrace the functionality and convenience of your DIY stylus, consider the potential for future customization and enhancements to further tailor the stylus to your evolving needs. Your journey of creating a stylus for your Android device serves as a testament to the possibilities that DIY projects offer, inspiring creativity and a hands-on approach to technology.
With your custom stylus in hand, you are now equipped to navigate, draw, and write with precision and comfort, enhancing your digital experiences. Embrace the creativity and practicality of your DIY stylus, and continue to explore the world of DIY technology projects, infusing innovation and personalization into your everyday tools.


