Why Use a Stylus for Tablets and Smartphones
A stylus is a small handheld device that allows for precise input on touchscreens, making it a valuable tool for tablet and smartphone users. While using your finger to interact with your device is convenient in many cases, there are several reasons why using a stylus can greatly enhance your overall experience.
1. Precision: One of the main advantages of using a stylus is the enhanced precision it offers. The fine tip allows for accurate tapping, drawing, and writing, making it ideal for tasks that require more detailed input, such as note-taking, sketching, or graphic design.
2. Control: With a stylus, you have more control over your actions. It offers a more natural and comfortable grip, which can reduce fatigue during extended use. This added control can be particularly beneficial for individuals with larger hands or those who struggle with motor skills.
3. Smudge-free screens: Using a stylus helps keep your screen clean and free from fingerprints and smudges. This is especially important if you frequently use your device for tasks that require a clear view, such as reading, watching videos, or viewing photos.
4. Handwriting and note-taking: If you prefer taking handwritten notes or annotating documents, a stylus can offer a more fluid and familiar experience compared to typing with your fingers. This can be particularly useful for students, professionals, or anyone who needs to jot down ideas or mark up documents regularly.
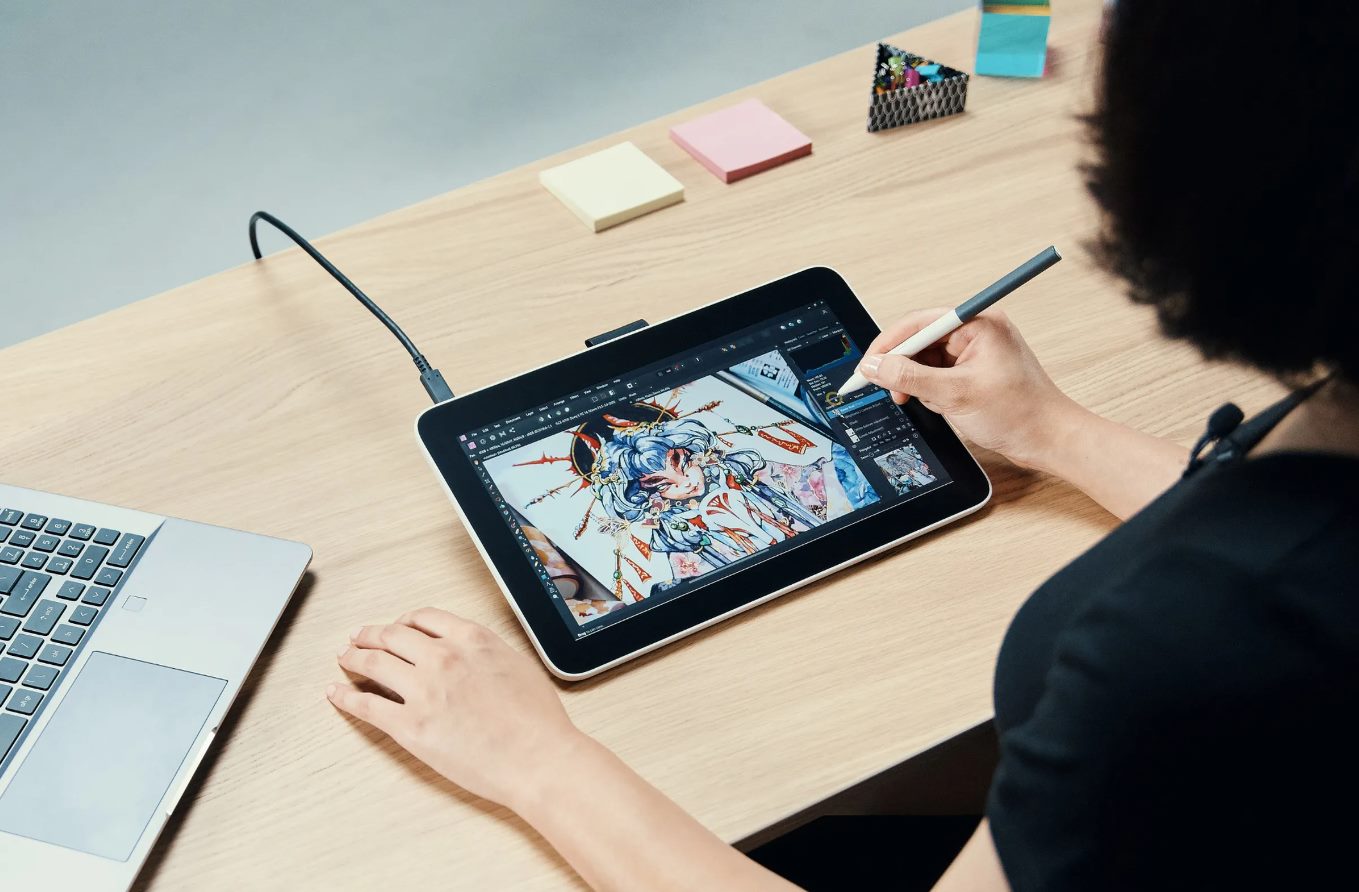
5. Compatibility with drawing and design apps: Many tablets and smartphones come preloaded with drawing and design apps, and there are numerous third-party apps available as well. Using a stylus greatly expands your capabilities when it comes to creating digital art, sketching, or editing photos, allowing for greater precision and artistic expression.
6. Accessibility: For individuals with certain physical disabilities or conditions that affect fine motor skills, using a stylus can make it easier to navigate and interact with a touchscreen device. It can provide a more accessible way to use apps, browse the internet, and communicate with others.
Overall, using a stylus offers numerous benefits for tablet and smartphone users. Whether you’re an artist, student, professional, or simply someone who wants to have more control and precision when using your device, investing in a stylus can greatly enhance your digital experience.
How Does a Stylus Work
A stylus is a device that allows you to interact with your tablet or smartphone by simulating the touch of a finger. But how does it actually work? Let’s take a closer look.
1. Capacitive Touchscreens: Most modern tablets and smartphones use a capacitive touchscreen, which relies on the electrical properties of the human body to detect touch. Capacitive screens are made up of multiple layers, including a conductive layer that reacts to the electrical charge of your finger or a stylus.
2. Conductive Material: A stylus works by having a conductive tip that mimics the electrical properties of a human finger. This conductive material allows the stylus to create a connection with the capacitive touchscreen, enabling it to interact with the device.
3. Touch Sensing Technology: When you touch the screen with a stylus, the conductive tip of the stylus interacts with the capacitive layer of the screen. This change in electrical charge is detected by the touch controller, which translates it into a digital signal.
4. Precision and Pressure Sensitivity: Depending on the type of stylus you use, you may have varying levels of precision and pressure sensitivity. Some styluses are designed with a smaller tip, allowing for more precise input, while others offer pressure sensitivity, which means the device can detect different levels of pressure and adjust the thickness or darkness of lines accordingly.
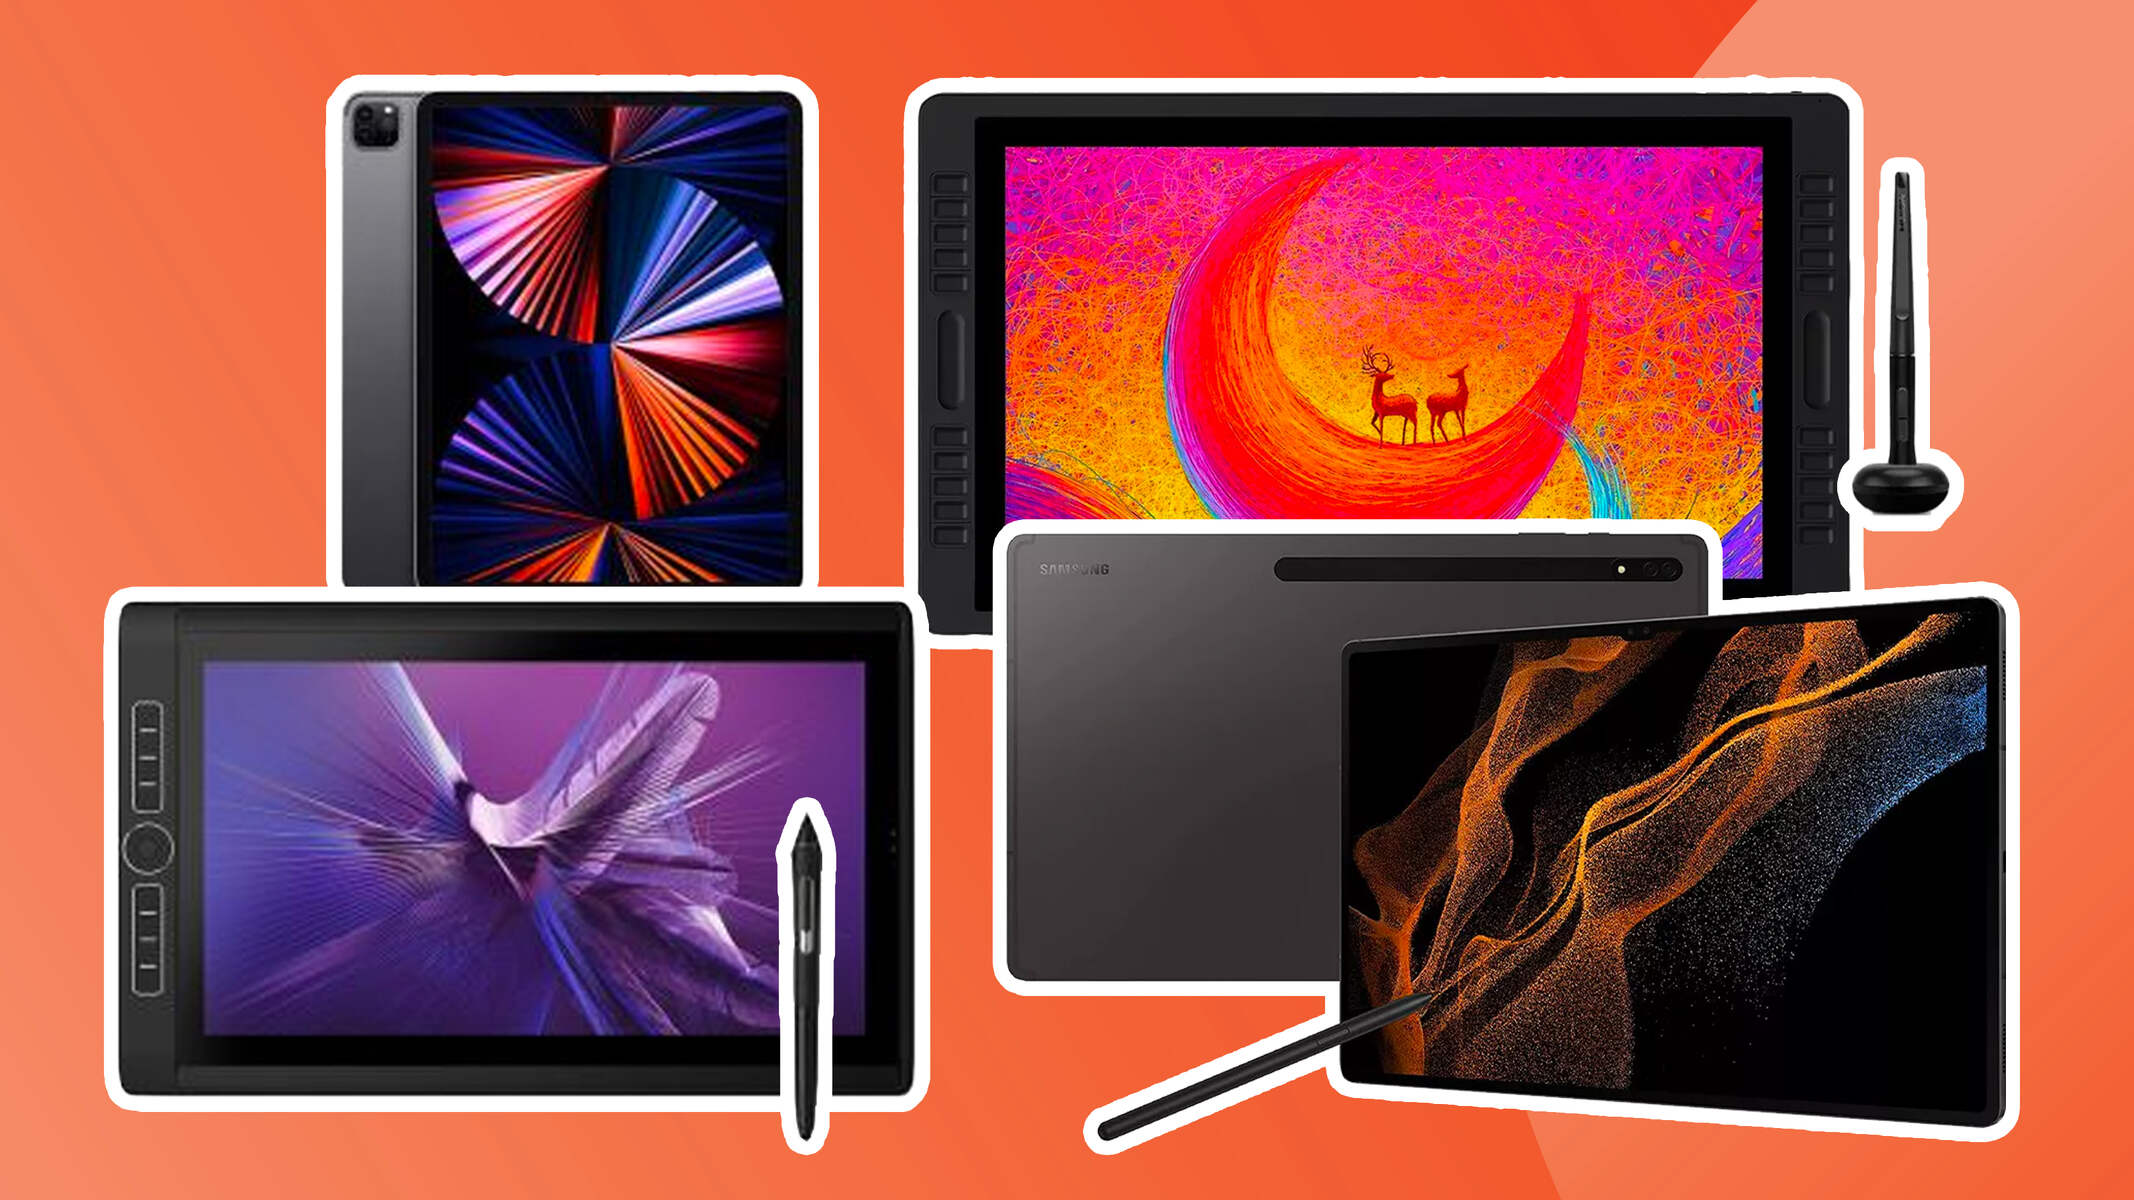
5. Compatibility: Styluses made for capacitive touchscreens are generally compatible with a wide range of devices. However, some styluses may have additional features or functionality that are specific to certain brands or models. It’s important to ensure that the stylus you choose is compatible with your specific device before purchasing.
By understanding how a stylus works, you can make an informed decision when choosing the right one for your needs. Whether you’re looking for precise drawing capabilities, a comfortable grip, or pressure sensitivity, there is a wide range of styluses available that can enhance your touchscreen experience.
Materials Needed to Make a Tablet Stylus
If you’re feeling crafty and want to make your own stylus for your tablet, you’ll need a few simple materials. Making a DIY stylus is a fun and affordable project that can give you a personalized touch and save you some money. Here are the materials you’ll need:
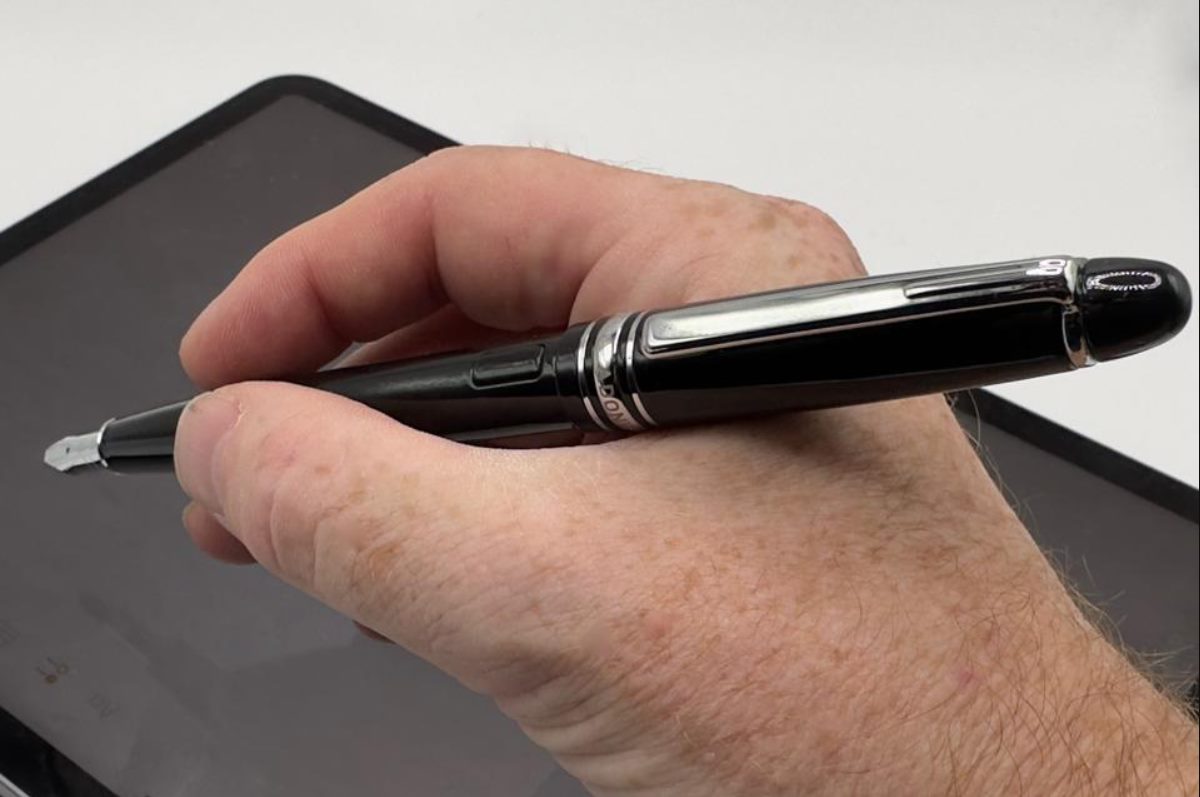
1. Pen or Pencil: The body of your stylus will be made from a pen or pencil. Choose a pen or pencil that feels comfortable in your hand and has a removable cap or clicker.
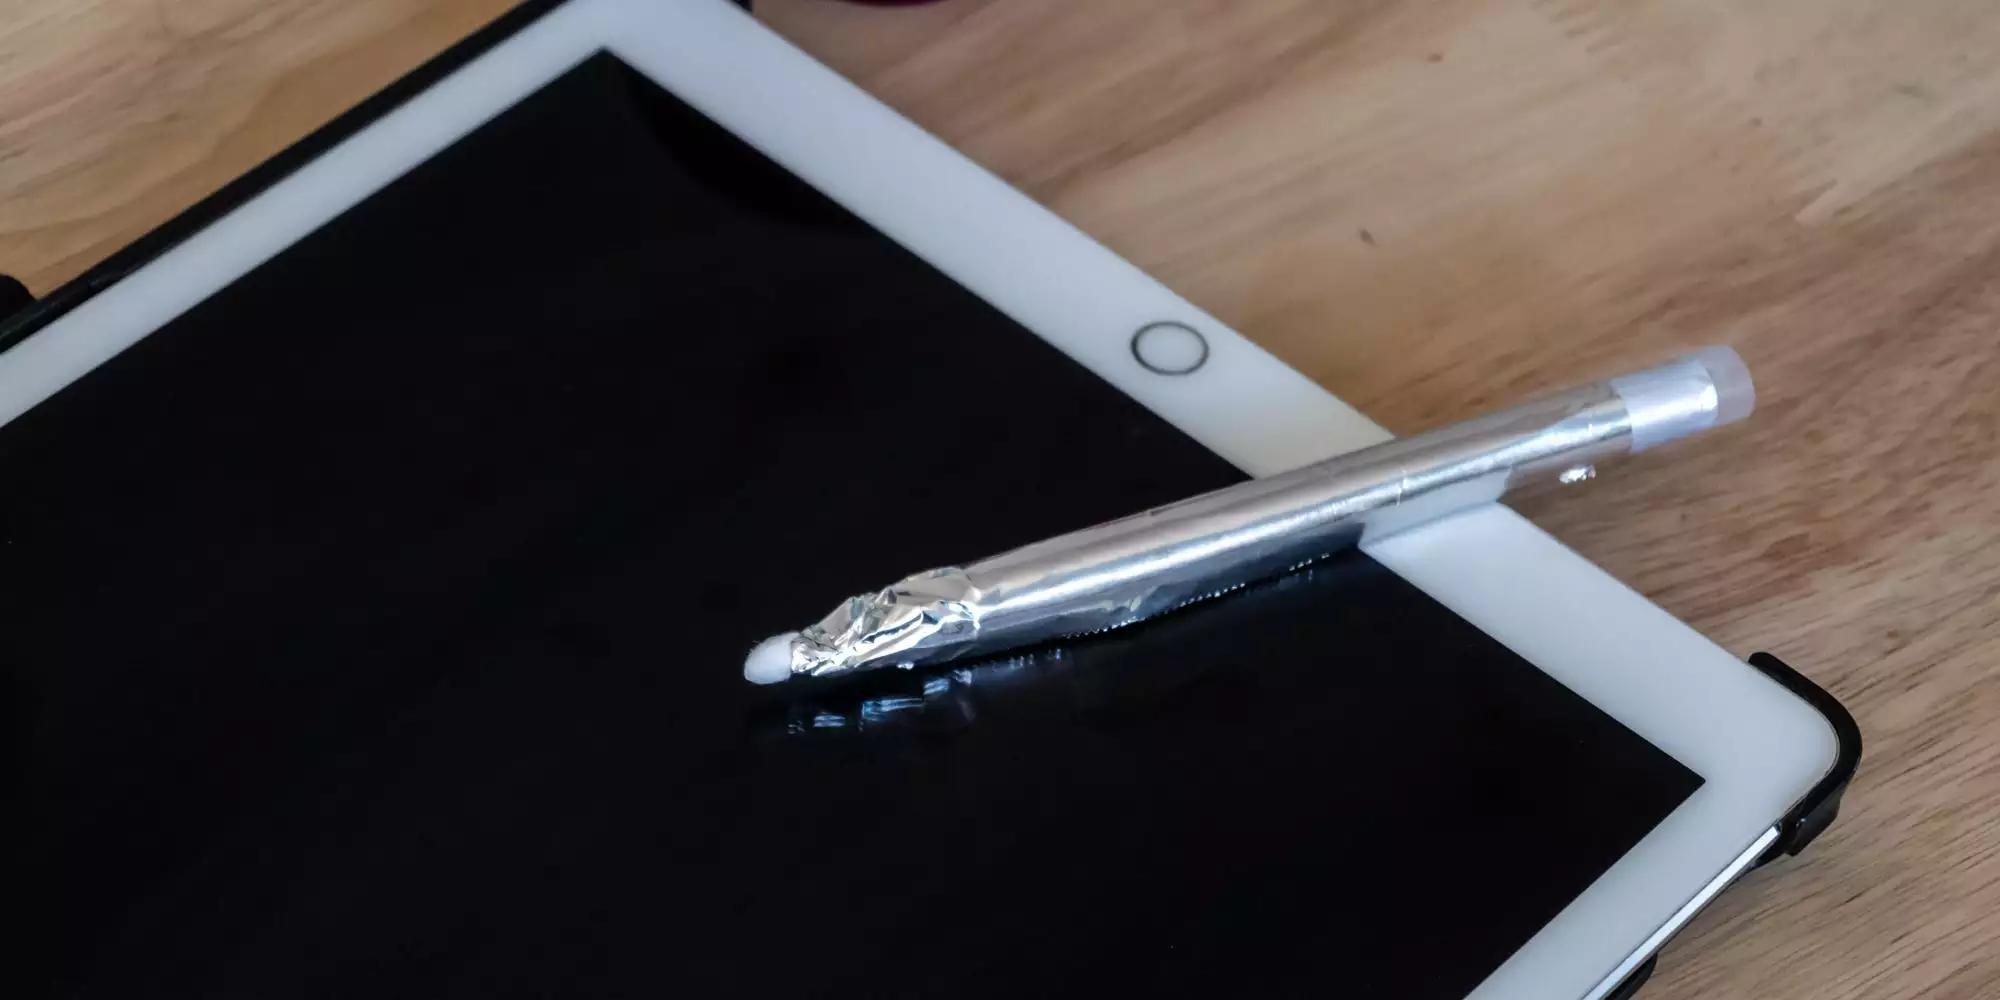
2. Conductive Material: To create a conductive tip for your stylus, you’ll need a material that can transmit electrical signals to the touchscreen. Some common options include aluminum foil, copper tape, conductive foam, or a conductive fabric such as a microfiber cloth or a piece of cut-up touchscreen-friendly gloves.
3. Tape or Adhesive: You’ll need tape or adhesive to secure the conductive material to the pen or pencil. Double-sided tape, electrical tape, or super glue can work well for this purpose.
4. Scissors: You’ll need a pair of scissors to cut the conductive material to the desired size and shape for the stylus tip.
5. Optional Extras: Depending on your preferences, you may also choose to add some additional materials to customize your stylus. This could include decorative tape or stickers to personalize the stylus, or a rubber grip to improve comfort and grip.
6. Disposable Gloves: If you’re using conductive foam or a conductive fabric, wearing disposable gloves can prevent oils from your hands from interfering with the conductivity of the material.
These are the basic materials you’ll need to make a homemade tablet stylus. Most of these items can be found around the house or easily purchased from a local craft store or online retailer. Once you gather your materials, you’ll be ready to move on to the next step: assembling your DIY stylus.
Step-by-Step Guide to Making a Tablet Stylus
Making a tablet stylus is a simple and fun project that allows you to customize your device interaction. Follow these step-by-step instructions to create your own DIY stylus:
Step 1: Gather Materials: Collect all the materials you’ll need, including a pen or pencil, conductive material, tape or adhesive, scissors, and any optional extras you desire.
Step 2: Remove Pen Cap or Clicker: If using a pen, remove the cap or clicker to expose the pen’s ink chamber. If using a pencil, remove the eraser if possible.
Step 3: Cut Conductive Material: Cut a small piece of the conductive material of your choice. The size will depend on the thickness and shape you want for your stylus tip.
Step 4: Attach Conductive Material: Use tape or adhesive to secure the conductive material to the exposed end of the pen or pencil. Make sure it is firmly attached and covers the tip completely, leaving no gaps.
Step 5: Trim Excess Material: Use scissors to trim any excess conductive material that extends beyond the pen or pencil tip. This will ensure a clean and functional stylus.
Step 6: Optional Customization: If desired, you can add any optional extras to your stylus at this stage. Apply decorative tape, stickers, or a rubber grip to personalize the stylus and make it more comfortable to hold.
Step 7: Test Your Stylus: Once the conductive material is securely attached and any customization is complete, it’s time to test your stylus. Try it out on your tablet or smartphone touchscreen and ensure that it is responsive and accurate.
Step 8: Make Adjustments: If you find that the stylus is not working as desired, you may need to make adjustments. Try using a different type or size of conductive material, or reattach it to the pen or pencil to improve conductivity.
Step 9: Enjoy Your DIY Stylus: Once you have a functional and responsive stylus, you can start using it on your tablet or smartphone. Enjoy the enhanced precision and control it provides!
By following these steps, you can create your own personalized tablet stylus at a fraction of the cost of store-bought options. Get creative with your design and enjoy the benefits of a stylus tailored to your needs.
Tips and Tricks for Using a Tablet Stylus
Using a tablet stylus can significantly enhance your digital experience and make tasks like note-taking, drawing, and navigating your device more precise and enjoyable. To make the most out of your stylus, here are some tips and tricks to keep in mind:
1. Avoid Excessive Pressure: While some styluses offer pressure sensitivity, it’s important not to apply excessive pressure on the screen. Apply a light touch to avoid potential damage to the screen and ensure smooth input.
2. Adjust Stylus Sensitivity: Many tablets and smartphones allow you to customize the stylus sensitivity settings. Experiment with these settings to find the right balance and level of responsiveness that suits your preferences.
3. Keep Stylus and Screen Clean: Regularly clean the stylus tip and the screen to maintain optimal performance. Use a soft cloth or a screen cleaner solution to remove any debris or fingerprints that may interfere with accuracy.
4. Utilize Palm Rejection: Some devices have palm rejection technology that prevents unintentional touch input from your hand while using the stylus. Enable this feature to ensure smoother and more accurate stylus interaction.
5. Explore App Compatibility: Not all apps are created equal when it comes to stylus compatibility. Explore apps specifically designed for stylus input to take advantage of features like pressure sensitivity, palm rejection, and advanced drawing tools.
6. Practice Hand-Eye Coordination: Using a stylus requires some hand-eye coordination, especially when it comes to precision tasks like drawing or writing. Practice using your stylus regularly to improve your control and accuracy.
7. Tilt and Rotate for Varied Strokes: Experiment with tilting and rotating the stylus to create different strokes and effects. Tilting can simulate shading, while rotating can change the shape or thickness of a line. Take advantage of these features to add depth to your artwork.
8. Carry Your Stylus Conveniently: Invest in a stylus holder or case to keep your stylus easily accessible and protected when not in use. This will prevent loss or damage and ensure you always have your stylus at hand when needed.
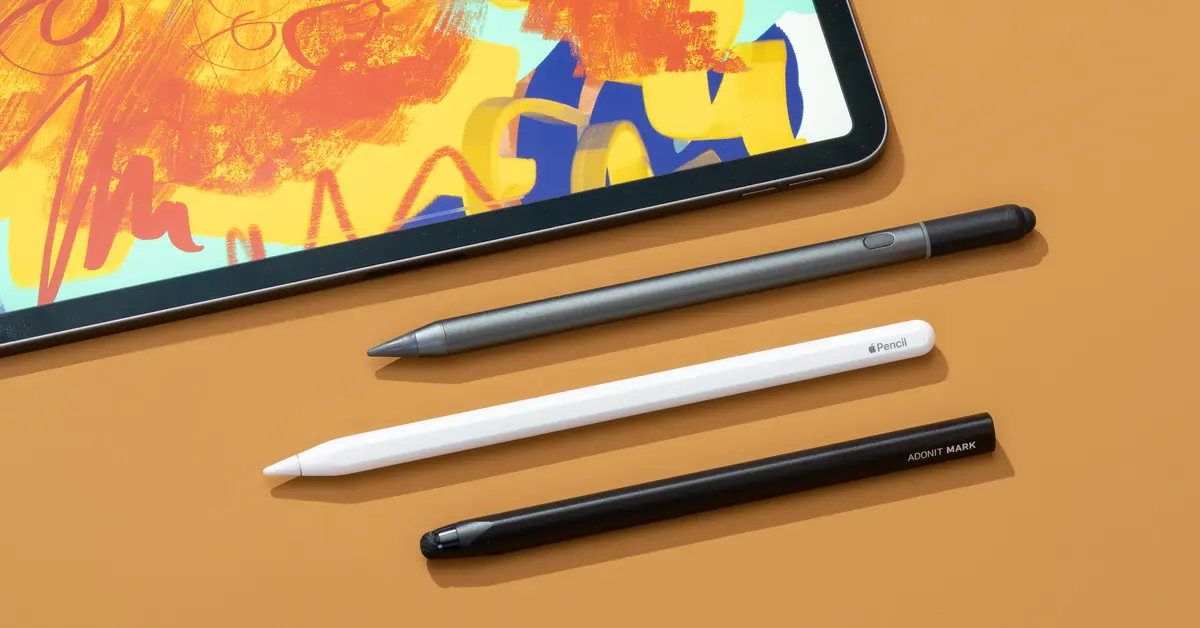
9. Try Different Stylus Types: There are a variety of stylus types available, including those with fine tips, brush tips, or even Bluetooth-enabled styluses. Experiment with different types to find the one that best suits your needs and preferences.
10. Have Fun and Explore: Don’t be afraid to explore the capabilities of your stylus and try new things. Experiment with different apps, techniques, and styles to make the most out of your stylus experience.
By incorporating these tips and tricks into your stylus usage, you can unlock the full potential of your tablet or smartphone and enjoy a more seamless and precise digital experience.
Alternatives to Homemade Styluses
While homemade styluses can be a fun and budget-friendly option, there are also alternatives available in the market that offer different features and functionalities. Here are some alternatives to consider:
1. Disc Stylus: A disc stylus features a clear plastic disc at the tip, allowing for precise and accurate input. It provides a smooth glide across the screen and is ideal for tasks that require fine detail, such as drawing or handwriting.
2. Fine Tip Stylus: Fine tip styluses are designed with a narrow and precise tip that mimics the feel of a pen or pencil. They offer excellent control and sensitivity, making them suitable for tasks like note-taking, drawing, or navigating small icons or buttons.
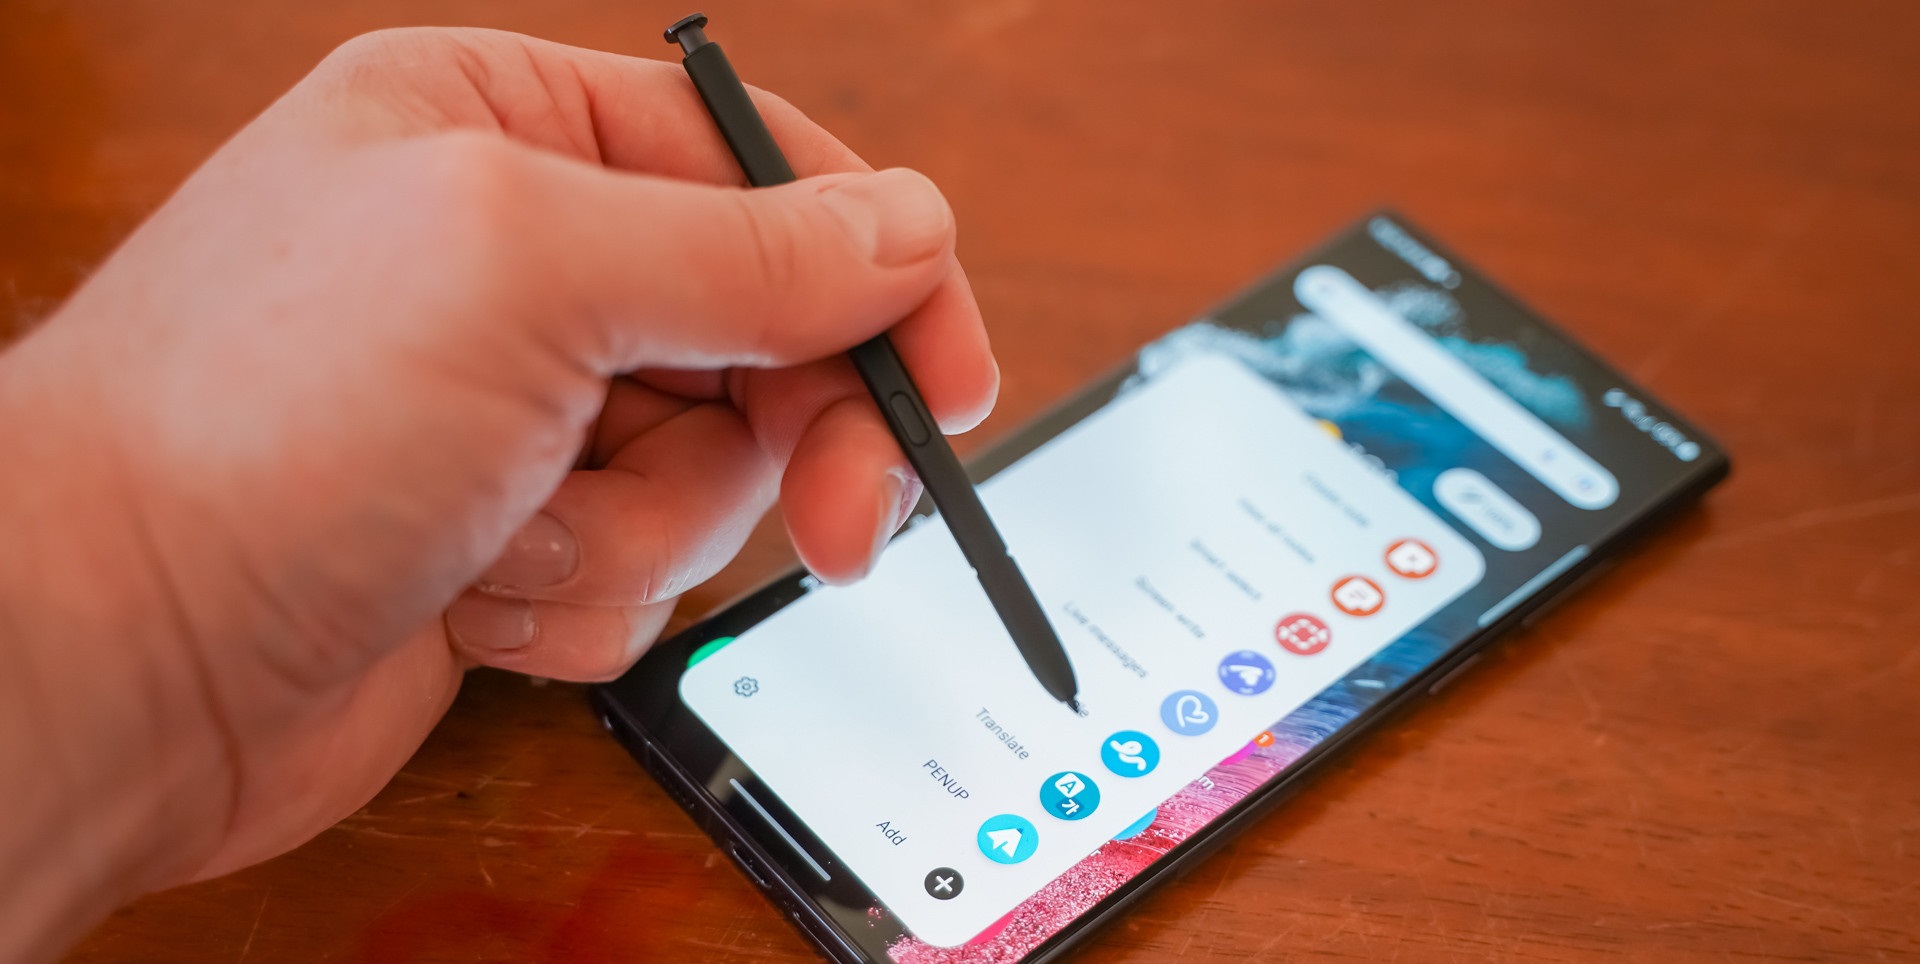
3. Active Stylus: An active stylus, also known as an active pen or digital pen, is an electronic stylus that works with specific devices and offers advanced features like pressure sensitivity and palm rejection. These styluses often require batteries or charging but provide a more advanced level of functionality.
4. Bluetooth Stylus: A Bluetooth stylus connects to your device via Bluetooth and offers additional features such as customizable buttons, gesture controls, and enhanced palm rejection. They are particularly useful for artists and designers who require more advanced functionality.
5. Universal Stylus: Universal styluses feature a rubber or conductive tip that works with a wide range of touchscreen devices, eliminating the need for a device-specific stylus. They are convenient for multi-device use or when you need to share your stylus with others.
6. Brush Stylus: Brush styluses are designed for digital artists who want to replicate the feeling of painting or drawing with a brush. They offer a natural and brush-like stroke, allowing for more expressive and artistic creations.
7. Smartpens: Smartpens combine the functionality of a traditional pen with digital capabilities. They can record your handwritten notes or drawings digitally and sync them with compatible devices. Smartpens are a great option for those who prefer the feel of pen and paper but want to digitize their notes.
8. Capacitive Gloves: Capacitive gloves are an alternative to styluses altogether. These gloves have conductive fibers in the fingertips that allow for precise touchscreen interaction without the need for a stylus. They are particularly useful in cold weather or for individuals who prefer using their fingers directly on the screen.
These alternatives provide different features and cater to various needs and preferences. Consider your specific requirements, such as precision, functionality, or device compatibility, when choosing an alternative to a homemade stylus.