Introduction
Deleting your Oculus account directly from your headset can be a convenient way to manage your account settings without the need for a computer or smartphone. Whether you're looking to close your account permanently, or simply seeking a fresh start, the process can be straightforward when you know the steps to take. By following the instructions provided in this guide, you'll gain a clear understanding of how to navigate your Oculus headset and access the necessary settings to delete your account.
Deleting your Oculus account from your headset is a significant decision, and it's important to understand the implications. Once your account is deleted, you will lose access to all the content, games, and apps associated with it. Additionally, any remaining store credits or gift cards in your account will be forfeited. Therefore, it's crucial to consider all options before proceeding with the deletion.
While deleting your account removes your personal information from the Oculus platform, it's essential to remember that any data previously shared with third-party apps or services may still be retained by those entities. Taking this into account, it's advisable to review the privacy policies of any third-party apps or services you have used with your Oculus account.
With these considerations in mind, let's delve into the step-by-step process of accessing the settings on your Oculus headset and navigating to the account management section. By following these instructions, you'll be equipped to make an informed decision about deleting your Oculus account directly from your headset.
Step 1: Accessing Settings on Your Oculus Headset
Accessing the settings on your Oculus headset is the initial step towards managing your account. Whether you're using the Oculus Quest, Oculus Rift, or any other model, the process for accessing settings remains consistent.
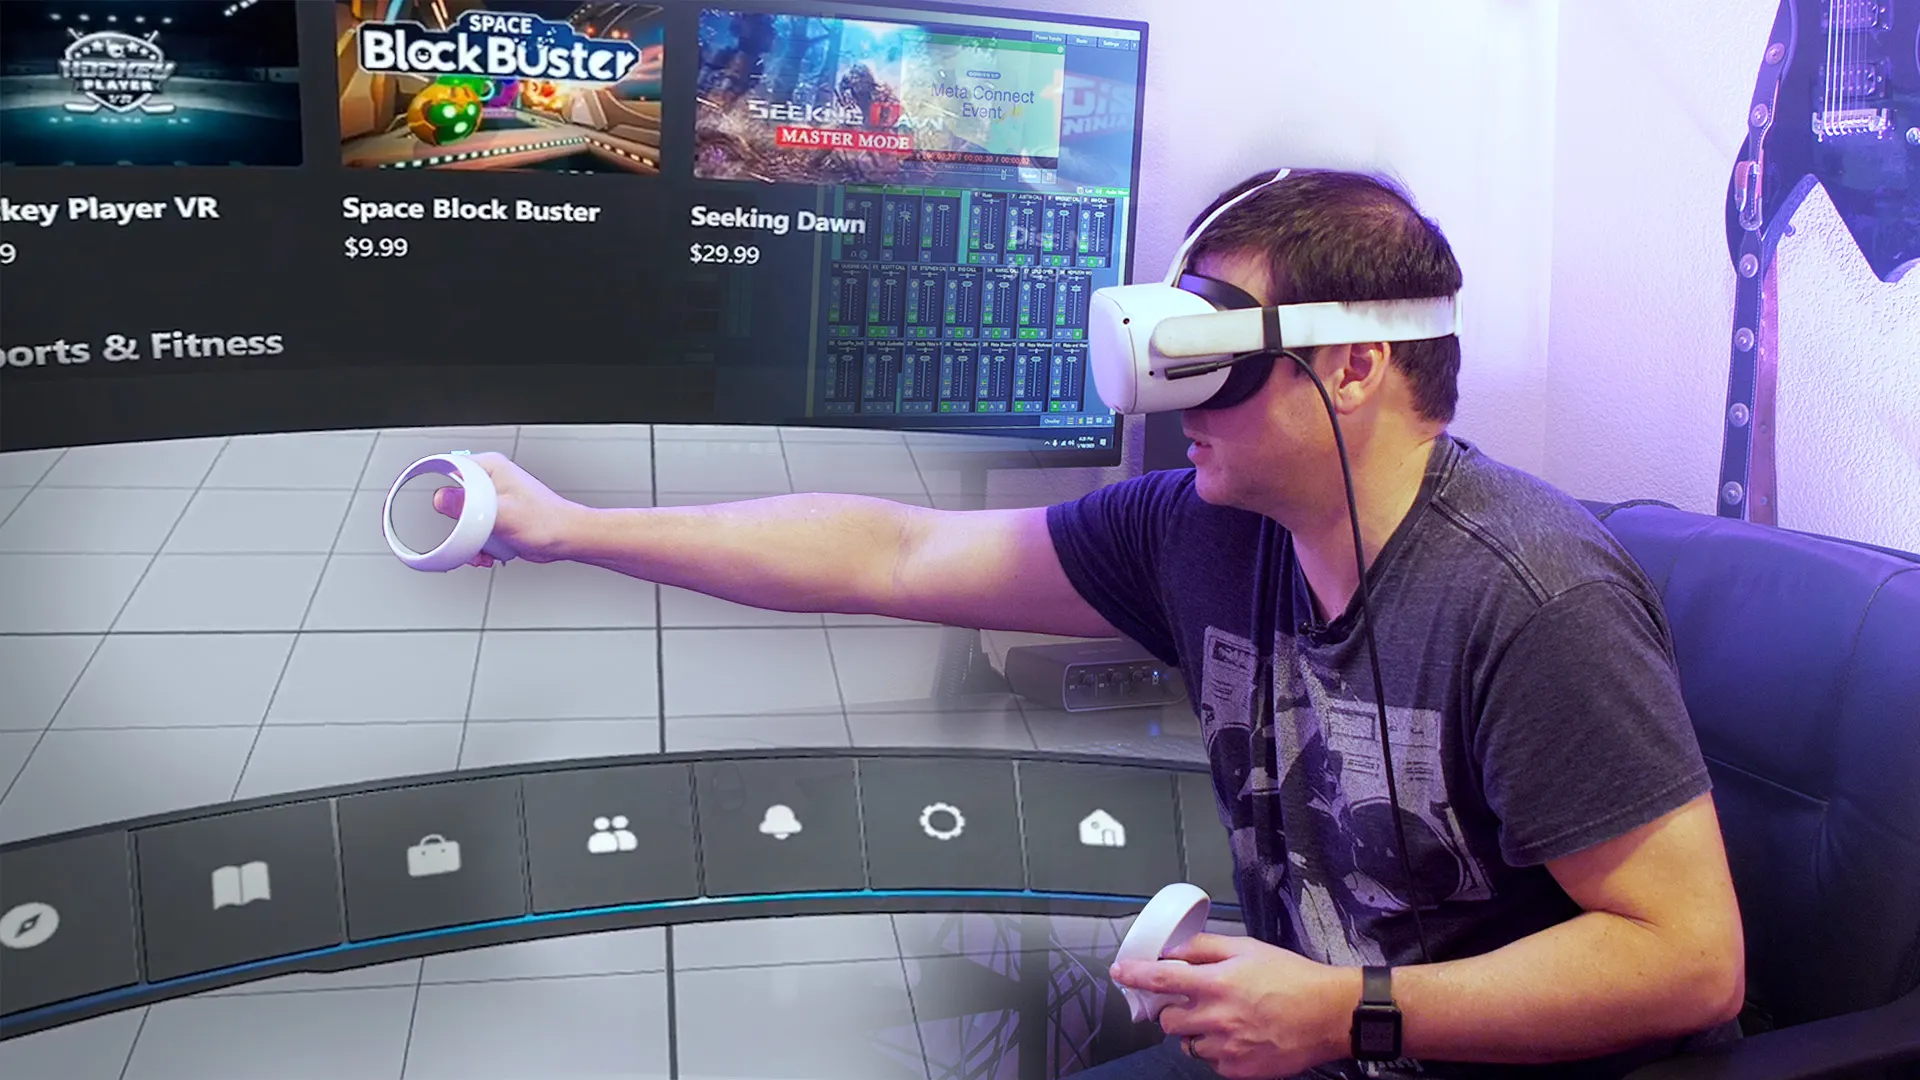
To begin, put on your Oculus headset and navigate to the home screen. From there, look towards the bottom-right corner to locate the "Settings" option. This can typically be identified by an icon resembling a gear or cogwheel. Once you've found the "Settings" option, you can proceed to select it by using the controller.
Upon selecting the "Settings" option, a new window will appear, presenting a range of configurable options. These settings allow you to personalize your virtual reality experience, adjust audio and visual preferences, manage connected devices, and much more. To proceed with account management, you will need to navigate through these settings to find the specific section related to account management and deletion.
The process of accessing settings may vary slightly depending on the Oculus headset model and any recent updates to the user interface. However, the fundamental steps of navigating to the settings menu and locating the account management section remain consistent across different Oculus devices.
By successfully accessing the settings on your Oculus headset, you'll be one step closer to managing your account effectively. This initial step sets the stage for the subsequent actions required to delete your Oculus account directly from the headset. With the settings accessible, you can confidently move on to the next stage of the account management process, as outlined in the following steps.
Step 2: Navigating to Account Management
After accessing the settings on your Oculus headset, the next crucial step is to navigate to the account management section. This is where you will find the options to manage your account, including the ability to delete it. The process of locating the account management section may vary slightly based on the specific interface of your Oculus device, but the fundamental principles remain consistent.
Once you have accessed the settings menu, you will need to navigate through the available options to find the section related to account management. This may involve scrolling through a list of settings or using the controller to navigate through a series of tabs or menus. Look for terms such as "Account," "Profile," or "Privacy" to guide you towards the account management section.
In some Oculus headset models, the account management options may be prominently displayed within the settings menu, making them easily accessible. However, in other cases, you may need to explore sub-menus or additional settings categories to locate the specific account management section.
As you navigate through the settings, it's essential to remain attentive to the on-screen prompts and visual cues that can guide you towards the account management options. Pay close attention to any labels or icons that indicate account-related settings, as they can serve as valuable signposts in your quest to reach the account management section.
If at any point you encounter difficulty in locating the account management section, consider referring to the user manual or official documentation for your Oculus device. These resources often provide detailed instructions and visual guides to help users navigate the interface and access specific settings, including account management options.
By successfully navigating to the account management section, you will gain access to the tools necessary to manage your Oculus account, including the option to delete it directly from your headset. This pivotal step sets the stage for the final phase of the account management process, as outlined in the subsequent step.
With the account management section within reach, you are poised to proceed with the crucial decision of deleting your Oculus account directly from your headset. This significant action requires careful consideration, and by reaching this stage, you are well-positioned to make an informed choice regarding the management of your account.
Step 3: Deleting Your Oculus Account
Upon reaching the account management section on your Oculus headset, you are now ready to proceed with the critical decision of deleting your account. Deleting your Oculus account directly from your headset involves a series of steps that are designed to ensure that you are fully aware of the implications of this action.
-
Reviewing Account Deletion Information: Before initiating the deletion process, it's essential to review the information provided regarding the consequences of deleting your account. This may include details about the permanent removal of your account, loss of access to purchased content, and forfeiture of any remaining store credits or gift cards associated with the account. Take the time to carefully consider these implications to ensure that you are fully informed before proceeding.
-
Confirmation of Deletion: Once you have reviewed the account deletion information, the next step typically involves confirming your decision to delete the account. This confirmation step serves as a final checkpoint to ensure that you are intentionally choosing to delete your account. It may involve selecting "Delete Account" or a similar option, followed by a prompt to confirm the deletion.
-
Verification: In some cases, the deletion process may require additional verification to confirm your identity and authorization to delete the account. This can involve entering your password or using other authentication methods to validate the deletion request.
-
Completion: Upon confirming the deletion and completing any necessary verification steps, the Oculus system will initiate the account deletion process. This may involve a brief waiting period as the system processes the deletion request and permanently removes your account from the platform.
-
Confirmation of Deletion: Once the account deletion process is complete, you may receive a final confirmation message indicating that your account has been successfully deleted. This serves as the conclusive step in the process, confirming that your Oculus account has been permanently removed from the system.
It's important to note that once your account is deleted, you will lose access to all content, purchases, and associated data. Additionally, any remaining store credits or gift cards in your account will be forfeited. Therefore, it's crucial to consider all implications before proceeding with the deletion. If you have any remaining questions or concerns about the account deletion process, consider reaching out to Oculus support for further assistance.
By following these steps, you can confidently navigate the process of deleting your Oculus account directly from your headset, ensuring that you are well-informed and deliberate in your decision-making.
Conclusion
In conclusion, the process of deleting your Oculus account directly from your headset is a significant decision that warrants careful consideration. By following the step-by-step instructions outlined in this guide, you are now equipped with the knowledge to navigate your Oculus headset's settings, access the account management section, and proceed with the account deletion process.
It's essential to approach the decision to delete your account with a clear understanding of the implications. Once your account is deleted, you will lose access to all the content, games, and apps associated with it. Additionally, any remaining store credits or gift cards in your account will be forfeited. Therefore, it's crucial to carefully weigh the consequences before proceeding with the deletion.
Before initiating the account deletion process, take the time to review the information provided regarding the permanent removal of your account. This includes understanding the loss of access to purchased content and the forfeiture of any remaining store credits or gift cards associated with the account. By being fully informed about these implications, you can make a deliberate and well-considered decision.
It's important to note that while deleting your account removes your personal information from the Oculus platform, any data previously shared with third-party apps or services may still be retained by those entities. As such, it's advisable to review the privacy policies of any third-party apps or services you have used with your Oculus account.
If you have any remaining questions or concerns about the account deletion process, consider reaching out to Oculus support for further assistance. Their team can provide guidance and address any specific inquiries you may have regarding the deletion of your account.
Ultimately, the decision to delete your Oculus account directly from your headset rests in your hands. By following the steps outlined in this guide and carefully considering the implications, you are empowered to make an informed choice that aligns with your preferences and circumstances.
Deleting your Oculus account directly from your headset can be a straightforward process when approached with awareness and consideration. By leveraging the knowledge gained from this guide, you can confidently navigate the account management options on your Oculus headset and make decisions that align with your preferences and privacy needs.


