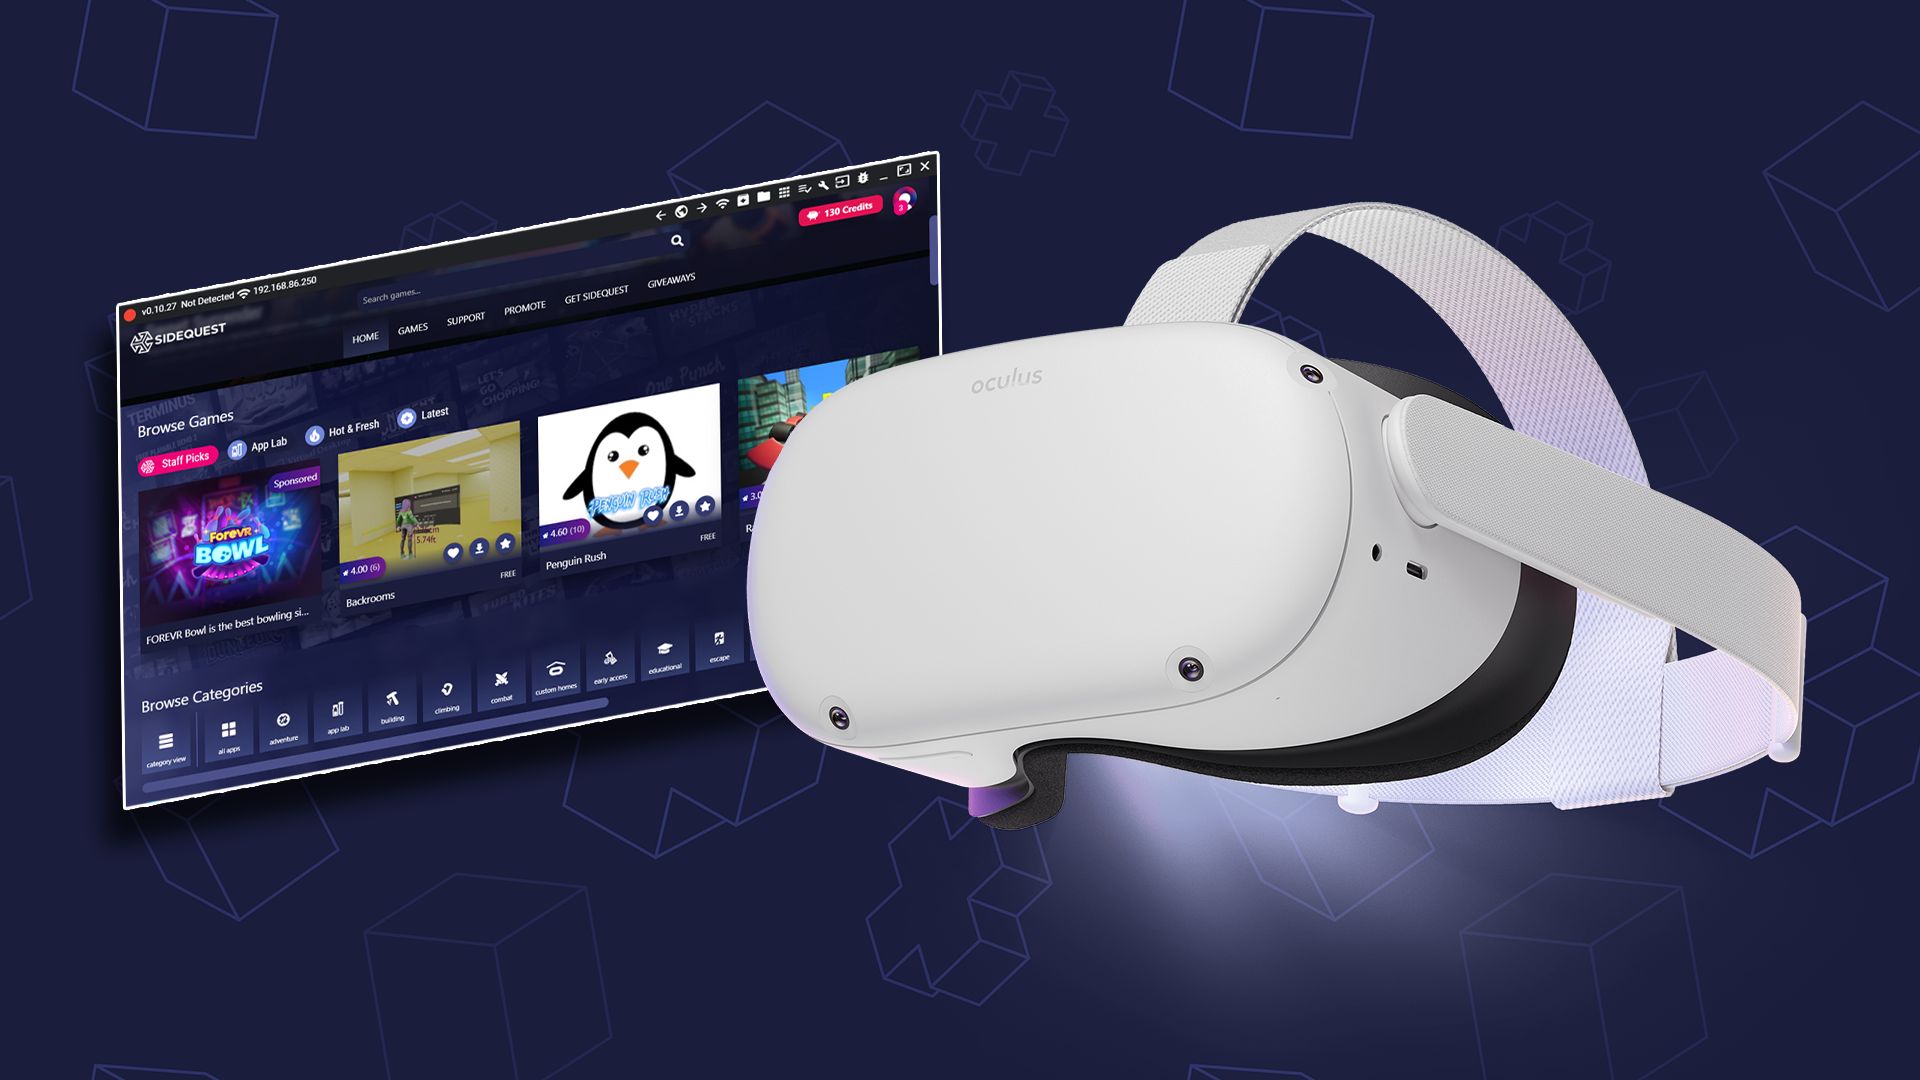
Introduction
Deleting an Oculus account from your headset can be a necessary step when transitioning to a new account or simply looking to remove an old one. Whether you're upgrading to a new VR system or consolidating your accounts, managing your accounts directly from the headset can streamline the process. With a few simple steps, you can effortlessly remove an unwanted account, ensuring a seamless and personalized virtual reality experience.
Deleting an Oculus account from your headset involves accessing the settings menu, selecting the account option, choosing the account to delete, and confirming the deletion. By following these steps, you can efficiently manage your accounts and tailor your VR environment to your preferences.
As technology continues to evolve, the ability to manage accounts directly from the headset empowers users to customize their virtual reality experience with ease. Whether you're a seasoned VR enthusiast or a newcomer to the immersive world of virtual reality, understanding how to delete an Oculus account from your headset equips you with the knowledge to maintain a personalized and streamlined virtual reality experience.
In the following sections, we will delve into the step-by-step process of deleting an Oculus account from your headset, providing you with the guidance needed to navigate the settings and manage your accounts seamlessly. Let's embark on this journey to streamline and personalize your VR experience by mastering the art of managing accounts on your headset.
Step 1: Accessing the Settings Menu
Accessing the settings menu on your Oculus headset is the initial step in the process of deleting an account. To begin, put on your headset and navigate to the home screen. From there, you can access the settings menu by using the Oculus controller to select the gear icon, typically located at the bottom right or left corner of the screen. This gear icon represents the settings menu, which is the gateway to various customization options and account management features.
Once you've selected the gear icon, the settings menu will appear, presenting a range of options to personalize and configure your VR experience. The settings menu serves as the control center for your Oculus headset, allowing you to adjust display settings, audio preferences, and, most importantly, manage your accounts. Navigating through the settings menu can provide valuable insights into the capabilities of your VR device, enabling you to tailor the experience to your preferences.
As you delve into the settings menu, take note of the intuitive layout designed to facilitate seamless navigation. The user-friendly interface ensures that accessing the settings menu is a straightforward process, allowing you to focus on customizing your VR environment without unnecessary complexity. By familiarizing yourself with the settings menu, you gain a deeper understanding of the features and functionalities available at your fingertips, empowering you to optimize your VR experience.
Accessing the settings menu is the foundational step in managing your accounts on the Oculus headset, setting the stage for further customization and personalization. This pivotal stage paves the way for a streamlined account management process, laying the groundwork for a seamless transition as you navigate through the subsequent steps to delete an account from your headset.
In the next section, we will explore the subsequent steps involved in managing accounts on your Oculus headset, providing you with a comprehensive guide to deleting an account and refining your VR environment. Let's continue this journey to unlock the full potential of your Oculus headset and elevate your virtual reality experience.
Step 2: Selecting the Account Option
Once you have accessed the settings menu on your Oculus headset, the next crucial step in managing your accounts involves selecting the account option. This pivotal stage empowers you to navigate through the account settings, providing you with the ability to make informed decisions about the accounts associated with your VR device.
Upon entering the settings menu, you will encounter a range of options designed to streamline the customization and management of your Oculus headset. Among these options, the account settings hold significant importance, serving as the gateway to account management features. By selecting the account option, you gain access to a comprehensive overview of the accounts linked to your headset, laying the groundwork for efficient account management.
As you delve into the account settings, you will be presented with a list of accounts associated with your Oculus headset. This list may include primary accounts, secondary accounts, or any additional accounts that have been added to the device. Navigating through this list allows you to identify and select the specific account that you intend to delete, ensuring that you have full control over the accounts linked to your VR experience.
The process of selecting the account option is designed to provide users with a clear and intuitive interface, facilitating seamless navigation through the accounts associated with the Oculus headset. The user-friendly design ensures that you can effortlessly identify and choose the account that aligns with your account management goals, whether it involves removing an outdated account or streamlining your VR setup.
By selecting the account option, you take a significant step towards refining and personalizing your virtual reality experience. This stage empowers you to exercise control over the accounts linked to your Oculus headset, ensuring that your VR environment reflects your current preferences and usage patterns. As you proceed to the subsequent steps in deleting an account, the foundation laid by selecting the account option sets the stage for a streamlined and efficient account management process.
In the following sections, we will delve into the subsequent steps involved in managing accounts on your Oculus headset, guiding you through the process of deleting an account and refining your VR environment. Let's continue this journey to unlock the full potential of your Oculus headset and elevate your virtual reality experience.
Step 3: Choosing the Account to Delete
After accessing the account settings on your Oculus headset, the pivotal stage of choosing the account to delete sets the tone for efficient account management. This step empowers you to navigate through the list of accounts associated with your VR device, providing you with the ability to select the specific account that you intend to remove.
As you delve into the account settings, you will encounter a comprehensive overview of the accounts linked to your Oculus headset. This list may include primary accounts, secondary accounts, or any additional accounts that have been added to the device. Navigating through this list allows you to identify and choose the specific account that you wish to delete, aligning with your account management goals and ensuring a personalized VR experience.
Selecting the account to delete is a crucial decision that reflects your current usage patterns and preferences. Whether you're transitioning to a new account, consolidating multiple accounts, or simply removing an outdated account, this stage empowers you to exercise control over the accounts associated with your VR environment. The intuitive interface facilitates seamless navigation through the list of accounts, ensuring that you can confidently choose the account that aligns with your account management objectives.
By selecting the account to delete, you pave the way for a streamlined and personalized virtual reality experience. This decisive stage marks a significant milestone in managing your accounts on the Oculus headset, providing you with the autonomy to tailor your VR environment to your preferences. As you proceed to the subsequent steps in confirming the deletion, the foundation laid by choosing the account to delete sets the stage for a seamless and efficient account management process.
In the following sections, we will continue to guide you through the process of managing accounts on your Oculus headset, offering a comprehensive overview of the steps involved in deleting an account and refining your VR environment. Let's embark on this journey to unlock the full potential of your Oculus headset and elevate your virtual reality experience.
Step 4: Confirming the Deletion
Confirming the deletion of an account from your Oculus headset marks the final step in the process of managing your accounts. Once you have selected the specific account that you intend to remove, the confirmation stage provides you with the opportunity to validate this decision and execute the deletion with confidence.
Upon choosing the account to delete, the interface will prompt you to confirm the deletion. This confirmation step serves as a safeguard, ensuring that you have the opportunity to review your decision before finalizing the removal of the account from your VR device. The user-friendly interface is designed to facilitate a seamless confirmation process, allowing you to proceed with the deletion in a clear and informed manner.
When prompted to confirm the deletion, take a moment to verify that you have selected the correct account. This simple yet crucial verification step minimizes the risk of unintentionally removing the wrong account, providing you with the assurance that the deletion aligns with your account management goals. By attentively reviewing the account slated for deletion, you can proceed with confidence, knowing that your VR environment will reflect your updated preferences.
Once you have confirmed the deletion, the Oculus headset will execute the removal of the selected account, streamlining your VR environment and ensuring that your accounts are tailored to your current usage patterns. This seamless process reflects the user-centric design of the Oculus interface, prioritizing clarity and user control throughout the account management journey.
By confirming the deletion, you finalize the account management process, empowering you to maintain a personalized and efficient VR experience. As the deletion is executed, you can proceed with the confidence that your Oculus headset reflects your current account preferences, setting the stage for a seamless transition as you continue to explore the immersive world of virtual reality.
In the subsequent sections, we have provided a comprehensive guide to managing accounts on your Oculus headset, offering insights into the step-by-step process of deleting an account and refining your VR environment. With the deletion confirmed, you have successfully navigated through the account management journey, ensuring that your VR experience aligns with your current preferences and usage patterns.
Conclusion
In conclusion, mastering the art of managing accounts on your Oculus headset empowers you to maintain a personalized and efficient virtual reality experience. By delving into the step-by-step process of deleting an account from your headset, you have gained valuable insights into the seamless account management features offered by Oculus. From accessing the settings menu to confirming the deletion, each step is designed to prioritize user control and streamline the account management journey.
As technology continues to evolve, the ability to manage accounts directly from the headset represents a significant advancement in user-centric design. The intuitive interface and clear navigation options ensure that you can confidently navigate through the account settings, empowering you to tailor your VR environment to your preferences. Whether you're transitioning to a new account, consolidating multiple accounts, or simply refining your VR setup, the account management features on the Oculus headset provide the flexibility and autonomy needed to align your virtual reality experience with your current usage patterns.
By successfully navigating through the process of deleting an account, you have demonstrated a deep understanding of the account management capabilities offered by Oculus. This knowledge equips you with the confidence to maintain a streamlined and personalized VR environment, reflecting your updated preferences and usage patterns. As you continue to explore the immersive world of virtual reality, the ability to manage accounts directly from the headset will serve as a cornerstone in maintaining a tailored and efficient VR experience.
The seamless integration of account management features into the Oculus interface underscores the commitment to user empowerment and customization. As you embrace the evolving landscape of virtual reality, the knowledge gained from managing accounts on your Oculus headset positions you to make informed decisions about your VR environment, ensuring that it aligns with your current preferences and usage patterns.
In essence, the process of deleting an account from your Oculus headset represents a pivotal stage in the broader journey of managing accounts. By mastering this process, you have unlocked the full potential of your Oculus headset, setting the stage for a personalized, efficient, and seamless virtual reality experience. As you continue to explore the possibilities of VR, the ability to manage accounts directly from the headset will remain a valuable tool in maintaining a tailored and immersive VR environment.