Introduction
World of Warcraft (WoW) is a massively multiplayer online role-playing game (MMORPG) that has captivated millions of players around the world since its release in 2004. Developed by Blizzard Entertainment, WoW takes players on an epic journey through the fantasy world of Azeroth, where they can explore vast landscapes, engage in thrilling quests, and interact with a vibrant community of fellow adventurers.
Whether you’re a newcomer to the game or a returning player, one of the first steps to embarking on your WoW adventure is to download the game onto your computer. In this guide, we will walk you through the process of downloading WoW, from creating a Battle.net account to launching the game for the first time.
Before we delve into the step-by-step instructions, it’s important to ensure that your computer meets the system requirements to run WoW smoothly. The game is constantly evolving, and it’s essential to have a capable machine to enjoy the best gaming experience.
Now, let’s dive into the exciting world of WoW and discover how you can download this legendary game onto your computer.
System Requirements
Before you download World of Warcraft, it’s crucial to ensure that your computer meets the necessary system requirements. These requirements are designed to ensure smooth gameplay and optimal performance. Here are the minimum and recommended system specifications:
- Minimum Requirements:
- Operating System: Windows 7 64-bit or macOS 10.12 (Sierra) or later
- Processor: Intel Core i5-760 or AMD FX-8100 or higher
- Memory: 4 GB RAM (8 GB if using integrated graphics)
- Graphics: NVIDIA GeForce GTX 560 2GB or AMD Radeon HD 7850 2GB or Intel HD Graphics 530 (45W)
- Storage: 70 GB available space on HDD (SSD recommended)
- Internet: Broadband internet connection
- Recommended Requirements:
- Operating System: Windows 10 64-bit or macOS 10.15 (Catalina) or later
- Processor: Intel Core i7-4770 or AMD FX-8310 or higher
- Memory: 8 GB RAM or higher
- Graphics: NVIDIA GeForce GTX 960 4GB or AMD Radeon R9 280 or higher
- Storage: SSD with 70 GB available space
- Internet: Broadband internet connection
Note that these system requirements may vary depending on the expansions and updates released for World of Warcraft. It’s always a good idea to check for any additional requirements when downloading new content or expansions.
Having a system that meets or exceeds the recommended requirements will not only ensure smooth gameplay, but also allow you to enjoy the stunning graphics and immersive experience that WoW has to offer. Now that you have reviewed the system requirements, let’s move on to the step-by-step process of downloading WoW.
Step 1: Create a Battle.net Account
In order to download and play World of Warcraft, you need to have a Battle.net account. Battle.net is an online gaming platform developed by Blizzard Entertainment, which allows players to access and manage their Blizzard games, including WoW. Here’s how you can create a Battle.net account:
- Go to the official Battle.net website (www.battle.net) using your preferred web browser.
- Click on the “Create a Free Account” button, usually located at the top right corner of the homepage.
- You will be redirected to the account creation page. Fill in the required information, including your email address, password, and date of birth. Make sure to choose a strong and secure password.
- Agree to the terms of service and privacy policy by checking the respective boxes.
- Complete the reCAPTCHA verification to confirm that you are a human.
- Click on the “Create Account” button to proceed.
- Check your email inbox for a verification email from Blizzard. Click on the verification link provided in the email to confirm your Battle.net account.
Once you have successfully created your Battle.net account and verified your email, you are ready to move on to the next step: downloading the Battle.net Desktop App.
Creating a Battle.net account is a simple and straightforward process, and it allows you to access not only World of Warcraft but also other Blizzard games and additional features offered by Battle.net. Now that you have your account set up, let’s dive into the next step of the WoW download process.
Step 2: Download the Battle.net Desktop App
Once you have created your Battle.net account, the next step is to download the Battle.net Desktop App. This application serves as the central hub for managing and launching your Blizzard games, including World of Warcraft. Here’s how you can download the app:
- Open your preferred web browser and visit the official Battle.net website (www.battle.net).
- Click on the “Downloads” option in the top menu to access the download page.
- On the download page, you will see a button labeled “Download for Windows” or “Download for Mac,” depending on your operating system. Click on the appropriate button to start the download.
- Once the download is complete, locate the installer file on your computer (typically in your Downloads folder) and double-click on it to run the installer.
- Follow the on-screen instructions provided by the installer. You may need to grant permissions or allow the installation to proceed.
- The Battle.net Desktop App will now be installed on your computer. Once the installation is complete, the app should automatically launch.
By downloading the Battle.net Desktop App, you gain access to a convenient platform where you can manage and update your games, access the Blizzard Shop, join communities, and more. This app is the gateway to your World of Warcraft experience, so make sure to have it installed and ready for the next steps.
Now that you have successfully downloaded the Battle.net Desktop App, it’s time to move on to the next step: installing the application on your computer.
Step 3: Install the Battle.net Desktop App
Now that you have downloaded the Battle.net Desktop App, the next step is to install it on your computer. The installation process is straightforward and only takes a few simple steps. Here’s how you can install the Battle.net Desktop App:
- Locate the installer file that you downloaded in the previous step. It is typically located in your Downloads folder.
- Double-click on the installer file to run it.
- A security prompt may appear asking for your permission to continue the installation. Click “Yes” or “Allow” to proceed.
- Follow the on-screen instructions provided by the installer. You may be prompted to choose an installation location or customize the installation settings. Adjust the settings according to your preference.
- Click “Install” to begin the installation process.
- The installer will now extract and install the necessary files for the Battle.net Desktop App.
- Once the installation is complete, you may be asked to log in to your Battle.net account. Enter your account credentials and click “Log In.”
After logging in, you will have access to the Battle.net Desktop App, where all your Blizzard games, including World of Warcraft, can be conveniently managed and launched. The app will automatically update your games to the latest version, ensuring that you have the best gaming experience.
Now that you have successfully installed the Battle.net Desktop App, you are one step closer to diving into the world of World of Warcraft. The next step is to log in to the app and add World of Warcraft to your game library, which we will cover in the next section.
Step 4: Log in to the Battle.net Desktop App
Once you have installed the Battle.net Desktop App, the next step is to log in to your Battle.net account. Logging in to the app will grant you access to your game library, where you can download, update, and launch World of Warcraft. Here’s how you can log in to the Battle.net Desktop App:
- Open the Battle.net Desktop App on your computer. You can usually find it on your desktop or in your applications folder.
- On the login screen, enter your Battle.net account email address and password.
- Click the “Log In” button to proceed.
- If you have enabled two-factor authentication for your account, you may be prompted to enter the authentication code. Follow the on-screen instructions to complete the authentication process.
- Once you have successfully logged in, the Battle.net Desktop App will display your account information, including your game library.
Logging in to the Battle.net Desktop App is an essential step in accessing and managing your World of Warcraft experience. It ensures that you have the necessary permissions and credentials to download and play the game.
Now that you have logged in to the Battle.net Desktop App, the next step is to add World of Warcraft to your game library, which we will cover in the following section.
Step 5: Add World of Warcraft to your Game Library
After logging in to the Battle.net Desktop App, the next step is to add World of Warcraft to your game library. Adding WoW to your library will allow you to download and install the game onto your computer. Here’s how you can add World of Warcraft to your game library:
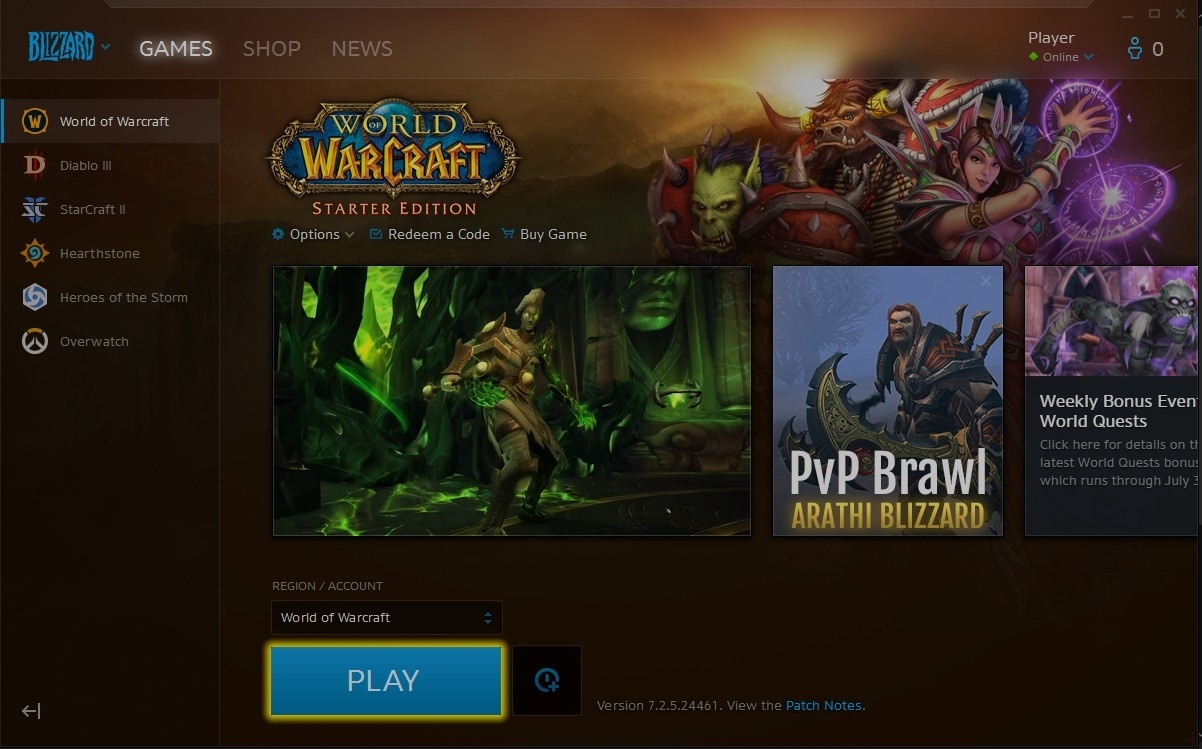
- In the Battle.net Desktop App, navigate to the “Games” tab located at the top of the app window.
- Click on the “World of Warcraft” icon or search for “World of Warcraft” in the search bar at the top of the app.
- Once you have selected World of Warcraft, you will be taken to its game details page.
- Click on the “Buy” or “Install” button, depending on the state of your account and whether you have purchased the game.
- If you already own World of Warcraft, click on the “Install” button to proceed. If you do not own the game, you can purchase it directly from the Battle.net Shop and then click on the “Install” button.
- Select the installation location on your computer and click “Continue” to start the download process. Once the download is complete, the game will be added to your game library.
By adding World of Warcraft to your game library, you gain access to the full game and all its associated content. Whether you are a new player or a returning adventurer, having WoW in your game library is a crucial step in experiencing the vast and immersive world of Azeroth.
Now that you have successfully added World of Warcraft to your game library, the next step is to download the game onto your computer, which we will cover in the following section.
Step 6: Download World of Warcraft
Now that you have added World of Warcraft to your game library, the next step is to download the game onto your computer. The download process may take some time, depending on your internet connection speed. Here’s how you can download World of Warcraft:
- In the Battle.net Desktop App, navigate to the “Games” tab located at the top of the app window.
- From the list of games in your library, select World of Warcraft.
- On the World of Warcraft game details page, click on the “Install” button if you haven’t done so already.
- Choose the installation location on your computer where you want to save the game files.
- Click “Continue” to start the download process. The Battle.net Desktop App will begin downloading the necessary files for World of Warcraft.
- During the download, you can monitor the progress in the Battle.net Desktop App. You can also pause and resume the download if needed.
- Once the download is complete, the Battle.net Desktop App will automatically begin the installation process.
It’s important to note that the download size of World of Warcraft can be quite large, especially with the inclusion of various expansions and updates. Make sure you have sufficient space on your computer and a stable internet connection to complete the download without interruptions.
Now that you have successfully downloaded World of Warcraft, the next step is to install the game onto your computer, which we will cover in the following section.
Step 7: Install World of Warcraft
After successfully downloading World of Warcraft, the next step is to install the game onto your computer. The installation process will finalize the game files and prepare it for gameplay. Here’s how you can install World of Warcraft:
- Once the download is complete, the Battle.net Desktop App will automatically begin the installation process for World of Warcraft.
- Follow the on-screen prompts and instructions provided by the installer.
- Read and accept the End User License Agreement (EULA) to continue the installation.
- Choose the installation location on your computer where you want to install World of Warcraft.
- Click “Install” to start the installation process. The Battle.net Desktop App will extract the necessary files and install World of Warcraft.
- The installation progress will be displayed on the Battle.net Desktop App. Depending on your computer’s speed and the complexity of the game files, this process may take some time.
- Once the installation is complete, you will receive a notification indicating that World of Warcraft is ready to be played.
It’s essential to ensure that you have sufficient disk space on your computer to accommodate World of Warcraft’s installation. The game files, along with any additional expansions or updates, can occupy a significant amount of space.
Now that you have successfully installed World of Warcraft, the final step is to launch the game and start your epic adventure in the world of Azeroth, which we will cover in the next section.
Step 8: Launch World of Warcraft
After the successful installation of World of Warcraft, it’s time to launch the game and begin your journey in the mystical realms of Azeroth. Here’s how you can launch World of Warcraft:
- Open the Battle.net Desktop App on your computer.
- Click on the “Games” tab located at the top of the app window.
- Locate World of Warcraft in your game library and click on it.
- On the World of Warcraft game details page, click on the “Play” button.
- The Battle.net Desktop App will initiate the launch process, and the World of Warcraft game client will open.
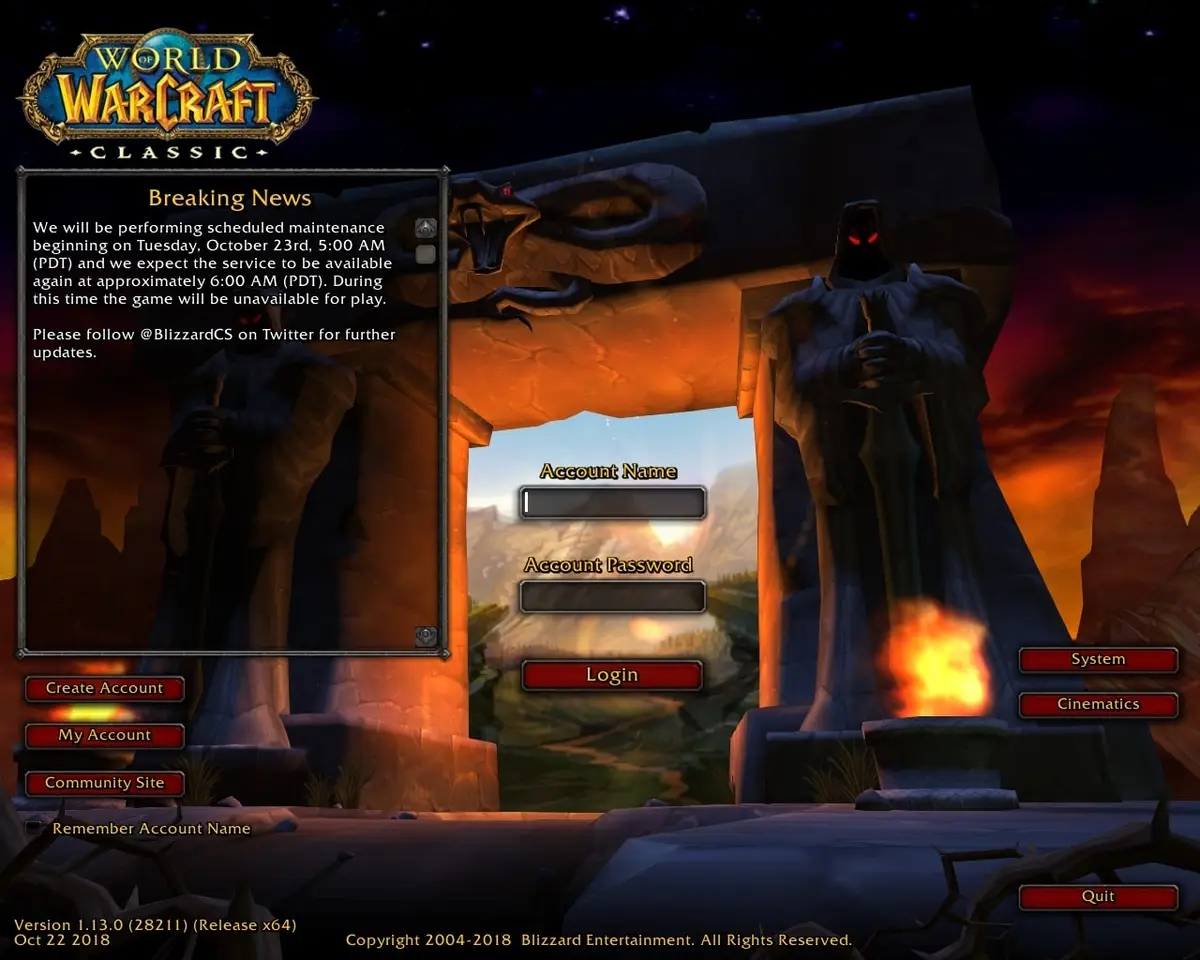
- Enter your account credentials when prompted to log in to the game.
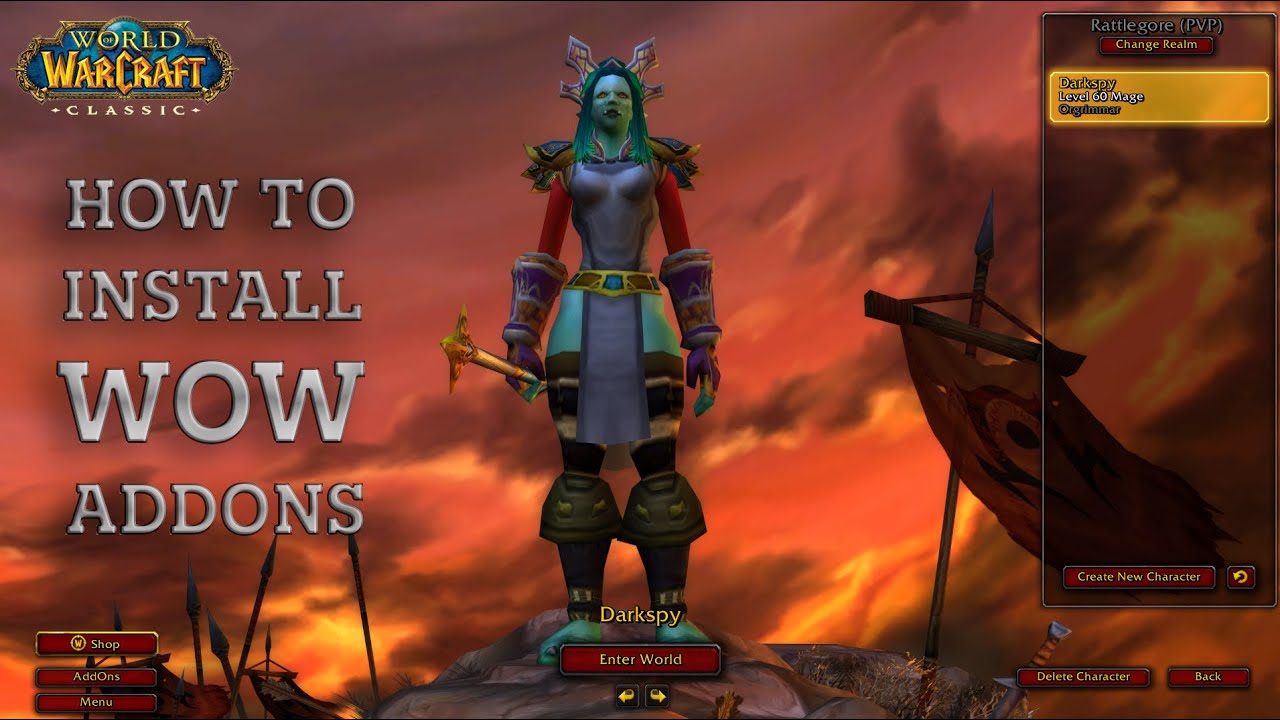
- Select your desired realm and create a character to begin your adventure.
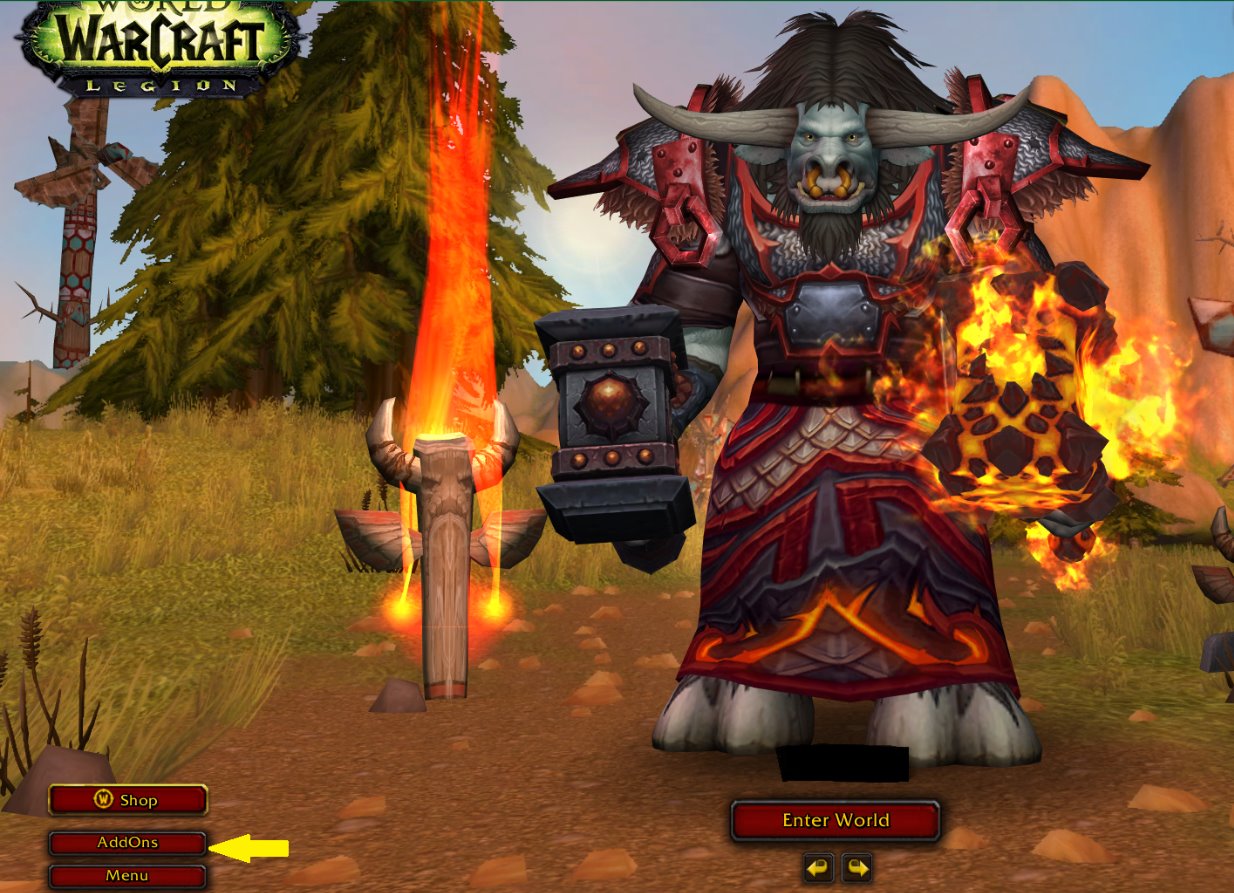
- Once your character is created, the game will load the selected realm, and you will find yourself in the vast and detailed world of Azeroth.
With World of Warcraft launched, you are now ready to explore the rich lore, undertake epic quests, battle fearsome creatures, and interact with a thriving community of players. Immerse yourself in this immersive and ever-evolving virtual world.
Remember to keep your Battle.net Desktop App updated to ensure you have access to the latest patches, expansions, and features for World of Warcraft.
Now that you have successfully launched World of Warcraft, it’s time to embark on your epic adventure and make your mark in the world of Azeroth. Enjoy your time in this captivating MMORPG and let the adventure begin!
Conclusion
Congratulations! You have successfully navigated through the process of downloading and installing World of Warcraft. By following these step-by-step instructions, you are now ready to embark on your thrilling adventure in the vast world of Azeroth. Here’s a recap of the steps:
- Create a Battle.net account to gain access to the Blizzard gaming platform.
- Download the Battle.net Desktop App, which serves as your central hub for managing Blizzard games.
- Install the Battle.net Desktop App on your computer.
- Log in to your Battle.net account within the app.
- Add World of Warcraft to your game library.
- Download World of Warcraft using the Battle.net Desktop App.
- Install World of Warcraft onto your computer.
- Launch World of Warcraft and begin your epic journey in Azeroth.
As you delve into the world of World of Warcraft, remember to immerse yourself in its rich lore, engage with its vibrant community, and embark on thrilling quests alongside fellow adventurers. Explore the vast landscapes, undertake epic battles, and build your own story within this legendary MMORPG.
Keep in mind that World of Warcraft is constantly evolving, with new expansions, updates, and content being added regularly. It’s important to stay connected to the Battle.net Desktop App to ensure you have access to the latest features and improvements.
Now, gather your courage, sharpen your swords, and embark on the epic adventure that awaits you in World of Warcraft. May your journey be filled with excitement, camaraderie, and unforgettable experiences in the fantastical realm of Azeroth!


