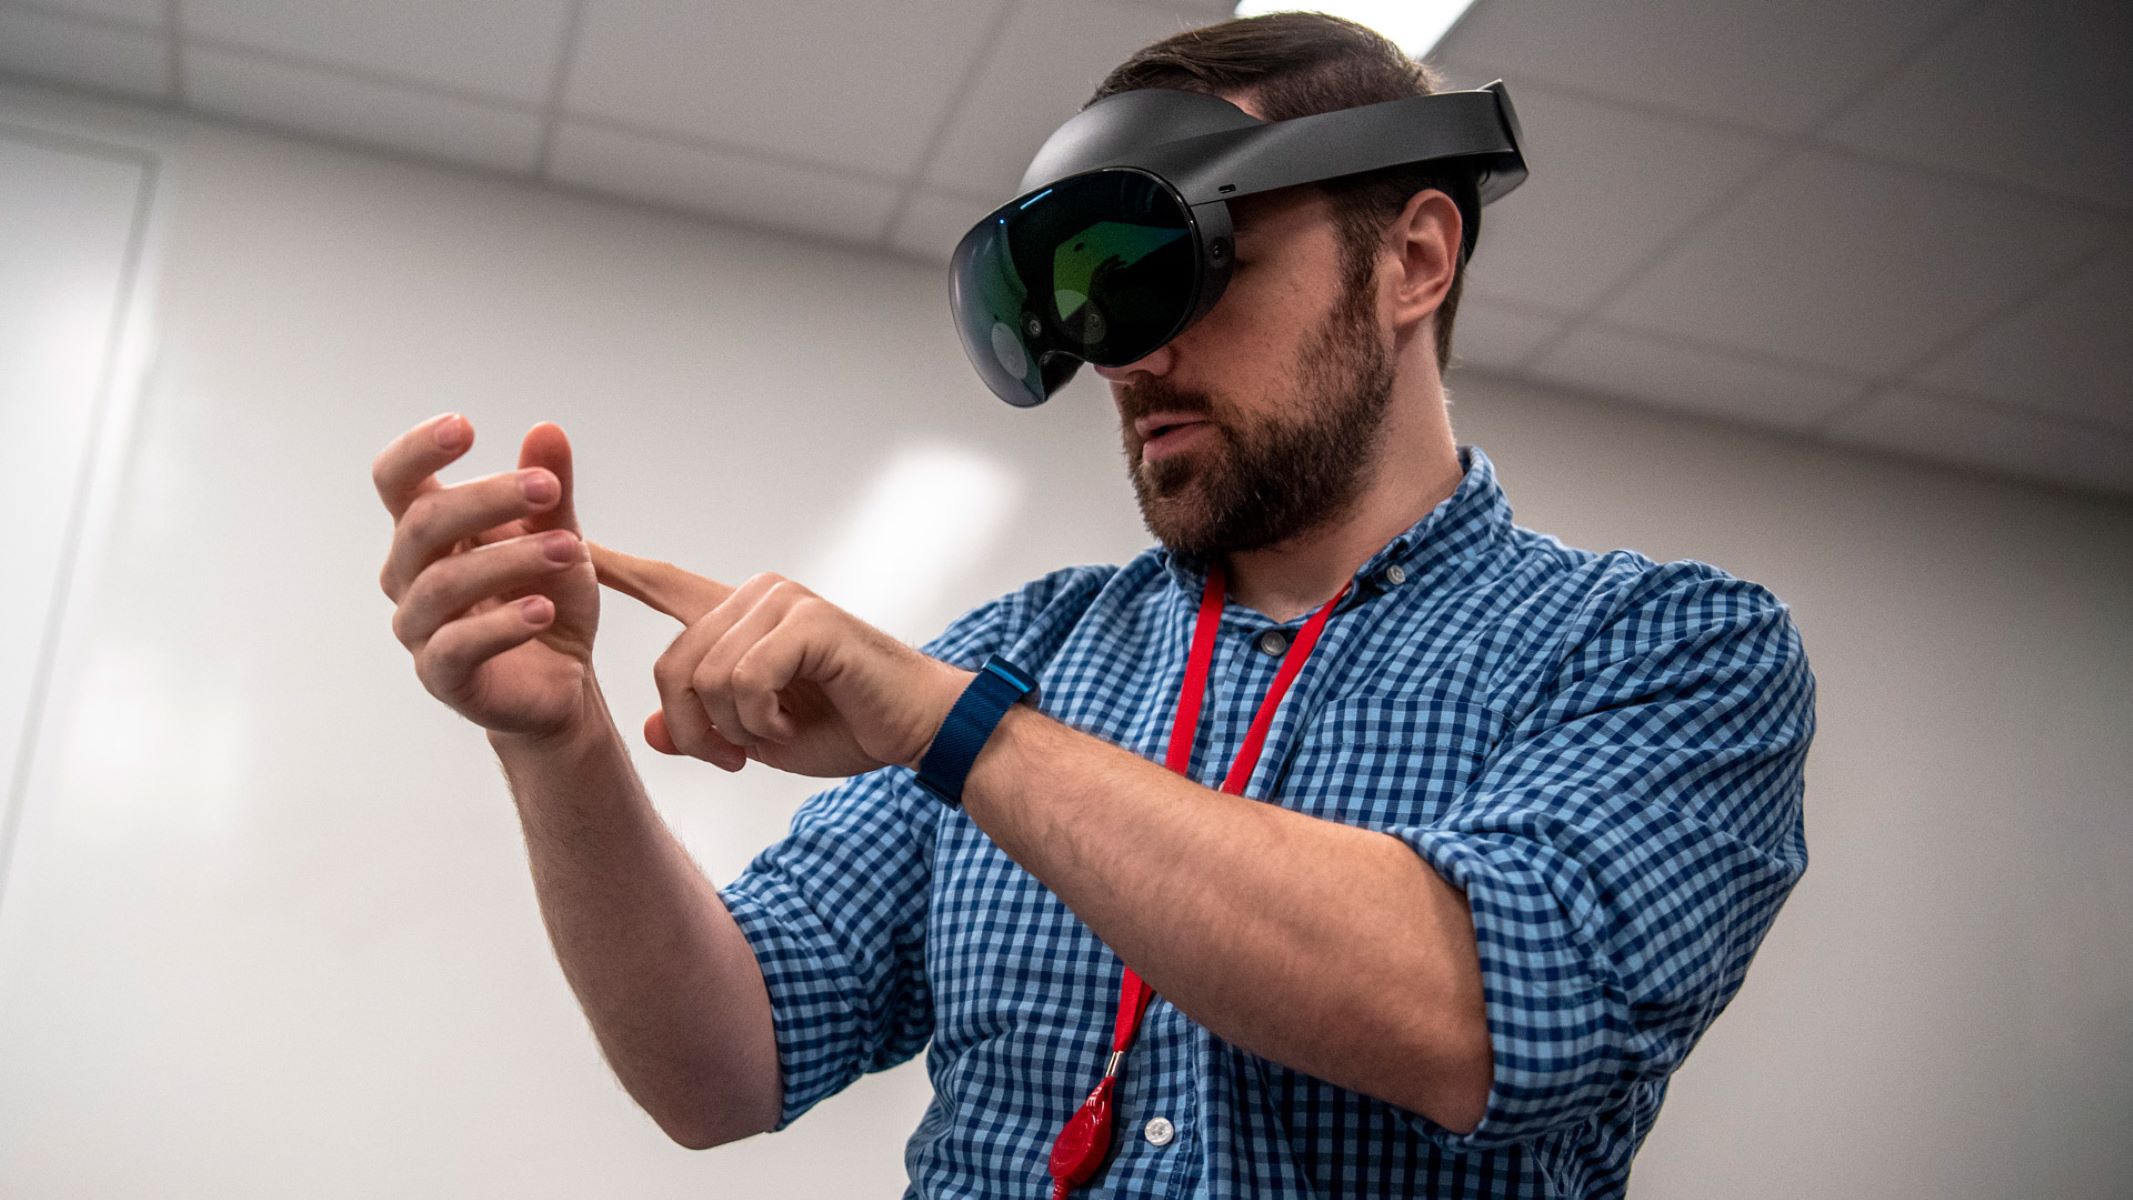
Overview of VR Chat Avatars
VR Chat is a virtual reality social platform that allows users to interact with others in a virtual environment. One of the key features of VR Chat is the ability to customize your avatar, allowing you to express your unique identity and enhance your virtual social interactions. In this article, we will guide you through the process of downloading VR Chat avatars, so you can find the perfect digital representation of yourself.
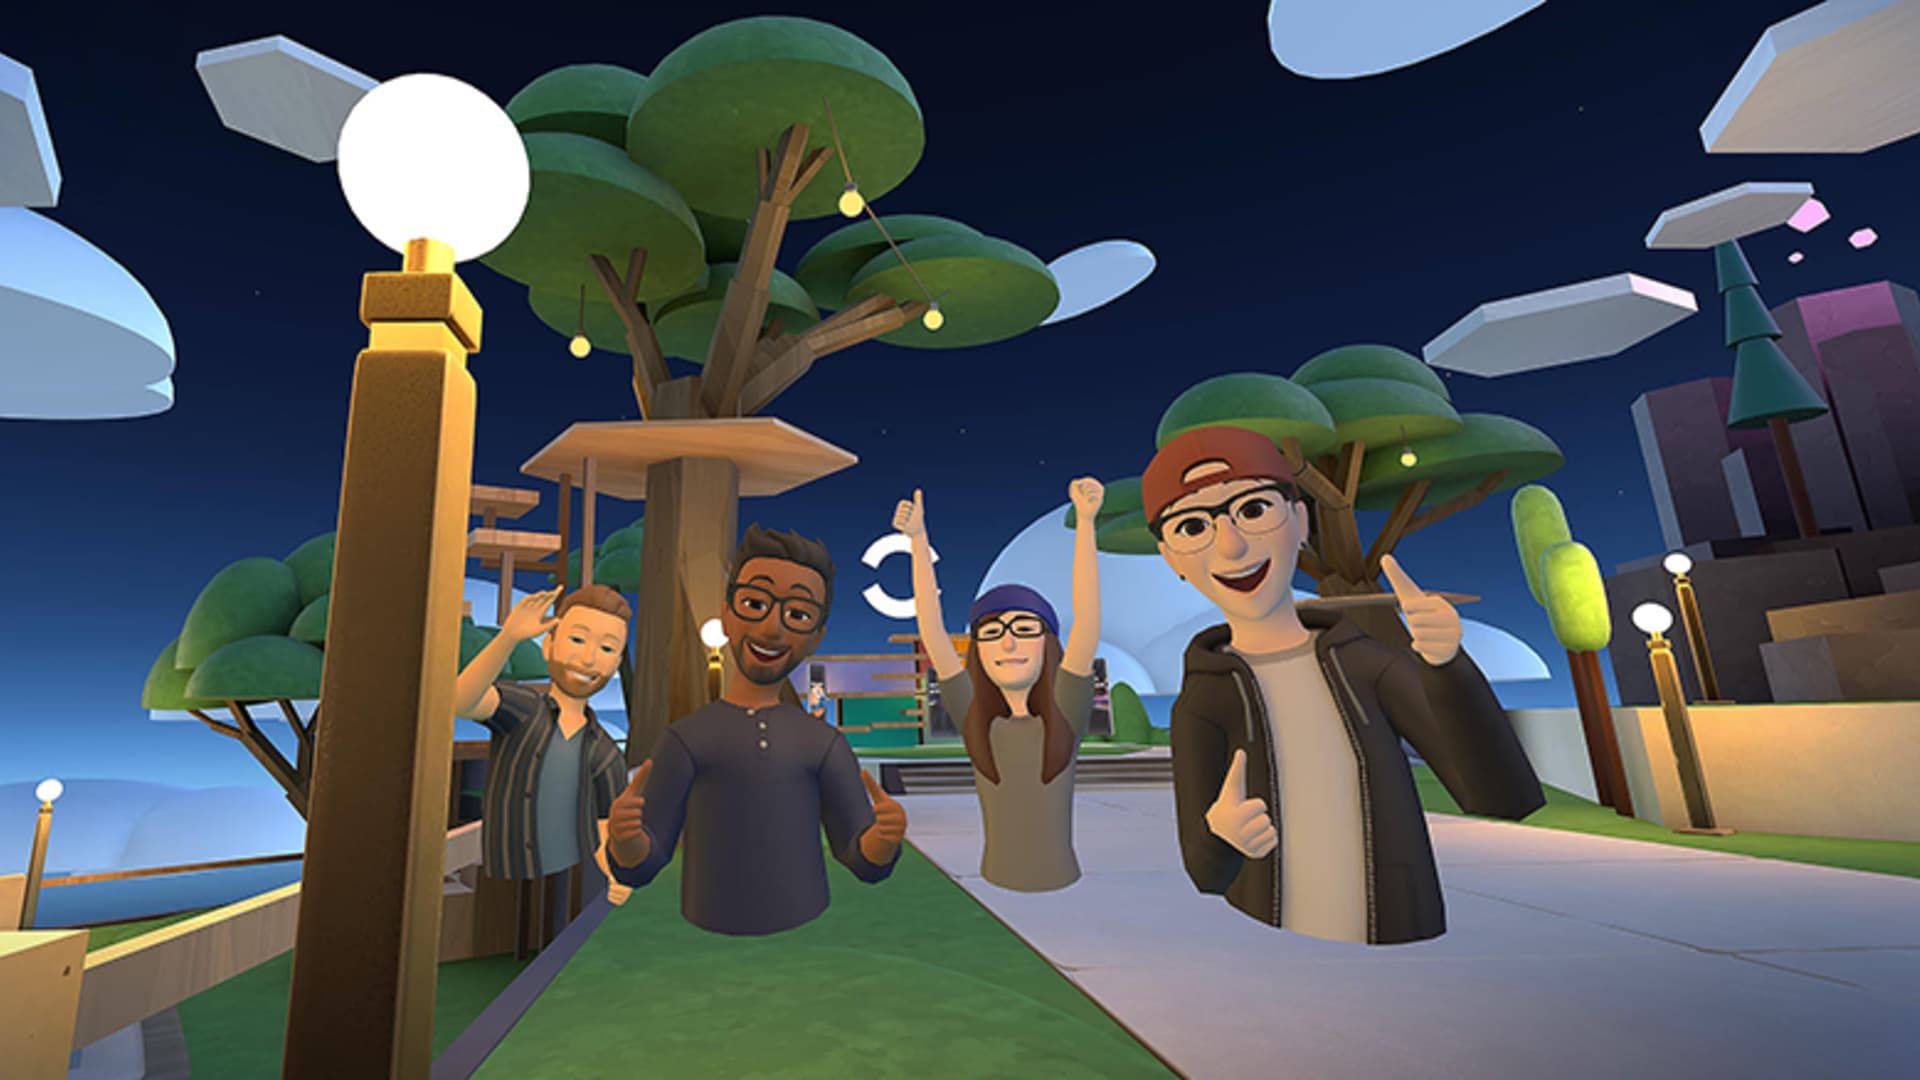
Creating a VR Chat avatar is an exciting and creative endeavor that enables you to immerse yourself fully in the virtual world. Avatars are virtual characters that users can select to represent themselves in VR Chat. They can be anything from humans to animals, fictional creatures, or even inanimate objects. With a vast and diverse community, VR Chat offers an extensive range of avatars to choose from, catering to all preferences and styles.
The process of downloading and using VR Chat avatars involves a few simple steps. First, you will need to create a VR Chat account if you don’t already have one. This requires filling out some basic information and agreeing to the platform’s terms and conditions. Once your account is set up, you can dive into the world of avatars.
In VR Chat, avatars are organized into different worlds, which are essentially virtual environments where users can interact and explore. These worlds can be accessed through a built-in browser within the VR Chat interface. Simply browse through the available worlds, and you’ll find a plethora of options for avatars to choose from.
When you come across an avatar that catches your eye, you can download it to use in VR Chat. The process of downloading an avatar is as simple as clicking on the download button associated with the specific avatar. The avatar will then be saved to your computer or device.
Once the avatar is downloaded, the next step is to import it into VR Chat. This involves launching the VR Chat application and navigating to the Avatar menu. From there, you can select the “Import” option and browse for the downloaded avatar file on your computer or device. Upon successful import, your new avatar will be available for you to use in VR Chat.
After importing the avatar, you have the option to further customize it to your liking. VR Chat provides various tools and options to tweak and modify your avatar’s appearance. You can change colors, textures, clothing, accessories, and even add animations to make your avatar truly unique.
Once you have customized your avatar to your satisfaction, it’s time to put it to the test. Enter a VR Chat world, interact with other users, and see how your avatar performs in the virtual social environment. Engage in conversations, join activities, and let your avatar become an extension of your personality.
In the following sections, we will delve deeper into the step-by-step process of creating, downloading, importing, and customizing VR Chat avatars. We will also address common issues that may arise during the process and offer troubleshooting tips to ensure a smooth experience.
Step 1: Create a VR Chat Account
Before you can begin downloading and using VR Chat avatars, you’ll need to create a VR Chat account. Follow these steps to get started:
1. Visit the VR Chat website: Go to the official VR Chat website using your preferred web browser.
2. Click on “Sign Up”: Look for the “Sign Up” button or link on the website’s homepage and click on it.
3. Fill out the registration form: You will be presented with a registration form that requires you to provide some basic information. This typically includes a username, email address, and password. Fill in the required fields with accurate information.
4. Agree to the terms and conditions: Read through the terms and conditions of VR Chat and check the box indicating that you agree to them. It’s important to familiarize yourself with the rules and guidelines of VR Chat to ensure a positive and respectful experience within the virtual community.
5. Complete the Captcha: Some registration forms may include a Captcha verification to prevent automated registrations. Follow the instructions provided to complete the Captcha.
6. Submit your registration: Once you have filled in all the required information and agreed to the terms and conditions, click on the “Register” or “Sign Up” button to submit your registration.
7. Verify your email: After submitting your registration, check your email inbox for a verification message from VR Chat. Open the email and click on the verification link provided to confirm your account. Note that this step may not be necessary for all users or under certain circumstances.
8. Log in to your account: Return to the VR Chat website and click on the “Log In” button or link. Enter your username and password to access your account.
Congratulations! You have successfully created a VR Chat account. Now, you’re ready to explore the world of VR Chat avatars and immerse yourself in the virtual reality social platform.
It’s important to note that VR Chat requires users to abide by certain community guidelines to ensure a safe and inclusive environment for everyone. Be respectful to others, follow the platform’s rules, and engage in positive interactions with fellow users. With your account set up, you can now move on to the next steps of discovering, downloading, and using VR Chat avatars.
Step 2: Understand the Avatar System in VR Chat
Before diving into the world of VR Chat avatars, it’s essential to understand how the avatar system works within the platform. This knowledge will help you navigate through the vast selection of avatars and make informed decisions when choosing your virtual representation. Here’s what you need to know:
1. Avatar Categories: VR Chat offers a wide range of avatar categories to suit different preferences and styles. These categories can include humans, animals, fantasy creatures, robots, objects, and more. Exploring the various categories will give you an idea of the diverse options available for personalizing your avatar.
2. Avatar Rigs: Each VR Chat avatar is equipped with a rig, which is essentially a set of bones and controls that enable the avatar to move, animate, and interact with the virtual environment. Understanding avatar rigs is crucial when customizing your avatar or troubleshooting any issues related to movement or animations.
3. Custom Avatars: VR Chat allows users to create and upload their custom avatars. This means that you may come across avatars that have been uniquely designed by other users within the VR Chat community. Custom avatars can be a great way to express your creativity and stand out from the crowd.
4. Optimization and Performance: When selecting an avatar, it’s important to consider its optimization and performance. Some avatars may be more complex in terms of visual details, animations, or particle effects, which can impact the performance of your VR Chat experience. Keep this in mind to ensure smooth interactions with other users and a seamless virtual reality experience.
5. Avatar Compatibility: VR Chat supports different types of avatar formats, such as FBX and Unity packages. It’s crucial to ensure that the avatar you download or create is in a compatible format, as this will affect its successful importation into VR Chat and its overall functionality within the platform.
6. VR Compatibility: While VR Chat is accessible via desktop, virtual reality headsets offer a more immersive experience. Certain avatars are specifically designed for VR users and may include additional features or interactability that can only be experienced through virtual reality equipment. Make sure to check if an avatar is VR compatible if you plan to use it with a headset.
By understanding these crucial components of the VR Chat avatar system, you will be well-equipped to navigate through the vast selection of avatars, customize them to your liking, and engage in meaningful social interactions within the virtual reality world.
Now that you have a solid understanding of the avatar system in VR Chat, it’s time to move on to the next step: exploring VR Chat avatar worlds and finding the perfect avatar for yourself.
Step 3: Explore VR Chat Avatar Worlds
Now that you have a VR Chat account and understand the basic aspects of the avatar system, it’s time to embark on a journey of exploration. VR Chat offers a vast array of avatar worlds to discover, each with its own unique selection of avatars. Follow these steps to explore VR Chat avatar worlds:
1. Launch VR Chat: Open the VR Chat application on your computer or VR headset. Log in using your VR Chat account credentials.
2. Access the World Browser: Once you’re logged in, you can access the World Browser. This is where you’ll find a wide range of virtual environments created by users. The World Browser is typically located in the main menu of the VR Chat interface.
3. Browse through Worlds: In the World Browser, you’ll find a variety of worlds categorized by different themes and interests. Explore the worlds that catch your attention and pique your curiosity. Some worlds may specifically advertise themselves as avatar worlds, indicating a rich selection of avatars to try.
4. Visit Avatar Hub Worlds: Avatar Hub Worlds are specifically designed to showcase a vast collection of avatars. These worlds often have portals or mirrors that allow you to try on different avatars before making a selection. Take your time to browse through the avatars available and see which ones resonate with you.
5. Use the Search Function: If you have a specific type of avatar in mind, you can use the search function within the World Browser to narrow down your options. Simply enter relevant keywords, such as “cat avatar” or “anime avatar,” and explore the worlds that match your search criteria.
6. Interact with Other Users: While exploring avatar worlds, don’t hesitate to strike up conversations and interact with other VR Chat users. They may have valuable recommendations or tips on finding the best avatars or hidden gem worlds. Engaging with the community can enhance your VR Chat experience and broaden your avatar choices.
7. Take Note of Favorited Worlds: As you explore various avatar worlds, you may come across worlds that particularly captivate you or offer a remarkable selection of avatars. Make sure to favorite these worlds, as they will be easily accessible in the future for you and other VR Chat users.
Remember, the process of exploring avatar worlds in VR Chat is an ongoing adventure. Keep an open mind and be willing to try out different worlds and avatars. Don’t be afraid to switch things up and experiment with different personas. The virtual environment of VR Chat is designed to foster creativity and self-expression, so embrace the opportunity to step into various avatars and explore the infinite possibilities.
Now that you’re well-equipped to explore VR Chat avatar worlds, let’s move on to the next step: finding an avatar that resonates with you.
Step 4: Find an Avatar You Like
As you delve into the immersive world of VR Chat avatar exploration, the next step is to find an avatar that truly speaks to you. With a vast selection available, ranging from humans to fantasy creatures and everything in between, there’s an avatar out there for everyone. Follow these steps to find an avatar that you’ll love:
1. Consider Your Preference: Think about the type of avatar you want to portray in VR Chat. Do you want to be a realistic human, an adorable animal, or a fantastical creature? Understanding your personal preference will make it easier to narrow down your search and find the perfect avatar.
2. Explore Avatar Worlds: Visit different avatar worlds within VR Chat and take your time to browse through the available options. Look for worlds that align with your preferred category or theme. Keep an open mind and explore worlds that may not typically be your style – you never know what hidden gems you might find!
3. Try on Avatars: In VR Chat, many avatar worlds provide the opportunity to try on avatars before downloading them. Take advantage of this feature by stepping into different avatars and seeing how they feel. Pay attention to the details, animations, and movements of each avatar to gauge their appeal.
4. Get Feedback from Others: While trying on avatars, don’t hesitate to seek feedback from other VR Chat users. Engage in conversations, ask for opinions, and listen to what others have to say about the avatars you’re considering. Feedback from the community can help you gain valuable insights and perspectives.
5. Customize Your Avatar: Keep in mind that you can customize and personalize avatars to suit your preferences. If you find an avatar that you like but want to make a few modifications, consider learning how to customize it by changing colors, textures, or adding accessories. This way, you can truly make the avatar your own.
6. Take Your Time: Finding the perfect avatar may require some exploration and trial and error. Don’t rush the process. Take your time to experiment with different avatars, visit various avatar worlds, and try on different personas. Enjoy the journey of discovering an avatar that resonates with your personality.
Remember, your VR Chat avatar is an extension of yourself in the virtual world. It’s an opportunity to express your creativity and individuality. Allow yourself to be inspired and embrace the limitless possibilities that VR Chat offers for avatar customization.
Now that you know how to find an avatar you like, let’s move on to the next step: downloading the avatar onto your device.
Step 5: Downloading an Avatar
Once you’ve found the perfect avatar in VR Chat, it’s time to download it and make it your own. Follow these simple steps to download an avatar:
1. Locate the Download Button: In the avatar world or portal, you’ll typically find a download button associated with each avatar. Look for this button, which is often located near the avatar or its description.
2. Click on the Download Button: Once you’ve found the download button, click on it to initiate the download process. This will save the avatar file to your computer or device. Depending on your internet speed and the size of the avatar, this process may take a few moments.
3. Choose the Download Location: When prompted, choose a location on your computer or device where you want to save the downloaded avatar file. Select a location that is easily accessible and memorable for future steps.
4. Name the Avatar File (if applicable): Some avatar worlds allow you to customize the name of the downloaded avatar file. If given the option, choose a name that reflects the avatar’s identity or something that helps you remember its specific features.
5. Wait for the Download to Complete: Allow the download process to complete. This may involve waiting for the file to fully transfer from the internet to your computer or device. Depending on your internet connection, this can take varying amounts of time.
6. Check the Downloaded File: Once the download is complete, navigate to the location where you saved the avatar file. Double-check that the file has been successfully downloaded and is undamaged. You should see the avatar file with the correct extension (such as .fbx or .unitypackage).
That’s it – you have successfully downloaded your chosen avatar from VR Chat! Now you’re one step closer to embodying your virtual persona in the VR Chat community.
Remember, it’s essential to download avatars from trusted sources within VR Chat to ensure their authenticity and integrity. Be cautious of downloading avatars from unknown or unreliable sources, as they may contain malicious software or be incompatible with the platform. Stick to avatar worlds that are well-regarded and have positive feedback from the community.
Now that you have the avatar file downloaded, it’s time to move on to the next step: importing the avatar into VR Chat.
Step 6: Importing the Avatar into VR Chat
Now that you have successfully downloaded the avatar file onto your computer or device, the next step is to import it into VR Chat. Follow these steps to import the avatar:
1. Launch VR Chat: Open the VR Chat application on your computer or VR headset. Log in using your VR Chat account credentials.
2. Access the Avatar Menu: Once you’re logged in, navigate to the main menu of VR Chat. Look for the “Avatar” option, which is usually located on the top or side of the menu. Click on the “Avatar” option to access the avatar settings.
3. Select “Import” or “My Avatars”: Within the avatar settings, you will find an option labeled “Import” or “My Avatars.” Click on this option to enter the avatar import interface.
4. Browse for the Avatar File: In the avatar import interface, you will see a browsing option to search for the downloaded avatar file. Click on this option to open the file explorer on your computer or device.
5. Locate and Select the Avatar File: In the file explorer, navigate to the location where you saved the downloaded avatar file. Select the file by clicking on it or highlighting it, and then click on “Open” or “Select” to initiate the import process.
6. Wait for the Import to Complete: Once you have selected the avatar file, VR Chat will begin the import process. This involves transferring the avatar from your computer or device into the VR Chat system. Depending on the size of the avatar file, this may take a few moments.
7. Verify Successful Import: After the import process is complete, VR Chat will provide a notification or message indicating the successful importation of the avatar. You should be able to see the newly imported avatar in your list of available avatars within the VR Chat avatar settings.
8. Choose and Save the Imported Avatar: From the list of available avatars, locate and select the newly imported avatar that you want to use. Once you have chosen the avatar, click on the “Save” or “Apply” button within the avatar settings to set it as your active avatar in the VR Chat environment.
Congratulations! You have successfully imported the downloaded avatar into VR Chat. Now you can fully embody and interact with the virtual world as your chosen avatar.
It’s important to note that not all avatars may be compatible with VR Chat or may require additional adjustments or settings. In some cases, certain avatars may not function as expected or may cause performance issues. If you encounter any difficulties with the imported avatar, refer to the VR Chat community or support resources for troubleshooting assistance.
With your new avatar imported, it’s time to move on to the next step: customizing your avatar to make it truly unique.
Step 7: Customizing Your Avatar
Now that you have imported your chosen avatar into VR Chat, it’s time to make it truly your own by customizing its appearance. Customization allows you to add personal touches and unique features that reflect your individual style. Follow these steps to customize your VR Chat avatar:
1. Access the Avatar Settings: Launch VR Chat and log in using your account credentials. Once logged in, navigate to the main menu and locate the “Avatar” option. Click on it to access the avatar settings.
2. Select Your Imported Avatar: Within the avatar settings, you will find a list of available avatars. Locate and select the imported avatar that you want to customize. This will allow you to modify its appearance and features.
3. Explore Customization Options: VR Chat offers a range of customization options to personalize your avatar. These options may include changing colors, textures, clothing, hairstyles, accessories, and more. Take your time to explore and experiment with the available customization options.
4. Modify Appearance: Depending on the avatar, you may have the ability to change its appearance, such as adjusting skin tone, eye color, or hair style. Experiment with different combinations to find the look that suits you best. Make sure to save your changes after each modification.
5. Add Accessories: Enhance your avatar by adding accessories such as hats, glasses, jewelry, or other decorative elements. These accessories can further emphasize your personal style and make your avatar stand out in VR Chat.
6. Incorporate Animations: Some avatars come with pre-built animations or gestures that can add personality to your virtual representation. Explore the animation options within the avatar settings and assign them to different gestures or actions, such as waving, dancing, or sitting.
7. Test and Adjust: After making customizations, test your avatar in different environments and with other users. Pay attention to how it looks and moves. If something doesn’t feel right or if there are issues with animations, go back to the customization settings and make further adjustments as needed.
Remember, customization is a creative process, and there are no limits to what you can do to make your avatar unique. Let your imagination run wild and have fun experimenting with different combinations of appearance, accessories, and animations.
It’s essential to ensure that any customizations you make are compatible with the avatar’s rig and don’t negatively impact performance. If you experience any issues or want to delve deeper into customization options, consult the VR Chat community resources or seek guidance from experienced users.
Now that you have customized your avatar to your liking, let’s move on to the next step in the process: testing your avatar to see it in action within VR Chat.
Step 8: Testing Your Avatar
After customizing your avatar in VR Chat, it’s important to test it to ensure that it looks and performs as expected within the virtual environment. Follow these steps to test your avatar:
1. Select Your Customized Avatar: Launch VR Chat and log in using your account credentials. Access the avatar settings and choose the customized avatar that you want to test.
2. Enter a VR Chat World: Explore the various available worlds within VR Chat and choose one to enter. This will allow you to interact with other users and see how your avatar performs in different environments.
3. Observe its Appearance: Take a moment to evaluate how your customized avatar looks to you and others. Check if the appearance modifications you made are accurately reflected in the VR Chat world. Pay attention to details such as color, texture, and any added accessories.
4. Interact with Others: Engage in conversations and interactions with other VR Chat users. This will give you a chance to test how your avatar moves, gestures, and reacts to different social situations. Observe its animations and ensure they align with your intentions.
5. Test Avatar Gestures: Experiment with the different gestures and animations that you assigned to your avatar. Wave, dance, sit, or perform other actions to see how your customized avatar responds. Verify that the assigned animations are functioning properly and are in sync with your avatar’s movements.
6. Solicit Feedback: Whenever possible, seek feedback from other VR Chat users about your customized avatar. Ask for their opinions on the appearance, animations, and overall performance of your avatar. Their feedback can be valuable in identifying any areas for improvement.
7. Troubleshoot Issues: If you encounter any issues or inconsistencies with your avatar’s appearance or performance, try to identify the source of the problem. Check the VR Chat community resources or forums for troubleshooting tips or ask experienced users for assistance in resolving any issues you may encounter.
Remember that testing your avatar is an ongoing process. It may take a few iterations to fine-tune and perfect your customized avatar. Don’t hesitate to make additional adjustments based on your observations and feedback from others.
By testing your customized avatar, you can ensure that it accurately represents your desired appearance and performs smoothly in VR Chat. Enjoy the process of seeing your unique virtual identity come to life and engage in memorable social interactions in the vibrant VR Chat community.
Now that you have successfully tested your avatar, it’s time to tackle the next step: troubleshooting and addressing any common issues that may arise during the avatar customization process.
Step 9: Troubleshooting and Common Issues
While customizing and using avatars in VR Chat, you may encounter certain issues or challenges. Understanding how to troubleshoot common problems can help you overcome any obstacles that may arise. Follow these steps to troubleshoot and address common issues:
1. Performance Issues: If you notice that your avatar is causing performance issues, such as lag or stuttering, it may be due to the complexity of the model or excessive use of animations. Consider simplifying the avatar by reducing polygon count, removing unnecessary accessories, or optimizing animations.
2. Misaligned or Distorted Appearance: If you find that your avatar appears misaligned or distorted in VR Chat, it could be due to an incorrect rig setup or a mismatch between the avatar’s rig and the VR Chat system. Try re-importing the avatar and ensure that the components of the avatar are properly aligned and assigned.
3. Animation Problems: If you encounter issues with your avatar animations, such as jerky movements or animations not triggering correctly, it may be due to rigging or animation configuration errors. Check the rig setup and the animation controllers to ensure they are properly set up and functioning as intended.
4. Clipping or Collision Issues: Clipping occurs when an avatar’s body or clothing intersects or goes through other objects or avatars in the virtual environment. This can be resolved by adjusting collider settings, modifying the avatar’s mesh, or using additional layers to prevent objects from intersecting.
5. Incompatible Avatar Formats: Not all avatar formats are compatible with VR Chat. If you encounter an issue with importing or using an avatar, verify that the file format is supported. Convert the avatar file to a compatible format if necessary, such as FBX or Unity package.
6. Syncing Issues in Multiplayer: When using avatars in multiplayer scenarios, minor syncing issues can occur, causing avatars to appear out of sync with each other or the environment. This is often due to network latency or performance limitations. Unfortunately, complete synchronization between avatars in VR Chat may not always be feasible.
7. Check VR Chat Updates: VR Chat regularly releases updates to improve performance, fix bugs, and introduce new features. If you encounter issues with your avatar, make sure that you are using the latest version of VR Chat. Check for updates and install them as necessary to ensure compatibility and optimal performance.
8. Community Resources: VR Chat has a strong and supportive community. If you’re experiencing issues, chances are others have encountered similar problems. Consult community resources such as forums, social media groups, or online tutorials. Experienced users can often provide valuable insights and assistance in troubleshooting common avatar-related issues.
Remember that troubleshooting can require patience and experimentation. Try different solutions, and don’t hesitate to seek help from the VR Chat community if you’re unsure about how to resolve a particular issue. By addressing common problems as they arise, you can ensure a smoother and more enjoyable experience with your customized avatar in VR Chat.
With the troubleshooting steps in mind, let’s move on to the final step: enjoying and having fun with your newly customized avatar!
Step 10: Have Fun with Your New Avatar!
Congratulations! You have successfully gone through the process of downloading, customizing, and testing your avatar in VR Chat. Now, it’s time to unleash your creativity and fully enjoy the immersive experience of interacting with others in the virtual world with your new avatar. Here are some tips to have fun with your avatar:
1. Join Avatar Events: VR Chat hosts various avatar-themed events where users can showcase their unique avatars and engage in avatar-specific activities. Keep an eye out for these events and participate to connect with other avatar enthusiasts and immerse yourself in the vibrant avatar community.
2. Explore Different Worlds: VR Chat offers a multitude of worlds to explore, each with its own unique experiences and social interactions. Visit different worlds to meet new people, engage in exciting activities, and discover new ways to interact with your avatar.
3. Strike Up Conversations: Don’t be shy! Use your avatar as a conversation starter. Engage with other users, strike up conversations, and make new friends. Let your personality shine through your avatar’s actions and expressions to create memorable social experiences in the virtual world.
4. Attend VR Chat Meetups: Join VR Chat meetups or gatherings where users come together to socialize, explore worlds, and show off their avatars. It’s a fantastic opportunity to meet like-minded individuals, exchange ideas, and get inspiration for further avatar customization.
5. Create or Join Role-Playing Groups: If you enjoy immersing yourself in a specific role or storyline, consider joining or creating role-playing groups within VR Chat. Collaborate with others to create interactive role-playing experiences, allowing your avatar to become part of an engaging narrative.
6. Showcase Your Customizations: Take pride in your avatar customizations and show them off. Share screenshots or videos of your avatar on social media or in VR Chat’s community forums. This allows you to connect with other users, get feedback on your creative choices, and inspire others in their avatar customization journey.
7. Keep Exploring and Evolving: The world of VR Chat is constantly evolving, and new avatars, worlds, and customization options are regularly introduced. Stay active and keep exploring to discover the latest trends, improvements, and updates that can enhance your avatar’s appearance and functionality.
Remember, VR Chat offers an immense opportunity for self-expression and creative exploration. Embrace the uniqueness of your avatar and enjoy the endless possibilities of virtual interactions. Let your avatar become an extension of yourself as you navigate, socialize, and have immersive experiences in the dynamic VR Chat community.
Now it’s time to dive into VR Chat, have fun, and make unforgettable memories with your newly customized avatar!


