Introduction
Are you a Mac user who wants to download Vimeo videos for offline viewing? Look no further. In this guide, we will walk you through the step-by-step process of downloading Vimeo videos on your Mac. Whether you want to save your favorite videos for later or simply want to have them accessible when you’re offline, we’ve got you covered.
Vimeo is a popular video sharing platform that hosts a wide range of content, including documentaries, short films, music videos, and more. While Vimeo provides the option to download videos for offline viewing, this feature is only available to Vimeo Plus, Vimeo PRO, and Vimeo Business subscribers. If you don’t have a premium subscription or prefer to have more flexibility with your downloads, using a Vimeo video downloader is the way to go.
With the right Vimeo video downloader software, you can quickly and easily download your favorite Vimeo videos and save them to your Mac for offline enjoyment. Whether you’re using a free or paid downloader, the process is usually simple and straightforward. However, it’s important to choose a reliable and trusted downloader that offers the features you need, such as the ability to download videos in different formats and qualities.
In this guide, we’ll explain how to download Vimeo videos on your Mac using a trusted downloader. We’ll walk you through each step, from installing the downloader to locating the downloaded videos on your Mac. By following our instructions, you’ll be able to enjoy your favorite Vimeo videos whenever and wherever you want, without relying on an internet connection.
So, let’s get started with the step-by-step process of downloading Vimeo videos on your Mac!
Step 1: Install a Vimeo Video Downloader
The first step in downloading Vimeo videos on your Mac is to install a reliable Vimeo video downloader. There are various options available, both free and paid, that offer different features and functionalities. Here’s how you can install a Vimeo video downloader on your Mac:
- Start by researching and selecting a Vimeo video downloader that suits your needs. Look for software that is compatible with Mac and offers the features you require, such as the ability to download videos in your preferred format and quality.
- Once you’ve identified the downloader that meets your requirements, visit the official website or a trusted software download platform to download the installer file. Be cautious while downloading and ensure that you are getting the software from a reliable source to avoid any potential malware or viruses.
- Locate the downloaded installer file on your Mac. It’s usually saved in the Downloads folder or the location specified during the download process.
- Double-click the installer file to begin the installation process. Follow the on-screen instructions and agree to any terms and conditions or prompts that appear during the installation.
- After the installation is complete, you may need to restart your Mac to ensure that the Vimeo video downloader functions properly.
- Once your Mac has restarted, look for the Vimeo video downloader application in your Applications folder or wherever it was installed on your system.
- Launch the Vimeo video downloader by double-clicking the application icon.
That’s it! You have now successfully installed a Vimeo video downloader on your Mac. In the next step, we will show you how to launch the downloader and proceed with downloading your desired Vimeo videos. Stay tuned!
Step 2: Launch the Vimeo Video Downloader
Now that you have installed a Vimeo video downloader on your Mac, it’s time to launch the application and get ready to download your favorite Vimeo videos. Follow these steps to launch the Vimeo video downloader:
- Locate the Vimeo video downloader application on your Mac. It should be in your Applications folder or wherever you chose to install it.
- Double-click the Vimeo video downloader icon to open the application. Depending on the downloader you have installed, it may take a few moments to launch.
- Once the Vimeo video downloader is launched, you will see the main interface with various options and features.
- Take a moment to familiarize yourself with the downloader’s user interface. It may have a search bar, a URL input field, download options, and other settings you can customize.
- Ensure that you are connected to the internet, as the Vimeo video downloader needs an active internet connection to search for and download videos.
- Some Vimeo video downloaders may require you to create an account or sign in with your Vimeo credentials. If prompted to do so, follow the instructions provided by the downloader to sign in or create an account.
Now that you have launched the Vimeo video downloader and are ready to download Vimeo videos, you can proceed to the next step, where we will show you how to copy the Vimeo video URL.
Step 3: Copy the Vimeo Video URL
In order to download a Vimeo video using the video downloader, you need to obtain the URL of the specific video you want to download. Follow these steps to copy the Vimeo video URL:
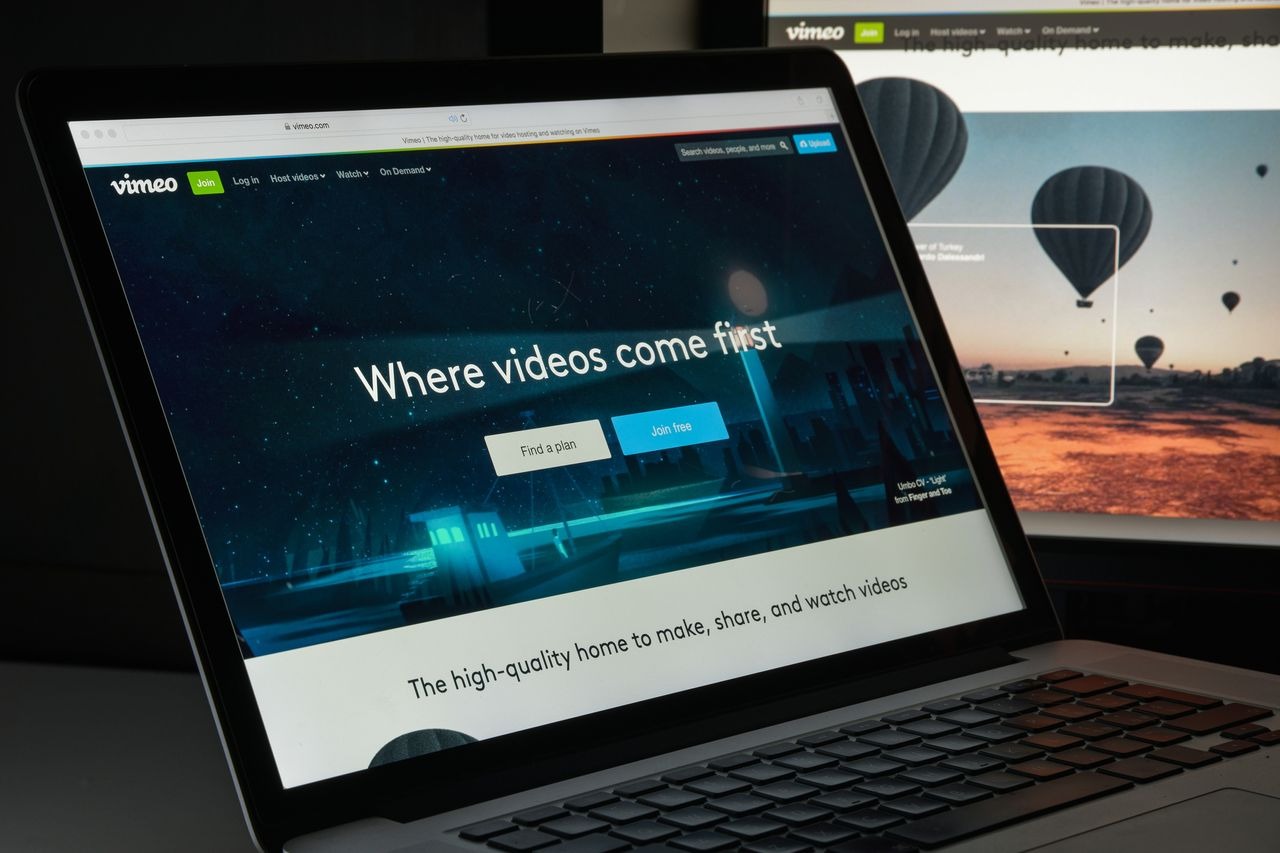
- Open your preferred web browser on your Mac and navigate to the Vimeo website (www.vimeo.com).
- Search for the video you want to download on Vimeo. You can use the search bar on the website’s homepage or explore different categories and channels to find the video you’re interested in.
- Once you’ve found the video, click on it to open the video page.
- On the video page, you will see the video player along with various information and options.
- Look for the video’s URL at the top of your web browser’s address bar. It will start with “https://vimeo.com/”. Place your cursor in the address bar and highlight the entire URL.
- Right-click on the highlighted URL and select “Copy” from the context menu. Alternatively, you can press “Command + C” on your keyboard to copy the URL.
Great! You have successfully copied the Vimeo video URL. In the following step, we will guide you on how to paste the URL into the Vimeo video downloader to initiate the download process. Keep reading!
Step 4: Paste the Vimeo Video URL into the Downloader
Now that you have copied the Vimeo video URL, it’s time to paste it into the Vimeo video downloader to start the download process. Follow these steps to paste the Vimeo video URL into the downloader:
- Open the Vimeo video downloader application on your Mac if it’s not already open.
- Look for a designated input field or URL box within the downloader’s user interface. It may be labeled as “Paste URL” or similar.
- Click inside the input field to place your cursor there.
- Right-click within the input field and select “Paste” from the context menu. Alternatively, you can press “Command + V” on your keyboard to paste the copied URL.
- The Vimeo video downloader should automatically recognize the pasted URL and validate it. It may display the video’s title or other relevant information to confirm that the URL is valid.
- If the URL is recognized and validated successfully, proceed to the next step. If there is an error or if the URL is not recognized, double-check that you have copied the correct Vimeo video URL and repeat the process.
Once you have successfully pasted the Vimeo video URL into the downloader, you are now ready to proceed with selecting the desired format and quality for your downloaded video. In the next step, we will guide you on how to choose the download format and quality. Let’s move on!
Step 5: Choose the Download Format and Quality
After pasting the Vimeo video URL into the downloader, it’s time to choose the download format and quality for your video. Different downloaders may have different options and settings, but the general process is similar. Follow these steps to choose the download format and quality:
- Within the Vimeo video downloader’s user interface, look for the options or settings related to download format and quality. These options may be located near the input field where you pasted the video URL or in a separate settings menu.
- Click on the format and quality options to expand them and view the available choices.
- Select the download format that best suits your needs. Common options include MP4, AVI, MKV, and more. Consider the compatibility of the format with your media players or devices.
- Next, choose the desired quality for your downloaded video. Options may range from standard definition (SD) to high definition (HD) or even ultra-high definition (UHD) if available.
- Keep in mind that higher quality video files will take up more storage space on your Mac, so choose a quality that strikes a balance between video clarity and storage considerations.
- If the Vimeo video downloader allows for additional settings, such as customizing the download location or adding subtitles, make any necessary adjustments at this stage.
- Take a moment to review your chosen format, quality, and any additional settings before proceeding to the next step. Confirm that they meet your requirements.
Once you have chosen the download format and quality settings, you’re almost ready to start the download process. In the next step, we will show you how to initiate the download and wait for it to finish. Stay with us!
Step 6: Start the Download Process
With the Vimeo video URL pasted and the download format and quality chosen, it’s time to initiate the download process. Follow these steps to start downloading your Vimeo video:
- Look for the “Download” button or a similar option within the Vimeo video downloader’s user interface. It may be labeled as “Start Download,” “Download Now,” or have a download icon.
- Click on the “Download” button to initiate the download process.
- The Vimeo video downloader will start retrieving the video from the provided URL and begin the download. The time taken to download the video will depend on the size of the file and your internet connection speed, so please be patient.
- During the download process, you may see a progress bar or percentage indicator indicating the download progress. Some downloaders may also provide an estimated time remaining.
- While the download is in progress, avoid closing or quitting the Vimeo video downloader application to ensure the download completes successfully.
- It’s important to respect copyright laws and only download videos that you have the right to access and save for personal use. Do not download or distribute copyrighted material without proper authorization.
- Once the download is complete, you can move on to the next step to locate the downloaded Vimeo video on your Mac.
With the download process underway, you’re one step closer to enjoying your favorite Vimeo videos offline. In the next step, we will guide you on how to locate the downloaded Vimeo video on your Mac. Keep reading!
Step 7: Wait for the Download to Finish
After initiating the download process, it’s important to exercise patience and allow the Vimeo video downloader to complete the download. Here are the steps to follow while waiting for the download to finish:
- Observe the progress bar or percentage indicator provided by the Vimeo video downloader. This will give you an idea of how much of the video has been downloaded.
- Depending on the size of the video and your internet connection speed, the download may take a few moments or longer. It’s advisable not to interrupt the download process by closing the downloader or turning off your Mac.
- While waiting, you can continue using your Mac for other tasks. However, keep an eye on the Vimeo video downloader to ensure that the download is progressing smoothly.
- If you encounter any issues or errors during the download process, such as a download failure or slow speed, you may need to troubleshoot the problem. Check your internet connection, ensure that the Vimeo video URL is correct, or try using a different Vimeo video downloader if needed.
- Be mindful of any download limitations or restrictions set by the Vimeo video downloader or the Vimeo platform itself. Some downloaders may have specific limitations on file size, video duration, or the number of videos that can be downloaded within a certain time frame.
- Patience is key. Allow the Vimeo video downloader to complete the download process; the time taken will vary depending on multiple factors.
Once the download is complete, you can proceed to the next step to locate the downloaded Vimeo video on your Mac. Let’s move on!
Step 8: Locate the Downloaded Vimeo Video
After the Vimeo video has finished downloading, it’s time to locate the downloaded video file on your Mac. Follow these steps to find the downloaded Vimeo video:
- Open the file explorer or Finder on your Mac.
- Navigate to the default download location specified by the Vimeo video downloader. This is usually the Downloads folder or a folder designated for downloaded videos.
- If you cannot find the downloaded video in the default location, try using the search function within the file explorer. Enter the name of the Vimeo video or its file extension (e.g., .mp4) to search for the file.
- If you chose a custom download location within the Vimeo video downloader, navigate to that specific folder or directory.
- Look for the video file with the appropriate name or file extension. Depending on the Vimeo video downloader, the video file may be labeled with the video’s title or a generic name.
- Click on the video file to open it and ensure that it plays correctly. Use a compatible media player on your Mac to verify the video’s playback.
- If you’d like to organize your downloaded videos, you can create a new folder and move the video file into that folder. This can help keep your downloaded videos organized and easily accessible.
Once you have located the downloaded Vimeo video file on your Mac, you can now enjoy it offline or transfer it to other devices for convenient viewing. Congratulations on successfully downloading and locating your Vimeo video!
Conclusion
Downloading Vimeo videos on your Mac can be a convenient way to access and enjoy your favorite content offline. By following the step-by-step process outlined in this guide, you can easily download and locate Vimeo videos on your Mac for personal use.
We started by installing a reliable Vimeo video downloader on your Mac, ensuring that you have a trusted tool to handle the downloading process. Then, we walked you through launching the downloader and copying the Vimeo video URL from the Vimeo website.
After that, we guided you in pasting the Vimeo video URL into the downloader and choosing the desired download format and quality. With the settings in place, you initiated the download process and patiently waited for it to finish.
Lastly, we directed you to locate the downloaded Vimeo video on your Mac, providing you with the necessary steps to find the video file in the default or custom download location.
Remember to respect copyright laws and only download videos that you have the right to access and save for personal use. Do not redistribute or use downloaded videos for commercial purposes without proper authorization.
With the ability to download Vimeo videos on your Mac, you can now enjoy your favorite videos anytime, anywhere, even without an internet connection. Whether it’s for entertainment, educational purposes, or simply to have videos readily available on your device, downloading Vimeo videos on your Mac can enhance your viewing experience.
So, go ahead and start downloading your favorite Vimeo videos on your Mac using a reliable Vimeo video downloader. Explore the vast collection of videos on Vimeo and build your personal library of offline entertainment. Happy downloading!