To download Tesla Dashcam video, remove the USB drive from your vehicle and plug it into a computer, then copy the clips from the TeslaCam folder. The entire process takes under a minute once you know where the files live and how the system organizes them.
What you need to download Tesla Dashcam video
Before you can download Tesla Dashcam video, your car must have a properly formatted USB drive inserted into a compatible port. Tesla requires a drive with at least 64 GB of storage and a sustained write speed of 4 MB/s or faster, anything slower will fail to record reliably. The drive must be formatted as exFAT, MS-DOS FAT (for Mac), ext3, or ext4; NTFS is currently not supported. If you bought your Tesla around 2020 or later, it likely came with a pre-formatted USB flash drive stored in the glovebox, so you may not need to buy one. For vehicles manufactured after approximately November 1, 2021, you must use the glovebox USB port for Dashcam functions, because the center console ports may only support charging and won’t recognize the drive for recording.
How to format your USB drive for Tesla Dashcam
The easiest way to format a USB drive for Tesla Dashcam is to do it inside the car. Insert the drive into a front USB port, then go to Controls > Safety > Format USB Drive on the touchscreen. This wipes the drive and sets it up with the correct file system automatically, so you don’t need to worry about exFAT versus ext4. If you prefer to format manually on a computer, use Disk Utility on a Mac and select MS-DOS FAT, or use the format tool in Windows Explorer and choose exFAT. Just remember that formatting erases everything on the drive, so back up any existing files first. After formatting, the car will create the necessary folder structure the first time you enable Dashcam.
How to enable and use Tesla Dashcam
Once your USB drive is ready, enable Dashcam from the vehicle settings menu, look for the Dashcam option under Controls > Safety. The feature uses a rolling buffer: it continuously records to the RecentClips folder, overwriting the oldest footage as new video is captured. The dynamic recording duration adjusts based on your drive’s capacity, so a 128 GB drive retains roughly 3 hours of rolling footage, while a 1 TB or larger drive can hold up to 24 hours. Older Tesla software had a fixed one-hour limit regardless of drive size, but that’s no longer the case. To manually save a clip, tap the Dashcam icon on the touchscreen, or enable the horn-honk option so a quick honk saves the previous ten minutes. Saved clips go into the SavedClips folder and won’t be overwritten.
How to view Dashcam footage on the touchscreen
To review footage without leaving the car, put the vehicle in Park and open the Dashcam app from the app launcher. The in-car viewer lets you browse RecentClips and SavedClips, organized by timestamp, and you can switch between different camera angles, front, rear, and side cameras are all recorded. If you see something worth keeping in the RecentClips list, select the clip and tap Save in the lower-left corner to move it into SavedClips. This is particularly useful right after an incident, because it preserves the footage before the rolling buffer overwrites it. The touchscreen viewer is also handy for a quick check of whether a Sentry Mode event captured what you expected before you bother transferring files to another device.
How to transfer Tesla Dashcam video to a computer
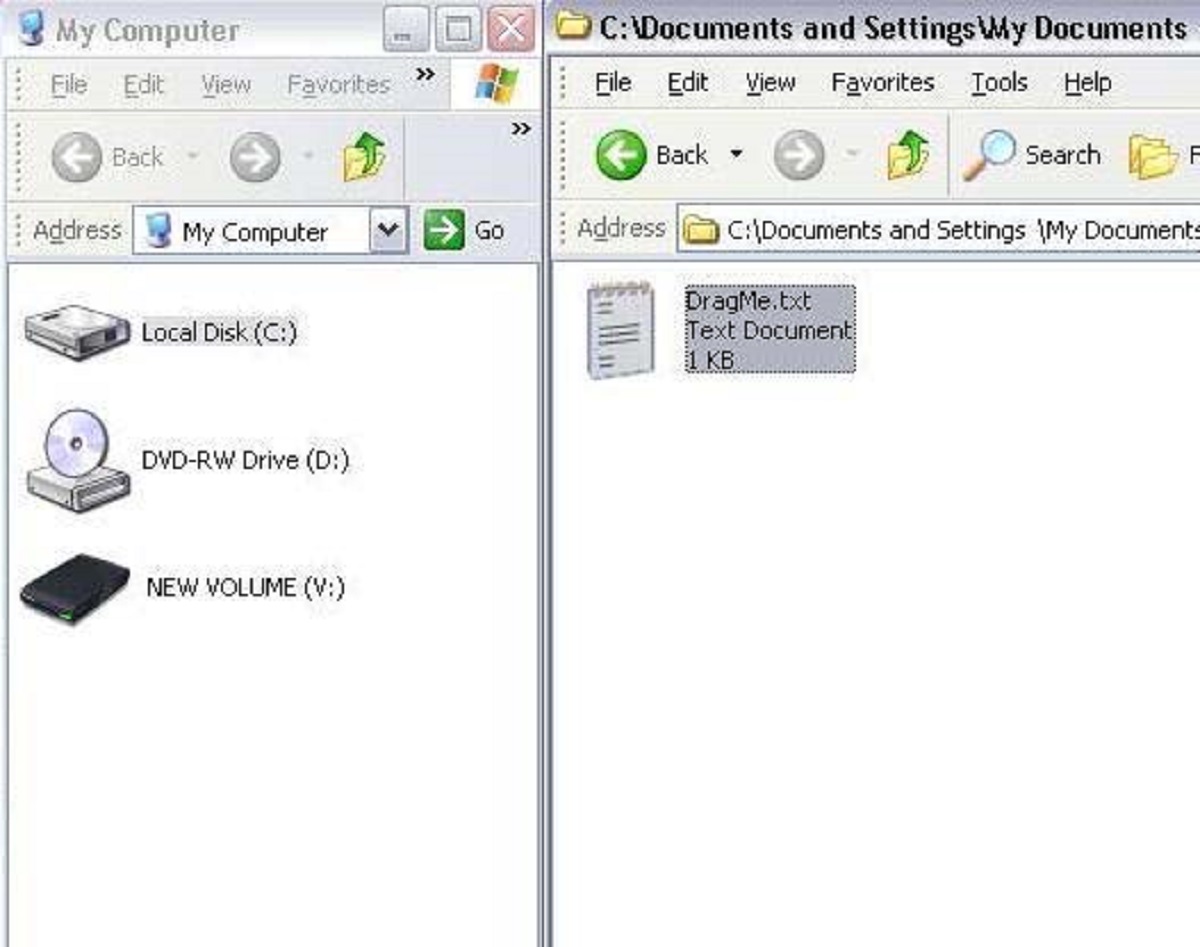
For the actual download, you’ll need to physically move the USB drive from the car to your computer. First, safely remove the drive from the Tesla, there’s no eject button, but you can pause Dashcam recording via the touchscreen before pulling the drive. Then insert the USB drive into your computer and open it in File Explorer (Windows) or Finder (Mac). Navigate to the TeslaCam folder, which contains sub-folders like RecentClips, SavedClips, and SentryClips. RecentClips holds the rolling buffer that’s continuously overwritten unless saved, so if you’re looking for something specific, check SavedClips first. Copy the video files you want by selecting them and dragging them to a folder on your computer, or use Ctrl+C and Ctrl+V (Command+C and Command+V on Mac) to duplicate them. The transfer speed depends on your USB drive and computer port, but most clips are only a few hundred megabytes, so it usually takes seconds. Once the files are on your computer, you can play them in any standard media player, edit them, or upload them to share.
How to view Dashcam footage on your phone
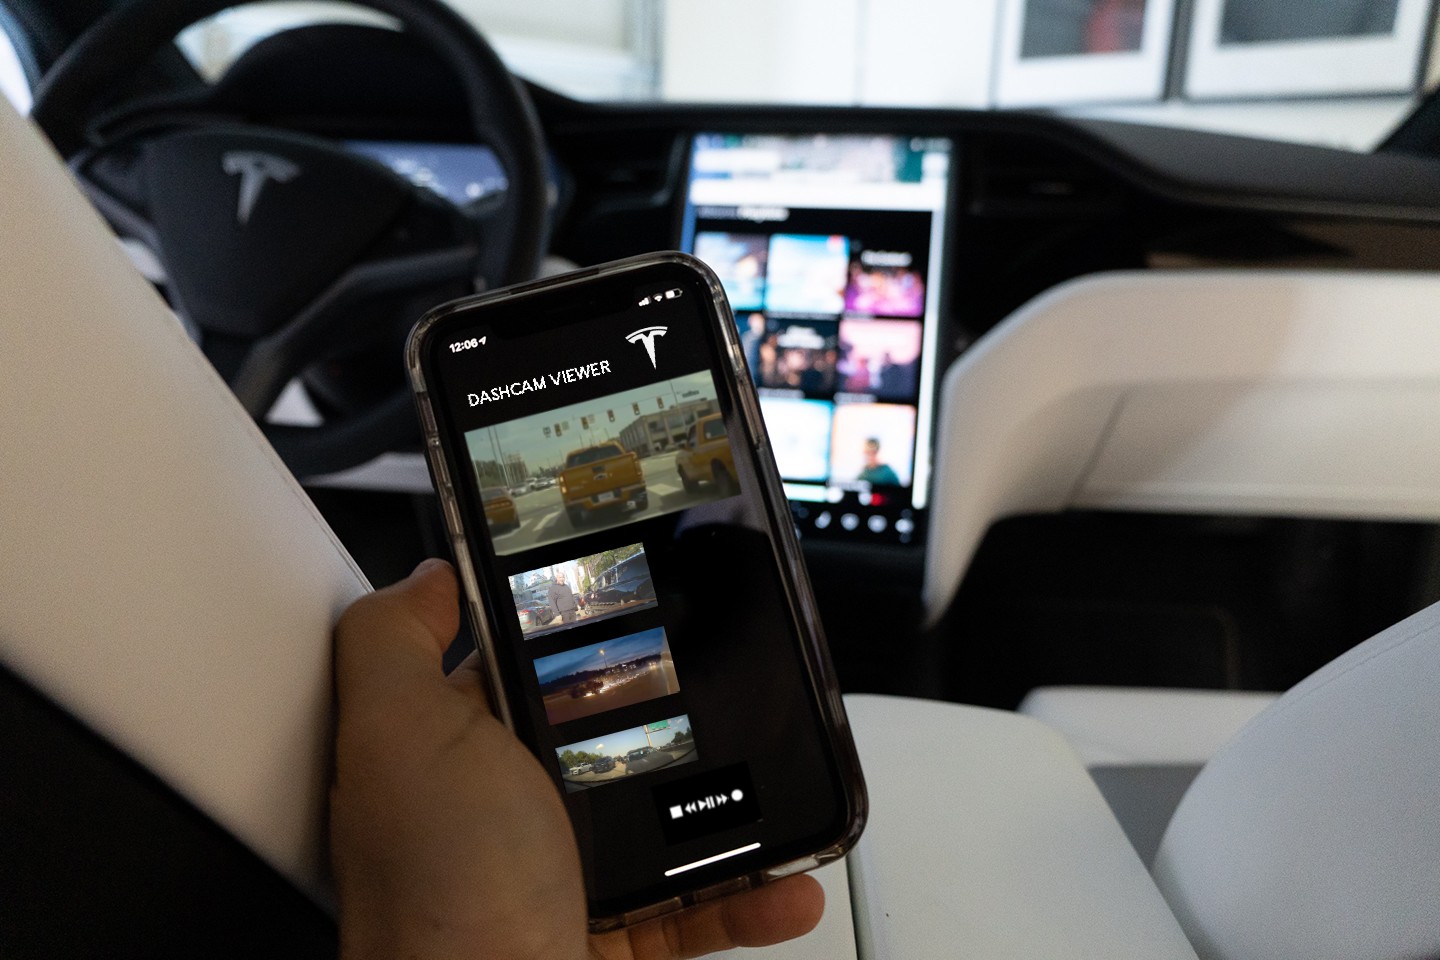
If you want to check Dashcam footage without pulling the USB drive, the Tesla mobile app can do it, but only under specific conditions. Your vehicle must have Premium Connectivity, and you need to enable the “View Live Camera from Mobile App” setting on the touchscreen. The app requires version 4.39.5 or newer for iOS and 4.43.5 or newer for Android, and your car must have an MCU 2 (Intel) processor or higher. Older vehicles with MCU 1 won’t support this feature. When all requirements are met, you can open the app, select your vehicle, and view live camera feeds or recent clips directly on your phone. This is ideal for quickly confirming whether a Sentry Mode alert captured an incident while you’re away from the car. Note that this streams footage over the internet, so it uses data, and the quality may be slightly lower than the original files stored on the USB drive.
Tips for managing your Tesla Dashcam videos
Because Dashcam footage is saved locally to the USB drive and never sent to Tesla, you’re responsible for backing it up. The rolling buffer will eventually overwrite old clips, so make it a habit to transfer important footage to your computer or cloud storage as soon as possible after an incident. Also be aware that encrypted Dashcam recordings can only be viewed on the vehicle that recorded them or by using a Tesla account linked to that vehicle when the clips were recorded, so don’t expect to pop the drive into a friend’s computer and watch everything. Plan your storage capacity accordingly: if you drive a lot and want extended history, a larger drive like 1 TB gives you up to 24 hours of rolling footage, while a 64 GB drive fills up much faster. Check the TeslaCam folder periodically, delete clips you no longer need, and keep a spare formatted drive in the glovebox so you can swap them out if the primary drive fills up during a long trip.
\nRelated reading: How To Play USB Video On Vizio Smart TV, How To Use Smart TV Without Internet, and How To Update My Vizio Smart TV.