Introduction
Downloading videos from your phone to your computer can be a convenient way to free up storage space on your device or access your favorite videos on a larger screen. Whether you want to save memorable moments captured on your phone or download entertaining videos for offline viewing, the process is relatively simple and straightforward.
In this article, we will guide you through the steps to download phone videos to your computer. Whether you have an iPhone or an Android device, there are various methods you can use to transfer videos from your phone to your computer. By following the instructions provided, you will be able to effortlessly download videos and organize them for easy access on your computer.
No matter if you are a novice or a tech-savvy individual, this step-by-step guide will walk you through the process, ensuring that you can confidently download your phone videos to your computer. So, let’s dive in and learn how to transfer videos from your phone to your computer.
Step 1: Connect your phone to your computer
The first step in downloading phone videos to your computer is to establish a connection between the two devices. There are different ways to connect your phone to your computer, depending on the device and the available options. Here are some common methods:
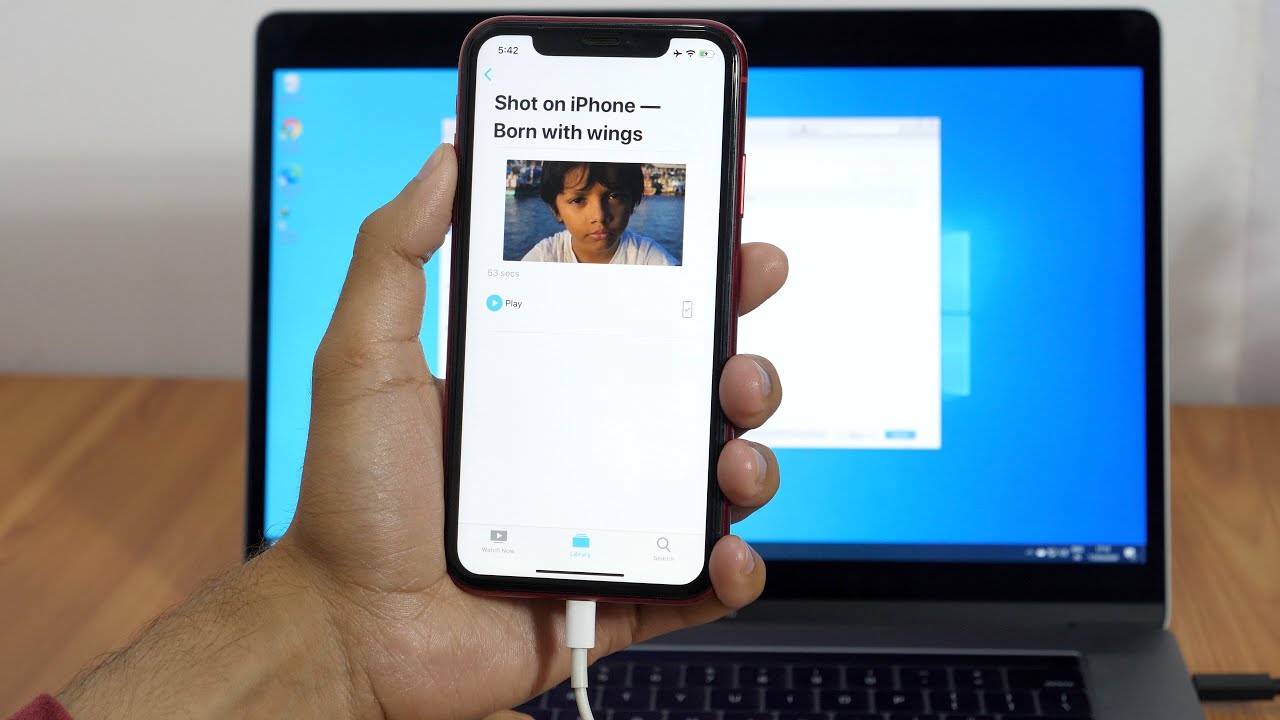
- USB Connection: For both iPhone and Android devices, you can typically use a USB cable to connect your phone to your computer. Locate the USB port on your phone and connect one end of the USB cable to it. Then, plug the other end of the USB cable into an available USB port on your computer. The device should automatically recognize the connection.
- Wireless Connection: Some newer phones and computers support wireless connectivity options, such as Wi-Fi or Bluetooth. Ensure that both your phone and computer are connected to the same Wi-Fi network or paired via Bluetooth. Consult the user manuals or online resources for your specific devices to learn how to establish a wireless connection between them.
- Cloud Services: Another option to connect your phone to your computer is by using cloud services, such as Google Drive, iCloud, or Dropbox. These services allow you to upload your videos to the cloud from your phone and access them on your computer through a web browser or dedicated applications. Install the relevant apps on your devices and follow the provided instructions to set up and sync your videos.
Choose the connection method that is most convenient for you and ensure that both devices are securely connected. Once you have established a connection between your phone and computer, you can proceed to the next step of the downloading process.
Step 2: Open the file transfer tool on your computer
Once you have successfully connected your phone to your computer, the next step is to open the file transfer tool on your computer. This tool allows you to access the files and folders on your phone and facilitates the transfer of videos from your phone to your computer.
The specific file transfer tool you will use depends on the operating system of your computer and the type of phone you have. Here are some popular file transfer tools for different platforms:
- Windows: If you are using a Windows computer, you can use the “File Explorer” to access your phone’s files. Connect your phone to the computer and open “File Explorer.” In the left sidebar, you should see your phone listed under “This PC” or “Devices and drives.” Click on your phone’s name to open it and navigate to the folder containing your videos.
- Mac: For Mac users, the built-in application “Finder” serves as the file transfer tool. Connect your phone to your Mac and open “Finder.” In the sidebar, under “Locations,” you should see your phone listed as a device. Click on it to access the files and folders on your phone, including your videos.
- Third-Party Software: There are also third-party file transfer tools available that offer additional features and functionalities. Some popular options include Android File Transfer, Syncios, and iMazing. These tools provide a user-friendly interface and additional options for managing and transferring your phone videos to your computer.
Choose the file transfer tool that is compatible with your computer and explore its features to familiarize yourself with the interface. Once you have opened the file transfer tool on your computer, you are ready to proceed to the next step and select the videos you want to download.
Step 3: Select the videos you want to download
Now that you have opened the file transfer tool on your computer and established a connection with your phone, it’s time to select the videos you want to download. Depending on the file transfer tool you are using, the process may vary slightly, but the general steps remain the same.
Navigate to the folder on your phone that contains the videos you wish to transfer. In most file transfer tools, you can explore your phone’s directory structure and locate the folder where your videos are stored. This could be the “DCIM” folder for photos and videos on Android devices or the “Photos” app for iPhones.
Once you have found the folder containing your videos, you can usually click or tap on the videos to select them. If you want to download multiple videos, you can hold down the Ctrl key (Windows) or the Command key (Mac) while selecting the individual videos. Alternatively, you may find options such as checkboxes to select multiple videos at once.
Take a moment to review your selections and ensure that you have chosen the correct videos. If there are any videos you don’t want to download, simply deselect them. This step is crucial to avoid downloading unnecessary files and consume unnecessary storage space on your computer.
After you have selected the videos you want to download, you can proceed to the next step and choose the destination folder on your computer where you want to save the downloaded videos.
Step 4: Choose the destination folder on your computer
Once you have selected the videos you want to download from your phone, the next step is to choose the destination folder on your computer where you want to save the downloaded videos. This is an important step to ensure that you can easily locate and access the downloaded videos on your computer later.
When transferring videos using a file transfer tool, you will typically have the option to specify the destination folder before initiating the transfer process. Here’s how you can choose the destination folder:
- Browse and select a folder: The file transfer tool will usually present you with a browse window or dialog box that allows you to navigate through your computer’s file system. Select the folder where you want the downloaded videos to be saved. Ideally, choose a folder that is easily accessible and well-organized to make it easy for you to find the videos later.
- Create a new folder: If you prefer to keep the downloaded videos separate from other files on your computer, you can create a new folder specifically for this purpose. In the browse window or dialog box, look for an option to create a new folder. Provide a name for the folder and select it as the destination for the downloaded videos.
- Use the default folder: In some cases, the file transfer tool may have a default folder already specified as the destination for downloaded files. If the default folder meets your requirements, you can proceed with the transfer process without making any changes.
Choose the option that best suits your preferences and workflow. Once you have chosen the destination folder, double-check to ensure that it is correctly selected in the file transfer tool. This will help in keeping your downloaded videos organized and easily accessible on your computer.
Now that you have selected the destination folder, you are ready to initiate the transfer process and start downloading the selected videos from your phone to your computer.
Step 5: Start the transfer process
With the videos selected and the destination folder chosen, you are now ready to start the transfer process and download the videos from your phone to your computer. Depending on the file transfer tool you are using, the steps to initiate the transfer may vary slightly, but the general process remains similar.
In most cases, you will find a button or option within the file transfer tool that allows you to start the transfer process. This button might be labeled as “Transfer,” “Download,” “Copy,” or something similar. Here’s how you can start the transfer:
- Click the transfer button: Locate the transfer button within the file transfer tool interface and click on it. The tool will begin transferring the selected videos from your phone to your computer. You may see a progress bar or an indication of the transfer process.
- Confirm the transfer prompt: Depending on the file transfer tool, you might be prompted to confirm the transfer of files from your phone to your computer. If such a prompt appears, review the transfer details and click “Yes” or “OK” to proceed with the transfer.
- Wait for the transfer to complete: The transfer process may take some time, depending on the size and number of videos being transferred. Be patient and allow the tool to complete the transfer. Avoid disconnecting your phone or interrupting the transfer process, as it can lead to incomplete or corrupted files on your computer.
- Monitor the progress: Keep an eye on the progress bar or transfer indicator within the file transfer tool. This will give you an idea of how much longer the transfer will take. Once the transfer is complete, you can proceed to the next step.
During the transfer process, it is recommended to close any unnecessary applications or processes on your computer to ensure a smooth and efficient transfer. This can help prevent any unwanted disruptions or delays.
Once the transfer is complete, you can move on to the next step and wait for the videos to finish downloading onto your computer.
Step 6: Wait for the videos to finish downloading
After initiating the transfer process, you must now exercise patience and wait for the selected videos to finish downloading onto your computer. The time required for the download to complete will vary based on the size of the videos and the speed of your computer and connection.
During the downloading process, it is crucial not to interrupt or disrupt the transfer. Avoid disconnecting your phone from the computer or closing the file transfer tool. Doing so may result in incomplete or corrupted video files on your computer.
To make the wait more manageable, you can keep an eye on the progress of the download. Many file transfer tools display a progress bar or a percentage indicator, allowing you to track how much of the transfer has been completed. By monitoring the progress, you can estimate the remaining time and ensure that the process is running smoothly.
While waiting for the videos to finish downloading, you can utilize this time to plan how you would like to organize your downloaded video files. Consider creating folders or subfolders within the destination folder to keep different types of videos organized. This will make it easier for you to find specific videos later on.
Additionally, ensure that your computer is connected to a stable power source to prevent any unexpected shutdowns that could interrupt the downloading process. It is also beneficial to have sufficient storage space available on your computer to accommodate the transferred videos.
Once the file transfer tool indicates that the download is complete, you can proceed to disconnect your phone from the computer and access the downloaded videos. In the following step, we will guide you through the process of safely disconnecting your phone.
Step 7: Disconnect your phone from the computer
After the videos have finished downloading onto your computer, it is important to follow the proper steps to safely disconnect your phone. This ensures that no data is lost or corrupted during the disconnection process.
Below are the general steps to safely disconnect your phone from the computer:
- Check the transfer status: Before disconnecting your phone, verify that all the videos you wanted to download have been successfully transferred to your computer. Double-check the destination folder to ensure that all the desired videos are present.
- Close the file transfer tool: Once you have confirmed the completion of the transfer, close the file transfer tool on your computer. This allows the program to release the connection between your phone and computer properly.
- Unmount or eject your phone: In some cases, you may need to explicitly unmount or eject your phone from your computer before physically disconnecting it. Look for an option to unmount or eject your phone either within the file transfer tool or in the system tray of your computer. Follow the on-screen instructions to safely disconnect your phone.
- Disconnect the USB or wireless connection: If you connected your phone to the computer via a USB cable, gently unplug the cable from both your phone and the computer. If you established a wireless connection, ensure that your phone and computer are no longer paired via Bluetooth or connected to the same Wi-Fi network.
- Confirmation prompts: Depending on your phone and computer’s settings, you may receive confirmation prompts on your phone or computer before fully disconnecting. Read these prompts carefully and proceed accordingly to safely disconnect your phone.
By following these steps, you can ensure that the downloading process is properly concluded, and both your phone and computer remain secure without any data loss.
With your phone now successfully disconnected from your computer, you can enjoy your downloaded videos and access them whenever you want. Remember to safely store and organize the videos on your computer according to your preferences for easy retrieval.
Conclusion
Downloading videos from your phone to your computer is a simple and convenient way to free up storage space and enjoy your favorite videos on a larger screen. By following the steps outlined in this guide, you can easily transfer videos from your phone to your computer, ensuring that they are safely stored and organized for future access.
First, ensure that your phone is properly connected to your computer. Use a USB cable, establish a wireless connection, or utilize cloud services to establish the connection between your devices. Once connected, open the file transfer tool on your computer to access your phone’s files and folders.
Select the videos you want to download from your phone, and choose a destination folder on your computer where you want to save the downloaded videos. Take the time to verify your selections and ensure that you have chosen the correct videos.
Initiate the transfer process and wait for the videos to finish downloading onto your computer. Monitor the progress if possible, and avoid interrupting the transfer or disconnecting your phone during this time.
Once the transfer is complete, safely disconnect your phone from the computer. Close the file transfer tool, unmount or eject your phone if necessary, and gently disconnect the USB or wireless connection.
By following these steps, you can successfully download phone videos to your computer and enjoy them at your convenience. Remember to keep your downloaded videos well-organized in folders or subfolders for easy access in the future.
Now that you know the process, you can confidently download phone videos to your computer whenever the need arises. Enjoy the benefits of having your favorite videos accessible on your computer and free up space on your phone for new memories.