Introduction:
Welcome to the world of Venmo, the popular mobile payment app that has revolutionized the way we exchange money with friends, family, and businesses. Whether you use Venmo to split the bill at a restaurant, pay your share of the rent, or even send money for a birthday gift, it offers a convenient and hassle-free way to handle your finances.
But what if you need to keep a record of your transactions or monitor your spending? That’s where Venmo statements come in. Venmo allows you to download your transaction history in the form of statements, giving you a comprehensive overview of your financial activity.
In this guide, we will walk you through the process of downloading your Venmo statements, providing you with a step-by-step guide to ensure that you can easily access and manage your financial data. Whether you need to keep track of your expenses for personal budgeting purposes or to provide documentation for tax and accounting purposes, downloading your Venmo statements is a simple and effective way to stay organized.
So, if you’re ready to take control of your financial records and unleash the power of Venmo statements, let’s dive into the step-by-step process. You’ll be downloading your statements in no time!
Step 1: Log into your Venmo account:
The first step in downloading your Venmo statements is to log into your Venmo account. Open the Venmo mobile app on your smartphone or visit the Venmo website on your computer.
If you already have a Venmo account, enter your login credentials – your email address or mobile number and password. If you don’t have an account yet, you’ll need to sign up by providing your information and creating a secure password.
Once you’ve entered your login information, click on the “Log In” or “Sign In” button to access your Venmo account.
If you have enabled two-factor authentication, you may be required to enter a verification code sent to your email or mobile device to complete the login process. This additional security step ensures the protection of your account and personal information.
After successfully logging into your Venmo account, you will be taken to the Venmo home screen where you can view your recent transactions and manage your account settings.
Now that you’re logged in, it’s time to move on to the next step – navigating to the “Settings” page, where you’ll find the option to download your Venmo statements. Let’s continue our journey towards accessing your financial records!
Step 2: Navigate to the “Settings” page:
Once you are logged into your Venmo account, the next step is to navigate to the “Settings” page. This is where you’ll find the option to access and download your Venmo statements.
To access the “Settings” page, look for the menu icon located in the top-left or top-right corner of your screen. It typically appears as three horizontal lines or three dots. Tap or click on this menu icon to open the dropdown or sidebar menu.
From the menu, locate and select the option labeled “Settings.” This will take you to the settings page, where you can customize various aspects of your Venmo account.
On the settings page, you may find different sections or categories. Look for the section that pertains to your account information or financial records. The specific location of the settings can vary depending on the version of the Venmo app or website you are using.
For example, on the mobile app, you may need to scroll down or swipe left to find the section labeled “Account.” Tap on it to expand the options. In the account settings, you should see an option related to statements or financial records.
If you’re using the Venmo website on a computer, the settings may be organized into tabs or side panels. Look for the tab or link that leads to your account settings, and then navigate to the relevant section.
Once you have successfully reached the settings page and located the relevant section, you’re ready to move on to the next step – accessing the “Statements” section, where you can find and download your Venmo statements.
Step 3: Access the “Statements” section:
After navigating to the “Settings” page in your Venmo account, the next step is to access the “Statements” section. This is where you’ll find the option to view and download your Venmo statements.
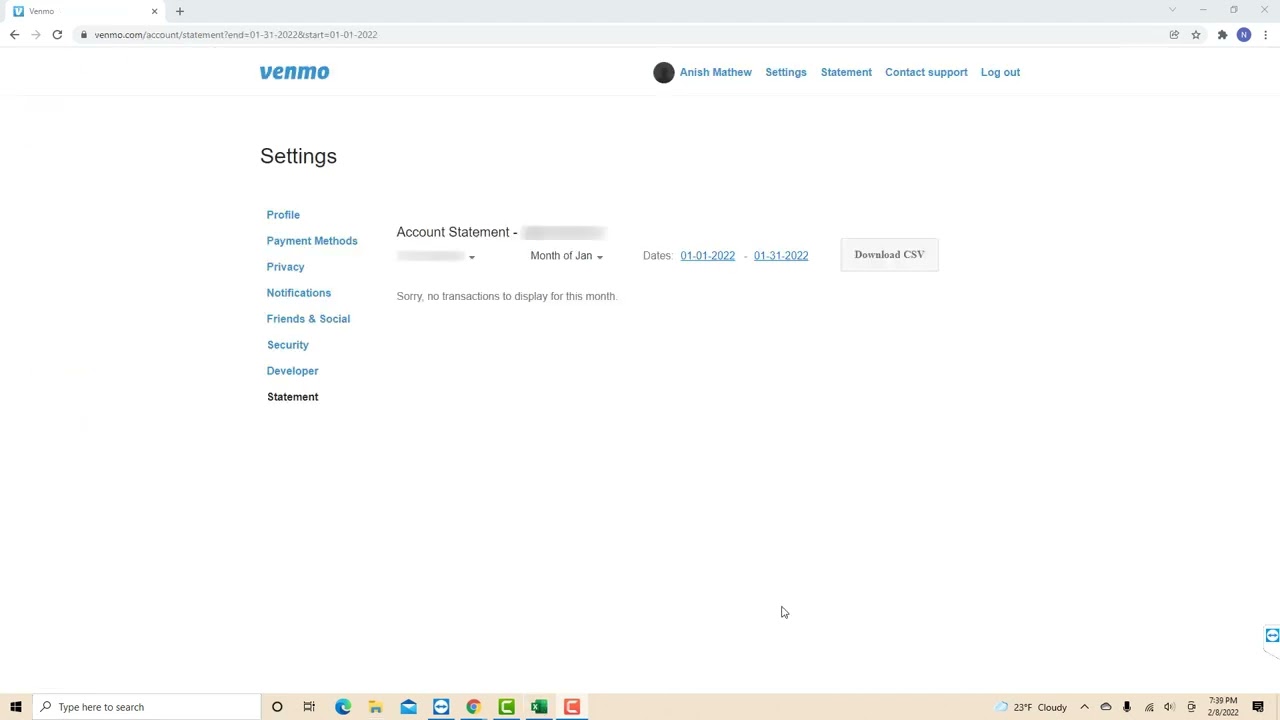
On the settings page, look for the section or tab that is specifically related to statements or financial records. The exact terminology may vary, but it typically includes words like “Statements,” “Transaction History,” or “Financial Records.”
Click or tap on this section to access the statements page, which is where you’ll find a detailed summary of your financial activity on Venmo.
Depending on the layout of the settings page, you may be taken directly to the statements section or be presented with a submenu that contains various options related to statements or financial records.
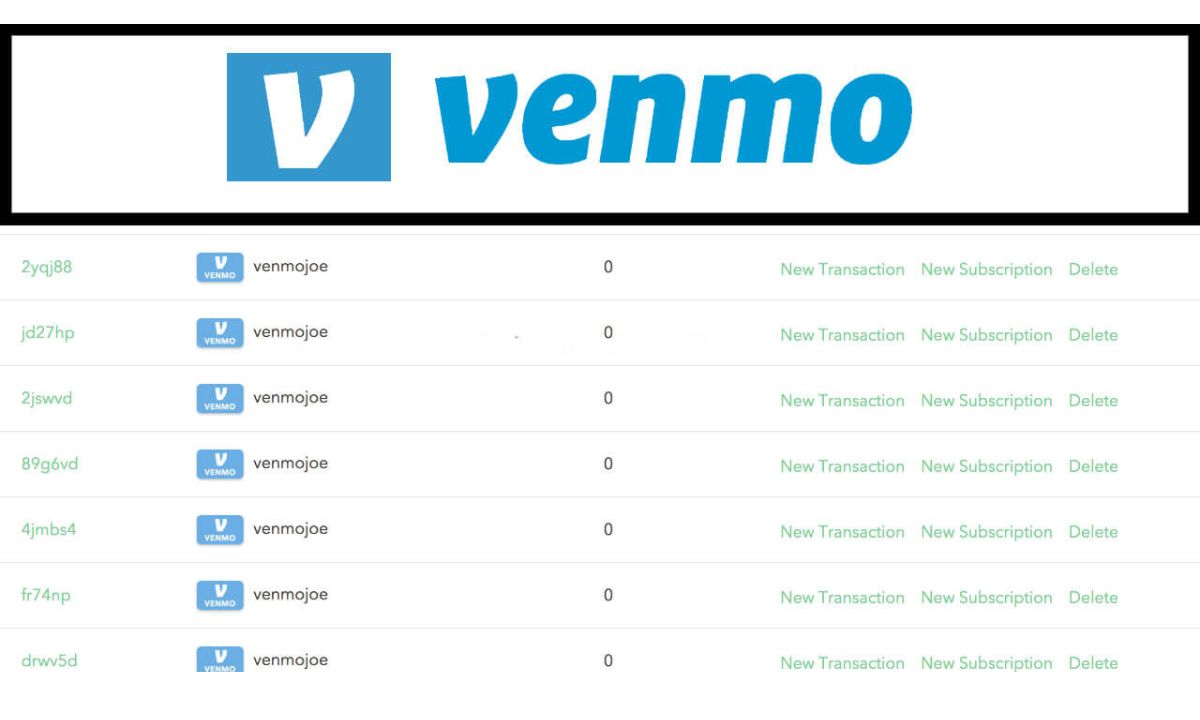
In the statements section, you’ll typically see a list or table of your statements. The statements are usually organized by date or statement period, allowing you to view your transactions within specific time frames.
Take a moment to familiarize yourself with the layout and options available in the statements section. You may see additional features such as filters or search functions to help you narrow down your statement results.
At this stage, you’re almost ready to download your Venmo statements. But first, let’s move on to the next step, where you’ll need to select the desired statement period.
Step 4: Select the desired statement period:
Once you have accessed the “Statements” section in your Venmo account, the next step is to select the desired statement period. This allows you to specify the time frame for which you want to generate a statement and download your transaction history.
In the statements section, you’ll typically see a list or table displaying your available statements. Each statement is associated with a specific period, such as a month, a quarter, or a custom date range.
Take a look at the available options and choose the statement period that best suits your needs. If you’re interested in a single month’s transactions, select the corresponding monthly statement. If you want to view a broader time frame, such as a quarter or a year, pick the corresponding statement period.
In some cases, you may have the option to generate a custom date range statement. This allows you to specify the exact start and end dates for the statement period, giving you more flexibility and control over what transactions are included.
Before finalizing your selection, double-check your desired statement period to ensure it aligns with your intentions. Consider factors such as your accounting needs, expense tracking requirements, or anything else relevant to your financial record-keeping.
Once you’ve made your decision, click or tap on the statement period to proceed. This will open a new page or prompt where you can generate and download your Venmo statement for the selected period.
Now that you have selected the desired statement period, it’s time for the final step – downloading the statement as a PDF.
Step 5: Download the statement as a PDF:
After selecting the desired statement period in your Venmo account, the final step is to download the statement as a PDF file. This will allow you to save and access your transaction history offline, print it out for record-keeping purposes, or share it with others if needed.
Once you’ve chosen the statement period, look for the option to download the statement. It is typically represented by a download icon or a button labeled “Download” or “Export.”
Click or tap on this option to initiate the download process. Depending on your device and browser settings, you may be prompted to choose a location to save the PDF file or it may be automatically saved to a default location on your device.
Once the download is complete, navigate to the location where the PDF file is saved. You can now open it using a PDF reader application installed on your device.
Within the PDF file, you’ll find a comprehensive summary of your Venmo transactions for the selected statement period. It should display details such as the date, time, description, and amount of each transaction made during that time frame.
You can use the PDF’s search function to look up specific transactions or scroll through the document to review your financial activity. Additionally, most PDF readers offer features to annotate or mark up the document, allowing you to add notes or highlight important information directly on the statement.
Remember to save a copy of the downloaded PDF file in a secure location on your device or backup system to ensure that you can access your Venmo statements whenever you need to reference them.
With the statement downloaded as a PDF, you have successfully completed the process of accessing and downloading your Venmo statements. You now have a comprehensive record of your financial transactions, providing you with valuable insights and documentation for your financial management needs.
Conclusion:
Congratulations! You have successfully learned how to access and download your Venmo statements. By following the step-by-step guide outlined in this article, you can easily keep track of your financial transactions and have a comprehensive record of your Venmo activity.
Venmo statements provide a convenient way to monitor your spending, track your expenses, and organize your financial records. Whether you need to review your transactions for personal budgeting purposes, provide documentation for tax or accounting requirements, or simply keep a record of your financial activity, downloading Venmo statements is a valuable feature to take advantage of.
Remember to log into your Venmo account, navigate to the “Settings” page, access the “Statements” section, select the desired statement period, and download the statement as a PDF file. This process allows you to have an offline copy of your transaction history, which can be helpful for various financial management tasks.
Make sure to save your downloaded Venmo statements in a secure location and consider implementing backup solutions to protect your financial data. Regularly reviewing your statements can provide insights into your spending habits, help you identify any unauthorized transactions, and facilitate better financial decision-making.
Now that you’re equipped with the knowledge of how to download your Venmo statements, you can stay organized and stay on top of your financial records. Enjoy the convenience and peace of mind that comes with having a comprehensive overview of your Venmo transactions at your fingertips!