To print a Venmo statement, your quickest path is to log in at Venmo.com on a computer, open the Statements section, and download the PDF (or CSV) for the month or custom date range you need, then open that file and hit print. This method works for any account type and gives you a clean, official copy of your transaction history for record-keeping, tax preparation, or proof of payment.
How to print a Venmo statement from the website
Using a desktop browser is the most reliable way to get a print-ready Venmo statement. The website gives you direct access to the full statement generator, where you can choose the exact date range and file format you prefer.
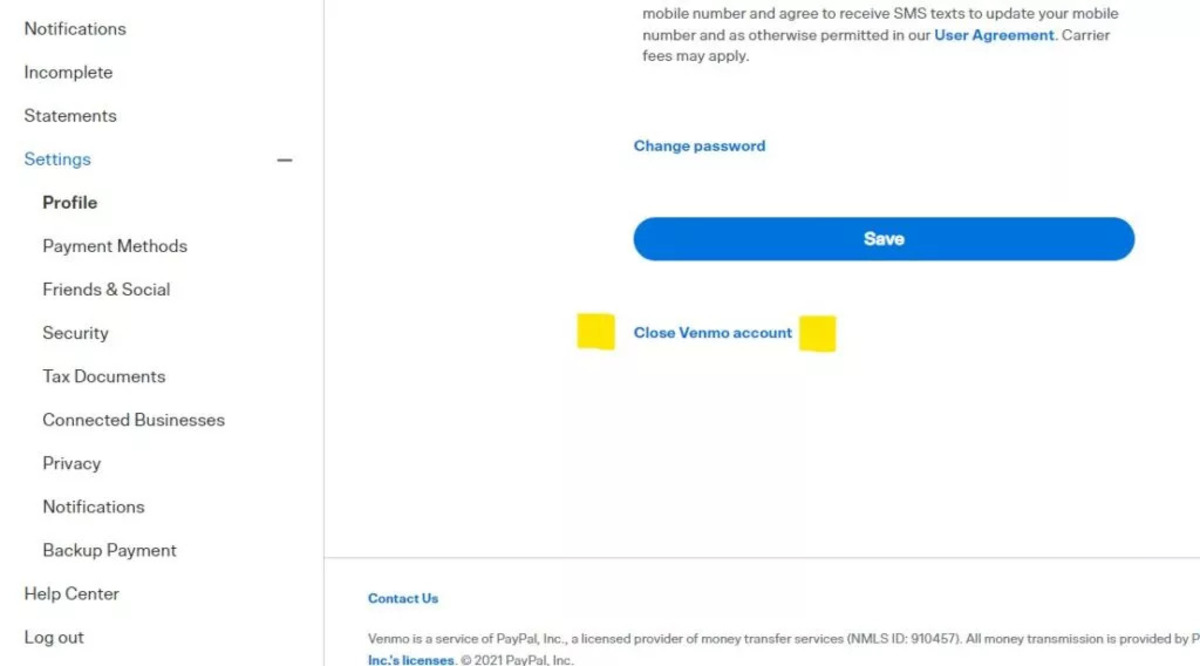
- Go to Venmo.com and sign in to your account.
- Choose "Statements" from the dropdown or menu options.
- Select the month you want from the list, or pick a custom date range if you need a specific period.
- Click "Download PDF" or "Download CSV" to save the file to your computer.
- Open the downloaded file (PDFs open in any reader; CSV files open in spreadsheet software like Excel or Google Sheets).
- Press Ctrl+P (Windows) or Cmd+P (Mac) to open the print dialog, confirm your printer and settings, then click "Print."
This method gives you a physical copy that you can review, file, or submit wherever you need. The PDF version is usually the best choice for printing because it preserves the original formatting, while CSV is better if you plan to manipulate the data in a spreadsheet first.
How to download a statement from the Venmo app
If you only have your phone handy, the Venmo app lets you download a statement directly to your device or email it to yourself, then you can print it from a computer or any connected printer. This is a handy alternative when you’re away from a desk.
- Open the Venmo app on your iOS or Android device.
- Scroll down and tap "Statements."
- Select the year and month for the statement you need.
- Choose "Download" to save the file to your phone, or tap "Email" to send it to your registered email address.
- If you downloaded it, open the file from your downloads folder or file manager. If you emailed it, open the email on your computer and download the attachment there.
- Open the PDF or CSV and print it using your preferred printing method.
This approach works exactly the same as the website method but is optimized for touchscreens. Just remember that the app version may not offer custom date ranges, only monthly statements, so if you need a specific set of dates, use the website instead.
What to do if your statement file is too large
Sometimes a statement with many transactions can exceed the file size limit for direct download. If that happens, Venmo automatically sends the statement to your email address instead. You don’t need to do anything special, just check your inbox (and spam folder) for an email from Venmo with the statement attached. This is a built-in safeguard to ensure you still get your records even when the file is too big for the app or website to process as a direct download.
Once you receive the email, save the attachment to your computer or device, open it, and print as you normally would. This email delivery method is just as reliable as a direct download, and it gives you a second copy in your sent folder for future reference.
Accessing statements for a Venmo Teen Account
If you’re a parent or guardian managing a Venmo Teen Account, you have exclusive access to that account’s statements, your teen cannot download them from their own login. To get these statements, sign in to your own Venmo account (the parent/guardian account) and follow the same steps you would for your personal statements.
- Log in to your Venmo account on the website or app.
- Navigate to the Statements section using the steps above.
- Look for a toggle or dropdown that lets you switch between your account and your teen’s account.
- Select the teen’s account, then choose the month or date range you need.
- Download the PDF or CSV and print it as usual.
This restriction exists to protect minors’ financial privacy. Only the account holder who has legal responsibility for the teen can access these records, so if you need a teen statement for tax purposes or your own records, make sure you’re logged into the parent/guardian account. If you don’t see the option to switch accounts, double-check that you’re using the same login that set up the teen account originally.