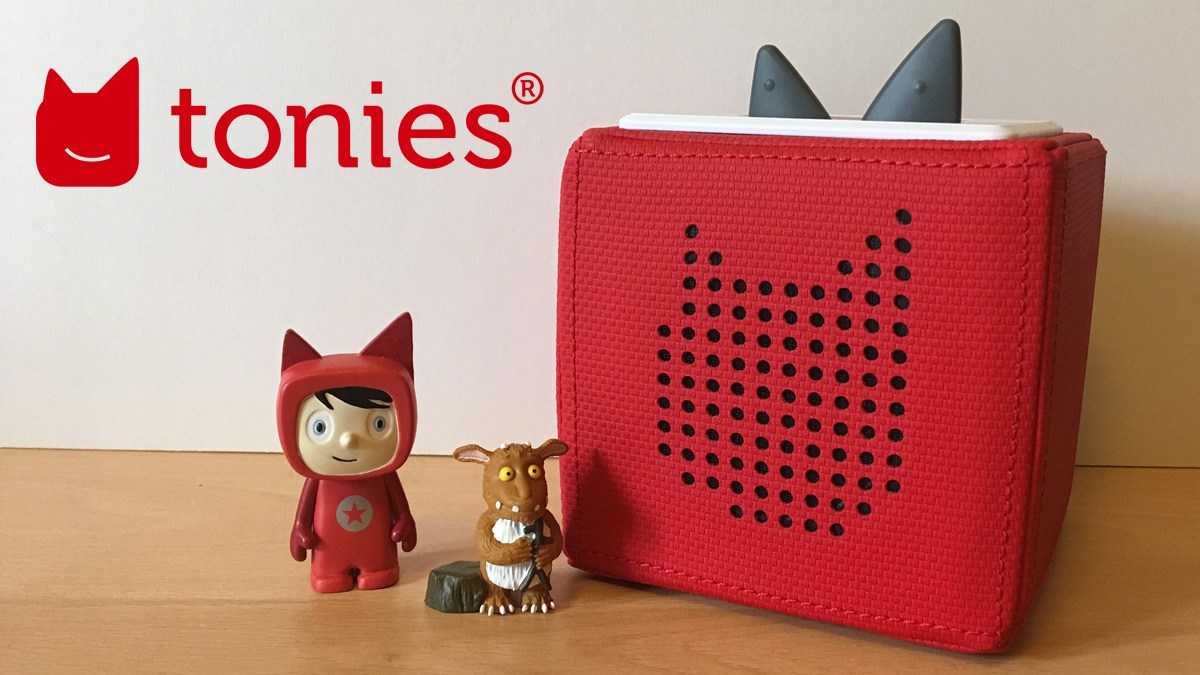
To download Tonies, you use two distinct methods: pre-recorded character Tonies download automatically when you place them on a Wi-Fi connected Toniebox, while Creative Tonies require you to manually assign audio files through the Tonie app or website and then sync the box. This guide walks you through both processes step by step, from initial setup to the final sync, so your child can enjoy their audio content offline in minutes.
Before you start: how to download tonies
Before downloading any Tonies, you need three things: a Tonie account, a Toniebox connected to your home Wi-Fi, and the Tonie app installed on your smartphone or tablet (or access to my.tonies.com on a computer).
First, create a Tonie account. Go to tonies.com or open the Tonie app and tap "Sign Up." Enter your email address, create a strong password, and verify your email. This account is your central hub for managing all Tonie content and syncing your Toniebox.
Next, connect your Toniebox to Wi-Fi. Turn on the Toniebox (it should have no Tonie on top). Pinch and hold one of its ears for about three seconds until you hear a chime and the LED flashes blue. This puts the box into setup mode. On your phone or computer, go to Wi-Fi settings and connect to the Toniebox's network (it appears as "Toniebox" or similar). Open the Tonie app or go to my.tonies.com, follow the on-screen prompts to select your home Wi-Fi network, and enter your Wi-Fi password. The Toniebox will connect and the LED will turn solid green. Your Toniebox is now ready.
Finally, install the Tonie app on your smartphone or tablet. Search for "Tonies" in the Apple App Store or Google Play Store, download the app, and log in with the Tonie account you just created. The app is free and essential for managing Creative Tonies, browsing content, and syncing your box.
Method 1: downloading a character tonie
Character Tonies (like Peppa Pig, Paw Patrol, or Disney characters) come pre-loaded with their audio content. You don't need to download anything manually, the content downloads automatically the first time you place the Tonie on a connected Toniebox.
Simply place the character Tonie on top of your Toniebox. The LED will blink blue, indicating that the Toniebox is downloading the audio content from the internet. Keep the Tonie on the box and wait. The download time depends on your Wi-Fi speed and the size of the audio file, but it typically takes 1-3 minutes. When the download is complete, the LED turns solid green and you'll hear a short chime. The Tonie is now ready to play.
Once downloaded, the character Tonie works offline. Your child can listen to the stories and songs anywhere, in the car, at the park, or during a power outage, without needing a Wi-Fi connection. The content is stored directly on the Toniebox, so it's always available. If you ever want to re-download the content (for example, after a reset), simply place the Tonie back on the box and the process repeats automatically.
Method 2: downloading content to a creative tonie
Creative Tonies are blank Tonies that you can fill with any audio you want, your own voice, songs, audiobooks, or free content from the Tonie library. Unlike character Tonies, you must manually assign the audio files using the Tonie app or the my.tonies.com website. Here's how to do it:
Using the Tonie app (smartphone/tablet):
- Open the Tonie app and log in to your account.
- Tap the "Creative Tonies" section in the app's main menu. You'll see your Creative Tonie(s) listed there.
- Tap on the Creative Tonie you want to add content to.
- You have two options: Record audio directly using the microphone icon, or upload existing audio files from your device using the upload icon (looks like an arrow pointing up).
- If uploading, select the audio file from your device. The file must be in MP3, M4A, or WAV format, and cannot exceed 1GB in size.
- You can add multiple tracks to a single Creative Tonie. The total audio time cannot exceed 90 minutes.
- After adding your content, tap "Save" or "Done" to assign the audio to the Creative Tonie.
Using the my.tonies.com website (computer):
- Go to my.tonies.com and log in to your Tonie account.
- Click on "Creative Tonies" in the left-hand menu.
- Select the Creative Tonie you want to edit.
- Click "Add audio" and choose either "Upload file" (from your computer) or "Record audio" (if your computer has a microphone).
- Follow the same file format and size rules as the app (MP3, M4A, WAV; max 1GB per file; max 90 minutes total).
- Click "Save" to assign the content.
Using free content from the Tonie library:
Both the app and the website have a "Free content library" (in the app) or "Audio Library" (on the website). You can browse this library and assign any free story, song, or educational audio to your Creative Tonie with just a tap or click, no file upload needed. This is a great way to expand your child's listening options without spending extra money.
How to sync your creative tonie to the toniebox
After you've assigned audio to your Creative Tonie in the app or website, you must sync your Toniebox to download the new content to the physical Tonie. This is a crucial step, without syncing, your Creative Tonie will remain empty.
Here's the sync process:
- Make sure your Toniebox is turned on and connected to Wi-Fi. Do not place any Tonie on top of the box during this step.
- Pinch one of the Toniebox's ears and hold it for about three seconds. You'll hear a chime and the LED will start flashing blue. This puts the box into sync mode.
- Wait for the LED to turn solid green. This indicates the Toniebox is ready to receive new content.
- Place your Creative Tonie on top of the Toniebox. The LED will blink blue again, and the box will download the audio content you assigned. This may take a few minutes depending on the file size.
- Your Creative Tonie is now ready to play.
Important: If you add or change content on a Creative Tonie later, you must repeat this sync process each time. The Toniebox only downloads the new audio when you initiate a sync. Also note that content uploaded to a Creative Tonie cannot be downloaded back from the Tonie to a device, the transfer is one-way only.
Troubleshooting and tips
If your character Tonie doesn't download automatically, check that your Toniebox is connected to Wi-Fi (the LED should be solid green when idle) and that the Tonie is placed correctly on the box. If the LED blinks red, the download failed, remove the Tonie, wait 10 seconds, and try again.
For Creative Tonies, if the sync fails, ensure the Toniebox is in sync mode (LED flashing blue) before placing the Tonie. Also verify that your audio files are in a supported format (MP3, M4A, WAV) and under 1GB each.
To manage multiple Creative Tonies, label them physically (with a sticker or marker) so you know which one has which content. You can also create playlists by placing multiple Tonies in a row on the Toniebox, it will play them in sequence, giving your child a continuous listening experience.
Finally, remember that character Tonies work offline after their initial download, but Creative Tonies also work offline once synced. This makes Tonies perfect for travel, quiet time, or screen-free entertainment anywhere.
\nRelated reading: How To Download Eaglercraft, How To Download W-2 From ADP, and How To Download Monkey.