Introduction
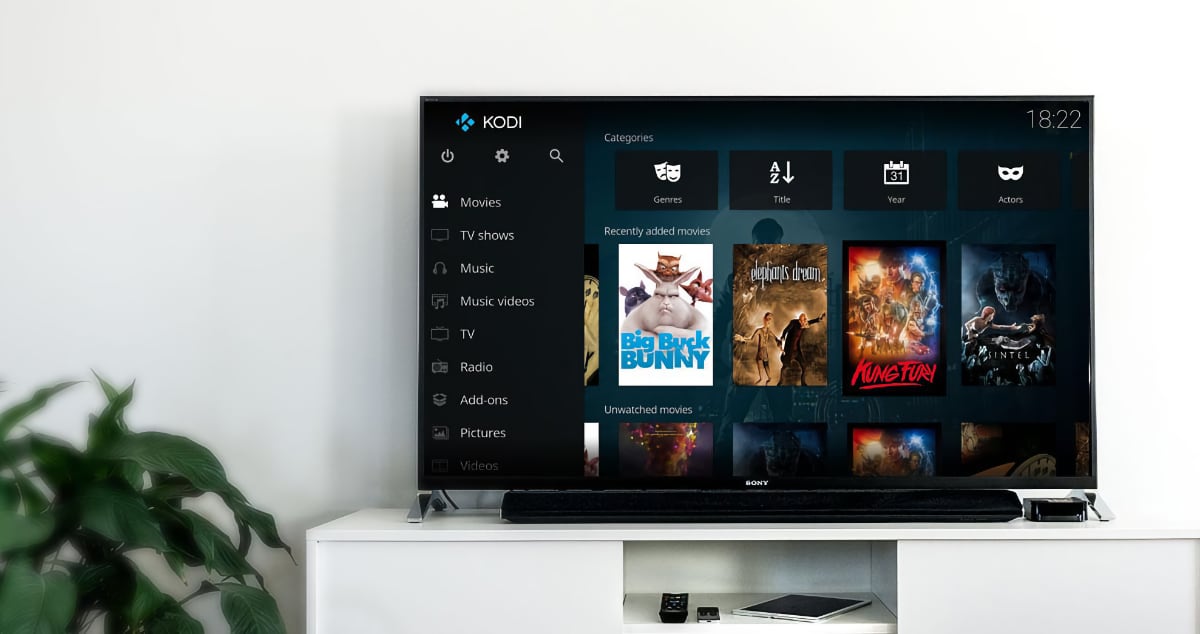
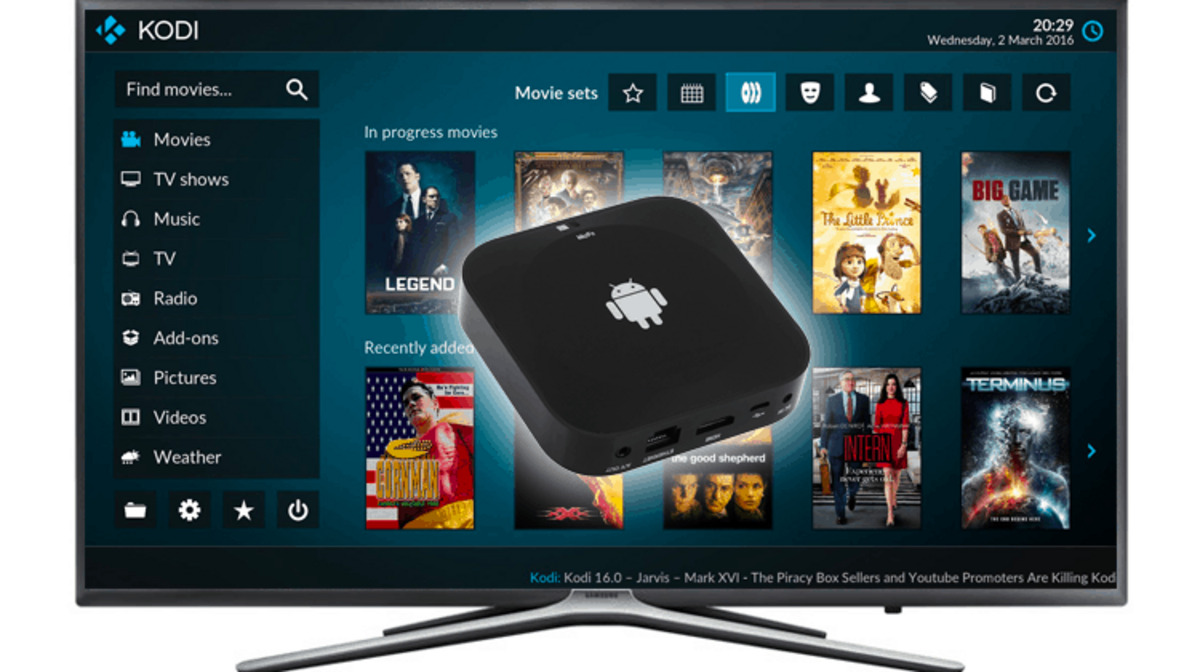
Kodi is a popular open-source media center that allows users to stream a wide range of content, including movies, TV shows, live sports, and more. One of the best add-ons for Kodi is The Crew, which offers a vast library of entertainment options for users to enjoy. Whether you’re a fan of the latest blockbuster movies or you prefer to binge-watch your favorite TV series, The Crew has got you covered.
In this guide, we will walk you through the process of downloading The Crew add-on on Kodi, so you can start enjoying your favorite content in no time. Whether you’re new to Kodi or a seasoned user, we’ll provide you with easy-to-follow steps to install The Crew add-on and get you on your way to endless entertainment.
Before you can start downloading The Crew on Kodi, it’s important to set up Kodi on your device. Kodi is compatible with a wide range of devices, including Windows, Mac, Linux, Android, and iOS. Once you have Kodi installed, you can proceed to the next steps to enable the necessary settings and install The Crew add-on.
It’s worth mentioning that The Crew add-on is a third-party extension and is not available on the official Kodi add-on repository. To install The Crew, we will need to enable unknown sources, which allows Kodi to install add-ons from external sources. However, always exercise caution when downloading add-ons from unknown sources and ensure you are using a secure and trusted alternative repository.
Now that we have introduced Kodi and The Crew add-on let’s dive into the step-by-step process to download The Crew on Kodi. Follow along and soon you’ll have access to an unlimited world of entertainment right at your fingertips.
Step 1: Set Up Kodi
Before you can start enjoying the benefits of The Crew add-on, you’ll need to set up Kodi on your device. Kodi is a versatile media center that supports various operating systems, including Windows, Mac, Linux, Android, and iOS. Follow these simple steps to set up Kodi:
- Visit the official Kodi website (https://kodi.tv/) and navigate to the “Downloads” section.
- Choose the version of Kodi that is compatible with your device’s operating system. Click on the appropriate download link to start the download process.
- Once the download is complete, run the installer file to begin installing Kodi on your device.
- Follow the on-screen instructions to complete the installation wizard. You may customize the installation settings, such as choosing the installation directory, language, and additional components if desired.
- After the installation is complete, launch Kodi to verify that it is running properly.
Congratulations! You have successfully set up Kodi on your device. Now you can proceed to the next step to enable unknown sources and install The Crew add-on.
Note: The steps for setting up Kodi may vary slightly depending on the operating system you are using. However, the general process remains the same. If you encounter any issues during the installation or setup process, refer to the Kodi documentation or seek assistance from the Kodi community.
Step 2: Enable Unknown Sources
Before you can install The Crew add-on on Kodi, you’ll need to enable the “Unknown Sources” option. This allows Kodi to install add-ons from external sources, including third-party repositories. Follow these steps to enable unknown sources:
- Launch Kodi on your device and go to the home screen.
- From the home screen, select the gear icon (Settings) located at the top left corner of the screen to access the Kodi settings.
- In the Kodi settings menu, click on “System” (or “System Settings” in some versions).
- On the left sidebar, select “Add-ons” and then toggle the switch next to “Unknown Sources” to enable it.
- A warning message will appear, informing you about the risks associated with installing add-ons from unknown sources. Read the message carefully and click “Yes” to proceed.
By enabling unknown sources, you are allowing Kodi to install add-ons from sources other than the official Kodi add-on repository. This provides you with the freedom to explore and install additional add-ons to enhance your Kodi experience.
It’s important to note that enabling unknown sources can pose security risks. Therefore, it is crucial to exercise caution and only install add-ons from trusted sources. Always verify the reputation and reliability of the source before proceeding with the installation.
Once you have enabled unknown sources, you’re ready to move on to the next step: installing a Kodi add-on repository.
Step 3: Install a Kodi Add-on Repository
Before you can install The Crew add-on on Kodi, you’ll need to install a Kodi add-on repository. Add-on repositories act as a source of add-ons, offering a wide range of options for you to choose from. Follow these steps to install a Kodi add-on repository:
- From the Kodi home screen, click on “Add-ons” located in the left sidebar.
- Next, click on the open box icon (Package Installer) located at the top left corner of the screen.
- Choose “Install from repository” to access the available repositories.
- Scroll through the list of repositories and select the one you want to install. Popular repositories include Kodi Add-on Repository, SuperRepo, and Noobs and Nerds. Click on the repository name to continue.
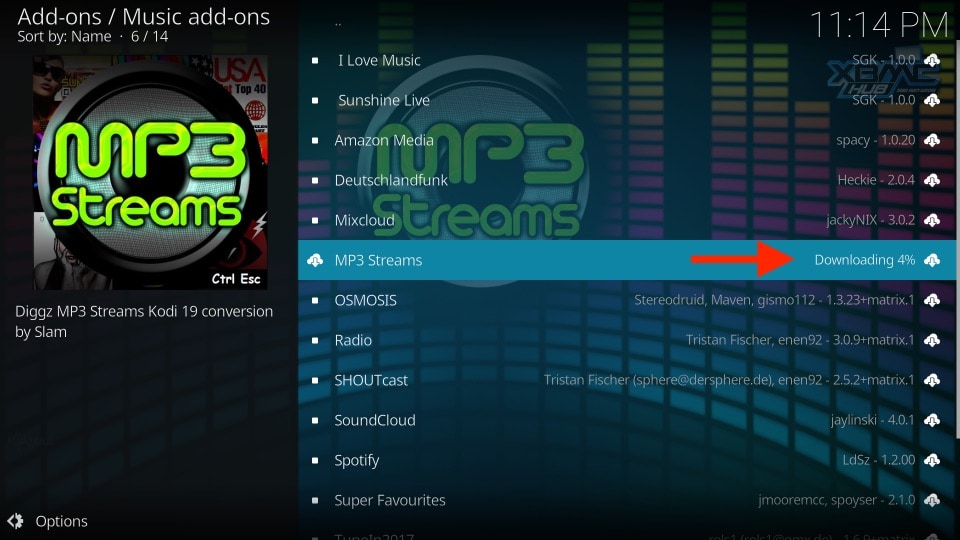
- Within the repository, you will find various categories of add-ons. Select the category that suits your needs, such as “Video add-ons” or “Music add-ons”.
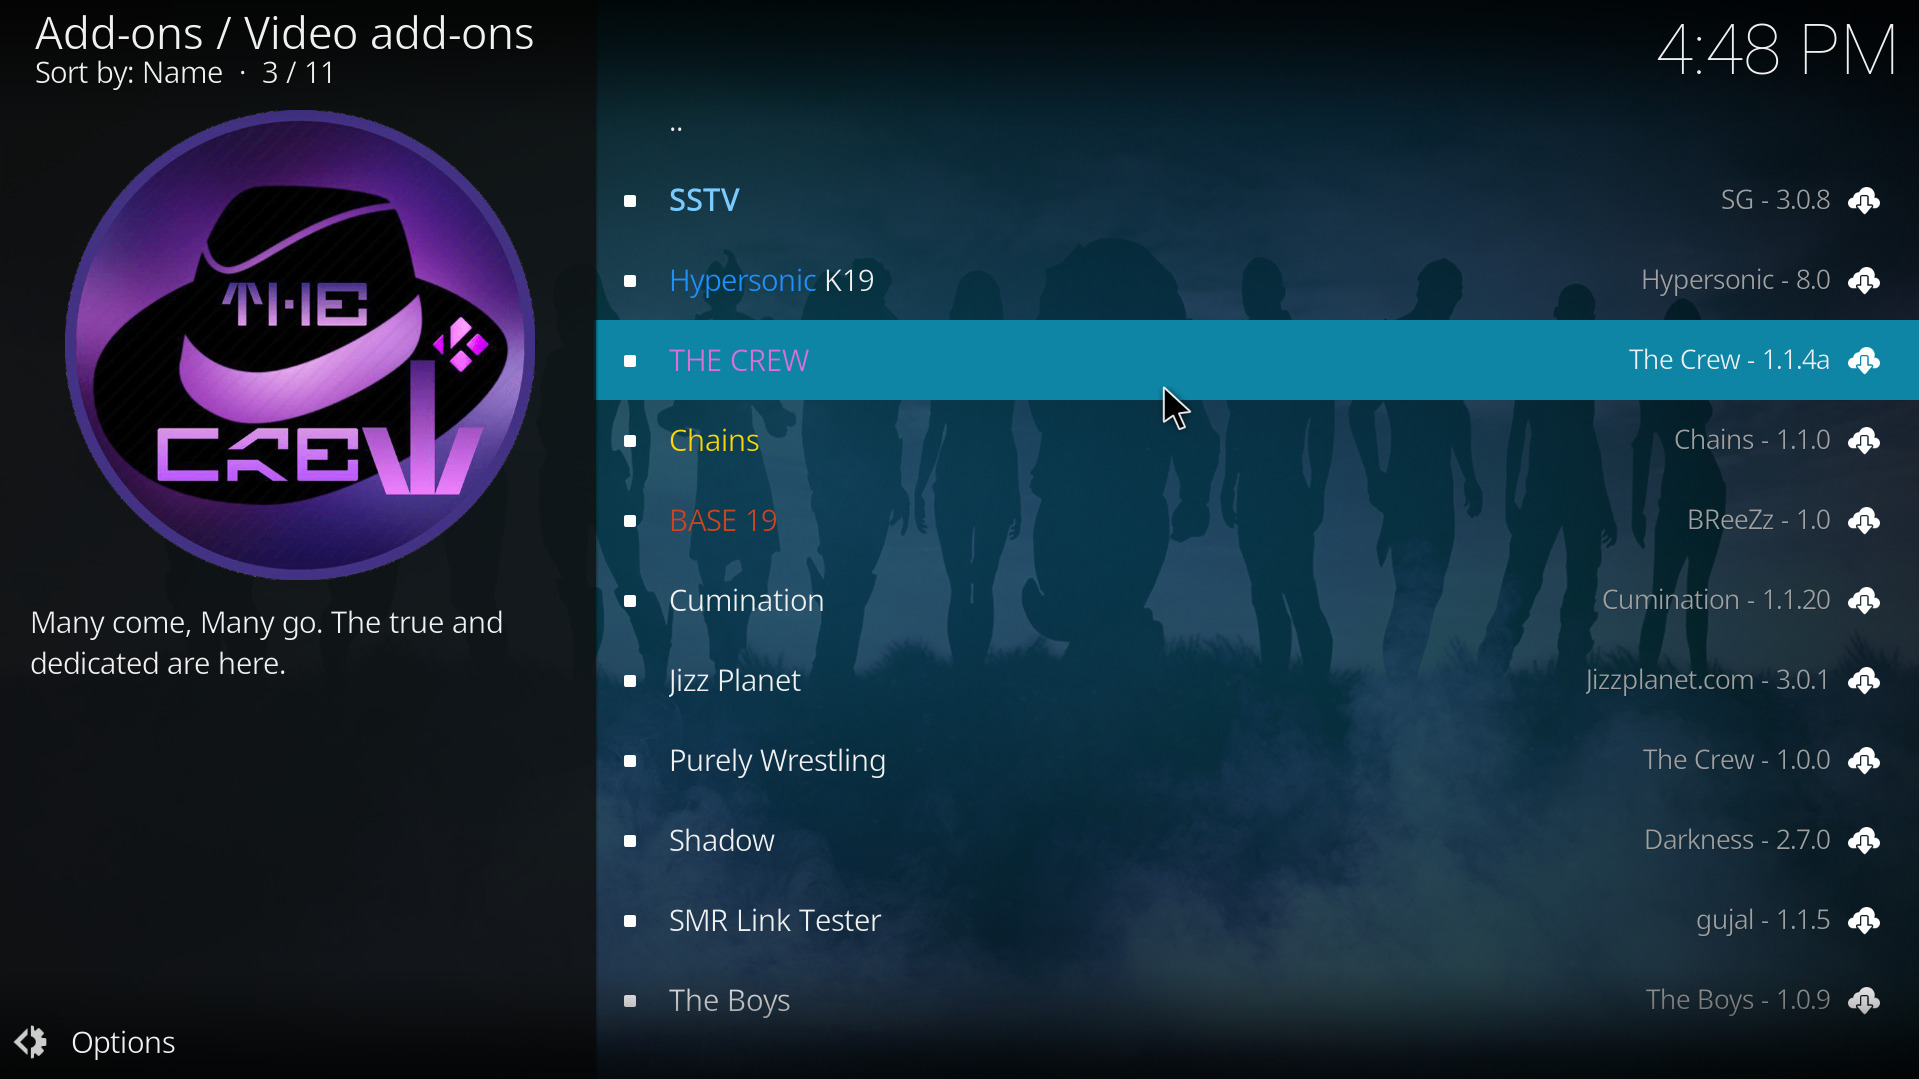
- Look for the specific add-on you want to install, in this case, The Crew. Click on it to access the add-on details page.
- On the add-on details page, click on the “Install” button to begin the installation process.
- Wait for the add-on to install. You will see a notification once the installation is complete.
By installing a Kodi add-on repository, you gain access to a vast library of add-ons that can greatly enhance your Kodi experience. It’s important to note that different repositories offer different add-ons, so you may want to explore multiple repositories to find the ones that best suit your entertainment needs.
Now that you have installed a Kodi add-on repository, you’re one step closer to enjoying The Crew add-on. In the next step, we will guide you through the process of installing The Crew on Kodi.
Step 4: Install The Crew Add-on
Now that you have successfully installed a Kodi add-on repository, it’s time to install The Crew add-on itself. The Crew is a powerful add-on that offers a wide range of streaming options, including movies, TV shows, live sports, and more. Follow these steps to install The Crew add-on:
- From the Kodi home screen, click on “Add-ons” located in the left sidebar.
- Next, click on the open box icon (Package Installer) located at the top left corner of the screen.
- Choose “Install from repository” to access the installed repositories.
- Select the repository from which you installed The Crew add-on.
- Within the repository, navigate to the category that corresponds to the add-on type. For example, if you’re installing a video add-on, go to the “Video add-ons” section.
- Scroll down the list of add-ons until you find The Crew. Click on it to access the add-on details page.
- On the add-on details page, click on the “Install” button to begin the installation process.
- Wait for the add-on to install. Once the installation is complete, you will receive a notification.
After installing The Crew add-on, you can access it from the “Add-ons” section of the Kodi home screen. Simply navigate to the appropriate category to find The Crew and start exploring its vast library of content.
It’s important to note that while The Crew is a popular and well-regarded add-on, its availability may vary depending on the repository you selected in the previous step. If The Crew is not available in your chosen repository, you can try installing it from a different repository or search for alternative add-ons that offer similar features and content.
With The Crew add-on installed, you now have access to a wide variety of streaming options. Enjoy your favorite movies, TV shows, and more, all conveniently available within Kodi.
Step 5: Enjoy Streaming on The Crew
Now that you have successfully installed The Crew add-on on Kodi, it’s time to start enjoying the vast array of streaming options it offers. The Crew provides a seamless and user-friendly interface that allows you to browse and stream your favorite movies, TV shows, live sports, and more. Here’s how to get started:
- From the Kodi home screen, click on “Add-ons” located in the left sidebar.
- Navigate to the relevant category where you installed The Crew add-on, such as “Video add-ons”.
- Click on The Crew to launch the add-on.
- You will be presented with a user-friendly interface that offers various categories and options to explore.
- Select your desired category, such as “Movies”, “TV Shows”, or “Live Sports”.
- Browse through the available options and select the content you want to stream.
- Choose the streaming source that suits your preferences.
- Enjoy streaming your favorite movies, TV shows, or live sports on The Crew!
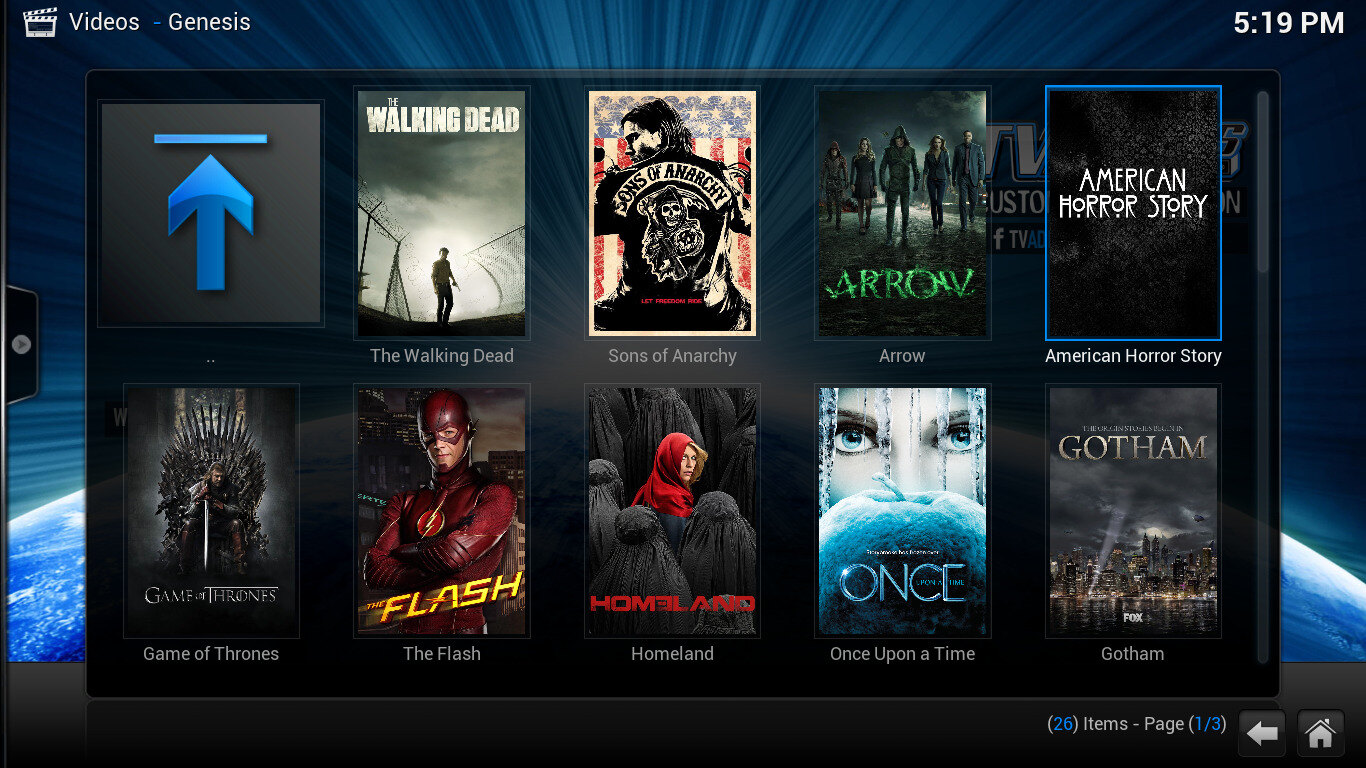
The Crew add-on offers a comprehensive collection of content for every taste, including popular movies, trending TV shows, sports events, and more. You can also take advantage of its search functionality to find specific titles or explore curated playlists and categories for a more personalized streaming experience.
It’s important to note that streaming content through add-ons like The Crew may require a reliable internet connection for smooth playback. Additionally, some sources may require you to have an account or a subscription to access certain content. Always ensure that you are streaming content legally and adhering to copyright laws in your jurisdiction.
With The Crew add-on, you can enjoy a wide range of entertainment options directly within the Kodi platform. Explore, discover, and kick back as you indulge in your favorite movies, shows, and more. Happy streaming!