Introduction
Welcome to this guide on how to download screenshots from Steam! If you are an avid gamer, chances are you have taken countless screenshots of your favorite gaming moments on the Steam platform. Whether it’s capturing an epic victory, a stunning in-game landscape, or a hilarious glitch, these screenshots are a valuable way to preserve and share your gaming experiences.
While Steam provides an easy way to view and share your screenshots within the platform, you might want to download them to your computer for various reasons. Perhaps you want to organize them into separate folders, use them as desktop wallpapers, or share them on social media platforms that are not directly integrated with Steam. Whatever the reason, this guide will walk you through the step-by-step process of downloading screenshots from Steam and help you make the most out of your gaming memories.
Before we delve into the details, it’s important to note that this guide assumes you already have the Steam client installed and are familiar with basic navigational features of the platform. Additionally, please ensure that your Steam client is up to date to avoid any potential compatibility issues.
So, without further ado, let’s get started with this simple and useful guide on how to download screenshots from Steam!
Why Downloading Screenshots from Steam is Important
Downloading screenshots from Steam provides several advantages and benefits for gamers. While Steam offers a convenient platform to view and share your screenshots, having the ability to download them gives you more control over your gaming memories. Here are a few reasons why downloading screenshots from Steam is important:
- Preserving your gaming memories: Gaming experiences are precious, and screenshots are a great way to capture those memorable moments. By downloading screenshots, you have a local copy of these memories that you can keep and revisit even if you no longer have access to the specific game or your Steam account.
- Sharing screenshots outside of Steam: While Steam makes it easy to share screenshots within its platform, downloading them allows you to share them on other platforms, such as social media, messaging apps, or personal websites. This way, you can showcase your gaming achievements and experiences to a wider audience.
- Organizing your screenshots: Downloading screenshots gives you the freedom to organize them on your computer according to your preferences. You can create folders, categorize them by game, date, or theme, and easily locate specific screenshots whenever you want to revisit or share them.
- Using screenshots for other purposes: Once you have downloaded your screenshots, you can use them for various purposes beyond Steam. You can set them as desktop wallpapers, create custom artwork, use them in game-related content creation, or even use them as references for game discussions or bug reporting.
Overall, downloading screenshots from Steam empowers you to have more control over your gaming memories and offers greater versatility in how you can share and utilize them. It enhances your overall gaming experience and allows you to make the most out of the screenshots you have captured.
Step 1: Accessing Your Steam Library
To begin downloading your screenshots from Steam, you’ll need to access your Steam Library. Follow these steps:
- Launch the Steam client on your computer. If you haven’t installed it yet, visit the official Steam website and download the client.
- Enter your Steam login credentials to log into your account.
- Once logged in, click on the “Library” tab located at the top of the Steam window. This will bring up a list of the games you own in your Steam library.
- Scroll through the list or use the search bar to locate the game from which you want to download screenshots. Click on the game’s title to access its library page.
Once you’ve successfully accessed your Steam Library, you’re ready to move on to the next step and locate the folder where your screenshots are stored.
Step 2: Locating Your Screenshots Folder
After accessing your Steam Library, the next step is to locate the folder where your screenshots are stored. Follow these instructions:
- On the game’s library page, look for the “Community Hub” tab located just below the game’s title banner. Click on it to access the game’s community page.
- Within the community page, you’ll find a navigation bar on the right side of the screen. Look for the “Guides” section and click on it.
- In the Guides section, you’ll see a list of all the guides available for the game. Look for the guide titled “Screenshots” or something similar. This guide will contain your screenshots folder.
- Click on the “Screenshots” guide to open it. Inside the guide, you’ll find a collection of images, which are actually your screenshots.
Alternatively, you can also access your screenshots folder directly from your computer’s file explorer. Here’s how:
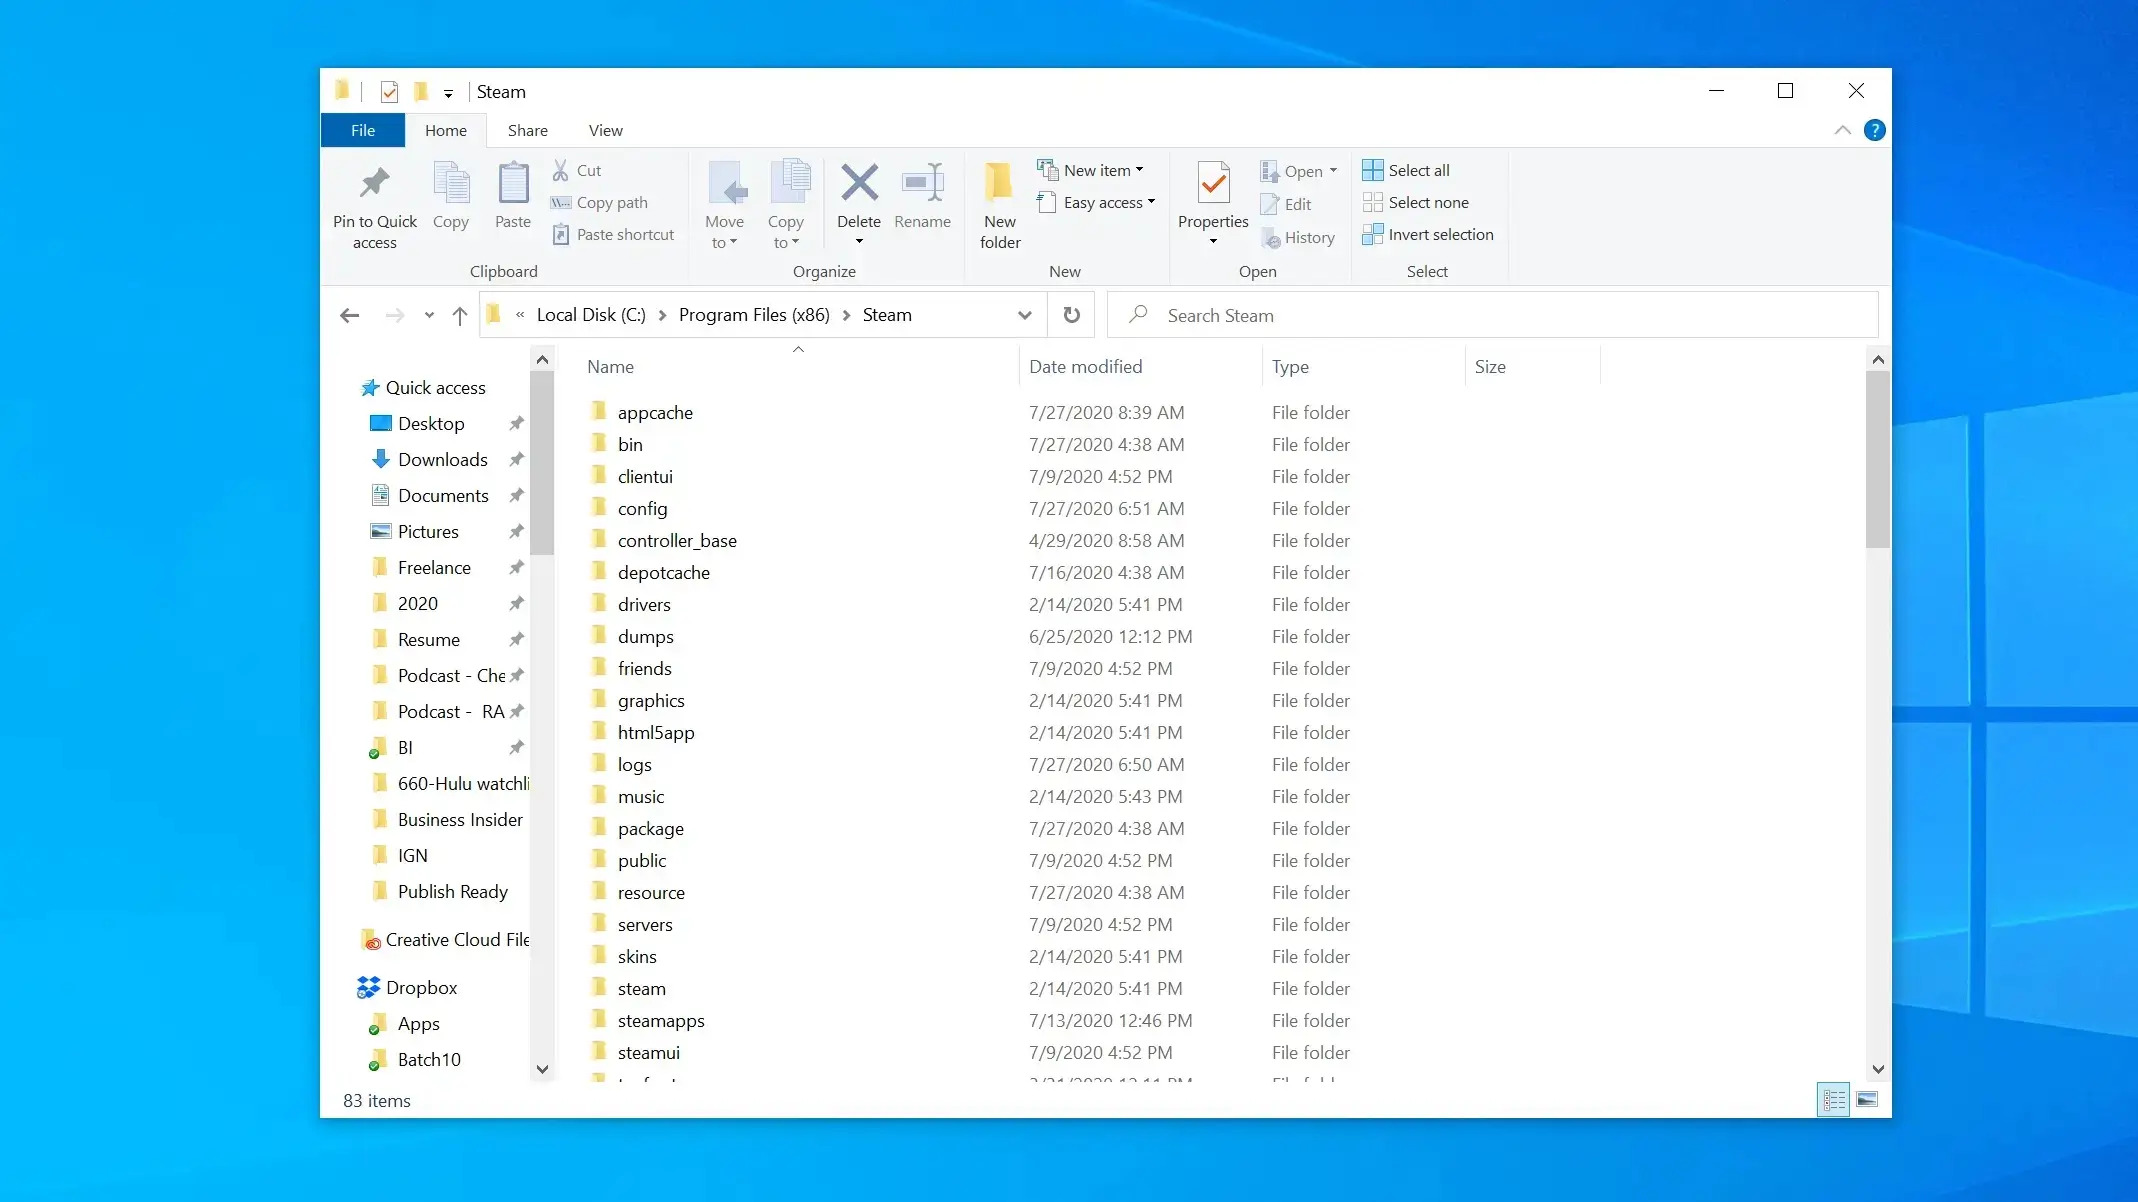
- Open your file explorer by clicking on the folder icon in your taskbar or by pressing the Windows key and E simultaneously on your keyboard.
- In the file explorer, navigate to the following directory: “
C:\Program Files (x86)\Steam\userdata\[your Steam ID]\760\remote“. - Within the “remote” folder, you’ll find another folder with a numerical name, which corresponds to your Steam account’s ID. Open this folder.
- Inside the account ID folder, you’ll find a series of folders numbered with different game IDs. Locate the folder representing the game from which you want to download the screenshots.
- Open the game’s folder and look for a subfolder named “screenshots”. This folder contains all of the screenshots you’ve taken in that particular game.
Once you’ve successfully located your screenshots folder, you’re ready to move on to the next step and start selecting and choosing the specific screenshots you want to download.
Step 3: Selecting and Choosing Your Desired Screenshots
Now that you have located the folder where your screenshots are stored, it’s time to select and choose the specific screenshots you want to download. Follow these steps:
- Open the screenshots folder either within the Steam client or through your computer’s file explorer, depending on the method you used to locate it.
- Browse through the screenshots to find the ones you want to download. You can use the thumbnail images to preview the screenshots and identify the ones you’re interested in.
- To select multiple screenshots at once, hold the Ctrl key on your keyboard and click on each screenshot you want to download. Alternatively, if you want to select all the screenshots in the folder, press Ctrl+A.
- If you’re using the Steam client, you can also use the checkbox located in the upper-right corner of each screenshot thumbnail to select or deselect them individually.
- Once you have selected the desired screenshots, you’re ready to move on to the next step and download them to your computer.
It’s worth noting that if you’re using the Steam client, the selected screenshots will be highlighted, making it easier for you to visually identify them. However, if you’re accessing the screenshots folder through your computer’s file explorer, there might not be any visual indication of the selected screenshots, but rest assured that they are still selected and ready for download.
Now that you have chosen the screenshots you want to download, it’s time to proceed to the next step and export them to your computer.
Step 4: Exporting Screenshots to Your Computer
After selecting the desired screenshots, the next step is to export them to your computer. Depending on your preferences, you can choose to export them individually or as a group. Follow these instructions to export your screenshots:
- Right-click on any of the selected screenshots and a context menu will appear.
- In the menu, select the “Save As” or “Export” option, which will prompt you to choose a location to save the selected screenshots on your computer.
- Alternatively, you can also use the keyboard shortcut Ctrl+S to quickly access the save/export option.
- Navigate to the folder on your computer where you want to save the screenshots. You can choose an existing folder or create a new one specifically for your downloaded Steam screenshots.
- Specify a name for each screenshot or use their default names. You can also choose the image file format (such as JPEG or PNG) for your exported screenshots.
- Click the “Save” or “Export” button to begin the downloading process. Depending on the size and number of the selected screenshots, this process may take a few moments.
- Once the download completes, you will find the exported screenshots in the location you specified.
It’s important to note that when exporting multiple screenshots, Steam will save them individually with their respective file names, making it easy for you to identify and organize them. This way, you’ll have a local copy of your Steam screenshots on your computer, ready to be accessed and used as you wish.
With the screenshots successfully exported to your computer, you’re now ready to move on to the final step of organizing your downloaded screenshots.
Step 5: Organizing Your Downloaded Screenshots
Now that you have successfully downloaded your screenshots from Steam, it’s time to organize them on your computer. Proper organization ensures easy access and allows you to find specific screenshots quickly. Follow these steps to organize your downloaded screenshots:
- Create a dedicated folder on your computer to store your downloaded screenshots. Choose a name that is descriptive and relevant, such as “Steam Screenshots” or the name of the specific game.
- Open the folder where you saved the downloaded screenshots.
- Create subfolders within the main folder to categorize your screenshots. You can create subfolders based on games, dates, genres, or any other criteria that make sense to you.
- Move the downloaded screenshots into their respective subfolders. You can do this by dragging and dropping the files into the desired subfolders or by right-clicking on the screenshots and selecting the “Cut” or “Copy” option, followed by pasting them into the appropriate subfolder.
- If desired, further organize the screenshots within the subfolders. For example, you can create additional subfolders within each game folder to separate different types of screenshots, such as “Gameplay,” “Achievements,” or “Funny Moments.”
- Consider renaming the files if you want to give them more descriptive names or add additional details. This can help you quickly identify the content of the screenshots without having to open them.
Organizing your downloaded screenshots not only helps in locating specific screenshots in the future but also ensures a clutter-free and well-structured collection. By creating a logical folder structure and naming conventions, you’ll be able to easily navigate through your screenshots and find the ones you need within seconds.
With your downloaded screenshots organized, you have successfully completed the process of downloading and organizing your Steam screenshots. Now you can enjoy browsing through your gaming memories and share them with others effortlessly!
Conclusion
Downloading screenshots from Steam is a simple yet valuable process that allows you to preserve, share, and organize your gaming memories. By following the step-by-step guide outlined in this article, you have learned how to access your Steam Library, locate the screenshots folder, select and choose specific screenshots, export them to your computer, and organize them in a systematic manner.
The ability to download and have local copies of your screenshots gives you greater control and flexibility in how you use and share them. Whether you want to create a personal collection, share them on social media, use them in content creation, or simply revisit your favorite gaming moments, having your screenshots readily available on your computer allows for convenient access and enhances your overall gaming experience.
Remember to regularly back up your downloaded screenshots to ensure their safety and prevent any potential loss. By maintaining a well-organized folder structure and utilizing descriptive names, you can easily navigate and locate specific screenshots whenever needed.
Now that you know how to download and organize your Steam screenshots, you can fully enjoy and cherish the memories captured in your favorite games. So go ahead, download those priceless gaming moments, and let your creativity and nostalgia roam free!