Introduction
Welcome to the world of screenshot downloading! Screenshots are a great way to capture and share moments of importance, whether it’s a hilarious conversation, a stunning image, or a helpful piece of information. However, knowing how to download these screenshots can sometimes be a challenge for those who are unfamiliar with the process.
In this article, we will guide you through the step-by-step process of downloading screenshots. Whether you’re a beginner or just need a refresher, we’ve got you covered. By the end of this guide, you’ll have all the necessary skills to effortlessly save screenshots and access them whenever you need them.
Downloading a screenshot may seem like a simple task, but there are often a few key steps involved that can make the process easier and more efficient. From selecting the desired screenshot to saving it in the appropriate folder, each step is crucial to ensure a successful download.
So, if you’re ready to become a pro at downloading screenshots, let’s jump right into it! Follow the steps outlined in this guide, and you’ll be well on your way to building your collection of saved screenshots in no time.
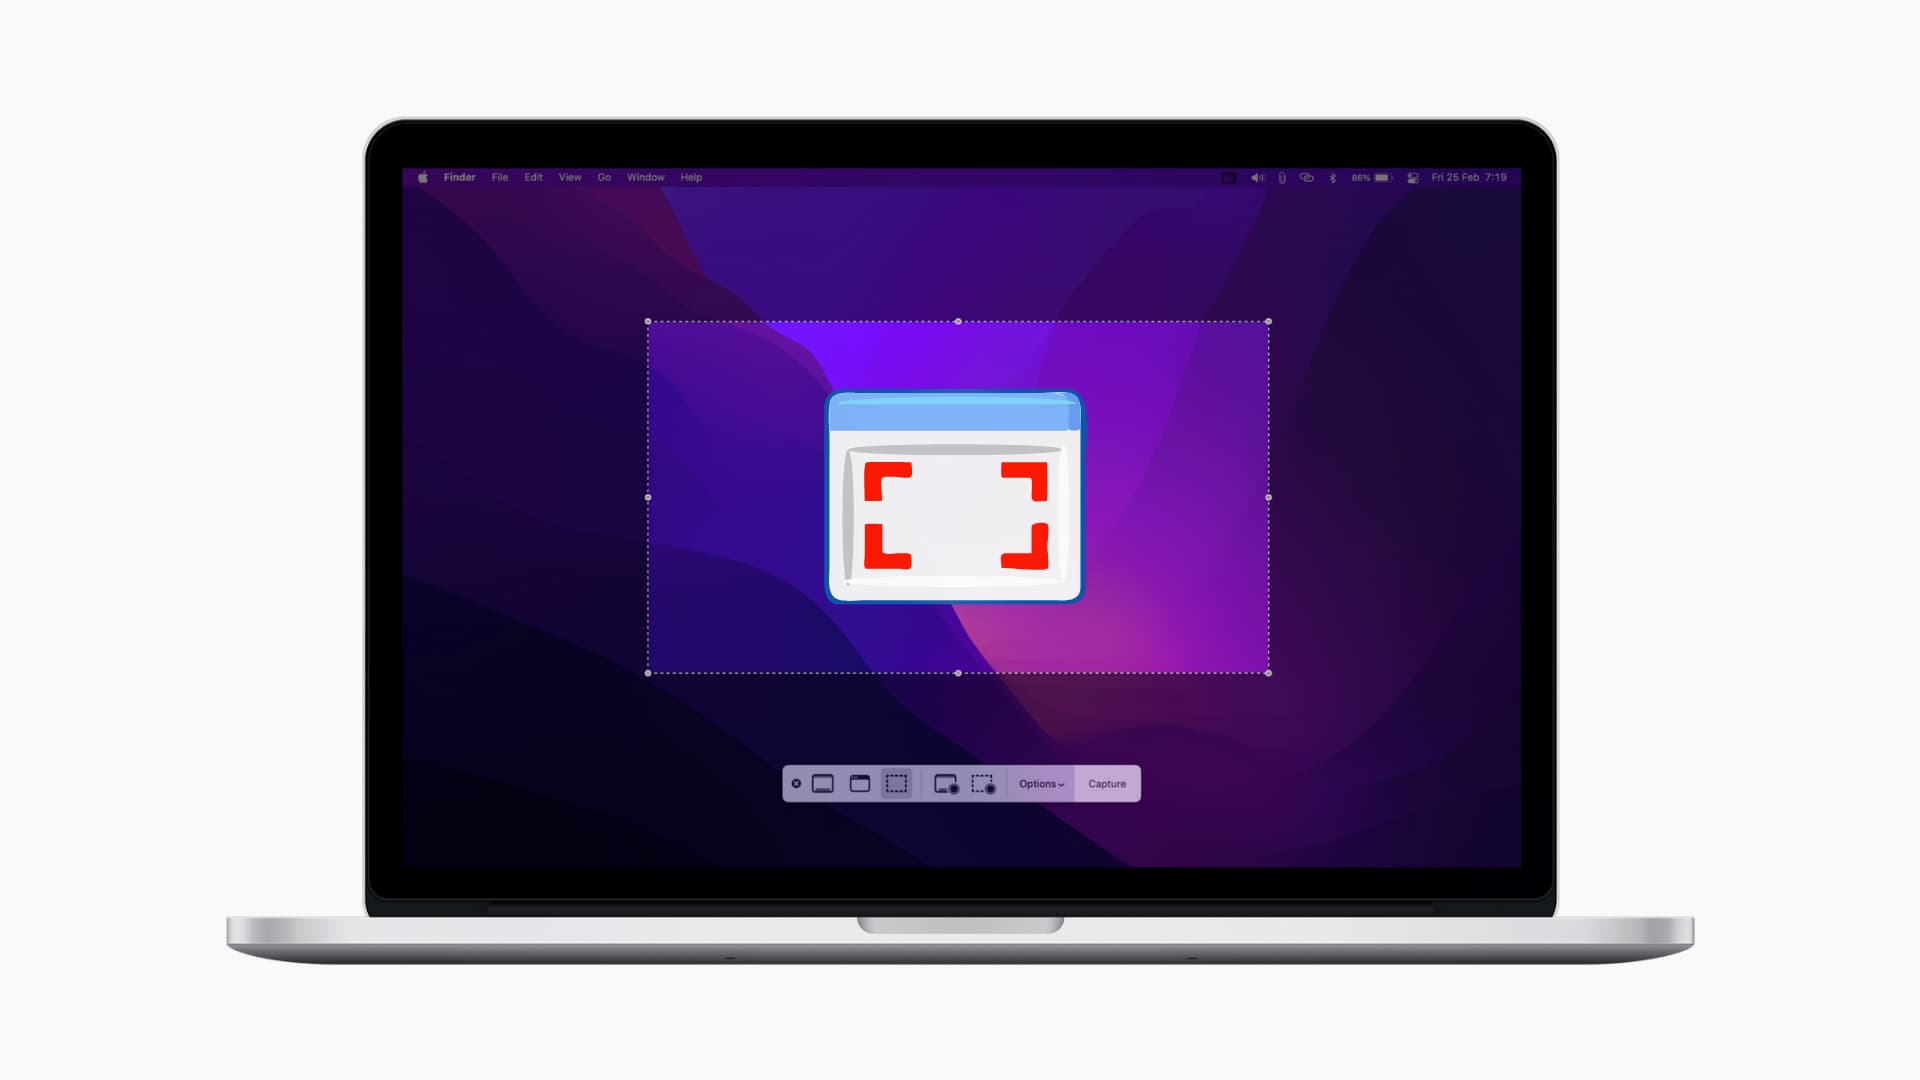
Step 1: Select the desired screenshots
The first step in downloading screenshots is to select the specific ones you want to save. Whether you’re browsing through a website, using a messaging app, or navigating through your computer files, the process of selecting screenshots remains the same.
To select a screenshot, simply locate the image on your screen. You can scroll through a webpage or a conversation to find the desired screenshot. Once you’ve found the screenshot you want to download, make sure it is fully visible on your screen.
It’s important to note that you can select multiple screenshots at a time if you want to save more than one. Just follow the same process for each screenshot you wish to download.
When selecting screenshots, try to choose ones that are clear and relevant to your needs. If you are sharing them with others, ensure that they convey the desired message or context effectively.
By carefully selecting your screenshots, you can create a collection that is organized and meaningful. Whether it’s for personal or professional purposes, selecting the right screenshots is the crucial first step towards successful downloading.
Step 2: Right-click on the screenshot
Once you have selected the desired screenshot, the next step is to right-click on it. Right-clicking will open a context menu with various options, including the one we need to download the screenshot.
To right-click, position your cursor over the selected screenshot and press the right mouse button. This will bring up the context menu, displaying a list of actions you can perform on the screenshot. Take a moment to familiarize yourself with the options available before proceeding.
While the exact wording may vary depending on the browser or application you are using, one of the options in the context menu should be “Save Image As” or “Save Picture As”. This is the option we need to select in order to download the screenshot.
By right-clicking on the screenshot, you are accessing a shortcut menu that enables you to take specific actions related to the image. This method allows you to quickly initiate the downloading process without the need for additional steps or navigating through various menus.
Remember to ensure that the screenshot you want to download is still selected when you right-click. If you accidentally click away from the screenshot or select something else, simply repeat the selection process and right-click again.
With just a right-click, you are ready to move on to the next step of the process, where we will choose the destination folder for your downloaded screenshot.
Step 3: Choose the “Save Image As” option
After right-clicking on the screenshot, a context menu will appear on your screen. In this menu, you need to locate and select the “Save Image As” or “Save Picture As” option. This step is crucial in initiating the download process.
The “Save Image As” option will usually be towards the bottom of the context menu. However, the exact placement may vary depending on the browser or application you are using. Take a moment to carefully scan through the available options to locate the “Save Image As” option.
By choosing the “Save Image As” option, you are instructing your device to save the selected screenshot as a file. This option is specifically designed for downloading images, making it the ideal choice for our purpose.
Clicking on the “Save Image As” option will prompt a file explorer window to appear, allowing you to specify the location on your device where the screenshot will be saved.
Take note of the file format of the screenshot. It is usually in JPEG or PNG format, which are commonly used for images. The file extension will be automatically assigned based on the image format to ensure compatibility when saving the screenshot.
Choosing the “Save Image As” option sets the stage for the next step, where we will select the destination folder where the downloaded screenshot will be stored.
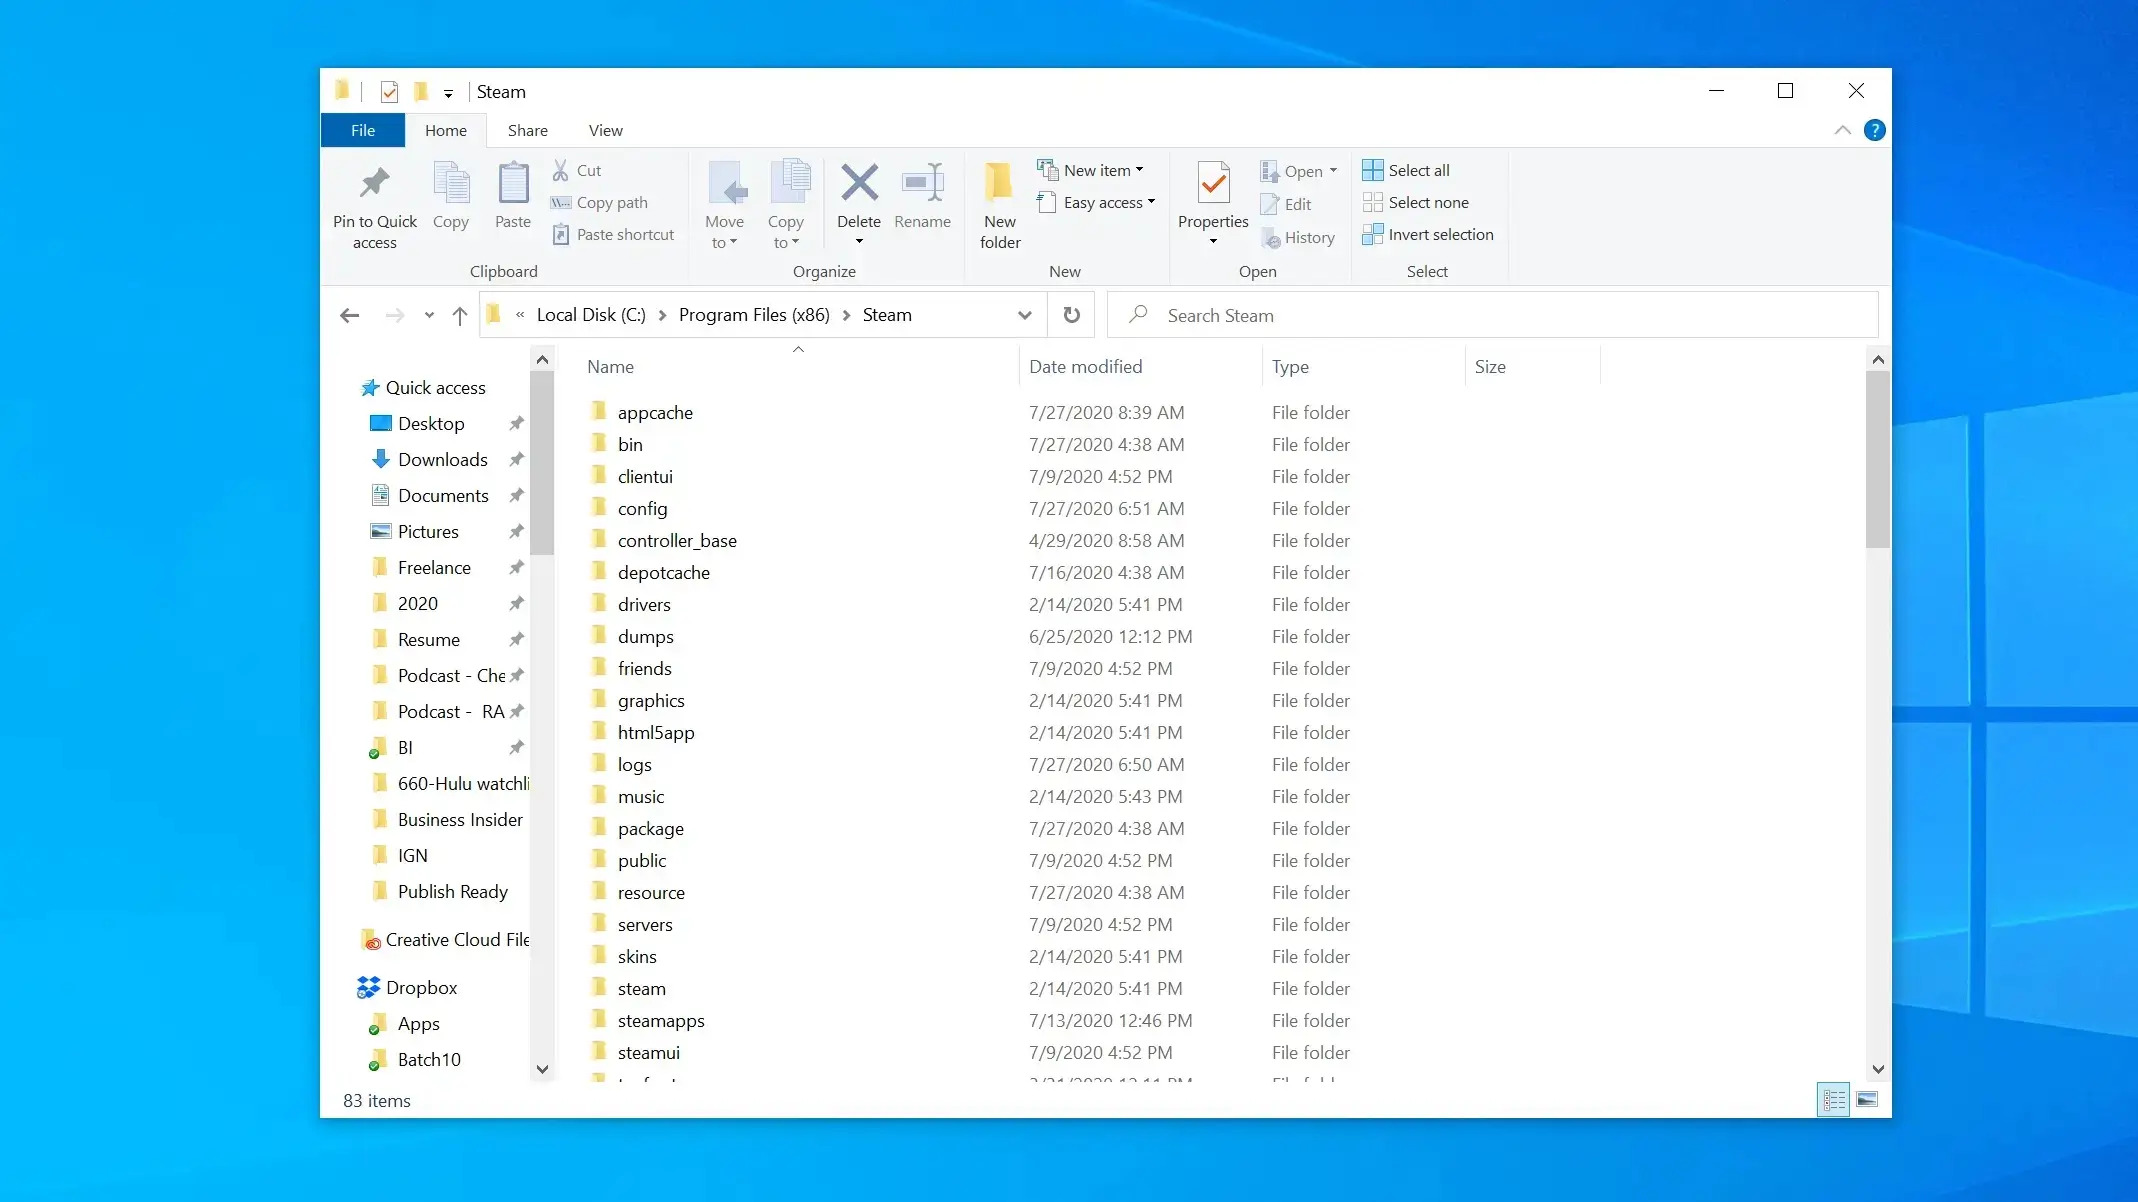
Step 4: Select the destination folder
After choosing the “Save Image As” option, a file explorer window will appear on your screen. This window allows you to select the folder where you want to save the downloaded screenshot.
Take a moment to navigate through your file directories and locate the desired folder. Consider organizing your folders in a way that makes it easy to find and access your saved screenshots in the future.
You can create a new folder specifically for saving screenshots, or choose an existing folder that is relevant to the content or purpose of the screenshot. For example, if you are downloading a screenshot related to a project, you may want to save it in a folder specifically dedicated to that project.
To select a destination folder, simply click on it once in the file explorer window. The chosen folder’s path will then appear in the file name field, indicating that it is the location where the screenshot will be saved.
Keep in mind that you can also choose to save the screenshot on your desktop for easy access. However, it is recommended to create a dedicated folder to keep your screenshots organized and prevent clutter on your desktop.
Once you have selected the destination folder, you are now ready to move on to the next step, where you can choose to rename the screenshot file if desired.
Step 5: Rename the screenshot file if desired
At this point, you have selected the destination folder where the screenshot will be saved. If you wish to give the screenshot file a different name, now is the time to do so.
When saving the screenshot, the file name is usually generated automatically based on the content of the screenshot or the webpage it was taken from. However, this name may not always be descriptive or recognizable to you.
To rename the file, you can either click directly on the file name in the file explorer window or use a keyboard shortcut such as F2. This will allow you to type a new name for the screenshot file.
When choosing a new name, try to make it relevant and meaningful. Consider including details such as the date, topic, or context of the screenshot to make it easier to identify in the future.
Additionally, by choosing a clear and concise name for the screenshot file, you can easily locate it later on when searching through your file directories.
Remember that renaming the file is optional. If you are satisfied with the automatically assigned name, you can proceed without making any changes.
Once you have decided on the file name, you are now prepared for the next step, where we will initiate the download of the screenshot by clicking “Save”.
Step 6: Click “Save” to download the screenshot
After selecting the destination folder and, if desired, renaming the screenshot file, it’s time to initiate the actual download process by clicking the “Save” button.
In the file explorer window, you will see a “Save” or “Save As” button located at the bottom or in a prominent position. This button confirms your selection and starts the download process.
Before clicking “Save”, double-check that everything is in order. Ensure that you have selected the correct destination folder and have given the screenshot file an appropriate name, if necessary.
Once you are confident that all the details are accurate, click the “Save” button. This action will trigger the download process and save the screenshot to the designated folder on your device.
Depending on the size of the screenshot and the speed of your internet connection, the download process may take a few seconds. During this time, avoid closing the file explorer window or navigating away from the page.
A progress bar or indicator may appear to show the download progress. Once the download is complete, you will receive a notification or confirmation that the screenshot has been successfully saved.
Now that you have clicked “Save” and completed the download process, you can rest assured that the screenshot is safely stored in the designated folder on your device.
With the screenshot successfully downloaded, you are now ready for the final step – confirming the successful download.
Step 7: Confirm the successful download
After clicking “Save” to download the screenshot, it’s important to confirm that the download was successful. This will give you peace of mind and ensure that the screenshot is readily accessible.
First, go to the destination folder where you specified the screenshot to be saved. Open the folder and look for the newly downloaded screenshot. Check if the screenshot file is present and appears as expected.
Take a moment to review the screenshot to ensure that it matches your expectations. Check if the image quality is satisfactory and if it accurately represents the content you intended to capture.
If you want to view the screenshot, simply double-click on the file, and it will open in the default image viewer on your device. This will allow you to verify that the screenshot is clear, readable, and serves its intended purpose.
Additionally, you can also perform a quick check by locating the screenshot in the application or platform where it was originally captured. For example, if you took a screenshot of a webpage, open the web browser and navigate to the page to see if the screenshot accurately represents the content.
By confirming the successful download, you can have confidence that you can access the screenshot whenever you need it. Whether it’s for personal reference, sharing with others, or using it for professional purposes, you can rely on the downloaded screenshot to fulfill its purpose.
Congratulations! You have successfully completed the process of downloading a screenshot. By following these seven steps, you can effortlessly save and organize screenshots to suit your needs.
Now that you have the necessary knowledge and skills, you are ready to build your collection of saved screenshots. Remember to exercise caution and respect the privacy and copyright of others while downloading and sharing screenshots.
Conclusion
Downloading screenshots may seem like a simple task, but it’s an essential skill for anyone who wants to capture and save important moments, information, or images. By following the step-by-step guide outlined in this article, you can confidently download and organize your screenshots.
We started by selecting the desired screenshot, ensuring that it represents the content or information you want to save. Then, we right-clicked on the screenshot to access the context menu and chose the “Save Image As” option to initiate the download process.
Next, we selected the destination folder where the screenshot would be saved, allowing us to stay organized and easily locate the saved screenshot in the future. We also had the option to rename the screenshot file to make it more meaningful and recognizable.
After selecting the destination and, if desired, renaming the screenshot file, we clicked “Save” to begin the actual download process. We confirmed the successful download by checking the destination folder for the screenshot and verifying its quality and accuracy.
By following these steps, you can confidently download and save screenshots for personal, professional, or communication purposes. Whether you want to capture funny conversations, capture website content, or save informative images, you now have the necessary knowledge to do so.
Remember to exercise caution and respect the privacy and copyright of others while downloading and sharing screenshots. Always ask for permission or follow the guidelines provided by the content owner before capturing and using screenshots.
With these skills at your disposal, you can effortlessly build a collection of saved screenshots that will be readily available whenever you need them. So go ahead, start capturing and downloading those memorable moments, important information, and stunning images with ease!