Introduction
Are you eager to explore your creativity and edit stunning videos? Look no further than Adobe Premiere Pro, the industry-leading video editing software. With its robust features and intuitive interface, Premiere Pro allows both beginners and professionals to bring their vision to life.
In this guide, we will walk you through the process of downloading Adobe Premiere Pro, so you can start creating professional-grade videos from the comfort of your own home. Whether you are an aspiring filmmaker, a YouTube content creator, or simply want to add some flair to your personal videos, Premiere Pro has everything you need to make your visions a reality.
Before we dive into the download process, let’s take a quick look at the system requirements to ensure your computer meets the necessary specifications:
- Operating System: Windows 10 (64-bit) or macOS Sierra (10.12) and later
- Processor: Intel® 6th Generation CPU or AMD equivalent
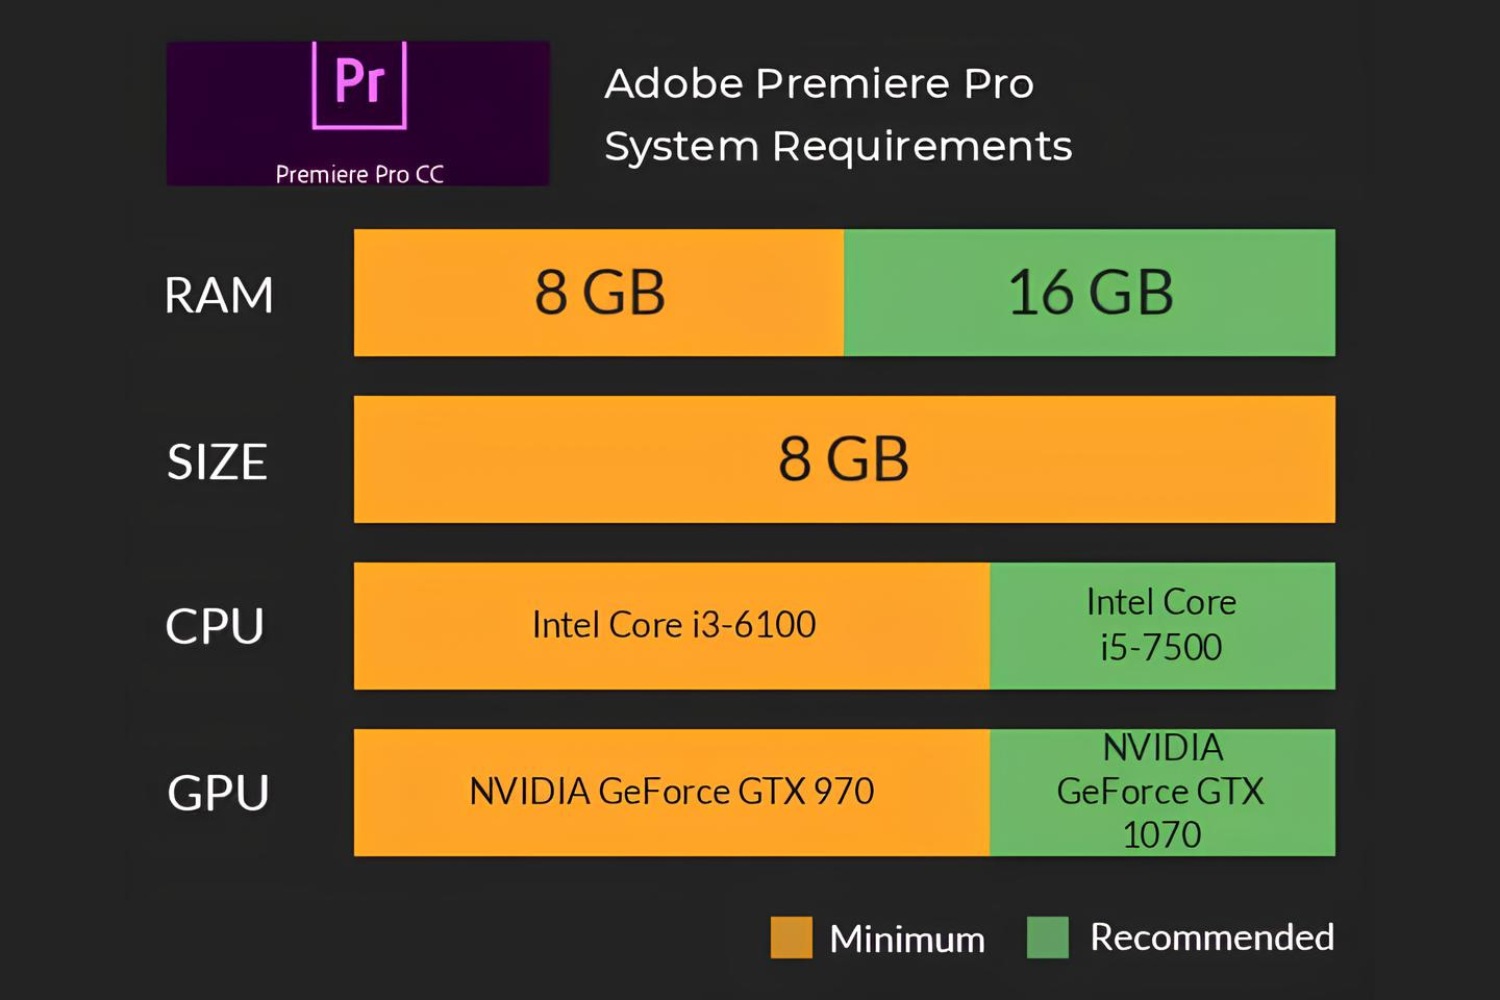
- RAM: 8 GB or more
- Storage: 8 GB of free space
- Display: 1280 x 800 resolution
- Graphics: NVIDIA GeForce GTX 970 or AMD Radeon R9 290 equivalent or higher
Now that you’ve confirmed your computer meets the requirements, let’s get started with the download process. Follow the steps below to get Adobe Premiere Pro up and running on your system.
System Requirements
Before you start the process of downloading Adobe Premiere Pro, it’s essential to ensure that your computer meets the necessary system requirements. This will help ensure smooth and efficient utilization of the software, allowing you to create and edit videos without any performance issues. Here are the minimum system requirements for Adobe Premiere Pro:
- Operating System: Windows 10 (64-bit) or macOS Sierra (10.12) and later.
- Processor: Intel® 6th Generation CPU or AMD equivalent.
- RAM: 8 GB or more.
- Storage: 8 GB of free space.
- Display: 1280 x 800 resolution.
- Graphics: NVIDIA GeForce GTX 970 or AMD Radeon R9 290 equivalent or higher.
Please note that these are the minimum requirements, and to experience optimal performance, it is recommended to have a higher-end processor, more RAM, and a dedicated graphics card. Additionally, having a solid-state drive (SSD) for your storage can help with faster read/write speeds, enhancing the overall editing experience.
It’s also worth mentioning that Adobe Premiere Pro is a resource-intensive application, especially when working with high-resolution and complex projects. Therefore, having a powerful computer setup will ensure a smooth editing workflow and minimize any potential lag or delays.
By checking your computer’s specifications against these requirements, you can ensure that you have a compatible system capable of running Adobe Premiere Pro efficiently. Now that you know your computer meets the necessary criteria, let’s proceed to the next step: downloading the software.
Step 1: Go to the Adobe Creative Cloud website
The first step in the process of downloading Adobe Premiere Pro is to visit the official Adobe Creative Cloud website. Creative Cloud is the platform that Adobe uses to deliver its software applications, including Premiere Pro. By accessing the Creative Cloud website, you will have access to the latest version of Premiere Pro and other Adobe products.
To get started, open your preferred web browser and navigate to the Adobe Creative Cloud website. You can do this by typing “Adobe Creative Cloud” in the search bar and selecting the official Adobe website from the search results. Alternatively, you can directly navigate to the website by entering the URL “www.adobe.com/creativecloud.html” in the address bar.
Once you have arrived at the Adobe Creative Cloud website, take a moment to explore the various features and offerings available. You will find a range of creative tools and services that can enhance your editing capabilities.
When you are ready, proceed to the next step, sign in or create an Adobe ID, which is necessary to download Adobe Premiere Pro and access other Adobe Creative Cloud applications.
Step 2: Sign in or Create an Adobe ID
In order to proceed with the download and installation of Adobe Premiere Pro, you will need to sign in or create an Adobe ID. An Adobe ID is a unique login credential that allows you to access various Adobe products and services, including the Creative Cloud.
If you already have an Adobe ID, simply click on the “Sign In” button located on the top right corner of the Adobe Creative Cloud website. Enter your Adobe ID email address and password and click on “Sign In.” This will grant you access to your Adobe account, where you can manage your subscriptions and software installations.
If you don’t have an Adobe ID yet, you can easily create one by clicking on the “Sign In” button on the top right corner of the Adobe Creative Cloud website, and then select the “Get an Adobe ID” option located below the login form. This will take you to the Adobe ID creation page.
On the Adobe ID creation page, you will be asked to provide your email address, first and last name, and create a password for your Adobe ID. Fill in the required information, make sure to choose a strong and secure password, and then click on the “Sign up” button to create your Adobe ID.
After signing in or creating a new Adobe ID, you will have access to the Adobe Creative Cloud dashboard, where you can manage your account settings, subscriptions, and downloads.
Now that you have successfully signed in or created an Adobe ID, you can proceed to the next step: choosing the Creative Cloud plan.
Step 3: Choose the Creative Cloud Plan
Once you have signed in to your Adobe account, the next step is to choose the Creative Cloud plan that best suits your needs. Adobe offers different plans with various pricing options, allowing you to select the subscription that aligns with your budget and requirements.
To choose a Creative Cloud plan, navigate to the “Plans” or “Subscription” section on the Adobe Creative Cloud website. Here, you will find an overview of the available plans, including features and pricing details.
Take the time to review the different plans and compare their features. Adobe offers individual plans for personal use, as well as business plans for teams and enterprises. Each plan grants access to different Adobe applications, including Premiere Pro.
Consider your editing needs and the level of usage you anticipate. If you only require Premiere Pro for personal use, the individual plan might be the most suitable option. However, if you are part of a team or organization that requires multiple Adobe applications, the business plan might be a better fit.
Once you have selected the plan that meets your requirements, click on the “Buy Now” or “Choose Plan” button next to the respective plan. This will redirect you to the subscription page, where you can review the pricing details and choose the billing cycle that suits you best.
After reviewing the subscription details and making sure everything is correct, click on the “Continue” or “Proceed to Checkout” button to move forward with the purchase process.
Now that you have chosen your Creative Cloud plan, it’s time to download the Creative Cloud desktop app, which will be the gateway to installing Adobe Premiere Pro on your computer.
Step 4: Download the Creative Cloud desktop app
After selecting your desired Creative Cloud plan, the next step is to download the Creative Cloud desktop app. This app serves as a central hub for managing your Adobe software installations and updates.
To download the Creative Cloud desktop app, go to the Adobe Creative Cloud website and sign in with your Adobe ID. Once you are signed in, navigate to the “Apps” or “Downloads” section, usually located in the top navigation menu.
In the Apps or Downloads section, you will find a list of available Adobe applications. Look for the Creative Cloud desktop app and click on the “Download” or “Install” button next to it.
Depending on your operating system, the download process may vary. If you are using Windows, an executable file will be downloaded to your computer. Simply double-click on the file to start the installation process. If you are using macOS, a DMG file will be downloaded. Open the DMG file and follow the on-screen instructions to install the Creative Cloud desktop app.
During the installation process, you may be prompted to review and accept the Adobe terms and conditions. Carefully read through the terms and conditions, then check the box indicating that you agree to them before proceeding.
Once the installation is complete, launch the Creative Cloud desktop app. You may be asked to sign in again with your Adobe ID before gaining access to the app.
Congratulations! You have now successfully installed the Creative Cloud desktop app on your computer. In the next step, we will guide you through launching the Creative Cloud desktop app and finding Premiere Pro for installation.
Step 5: Install the Creative Cloud desktop app
Now that you have downloaded the Creative Cloud desktop app, the next step is to install it on your computer. The Creative Cloud desktop app is the gateway to all Adobe applications, including Adobe Premiere Pro.
To install the Creative Cloud desktop app, locate the downloaded installation file on your computer. If you are using Windows, it may be an executable file (.exe) that you can open by double-clicking on it. If you are using macOS, it may be a DMG file that you can open by double-clicking as well.
Once you open the installation file, follow the on-screen instructions to proceed with the installation. You may be prompted to review and accept the Adobe terms and conditions. Take the time to read through the terms and conditions carefully, and if you agree to them, check the box indicating your acceptance.
After accepting the terms and conditions, you may be asked to choose the installation location for the Creative Cloud desktop app. You can select the default location or choose a different location on your computer’s hard drive.
The installation process may take a few minutes depending on your computer’s speed. Once the installation is complete, you will see a confirmation message indicating that the Creative Cloud desktop app has been successfully installed on your computer.
Now that the Creative Cloud desktop app is installed, you are one step closer to accessing and installing Adobe Premiere Pro. In the next step, we will guide you through launching the Creative Cloud desktop app to begin installing Premiere Pro.
Step 6: Launch the Creative Cloud desktop app
With the Creative Cloud desktop app successfully installed on your computer, it’s time to launch the application and prepare for the installation of Adobe Premiere Pro. The Creative Cloud desktop app acts as a central hub, allowing you to manage and install Adobe software.
To launch the Creative Cloud desktop app, locate the app icon on your computer. On Windows, you can typically find it in the Start menu or on the desktop if you created a shortcut. On macOS, it can be found in the Applications folder or in the Dock if you added it there.
Once you locate the Creative Cloud desktop app, double-click on the icon to open it. If prompted, sign in to your Adobe account using your Adobe ID and password. This will grant you access to the Creative Cloud dashboard and its range of applications.
After signing in, the Creative Cloud desktop app will load, displaying a range of Adobe applications available for installation. You can browse through the applications or use the search bar to find Adobe Premiere Pro specifically.
Once you have found Adobe Premiere Pro, click on the “Install” button next to it. The Creative Cloud desktop app will begin downloading and installing Premiere Pro on your computer. The installation process may take some time depending on your internet speed and computer performance.
While Adobe Premiere Pro is being installed, you can continue to browse the Creative Cloud dashboard for additional apps or manage your account settings. The Creative Cloud desktop app will provide information on the progress of the installation, including the estimated time remaining.
Once the installation is complete, you will receive a notification confirming that Adobe Premiere Pro is ready to be launched. Click on the “Open” button to start using Adobe Premiere Pro and unleash your creativity with its powerful video editing capabilities.
Congratulations! You have successfully launched the Creative Cloud desktop app and initiated the installation of Adobe Premiere Pro. In the next step, we will guide you through finding and installing Premiere Pro using the Creative Cloud desktop app.
Step 7: Find and install Premiere Pro
Now that you have launched the Creative Cloud desktop app, it’s time to find and install Adobe Premiere Pro on your computer. Premiere Pro is a powerful video editing software that allows you to unleash your creativity and bring your vision to life.
To find Premiere Pro, navigate within the Creative Cloud desktop app. You can browse through the available applications or use the search bar at the top of the app to quickly find Premiere Pro.
Once you have located Premiere Pro, click on the “Install” button next to it. The Creative Cloud desktop app will start the installation process, downloading all the necessary files and components required for Premiere Pro to run smoothly.
While Premiere Pro is being installed, you can track the progress using the progress bar or the percentage indicator. The installation time may vary depending on your internet connection speed and your computer’s performance.
During the installation, it is recommended to ensure that you have a stable internet connection. This will help to avoid any interruptions or errors during the process. While the installation is in progress, you can continue exploring other features of the Creative Cloud desktop app or work on other tasks.
Once the installation is complete, you will receive a notification confirming that Adobe Premiere Pro is ready to use. You can then click on the “Open” button to launch Premiere Pro and start creating amazing videos.
After launching Premiere Pro, take some time to explore its various features and get familiar with the workspace. You will find a wide range of tools and options that can enhance your video editing experience.
Congratulations! You have successfully found and installed Adobe Premiere Pro using the Creative Cloud desktop app. You are now ready to dive into the world of professional video editing. In the next step, we will provide some tips on how to get started with Premiere Pro and start creating your first video.
Step 8: Open Premiere Pro and start creating amazing videos!
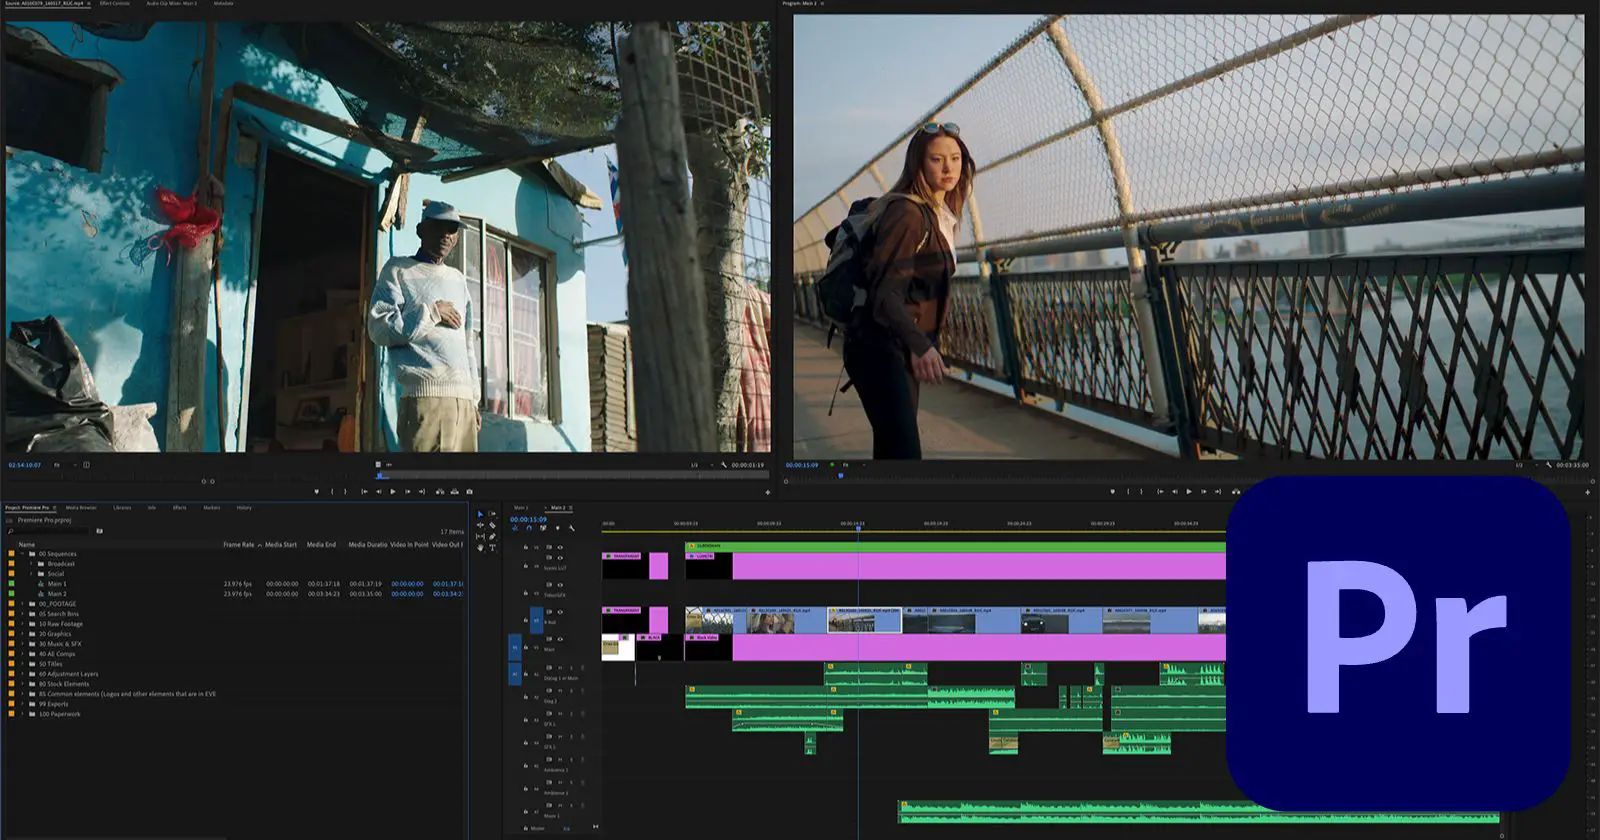
Now that you have installed Adobe Premiere Pro, it’s time to open the application and embark on your video editing journey. Premiere Pro offers a plethora of powerful tools and features that allow you to bring your creative vision to life.
To open Premiere Pro, locate the application icon on your computer. On Windows, you can typically find it in the Start menu or on the desktop if you created a shortcut. On macOS, it can be found in the Applications folder or in the Dock if you added it there.
Once you have located the Premiere Pro icon, double-click on it to launch the application. The loading screen will appear, followed by the Premiere Pro workspace. You will be greeted with a user-friendly interface that allows you to navigate through different panels and workspaces.
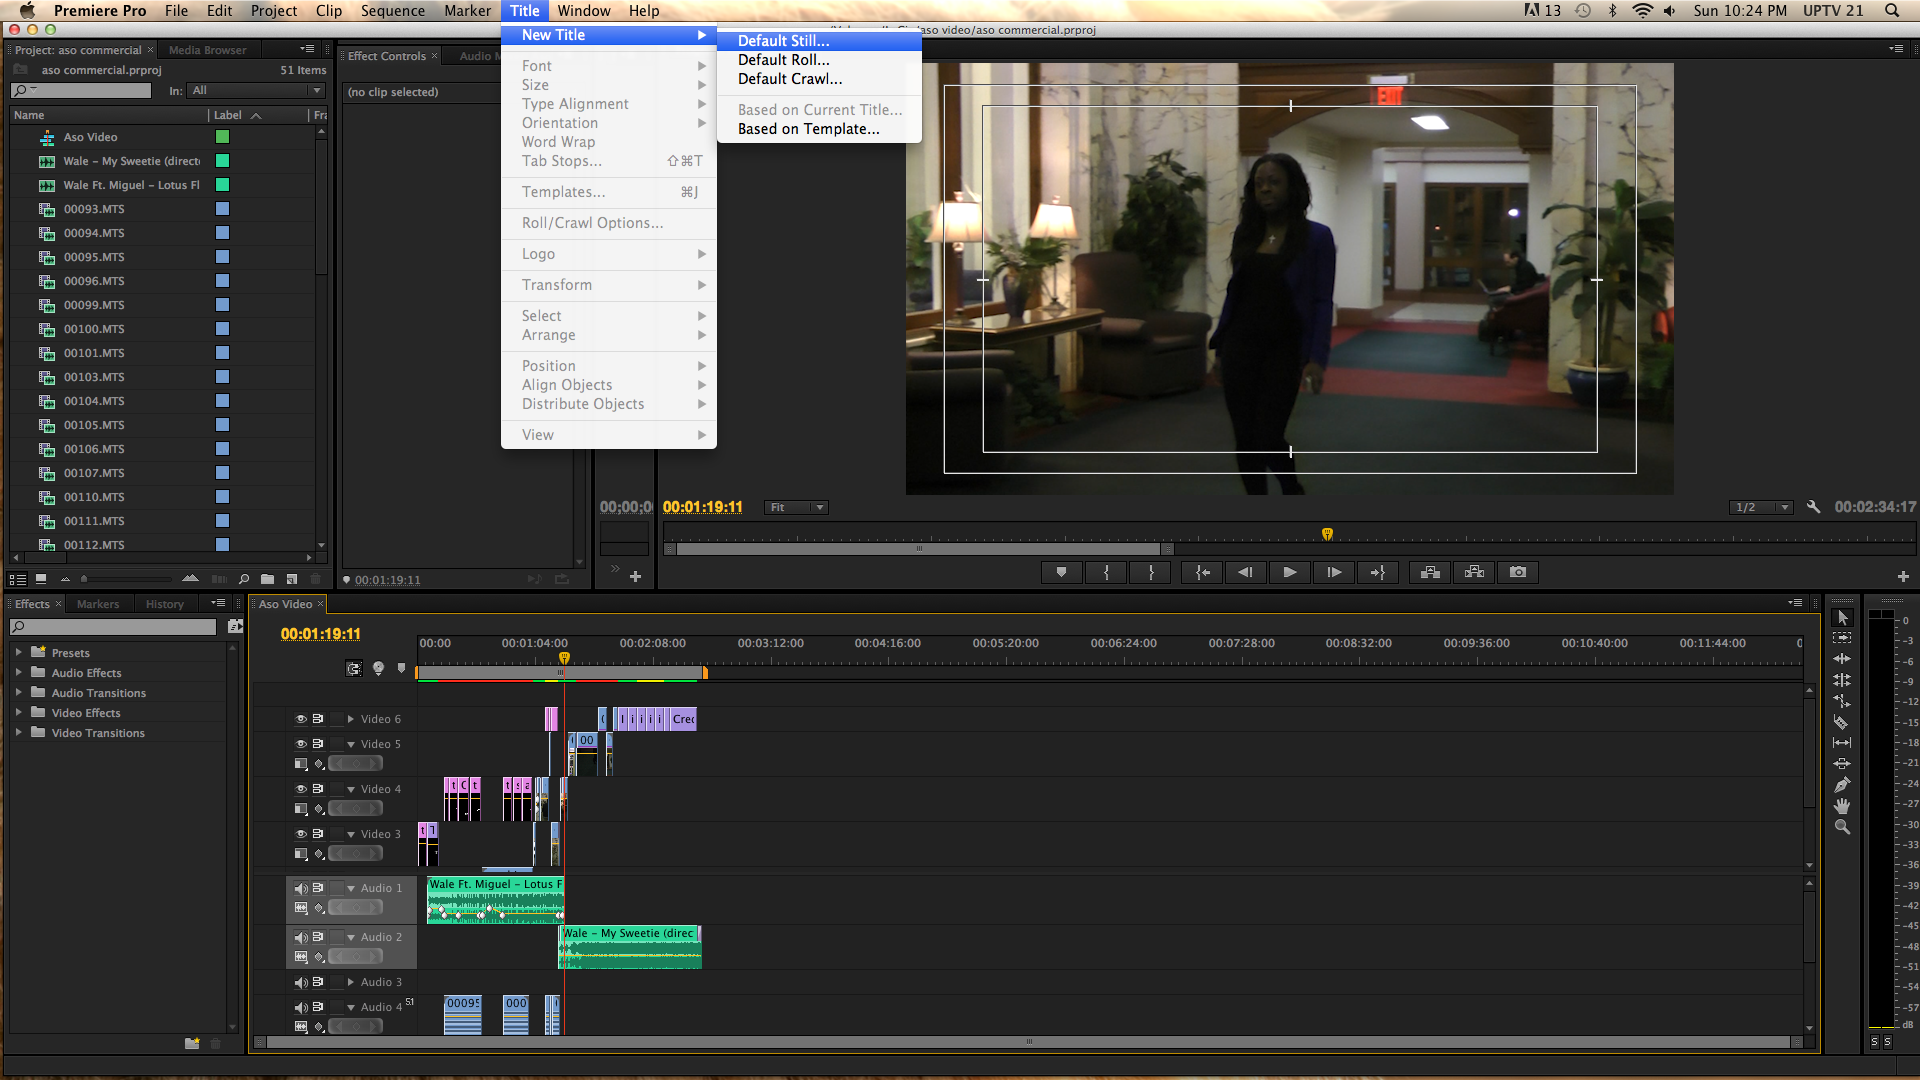
Before you start creating amazing videos, take some time to explore the various features and tools within Premiere Pro. Familiarize yourself with the timeline, where you will arrange and edit your clips. Discover the effects panel, where you can add visual and audio enhancements to your videos.
When you are ready to start a new project, select “New Project” from the startup screen or go to “File” > “New” > “Project” in the menu bar. Give your project a name and choose a location to save it on your computer.
In the project panel, import your media files by selecting “File” > “Import” or by using the shortcut Ctrl+I (Windows) or Command+I (macOS). Browse for the files you want to add, select them, and click “Import” to add them to your project.
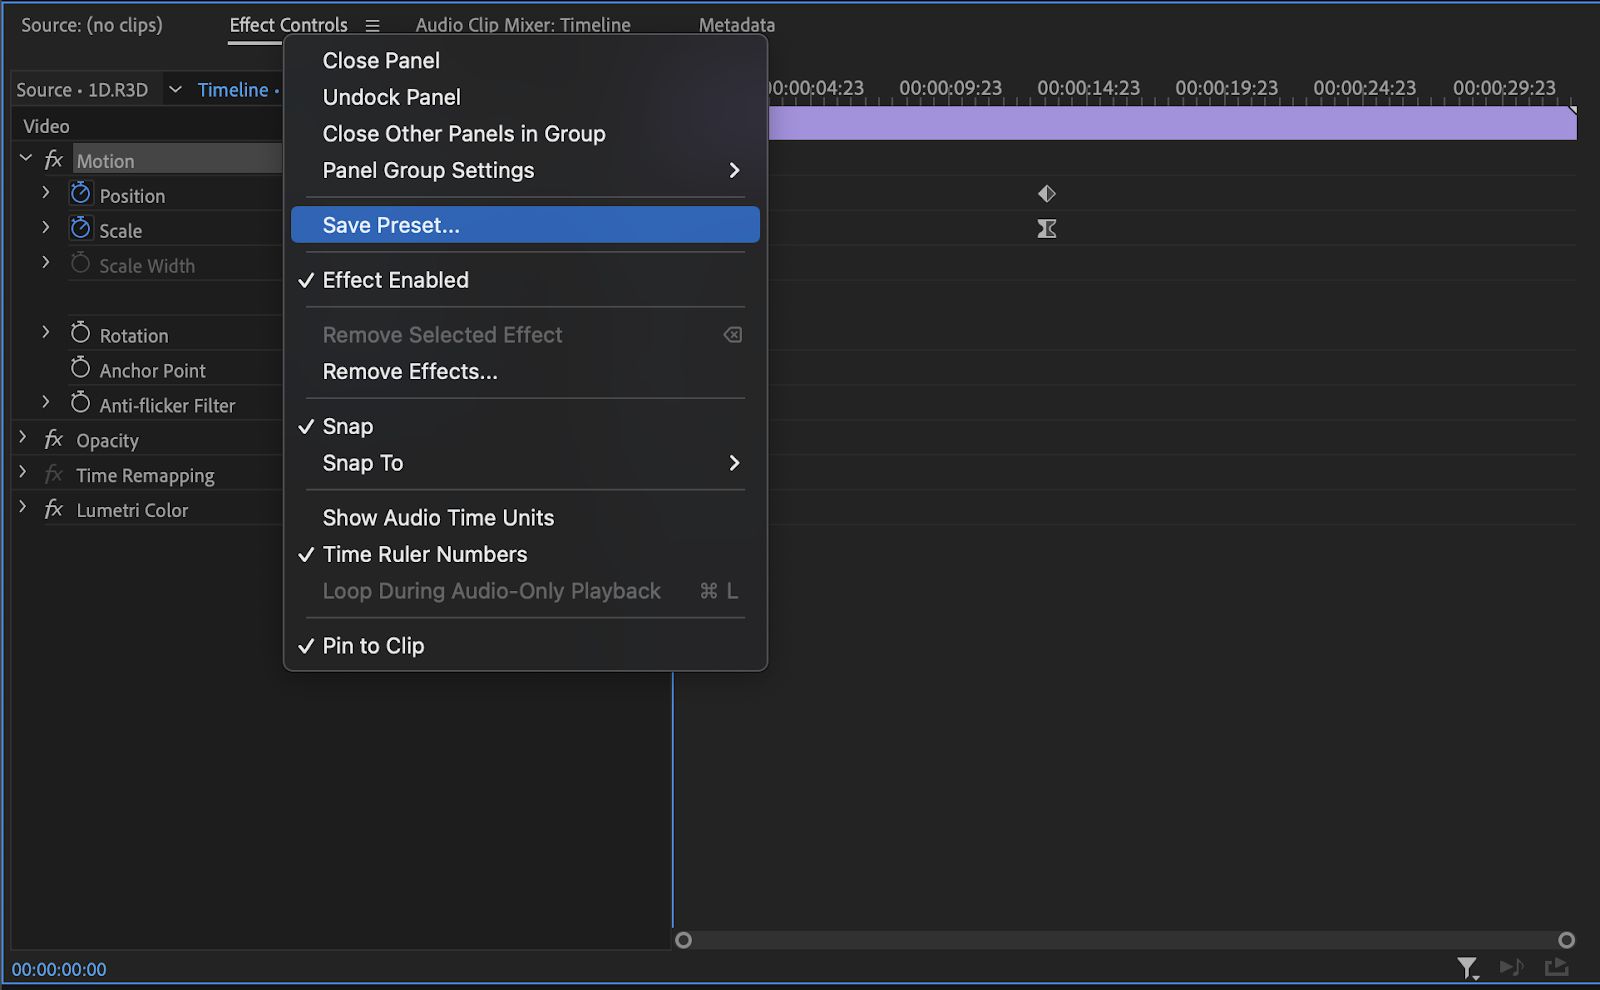
Now that your media files are imported, you can start arranging them on the timeline, trimming, and cropping as needed. You can add transitions, apply effects, adjust audio levels, and much more to enhance your videos.
Utilize the various editing tools and features available in Premiere Pro to turn your raw footage into a polished and professional video. Take advantage of the extensive range of effects, transitions, and filters to add your creative touch to each frame.
Remember to save your project frequently to avoid losing your progress. Premiere Pro also offers an auto-save feature that you can enable in the preferences to provide an extra layer of protection.
As you gain experience with Premiere Pro, you can explore more advanced features such as color grading, multi-camera editing, and motion graphics to take your videos to the next level!
Now that you have opened Premiere Pro, it’s time to unleash your creativity and start creating amazing videos. Enjoy the process, experiment with different techniques, and let your imagination soar!