Introduction
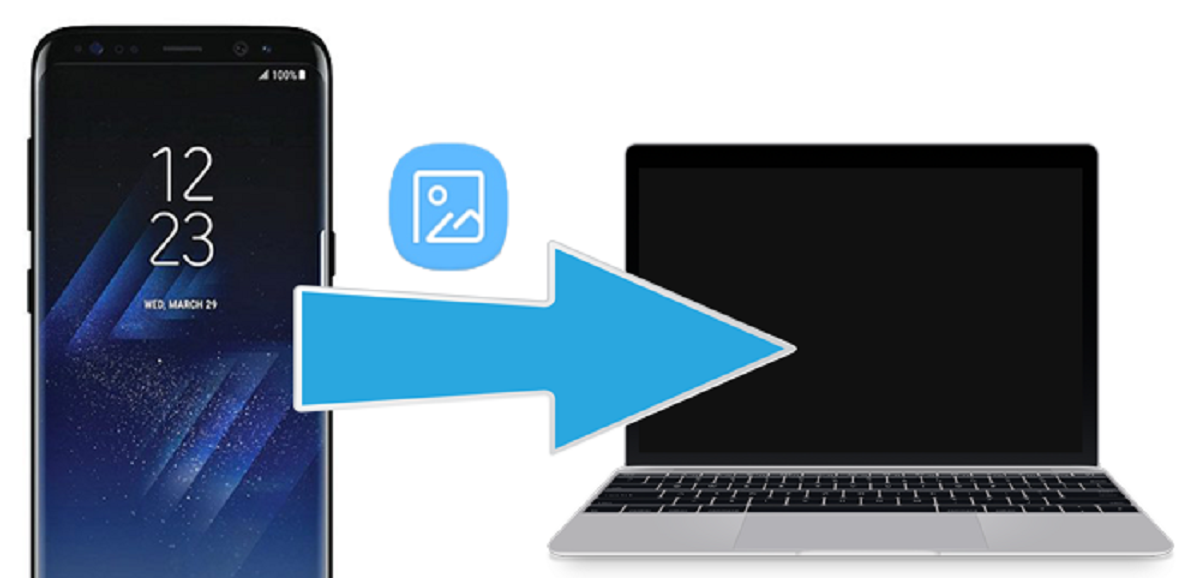
Welcome to this helpful guide on how to download pictures from your Samsung S6 to your computer. The Samsung S6 is a powerful smartphone that captures stunning photos and memorable moments. However, sometimes you may want to transfer these pictures to your computer for backup, editing, or sharing purposes.
Downloading pictures from your Samsung S6 to your computer is a straightforward process that can be completed in just a few simple steps. In this article, we will walk you through the necessary steps to ensure a seamless transfer of your pictures from your Samsung S6 to your computer.
Whether you are a professional photographer or simply someone who loves capturing special moments, having your photos stored on your computer provides you with a safe and accessible way to preserve your memories. Additionally, transferring your pictures to your computer allows you to free up space on your phone, making way for new pictures and videos.
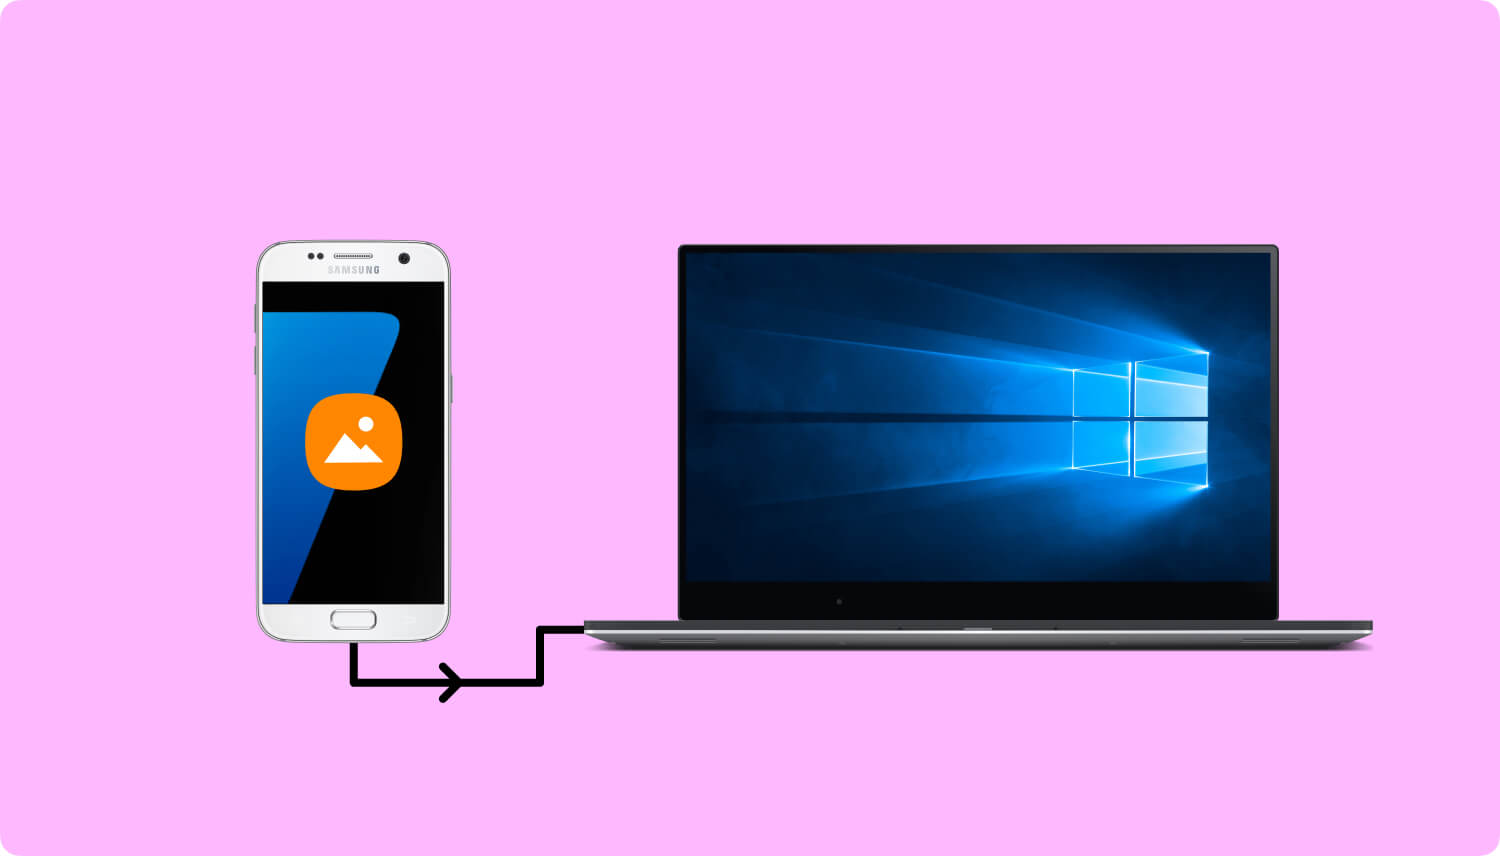
With the advancement of technology, there are multiple ways you can transfer your pictures from your Samsung S6 to your computer. However, we will focus on the most convenient and widely-used method, which involves connecting your Samsung S6 to your computer using a USB cable.
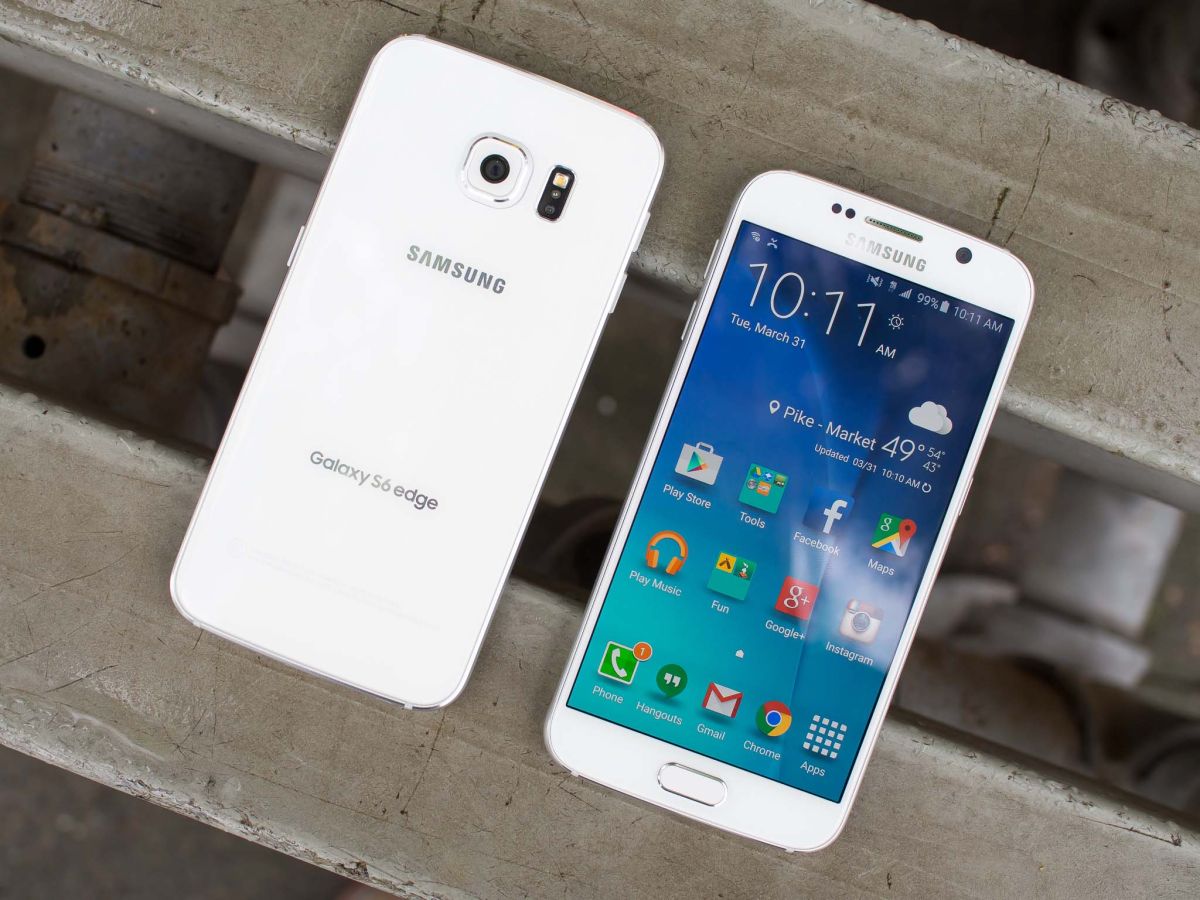
Before we dive into the step-by-step process, it’s important to note that the instructions provided in this guide specifically apply to the Samsung S6 model. If you own a different Samsung model, the process may vary slightly, but the general principles should remain the same.
Now, let’s get started with the first step: connecting your Samsung S6 to your computer.
Step 1: Connect your Samsung S6 to your computer
The first step in transferring pictures from your Samsung S6 to your computer is to establish a physical connection between the two devices. To do this, you will need a USB cable that is compatible with your Samsung S6.
Start by locating the USB port on your Samsung S6. It is typically found at the bottom of the device, next to the headphone jack. Once you have identified the USB port, grab your USB cable and insert one end into the port on your Samsung S6.
Next, locate an available USB port on your computer. This can be found on the front or back of your computer tower, depending on your setup. Insert the other end of the USB cable into the USB port on your computer.
Once the USB cable is securely connected to both your Samsung S6 and your computer, you should see a notification on your phone’s screen indicating that it is connected as a media device. Additionally, your computer may also display a notification or make a sound to confirm the successful connection.
If your Samsung S6 does not display any notification or your computer does not recognize the device, try using a different USB cable or USB port. Sometimes, faulty cables or ports can prevent a successful connection. If the issue persists, you may need to troubleshoot further or seek assistance from technical support.
Now that your Samsung S6 is connected to your computer, you are one step closer to transferring your pictures. Before proceeding, however, it is important to enable USB debugging on your Samsung S6. This will allow your computer to access the files on your phone and facilitate the transfer process.
Let’s move on to the next step: enabling USB debugging on your Samsung S6.
Step 2: Enable USB debugging on your Samsung S6
In order to transfer pictures from your Samsung S6 to your computer, you need to enable USB debugging on your phone. USB debugging allows your computer to communicate with your Samsung S6 and access its files. Follow the steps below to enable USB debugging:
- On your Samsung S6, go to the “Settings” menu. You can access the settings by swiping down from the top of the screen and tapping on the gear icon, or by locating the Settings app in your app drawer.
- In the Settings menu, scroll down and tap on “About phone” or “About device” (depending on your specific Samsung S6 model).
- In the About phone/device section, look for the “Build number” or “Build version” option. Tap on it repeatedly (around 7 times) until you see a message indicating that you are now a developer.
- Now, go back to the main Settings menu and you should see a new option called “Developer options”. Tap on it to enter the developer options menu.
- In the developer options menu, scroll down and locate the “USB debugging” option. It is usually located under the “Debugging” or “Developer tools” section.
- Tap on the toggle switch next to “USB debugging” to enable it. You may see a warning message informing you about the potential risks of enabling USB debugging. Read the message and tap “OK” to proceed.
Once USB debugging is enabled on your Samsung S6, your computer will be able to establish a secure connection with your phone and access its files. This is a crucial step in the process of transferring your pictures to your computer.
With USB debugging enabled, you are now ready to move on to the next step: opening the File Explorer on your computer.
Step 3: Open the File Explorer on your computer
Now that USB debugging is enabled on your Samsung S6, you need to open the File Explorer on your computer to access your phone’s files and navigate to the pictures you want to download.
To open the File Explorer on Windows, you can follow these steps:
- Click on the “Start” button or press the “Windows” key on your keyboard to open the Start menu.
- From the Start menu, select “File Explorer” or simply click on the folder icon located on the taskbar.
If you are using a Mac, you can open the Finder by clicking on the blue smiley face icon located on the dock or by pressing “Command” + “Space” and typing “Finder” in the search bar.
Once the File Explorer or Finder is open, you should see a list of folders and directories on your computer. On the left-hand side, you may also see a section labeled “Devices” or “This PC” (on Windows) or “Devices” (on Mac).
Look for your Samsung S6 under the “Devices” section. It may be listed as “Galaxy S6” or “Samsung S6” depending on your computer’s settings. Click on the name of your phone to open it and access its files.
Now, you should see a list of folders and files on your Samsung S6. These are the contents of your phone’s internal storage. Navigate through the folders to find the location where your pictures are stored. Typically, pictures taken with the camera will be stored in the “DCIM” (Digital Camera Images) folder.
Once you have located the folder containing your pictures, you are ready to select and copy them to your computer. In the next step, we will walk you through the process of selecting the pictures you want to download.
Step 4: Locate and select the pictures you want to download
Now that you have opened the File Explorer on your computer and accessed the files on your Samsung S6, it’s time to locate and select the pictures you want to download.
Navigate through the folders on your Samsung S6 until you find the folder where your pictures are stored. This could be the “DCIM” folder, which is the default location for photos taken with the camera.
Once you have located the folder containing your pictures, you will see a list of thumbnail images representing each photo. Take your time to browse through the pictures and identify the ones you want to download to your computer.
To select multiple pictures, you can use one of the following methods:
- Click and Drag: Click on the first picture you want to select, then hold down the left mouse button and drag the cursor over the other pictures to create a selection. Release the mouse button to finalize the selection.
- Ctrl/Command + Click: Hold down the “Ctrl” key on Windows or the “Command” key on Mac, then click on each picture you want to select. This allows you to individually select multiple pictures.
As you make your selection, you will notice that the selected pictures are highlighted or appear to be selected in some way. This indicates that those pictures will be included in the download process.
If you want to select all the pictures in the folder, you can use the “Ctrl/Command + A” keyboard shortcut. This will select all the pictures in the current folder.
Once you have made your selection and all the desired pictures are highlighted, you are ready to proceed to the next step: copying the selected pictures to your computer.
Step 5: Copy the selected pictures to your computer
After selecting the pictures you want to download from your Samsung S6, the next step is to copy them to your computer. This process allows you to transfer the chosen pictures from your phone to a designated folder on your computer for storage and further use.
Follow these steps to copy the selected pictures from your Samsung S6 to your computer:
- Right-click on one of the selected pictures. A context menu will appear with several options.
- From the context menu, select the option labeled “Copy” or “Copy to”. This will copy the selected pictures to your clipboard.
- Navigate to the desired location on your computer where you want to save the copied pictures. This could be a specific folder or your desktop.
- Right-click on the target location and select the option labeled “Paste” from the context menu. The selected pictures will then be copied to the chosen location on your computer.
Alternatively, you can use the keyboard shortcuts “Ctrl + C” to copy the selected pictures and “Ctrl + V” to paste them. These shortcuts work both on Windows and Mac.
The time it takes to copy the pictures will depend on the size and number of selected files, as well as the speed of your computer and USB connection. Larger files may take longer to transfer, so be patient during the process.
Once the copying is complete, you can verify that the pictures have been successfully transferred to your computer by navigating to the chosen location. You should see the copied pictures in the destination folder or on your desktop.
With the selected pictures now copied to your computer, you can safely disconnect your Samsung S6 from your computer. However, before disconnecting, make sure that the copy process is finished to avoid any data loss.
In the next and final step, we will guide you on how to properly disconnect your Samsung S6 from your computer.
Step 6: Disconnect your Samsung S6 from your computer
Now that you have successfully copied the selected pictures from your Samsung S6 to your computer, it’s time to disconnect your phone from your computer. Properly disconnecting your Samsung S6 ensures that no data is lost and that both devices are safely disconnected from each other.
Follow these steps to safely disconnect your Samsung S6 from your computer:
- On your computer, locate the system tray or taskbar in the lower-right corner of the screen. Look for the “Safely Remove Hardware and Eject Media” icon. It typically looks like a USB plug with a green checkmark or an arrow pointing upwards.
- Click on the “Safely Remove Hardware and Eject Media” icon to open the corresponding menu.
- From the menu, you should see a list of devices connected to your computer. Look for your Samsung S6 in the list.
- Click on your Samsung S6 to select it, and then click on the “Eject” or “Safely Remove” option next to it.
- Wait for the system to complete the disconnection process. You may see a notification confirming that it is safe to remove your Samsung S6.
- Safely disconnect the USB cable from both your Samsung S6 and your computer.
It is important to wait for the disconnection process to complete before physically removing the USB cable. Prematurely disconnecting the cable can result in data corruption or loss.
Once your Samsung S6 is safely disconnected from your computer, you can now enjoy the copied pictures on your computer. You can edit, share, or organize them as desired.
Remember to keep a backup of your pictures in case of any unexpected incidents like device malfunctions or accidental deletion. Regularly transferring your pictures from your Samsung S6 to your computer ensures that your precious memories are secure and easily accessible.
With the completion of the final step, you have successfully downloaded pictures from your Samsung S6 to your computer. Enjoy and cherish those special moments captured on your phone!
Conclusion
Transferring pictures from your Samsung S6 to your computer is a simple and effective way to backup, edit, and organize your precious memories. By following the steps outlined in this guide, you can easily download your pictures and ensure their safety and accessibility.
We started by connecting your Samsung S6 to your computer using a USB cable and enabling USB debugging to facilitate the transfer process. Then, we opened the File Explorer on your computer to locate and select the pictures you wanted to download.
After selecting the pictures, we copied them to your computer and ensured the successful transfer by safely disconnecting your Samsung S6 from your computer using the “Safely Remove Hardware and Eject Media” feature.
Remember, it’s always wise to keep a backup of your pictures to protect them from loss or accidental deletion. Consider organizing your photos into folders on your computer to easily find and access them in the future.
By following these steps, you can confidently and efficiently download pictures from your Samsung S6 to your computer. Enjoy your collection of photos and share them with friends and family, knowing that your precious memories are safe and accessible.
We hope this guide has been helpful to you. If you have any further questions or need additional assistance, do not hesitate to reach out for support. Happy downloading!