Introduction
Do you have a Samsung Galaxy S6 and want to transfer your photos to your PC? Whether you’re looking to free up space on your device or backup your precious memories, downloading photos from your Samsung Galaxy S6 to your PC is a simple and convenient process. In this guide, we will walk you through the steps to connect your Samsung Galaxy S6 to your PC, enable USB debugging, access your device’s photos on your PC, and finally, download your photos successfully.
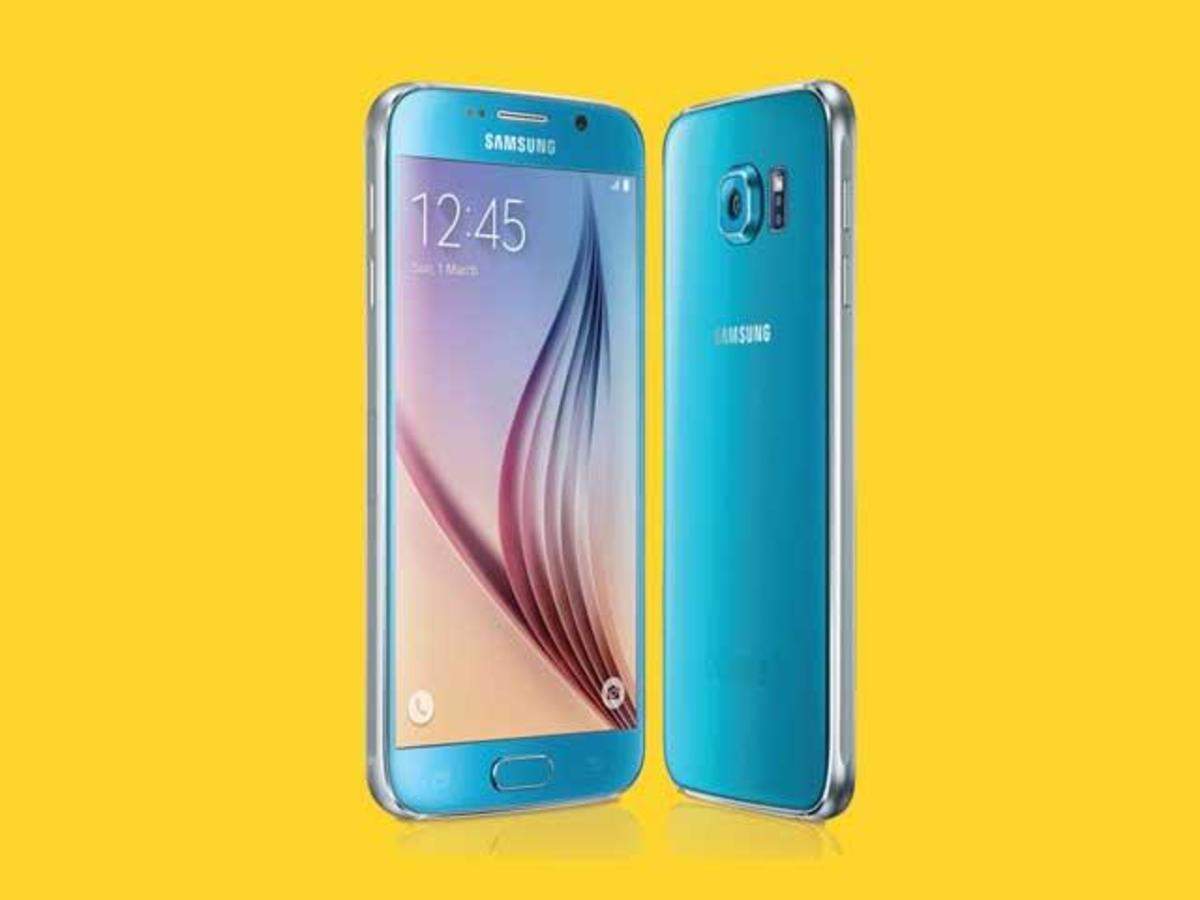
The Samsung Galaxy S6 offers a stunning camera with high-quality photo capabilities, resulting in a collection of beautiful memories. However, storing all your photos on your device can fill up its storage space over time, potentially slowing down its performance. By transferring your photos to your PC, you can not only make space for new memories but also ensure that your photos are safely stored on another device.
Additionally, having your photos on your PC allows for easier editing, organizing, and sharing opportunities. You can use various photo editing software, create digital albums, or effortlessly upload your photos to social media platforms. So, let’s get started with the step-by-step process to download photos from your Samsung Galaxy S6 to your PC.
Step 1: Connecting Your Samsung Galaxy S6 to Your PC
Before you can download photos from your Samsung Galaxy S6 to your PC, you need to establish a connection between the two devices. Follow these simple steps to connect your Samsung Galaxy S6 to your PC:
- Start by locating the USB cable that came with your Samsung Galaxy S6. This cable is essential for connecting your device to your PC.
- Connect one end of the USB cable to your Samsung Galaxy S6’s charging port.
- Take the other end of the USB cable and insert it into an available USB port on your PC.
- Your Samsung Galaxy S6 should now be connected to your PC. You may hear a sound or see a notification on your device indicating that it is connected.
Note: If you are using a Mac computer, you may need to install additional software or drivers to establish a connection with your Samsung Galaxy S6. Ensure that your Mac is up-to-date or visit the Samsung website for specific instructions regarding Mac compatibility.
Once your Samsung Galaxy S6 is connected to your PC, you are ready to proceed to the next step: enabling USB debugging on your device.
Step 2: Enabling USB Debugging on Your Samsung Galaxy S6
In order to access your Samsung Galaxy S6’s photos on your PC, you need to enable USB debugging on your device. USB debugging allows your PC to communicate with your Samsung Galaxy S6 and access its system files. Follow these steps to enable USB debugging on your Samsung Galaxy S6:
- Open the Settings app on your Samsung Galaxy S6. You can usually find the Settings app in your app drawer or by pulling down the notification panel and tapping the gear icon.
- Scroll down and tap on “About phone”.
- Look for the “Build number” and tap on it several times quickly. After a few taps, you should see a message indicating that you are now a developer.
- Go back to the main Settings screen, and you should see a new option called “Developer options”. Tap on it.
- In the Developer options menu, scroll down and locate “USB debugging”. Tap on the toggle switch next to it to enable USB debugging.
- You will see a prompt asking for your confirmation to enable USB debugging. Tap “OK” to proceed.
Once USB debugging is enabled on your Samsung Galaxy S6, you can now access your device’s photos on your PC and proceed to the next step: accessing your Samsung Galaxy S6’s photos on your PC.
Step 3: Accessing Your Samsung Galaxy S6’s Photos on Your PC
With USB debugging enabled on your Samsung Galaxy S6, you can now easily access your device’s photos on your PC. Follow these steps to access your Samsung Galaxy S6’s photos:
- On your PC, open the file explorer or file manager application. This could be Windows Explorer on Windows or Finder on Mac.
- In the file explorer or file manager, locate “This PC” or “My Computer” (Windows) or “Devices” (Mac). Click on it to open.
- You should see your connected Samsung Galaxy S6 listed as a connected device. It may be labeled as “Samsung Galaxy S6” or a similar name.
- Double-click on your Samsung Galaxy S6 to open its files and folders.
- Navigate to the “DCIM” folder. This folder contains all the photos captured by your Samsung Galaxy S6’s camera.
- Click on the “DCIM” folder to open it and browse through the subfolders to find the specific photos you want to download to your PC.
Note: If you have stored your photos in a different folder or location on your Samsung Galaxy S6, you may need to navigate to that specific folder to access the photos.
Once you have located the desired photos, you can proceed to the next step: downloading the photos from your Samsung Galaxy S6 to your PC.
Step 4: Downloading Photos from Your Samsung Galaxy S6 to Your PC
Now that you have accessed your Samsung Galaxy S6’s photos on your PC, it’s time to download them. Here’s how you can download photos from your Samsung Galaxy S6 to your PC:
- Select the photos that you want to download. You can click and drag to select multiple photos, or hold the Ctrl key while clicking on individual photos to select them.
- Once you have selected the photos, right-click on any of the selected photos and choose “Copy” from the context menu.
- Navigate to the location on your PC where you want to save the downloaded photos. This could be a specific folder or directly on your desktop.
- Right-click on the destination folder and choose “Paste” from the context menu. This will copy the selected photos from your Samsung Galaxy S6 to your PC.
- The photos will now be downloaded and saved to the selected location on your PC. The speed of the download may depend on the number and size of the photos.
Once the download is complete, you can access the downloaded photos on your PC and perform various actions such as editing, organizing, or sharing them. Remember to safely eject your Samsung Galaxy S6 from your PC before disconnecting it to ensure that all data is properly saved.
Now that you have successfully downloaded the photos from your Samsung Galaxy S6 to your PC, you can proceed to the final step: disconnecting your Samsung Galaxy S6 from your PC.
Step 5: Disconnecting Your Samsung Galaxy S6 from Your PC
Once you have downloaded the photos from your Samsung Galaxy S6 to your PC, it is important to safely disconnect your device to avoid any potential data loss or corruption. Follow these steps to properly disconnect your Samsung Galaxy S6 from your PC:
- On your PC, locate the system tray at the bottom right corner of the screen. It contains various icons, including the USB connection notification.
- Click on the USB connection notification to expand the options.
- Select the option that says “Safely remove USB device,” “Eject,” or a similar option depending on your operating system.
- A list of connected devices will be displayed. Find your Samsung Galaxy S6 and click on it.
- Wait for a notification or confirmation message indicating that it is safe to disconnect your device.
- Once you receive the confirmation, you can safely disconnect the USB cable from your Samsung Galaxy S6 and your PC.
It is crucial to follow these steps to avoid any potential data corruption or loss. Improperly disconnecting your device can lead to issues with file transfer and the overall functionality of your Samsung Galaxy S6.
Congratulations! You have successfully downloaded your photos from your Samsung Galaxy S6 to your PC and safely disconnected your device. Enjoy organizing, editing, and sharing your precious memories on your computer, knowing that they are securely stored in two different locations.
Conclusion
Transferring photos from your Samsung Galaxy S6 to your PC is a straightforward process that allows you to free up space on your device and have an additional backup of your cherished memories. By following the steps outlined in this guide, you can easily connect your Samsung Galaxy S6 to your PC, enable USB debugging, access your device’s photos, download them to your PC, and safely disconnect your device.
Remember to establish a secure connection between your Samsung Galaxy S6 and your PC by using the provided USB cable. Enabling USB debugging on your device is essential to access and transfer files successfully. Once connected, you can easily navigate the file structure on your Samsung Galaxy S6 and locate the photos you want to download. With a few simple clicks, you can copy the selected photos to your PC for editing, organizing, or sharing purposes.
It is important to disconnect your Samsung Galaxy S6 from your PC properly to avoid any potential data loss or corruption. Safely remove your device following the steps outlined in this guide to ensure the integrity of your files and the overall functionality of your Samsung Galaxy S6.
Now that you have learned how to download photos from your Samsung Galaxy S6 to your PC, you can enjoy the convenience of having your photos easily accessible, organized, and backed up. Whether you want to create digital albums, enhance your photos with editing software, or share your favorite memories on social media, having your photos on your PC opens up a world of possibilities.
Make sure to regularly transfer and back up your photos to keep your Samsung Galaxy S6’s storage space optimized and protect your valuable memories. Now, unleash your creativity and cherish your photos on your PC, knowing that you have taken the necessary steps to ensure their safety and accessibility. Happy transferring!