Introduction
Welcome to the digital age, where we capture and store our memories in the form of photographs. With the advent of cloud storage services like Google Drive, it has become easier than ever to store and access our photos from anywhere. However, there may come a time when you want to download those precious memories from Google Drive to your phone, whether it’s to share them with friends and family or simply to have them conveniently on your device.
In this guide, we will walk you through the steps to download photos from Google Drive to your phone. Don’t worry if you’re not tech-savvy – we will make sure that the process is simple and easy to follow. So, let’s dive in and retrieve those cherished moments!
Before we begin, it’s important to note that the method may vary slightly depending on the type of phone you have. However, the general steps should remain the same, regardless of whether you’re using an Android or an iOS device.
Step 1: Sign in to your Google Drive account
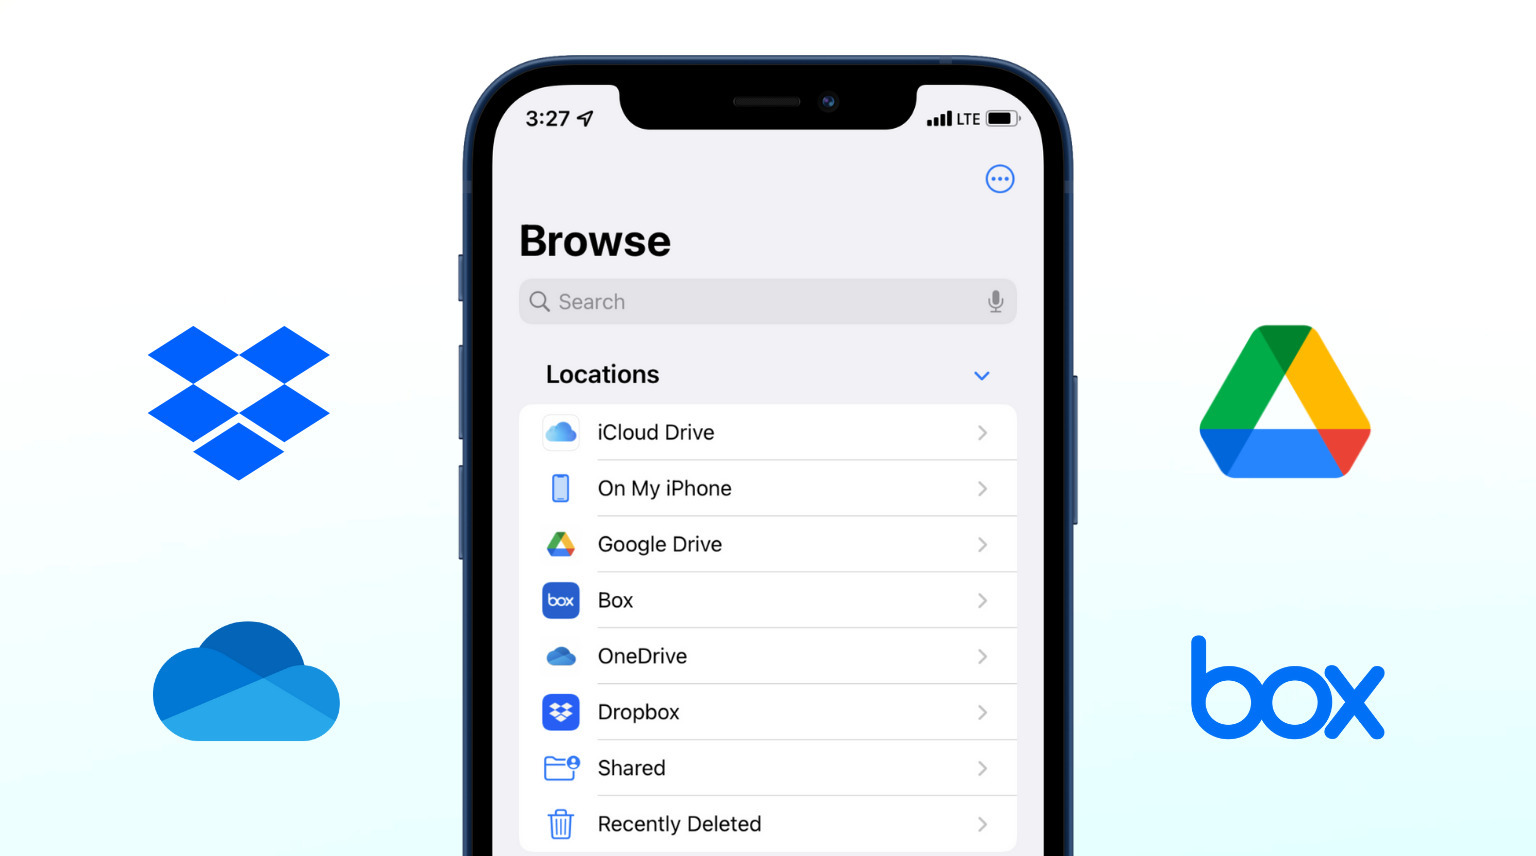
The first step to downloading photos from Google Drive to your phone is to sign in to your Google Drive account. You can do this by opening the Google Drive app on your phone or by accessing the Google Drive website on your phone’s browser.
If you’re using the app, simply tap on the app icon to open it. If you don’t have the app installed, you can download it from the App Store (for iOS) or the Google Play Store (for Android). Once the app is open, you will be prompted to sign in using your Google account credentials. Enter your email address and password and tap on the “Sign in” button.
If you prefer to use the web version of Google Drive, open your phone’s web browser and navigate to the Google Drive website (drive.google.com). Once the website loads, tap on the “Sign in” button and enter your Google account credentials.
Once you have successfully signed in, you will have access to all the files and folders saved in your Google Drive account. Now that you’re logged in, let’s move on to the next step.
Pro tip: Make sure you have a stable internet connection before signing in to your Google Drive account to ensure a smooth and uninterrupted download process.
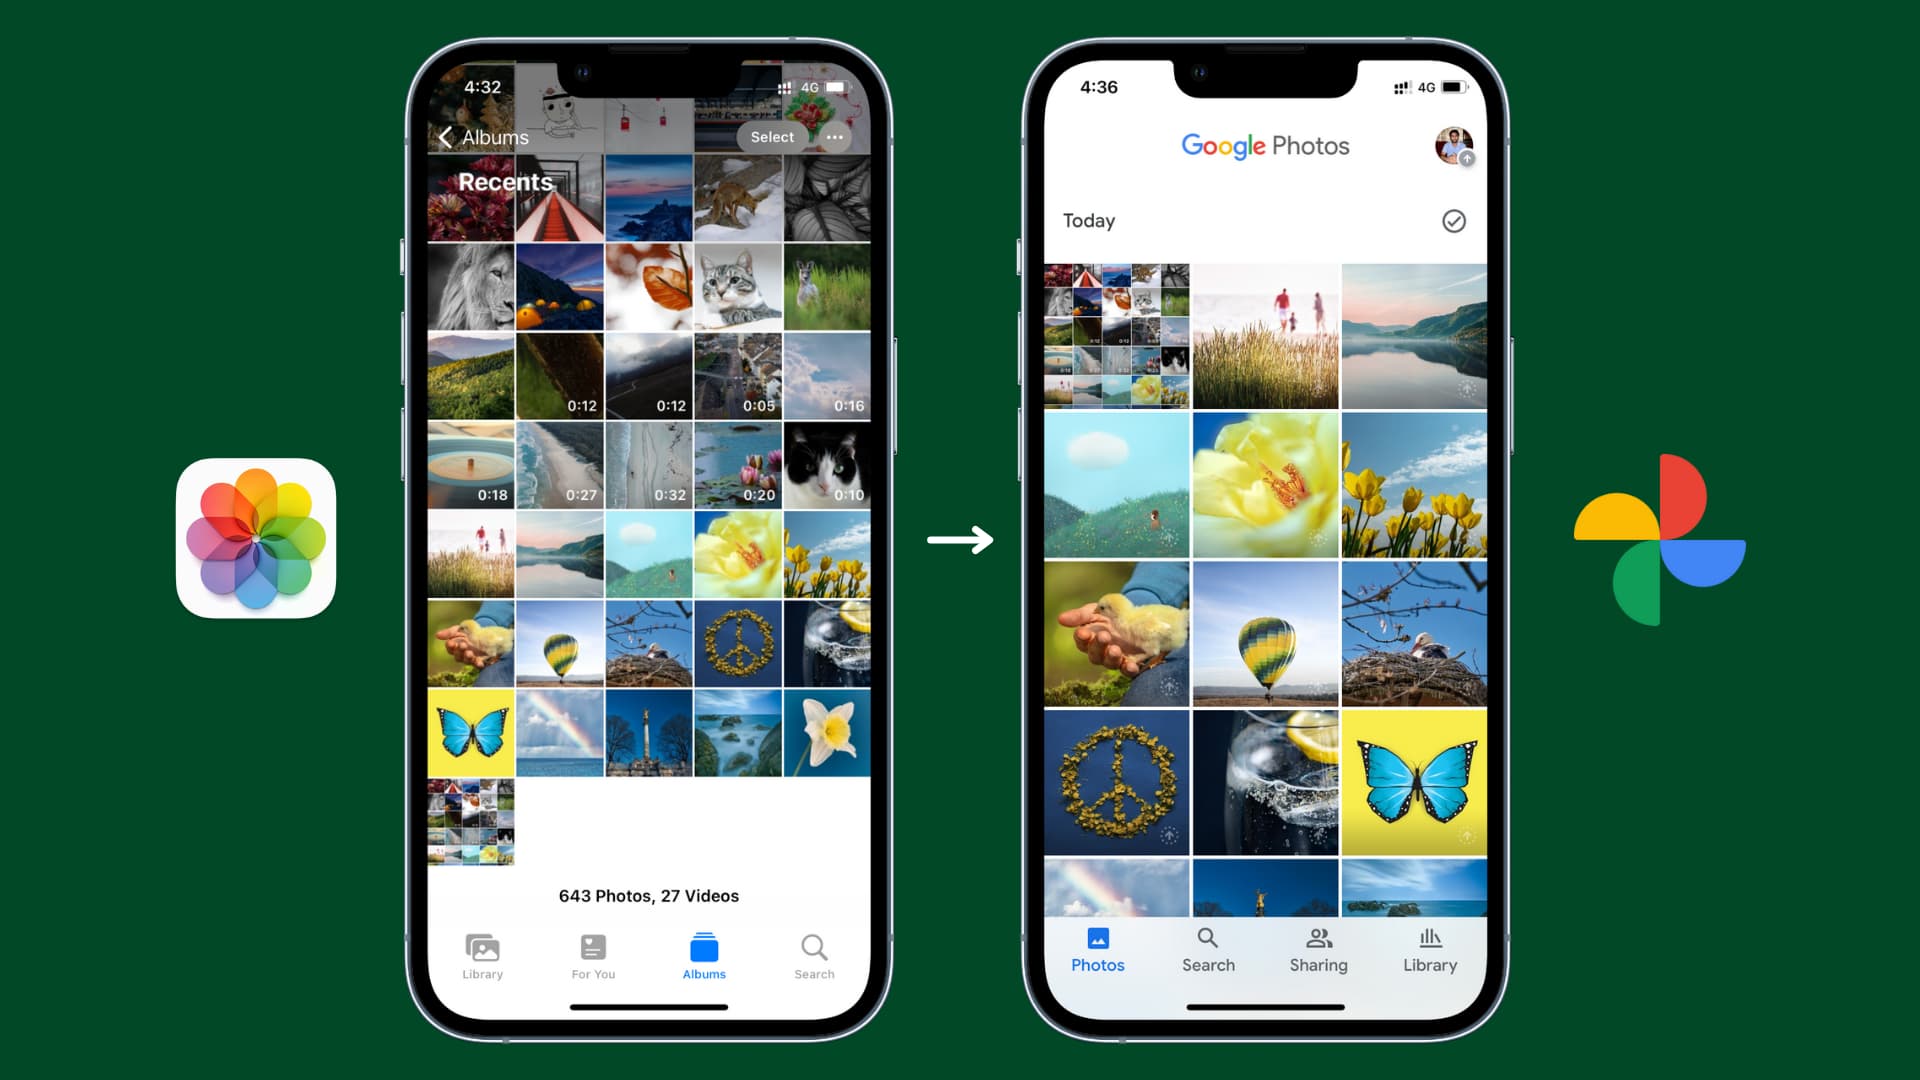
Step 2: Locate the photos you want to download
With your Google Drive account signed in, it’s time to locate the photos you want to download. Google Drive allows you to organize your files in folders, making it easier to find what you’re looking for. Here’s how you can locate your photos:
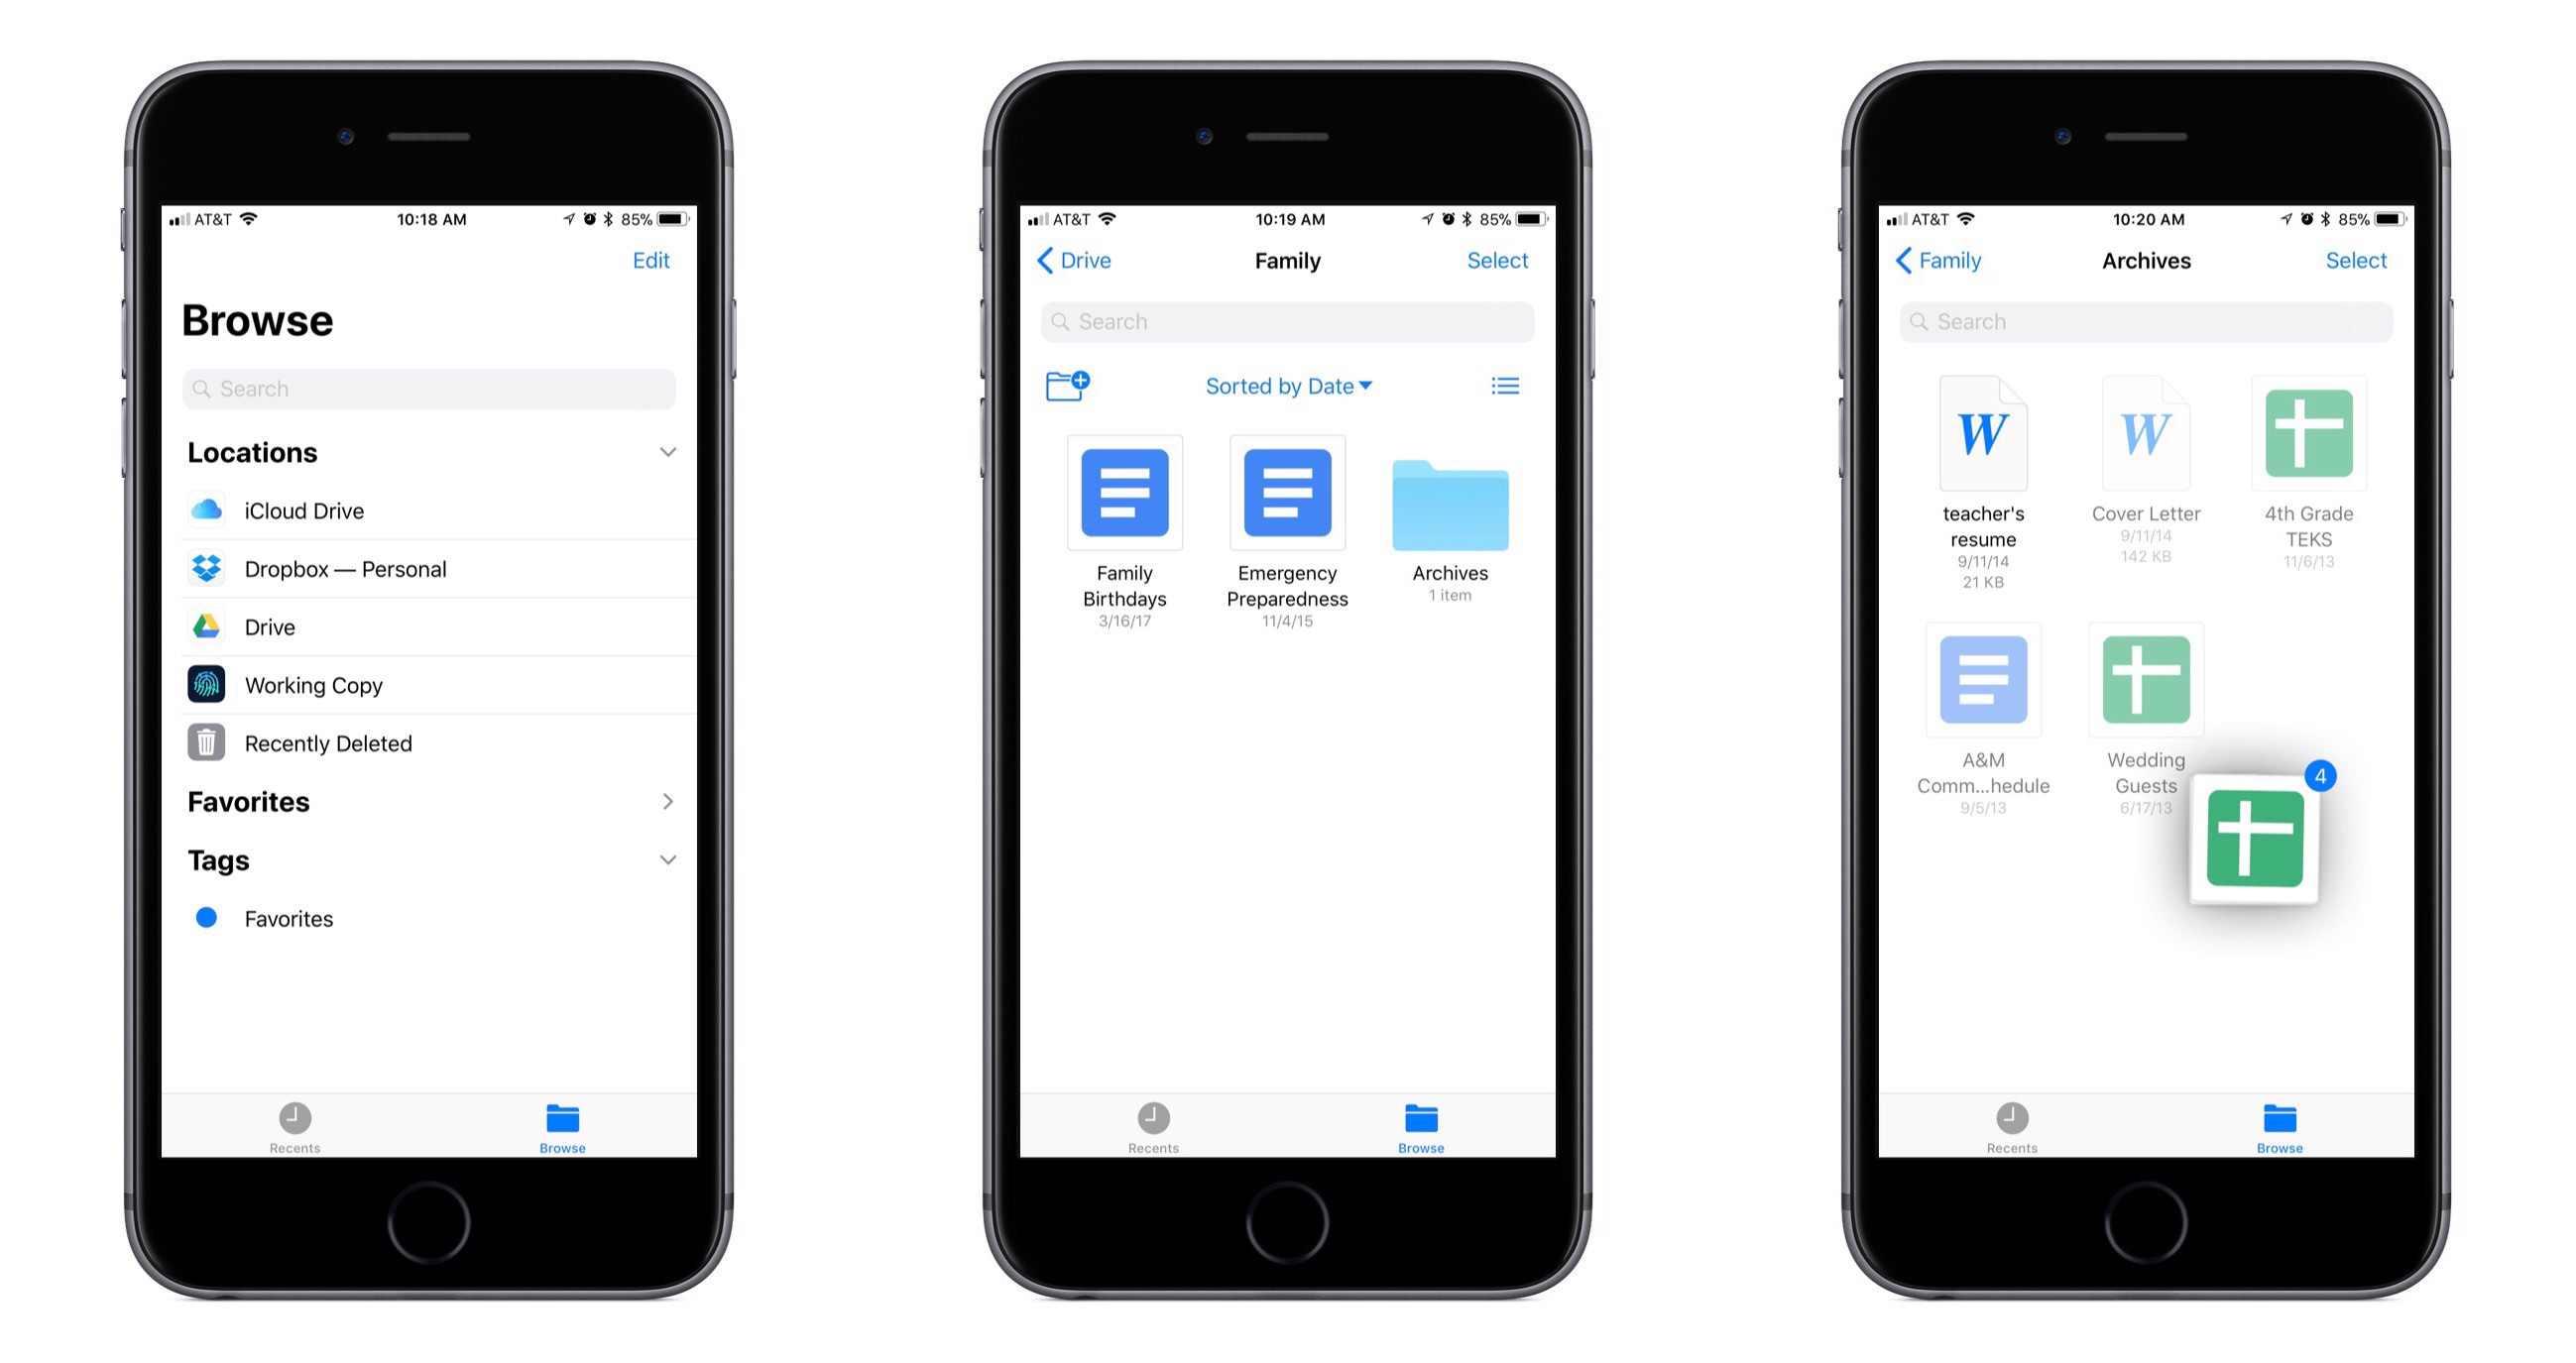
1. If you have saved your photos in a specific folder: Tap on the menu icon (usually represented by three horizontal lines) in the top-left corner of the app. This will open the sidebar menu. Scroll through the list of folders and tap on the folder where your photos are stored.
2. If you have saved your photos in the main “My Drive” section: Tap on the “My Drive” option in the sidebar menu. This will display all the files and folders in your Google Drive. You can then scroll through the list or use the search bar at the top to search for specific photos by name.
3. If you have used the search feature to find your photos: Tap on the search bar at the top of the app or website and enter relevant keywords or file names. Google Drive will display the search results, and you can tap on the desired photo to open it.
Once you have located the folder or photo you want to download, it’s time to move on to the next step: selecting the photos for download. Let’s proceed!
Step 3: Select the photos you want to download
Now that you have found the folder or individual photos you wish to download from Google Drive, it’s time to select them. Follow these steps to select the photos:
1. If you want to download an entire folder: Tap and hold on the folder until a selection checkbox appears. Tap on the checkbox to select the entire folder.
2. If you want to download multiple individual photos: Tap and hold on the first photo until a selection checkbox appears. Without releasing your finger, drag it over the other photos you want to select. As you drag, you will notice the selection checkboxes appearing on the selected photos.
3. If you only want to download a single photo: Simply tap on the photo to select it. You will see a checkmark appear on the selected photo.
You can select as many photos as you want, either from the same folder or from different folders. Once you have selected all the photos you wish to download, move on to the next step to start the download process.
Note: If you are using the web version of Google Drive, the steps to select photos may vary slightly. You can typically right-click on the folder or photo and select the “Download” option. Alternatively, you can use the Ctrl key (Windows) or the Command key (Mac) to select multiple items.
Now that you have successfully selected the photos, it’s time to proceed to the next and final step: downloading the photos to your phone.
Step 4: Download the photos to your phone
With the photos selected, you are now ready to download them to your phone. Follow these steps to complete the download process:
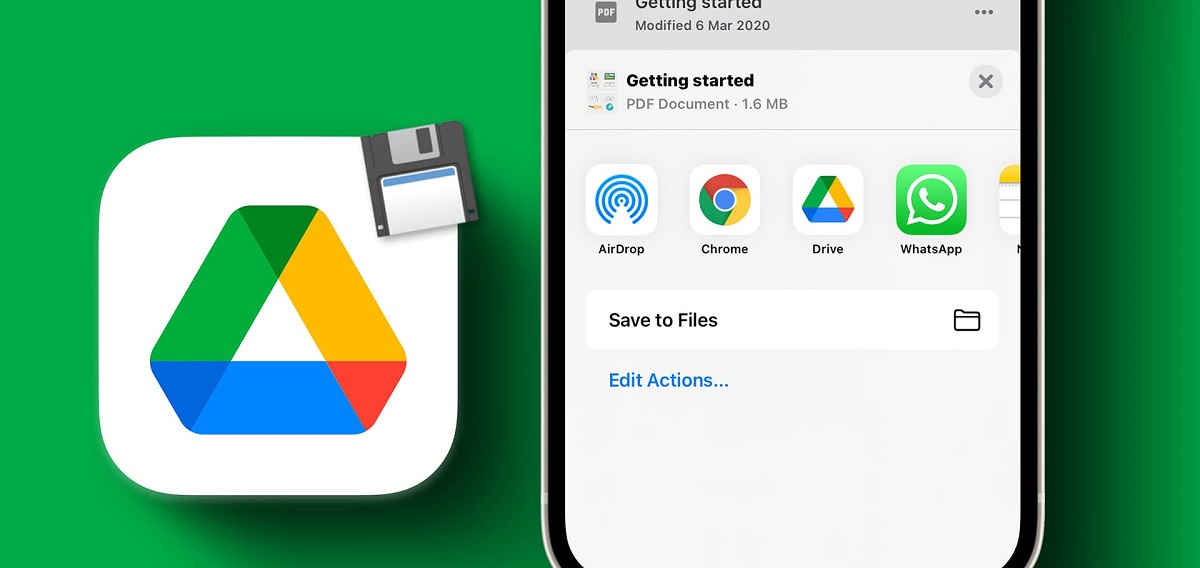
1. Once you have selected the desired photos, tap on the menu icon (three vertical dots) located either at the top or bottom of the screen, depending on your device.
2. From the menu options that appear, select the “Download” or “Save to device” option. The wording may vary slightly, but the icon typically looks like an arrow pointing downward.
3. A pop-up window will appear, allowing you to choose a location to save the downloaded photos. You can select a specific folder on your phone or choose the default download location.
4. After selecting the location, tap on the “Download” or “Save” button to initiate the download process.
5. Depending on the size and number of photos, the download may take a few moments. You will see a progress indicator as the photos are being downloaded.
6. Once the download is complete, you can access the photos directly from your phone’s gallery app or file manager. Simply navigate to the location where you saved the downloaded photos.
That’s it! You have successfully downloaded the photos from Google Drive to your phone. Now you can enjoy your cherished memories anytime and anywhere.
Pro Tip: After successfully downloading the photos, it’s a good practice to backup your files to ensure they are safely stored. This way, even if you accidentally delete them from your phone, you can still restore them from your backup.
Now that you have learned how to download photos from Google Drive to your phone, you can easily access and share your favorite memories whenever you want.
Conclusion
Congratulations! You have successfully learned how to download photos from Google Drive to your phone. With just a few simple steps, you can access and enjoy your cherished memories anytime and anywhere. By signing in to your Google Drive account, locating the photos you want to download, selecting them, and then initiating the download process, you can easily transfer your photos to your phone.
Remember, Google Drive offers a convenient and secure way to store your files and access them from different devices. Whether you want to share your photos with friends and family or simply have them readily available on your phone, downloading photos from Google Drive has never been easier.
As you continue to use Google Drive and explore its features, don’t forget to keep your files organized. Creating folders and using relevant file names will make it easier for you to locate and manage your photos.
Lastly, always ensure that you have a stable internet connection before initiating the download process to avoid interruptions and ensure a smooth experience.
Now that you’re equipped with the knowledge to download photos from Google Drive to your phone, go ahead and enjoy your precious memories. Whether it’s reliving a special moment or sharing them with loved ones, your photos are now just a few taps away!