Introduction
Welcome to the world of Patreon! If you’re a fan of a particular creator, artist, musician, or content producer, Patreon is the perfect platform to support them and gain access to exclusive content. Patreon allows creators to monetize their work and offer special perks to their patrons, creating a unique and interactive community.
In this article, we will guide you through the process of downloading Patreon content so you can fully enjoy the benefits of being a patron. Whether you’re a newcomer or a seasoned patron, we’ve got you covered.
Downloading Patreon content is a straightforward process that involves a few simple steps. We’ll show you how to create a Patreon account, find your desired creator, choose the right tier, and access exclusive content. By the end of this guide, you’ll be well-equipped to download your favorite Patreon content and make the most of your patron experience.
Before we dive into the details, it’s important to note that Patreon is a platform designed for creators to share their work and for patrons to support them. By becoming a patron, you’re directly contributing to the success and sustainability of the creators you admire. Your support allows them to continue producing high-quality content and fulfill their creative visions.
So, let’s get started with the first step: creating a Patreon account.
Step 1: Create a Patreon Account
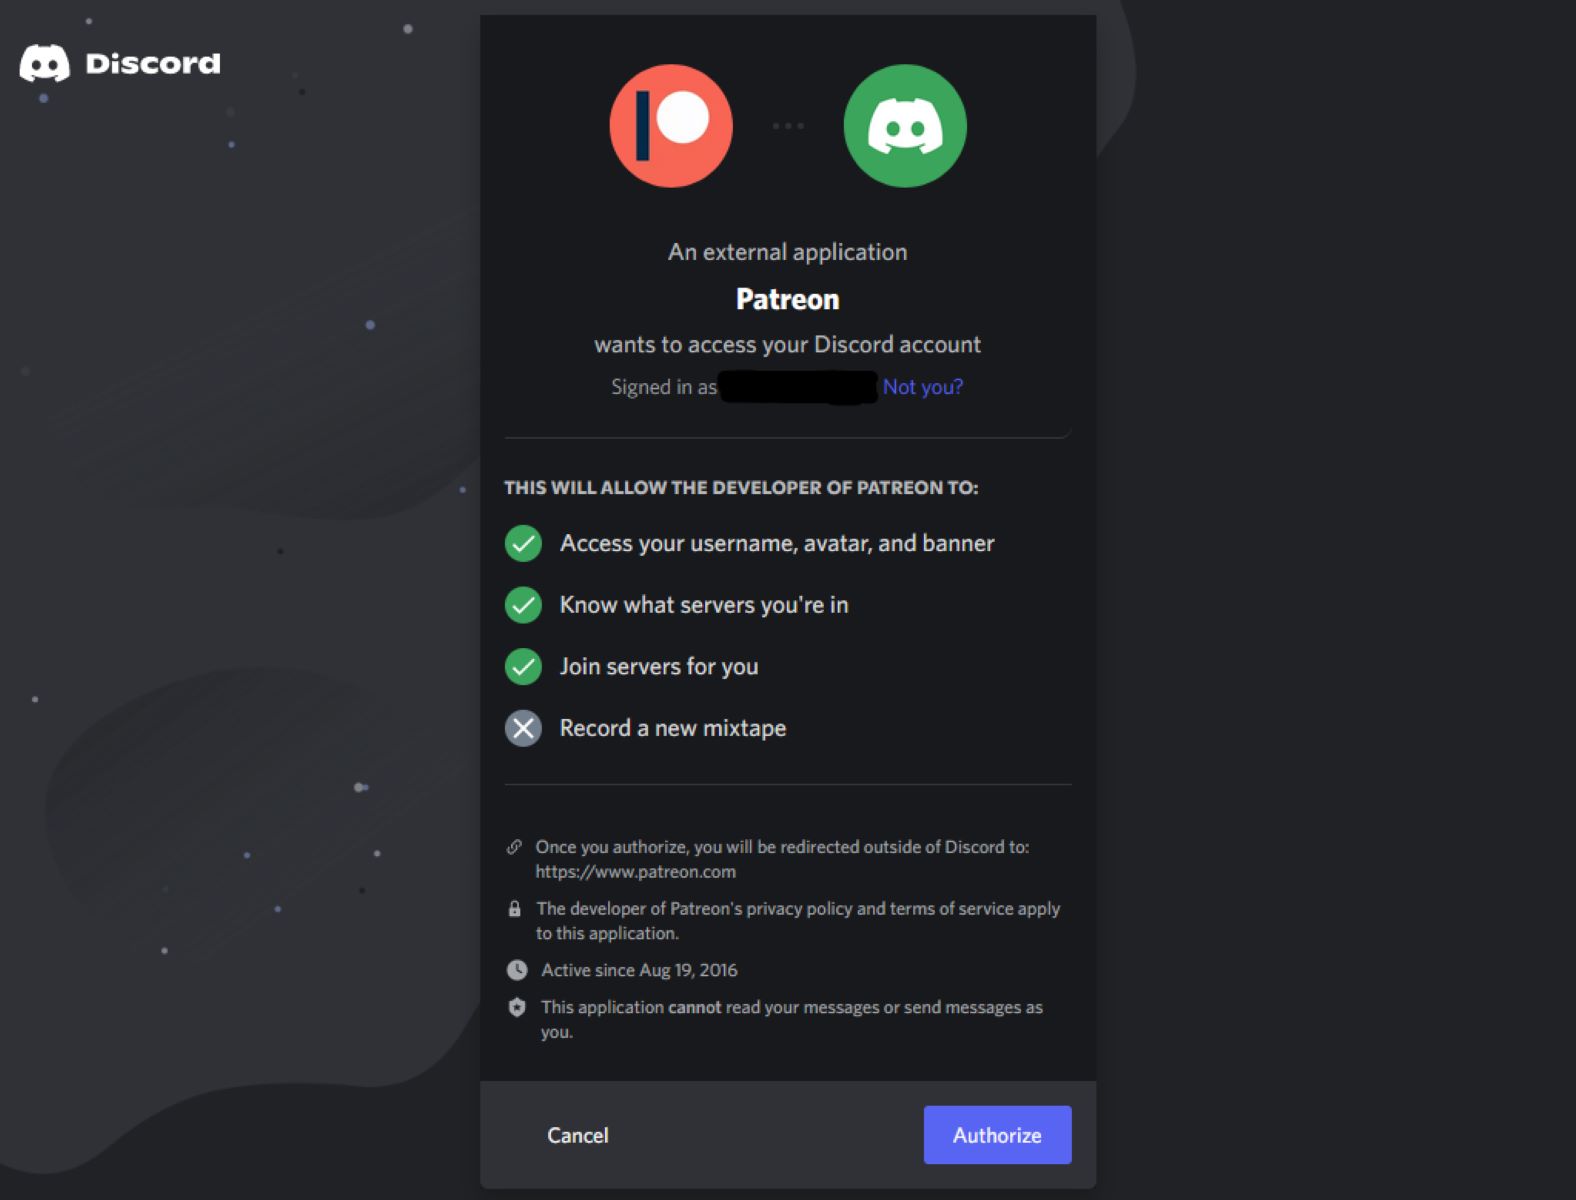
The first step to accessing and downloading Patreon content is to create an account on the Patreon platform. Follow these simple steps to get started:
- Go to the Patreon website (www.patreon.com) on your web browser.
- Click on the “Sign Up” button located in the top right corner of the homepage.
- You’ll be presented with two options: to sign up as a creator or as a patron. Since our goal is to download content, choose the “I’m a Patron” option.
- Next, you’ll need to provide your email address and create a password for your account.
- Click on the “Sign Up” button to proceed.
- You’ll be asked to verify your email address by clicking on the link sent to your email. Check your inbox, spam, or junk folder for the verification email. Once verified, you can continue.
- After verifying your email, you’ll need to provide some basic information such as your display name and profile picture. You can choose to use your real name or a username for your display name.
- Take a few minutes to personalize your profile by adding a profile picture and writing a short bio. This will help creators and other patrons get to know you better.
- Once you’ve filled in the required information, click on the “Next” button to proceed.
- Finally, you’ll have the option to select your interests and preferences. This will help Patreon recommend creators and content that align with your interests.
- Click on the “Finish” button to complete the account setup process.
And voila! You’ve successfully created your Patreon account. Now, it’s time to explore and find creators whose content you want to support and access. Next, we’ll guide you through the process of finding and selecting a creator on Patreon.
Step 2: Find and Select the Creator
Now that you have your Patreon account set up, it’s time to find and select the creator whose content you want to access. Here’s how you can do it:
- Once you’re logged into your Patreon account, you’ll be taken to your homepage. On the top navigation bar, click on the “Explore” option.
- In the search bar at the top of the page, you can enter keywords related to the type of content or creator you’re interested in. You can search for specific creators, genres, or topics.
- Patreon will display a list of creators and content that match your search criteria. Browse through the search results and click on the profiles that catch your interest.
- When you’re on a creator’s profile, take some time to familiarize yourself with their work. Read their bio, check out their previous posts, and get a sense of the content they offer.
- If you like what you see, click on the “Become a Patron” button to support the creator and gain access to their exclusive content.
- Before becoming a patron, you’ll need to choose the tier that suits your preferences and budget. Creators typically offer different tiers, each with varying benefits and access to content.
- Take a look at the different tier options and consider the perks they offer. Some creators may offer early access to content, exclusive behind-the-scenes updates, or even personalized rewards.
- Select the tier that aligns with your interests and click on the “Select This Tier” button.
- You’ll be prompted to review your selection and confirm your pledge. Make sure to read through the details and double-check the amount you’ll be pledging per content release or month.
- If everything looks good, click on the “Confirm” button to finalize your pledge and become a patron of the selected creator.
By following these steps, you’ll not only support the creator you admire but also gain access to their exclusive content. Now that you’ve chosen a creator and become their patron, it’s time to move on to the next step: accessing and downloading the Patreon content.
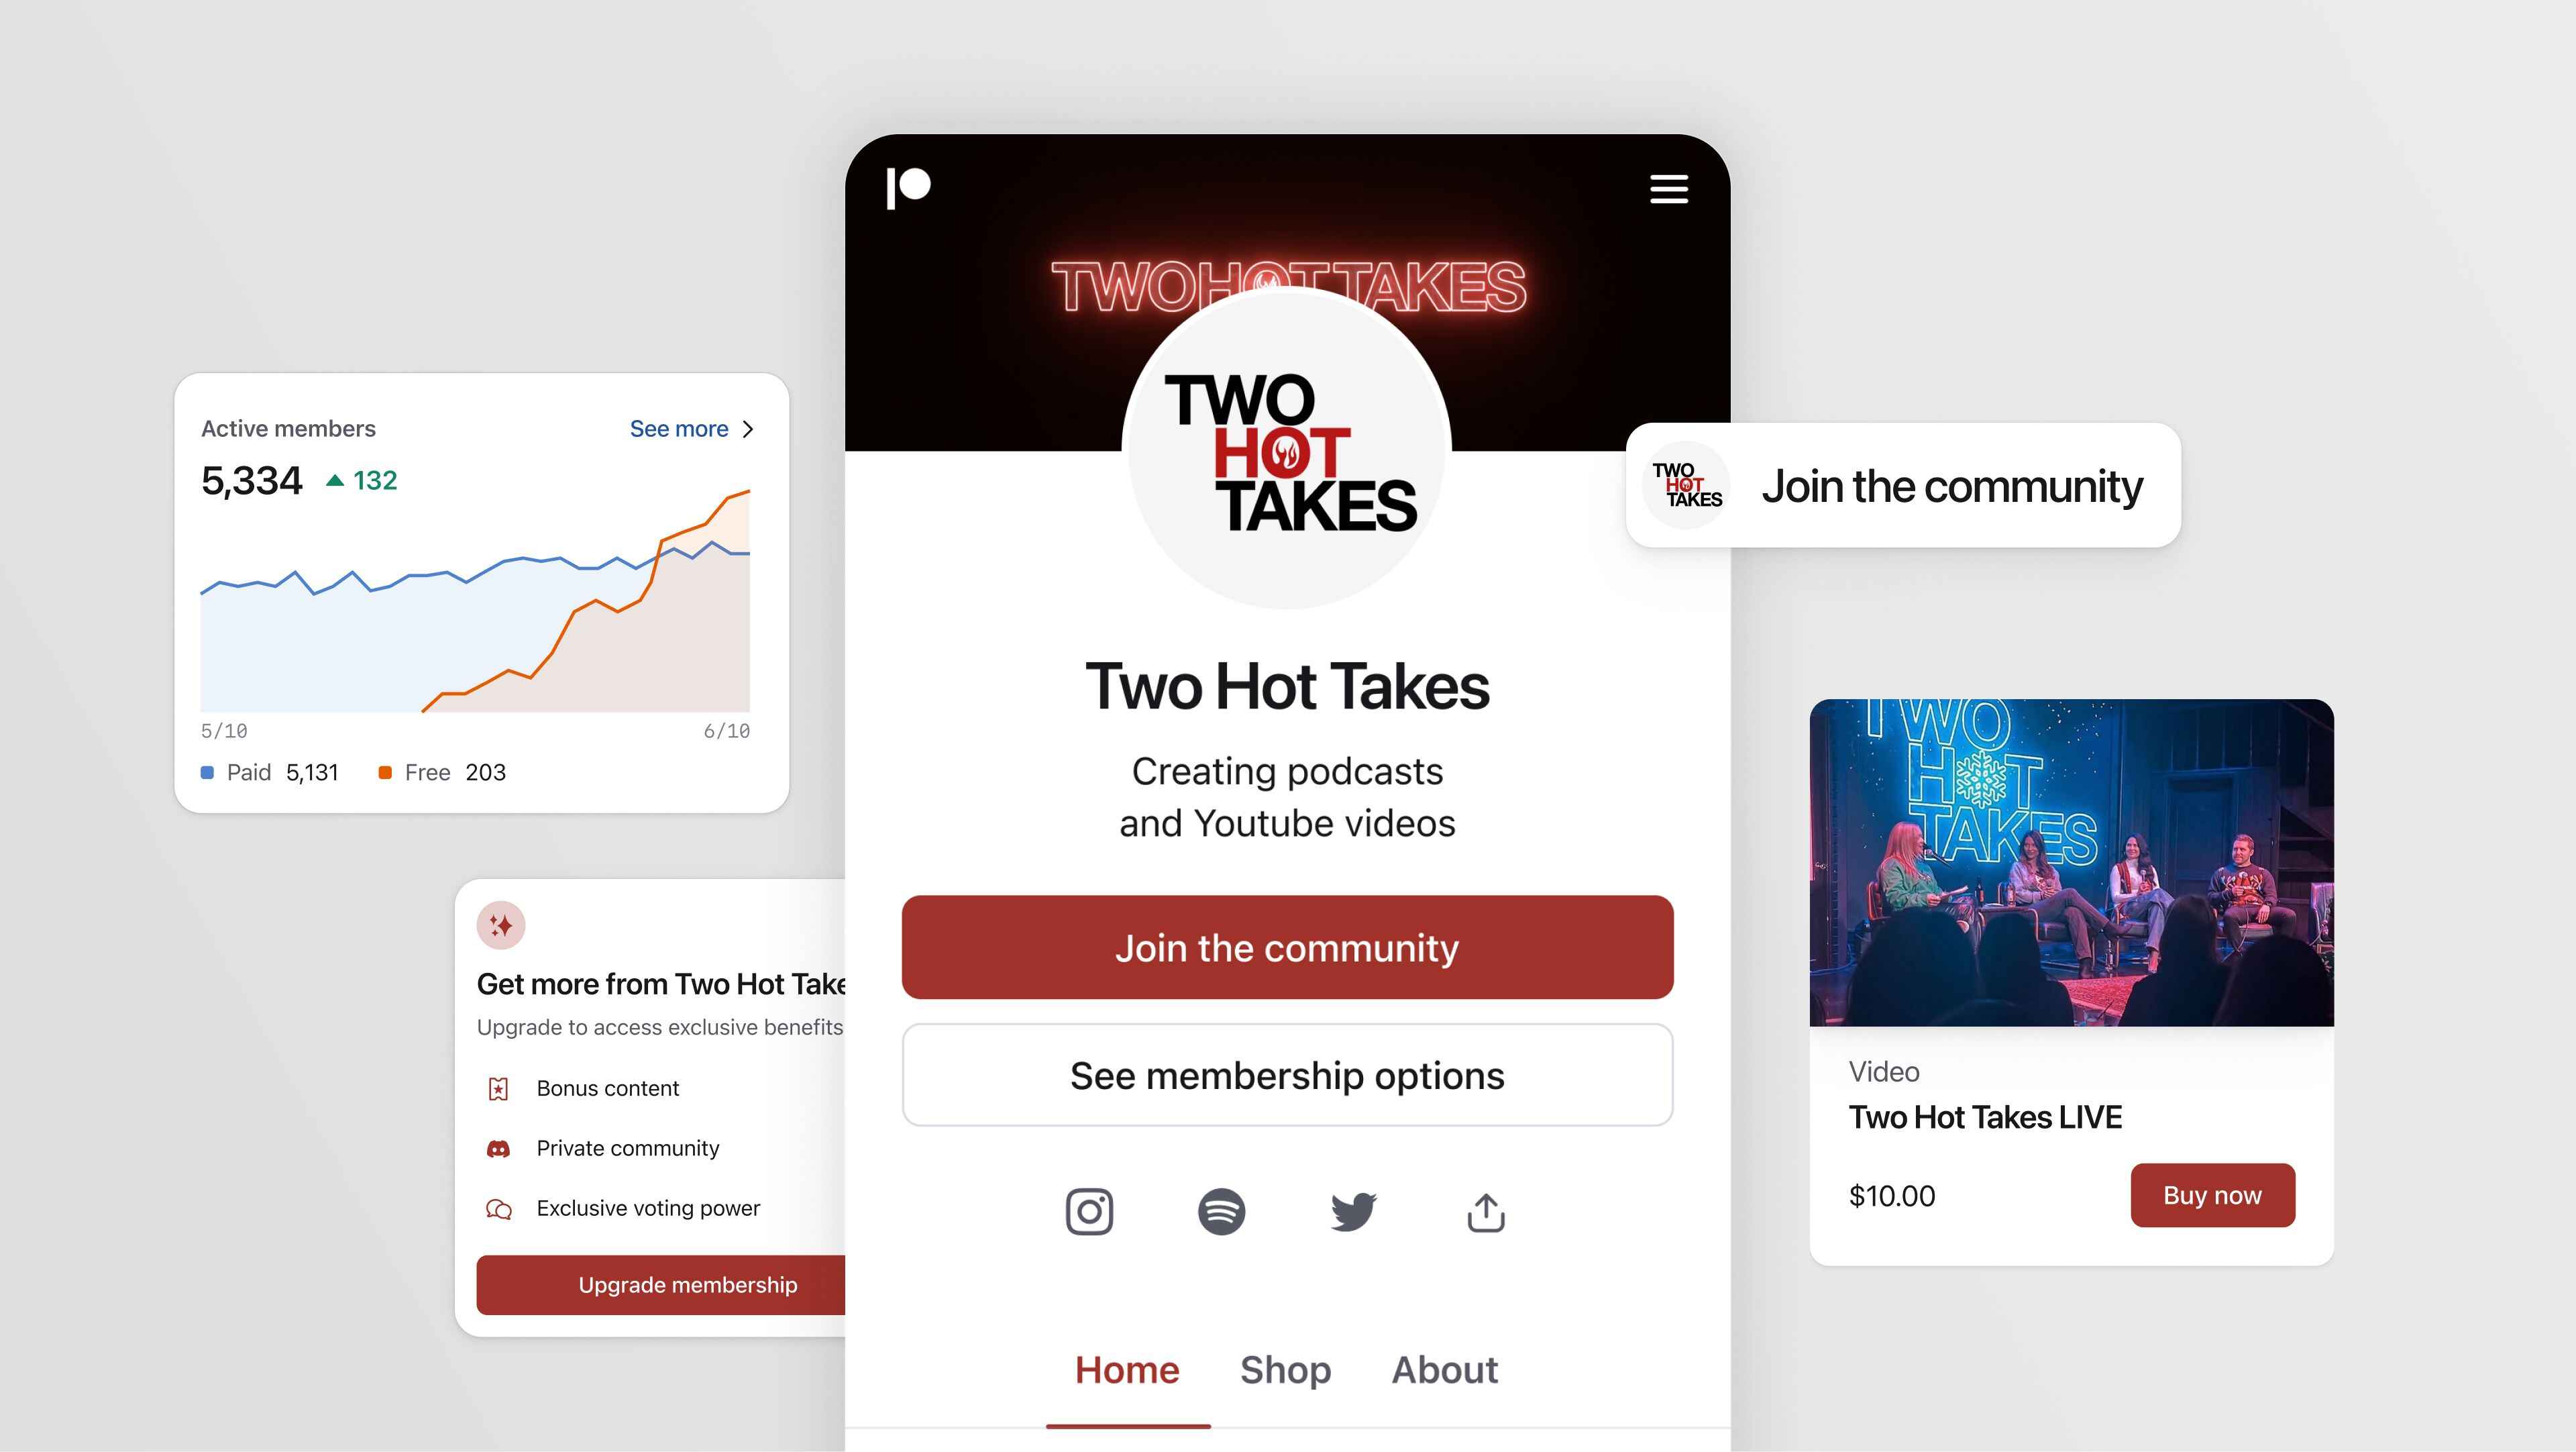
Step 3: Choose the Desired Tier
Now that you’re a patron of your chosen creator on Patreon, it’s time to choose the tier that grants you access to the desired content. Here’s how you can select the right tier:
- Log in to your Patreon account and navigate to the creator’s page.
- On the creator’s page, you’ll find a section or tab dedicated to their different membership tiers.
- Take the time to review each tier and the benefits they offer. These benefits can range from access to exclusive content, private community forums, personalized messages, or even physical merchandise.
- Consider your interests, budget, and the level of engagement you want with the creator’s work when making your decision.
- Once you’ve decided on the desired tier, click on the “Select This Tier” button associated with that tier.
- A confirmation window may pop up, displaying the details of your selected tier. Take a moment to review the benefits and the associated pledge amount.
- If everything looks good, click on the “Confirm” or “Continue” button to finalize your selection.
- Congratulations! You’ve successfully chosen your desired tier and are now eligible for the associated perks and content.
Remember, you can always modify or upgrade your tier selection in the future if you want to access additional content or benefits. Just go to the creator’s page and follow the same steps to adjust your tier choice.
Now that you’re all set with your selected tier, it’s time to move on to the next step: accessing and enjoying the exclusive content offered by your chosen creator.
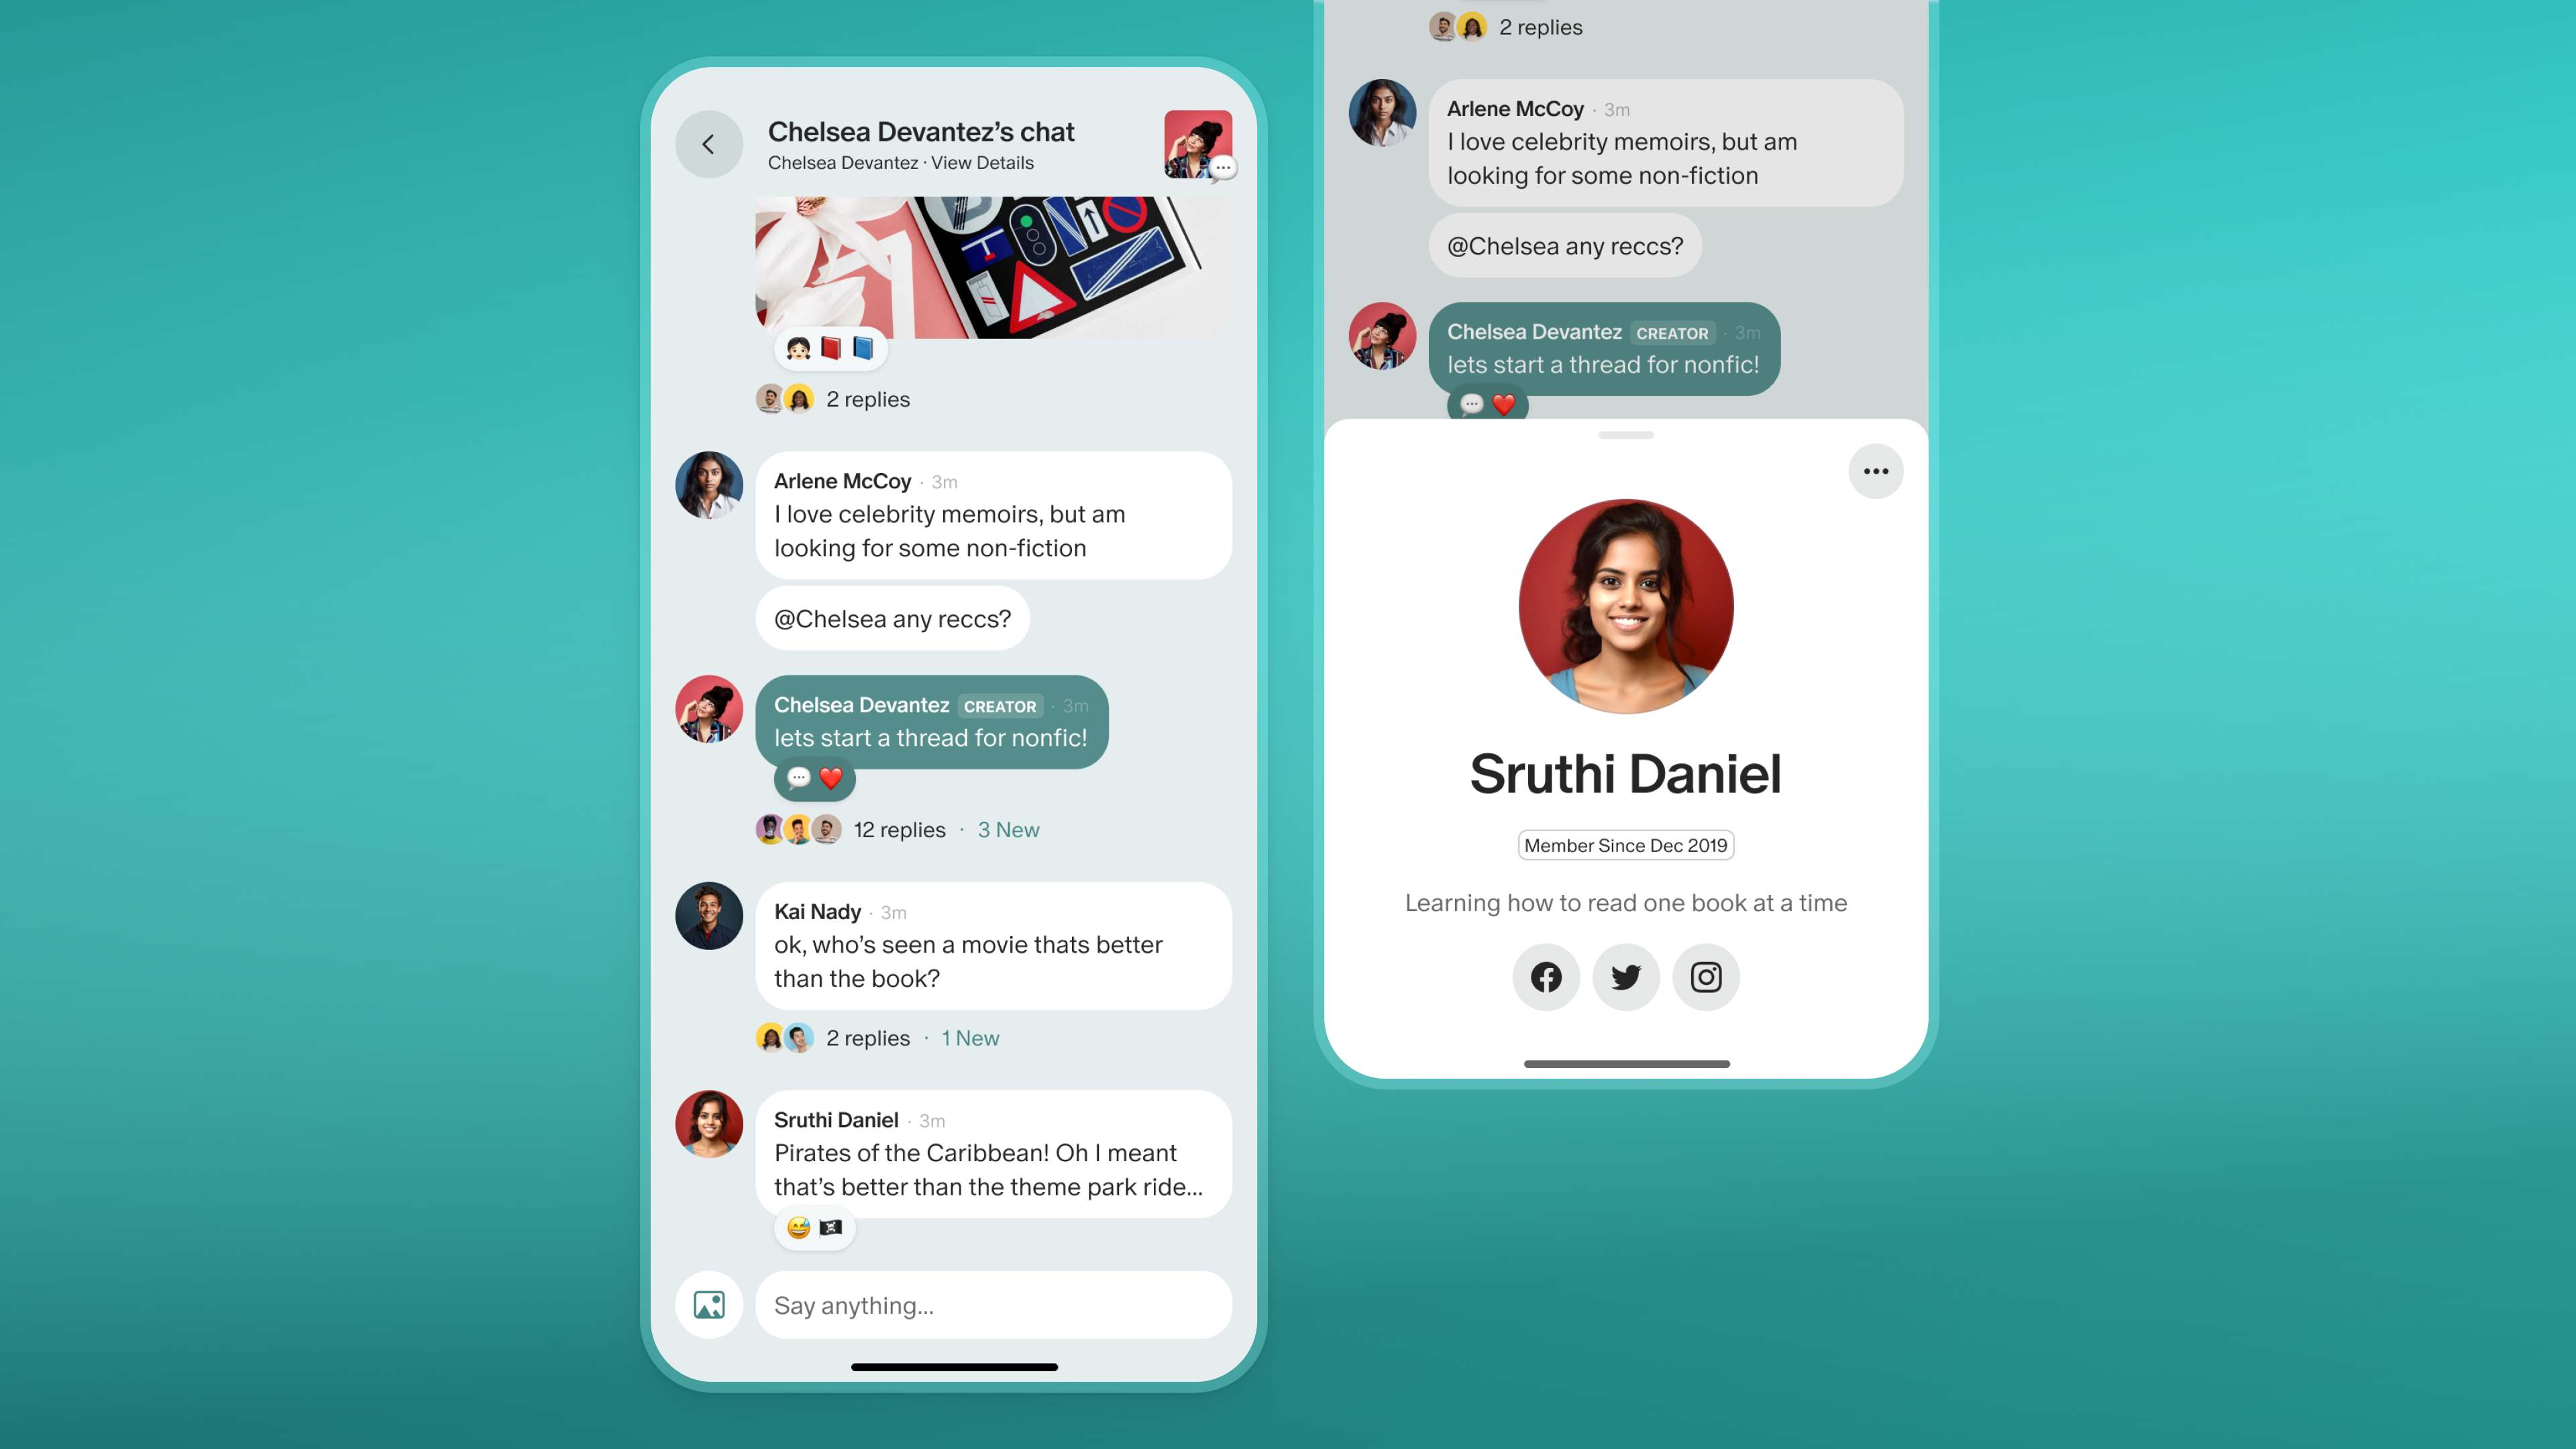
Step 4: Access Exclusive Content
Now that you’re a patron and have chosen your desired tier, it’s time to access the exclusive content offered by your chosen creator. Here’s how you can easily access and enjoy this content:
- Log in to your Patreon account and navigate to the creator’s page.
- Depending on the creator and the tier you’ve chosen, you’ll find different ways to access their exclusive content.
- Look for posts, updates, or messages from the creator that specifically mention exclusive content. These can appear as text posts, images, videos, or even downloadable files.
- Click on the desired post or update that mentions the exclusive content you’re interested in accessing.
- The creator may have special instructions or links within the post for accessing the exclusive content. Follow these instructions carefully.
- If the content is a downloadable file, such as an ebook, music track, or artwork, click on the provided link to commence the download.
- If the content is a video or multimedia file, the creator may have embedded it directly in the post. In this case, simply click on the play button to start enjoying the content.
- Take the time to explore the creator’s page for any additional exclusive content or updates that may be available to you as a patron.
- Engage with the creator and their community by leaving comments, likes, or sharing your thoughts on the exclusive content. This is a great way to interact with the creator and show your appreciation for their work.
Remember, exclusive content on Patreon is typically available for patrons only. Treat it with respect and refrain from sharing or distributing the content without the creator’s permission.
With these steps, you’re now able to access and enjoy the exclusive content provided by your chosen creator on Patreon. It’s time to delve into the content you’re excited about and fully experience the perks of being a patron.
Step 5: Download Patreon Content
Downloading Patreon content is a simple process that allows you to save and enjoy your favorite exclusive content offline. Here’s how you can easily download Patreon content:
- Log in to your Patreon account and navigate to the creator’s page.
- Locate the post or update that contains the content you want to download.
- If the content is a downloadable file (e.g., PDF, image, audio track), look for a link or button that indicates it can be downloaded.
- Click on the provided link or button to initiate the download process.
- Once you’ve clicked on the download link, your browser will usually prompt you to choose a location on your device to save the file.
- Select a folder or destination where you want to save the content and click on the “Save” or “Download” button.
- The download may take a few moments, depending on the file size and your internet connection speed.
- Once the download is complete, navigate to the folder where you saved the file to access it on your device.
- If the content is a multimedia file (e.g., video, audio), you can also use third-party downloaders or browser extensions that support media downloads to save the content directly to your device.
- Remember to respect the creator’s copyright and usage guidelines when downloading and using their content.
By following these steps, you can easily download Patreon content and enjoy it at your convenience even when you’re offline. Now, you have the freedom to access your favorite exclusive content anytime, anywhere.
With this final step completed, you’ve successfully downloaded the Patreon content you desired. Take delight in the exclusive content provided by your favorite creators and continue supporting them on their creative journey.
Conclusion
Congratulations! You’ve now learned how to download Patreon content and make the most of your patron experience. By following the steps outlined in this guide, you can easily navigate the Patreon platform, become a patron of your favorite creators, access exclusive content, and download it for offline enjoyment.
Patreon provides a unique opportunity for creators and patrons to connect on a deeper level. By supporting your favorite creators, you not only enable them to continue producing high-quality content but also gain access to exclusive perks and behind-the-scenes updates.
Remember, Patreon is more than just a platform for downloading content. It’s about building a supportive community, engaging with creators, and fostering a relationship between artists and their audience. Take advantage of the opportunity to interact with creators, leave comments, and show your appreciation for their work.
As a patron, it’s important to respect the creator’s intellectual property rights and follow any guidelines they provide. Do not share or distribute the exclusive content without their permission, as it undermines their hard work and affects their ability to earn a living from their creations.
Now that you’re equipped with the knowledge and understanding of how to download Patreon content, it’s time to explore the platform, discover new creators, and dive into the world of exclusive content. Get ready to immerse yourself in a vibrant, creative community and support the artists and creators who inspire you.
Enjoy the journey, and happy downloading!