Introduction
Listening to music has become an integral part of our daily lives. Whether you’re commuting to work, working out at the gym, or simply relaxing at home, having access to your favorite songs whenever you want is a must. However, relying on an internet connection to stream music can be inconvenient and costly, especially if you’re on the go or have limited data. That’s where downloading music to listen offline comes in.
In this article, we will explore step-by-step how to download music from popular streaming services onto your device, allowing you to enjoy your favorite songs even when you’re not connected to the internet. With offline music, you can create playlists, listen to albums, and discover new artists without worrying about buffering or data usage.
Downloading music to listen offline is a handy feature offered by many music streaming platforms today. Whether you prefer Spotify, Apple Music, Amazon Music, or another service, the process is generally similar across all platforms. By following a few simple steps, you can have your favorite tunes readily available on your device, ensuring unlimited entertainment wherever you go.
So, if you’re ready to liberate yourself from the constraints of an internet connection, let’s dive in and learn how to download music to listen offline.
Step 1: Choose a music streaming service
The first step in downloading music to listen offline is to choose a music streaming service that offers this feature. There are several popular platforms to choose from, each with its own unique features and music library. Some of the most well-known streaming services include Spotify, Apple Music, Amazon Music, and Tidal.
Consider your preferences and needs when selecting a music streaming service. Look for one that offers a wide range of music genres and artists to ensure you can find your favorite songs. Additionally, check if the service has a user-friendly interface and customizable features that enhance your listening experience.
Take into account the compatibility of the streaming service with your device. Ensure that it is compatible with your smartphone, tablet, or computer operating system. This will ensure a seamless experience when downloading and listening to music offline.
Furthermore, it’s worth considering the cost of the streaming service. Some platforms offer free versions with limited features, while others require a monthly subscription fee for access to the full range of features, including offline listening. Assess your budget and choose a subscription plan that suits your needs and financial capabilities.
Lastly, read reviews and gather opinions from friends or online communities to get insights into the user experience of different streaming services. This will give you a better understanding of the pros and cons of each platform and help you make an informed decision.
Once you have chosen the music streaming service that aligns with your preferences, it’s time to move on to the next step – checking the subscription plan.
Step 2: Check the subscription plan
Before you start downloading music to listen offline, it’s essential to review the subscription plans offered by the music streaming service you’ve chosen. Subscription plans vary depending on the platform and the features they offer, including offline listening.
Start by determining if the streaming service provides a free version or requires a paid subscription. Free versions often come with limitations, such as ads and restricted access to certain features. If you’re looking for an uninterrupted listening experience with full access to offline listening, you may need to consider upgrading to a paid subscription.
When considering the subscription plans, review the pricing options. Some platforms offer a tiered pricing structure, providing different levels of access based on the subscription fee. Assess your needs and budget to determine if the offered features and benefits are worth the cost. Keep in mind that a higher-priced plan may offer additional benefits, such as higher audio quality or exclusive content.
Additionally, check if the subscription plan includes the option for family sharing. Some streaming services offer family plans that allow multiple family members to have their own accounts under one subscription. This can be a cost-effective option if you have multiple family members who wish to access offline music on their devices.
Take note of any trial periods or promotional offers available. Many streaming services provide a free trial for a limited time, allowing you to test out the service and its offline listening feature before committing to a subscription. This can be an excellent way to ensure that the platform meets your expectations and provides the music library and features you desire.
By thoroughly reviewing the subscription plans, you can select the one that best suits your needs and provides the offline listening capabilities you desire. Once you’ve decided on a plan, it’s time to move on to the next step – downloading the music app.
Step 3: Download the music app
After choosing a music streaming service and reviewing the subscription plans, the next step is to download the music app onto your device. Most music streaming services have dedicated apps available for different operating systems, such as iOS and Android.
To download the music app, visit the official app store of your device, such as the App Store for iOS or Google Play Store for Android. Search for the app using the name of the music streaming service you selected. Once you find the app, click on the download or install button to initiate the downloading process.
Ensure that you have a stable internet connection during the download to avoid any interruptions. The app will begin downloading and installing onto your device. The time it takes to complete the process will depend on your internet speed and the size of the app.
Once the app is installed, you can find it on your device’s home screen or in the app drawer. Tap on the app icon to open it and proceed with the next steps. If necessary, log in to your account using the credentials you created during the sign-up process.
It’s important to keep the music app updated to access the latest features and improvements. Check for app updates regularly either through the app store or the app’s settings. By keeping the app up to date, you can ensure a smooth and enjoyable offline listening experience.
Now that you have the music app installed and ready to go, it’s time to move on to the next step – logging in to your account.
Step 4: Log in to your account
Once you have downloaded the music app for your chosen streaming service, the next step is to log in to your account. Logging in will allow you to access your personalized settings, playlists, and saved music, including the option to download music for offline listening.
Open the music app on your device and look for the login or sign-in option. Depending on the platform, you may be prompted to enter your email address, username, or phone number, followed by your password associated with your account. If you have signed up using a third-party account, such as Facebook or Google, you may have the option to log in using those credentials.
Ensure that you enter your login details correctly to gain access to your account. If you’ve forgotten your password, most platforms offer a password recovery option to reset it. Follow the instructions provided by the streaming service to regain access to your account.
Once you have successfully logged in, you will have access to your personalized music library, playlists, and saved songs. This is where you can start exploring and browsing for music to download for offline listening.
It is important to note that if you are logging in on a device other than the one you typically use, you may be required to authenticate your login through a verification code sent to your email or phone number. This adds an extra layer of security to protect your account.
Now that you’re logged in, you’re ready to move on to the next step – searching for music to download and enjoy offline.
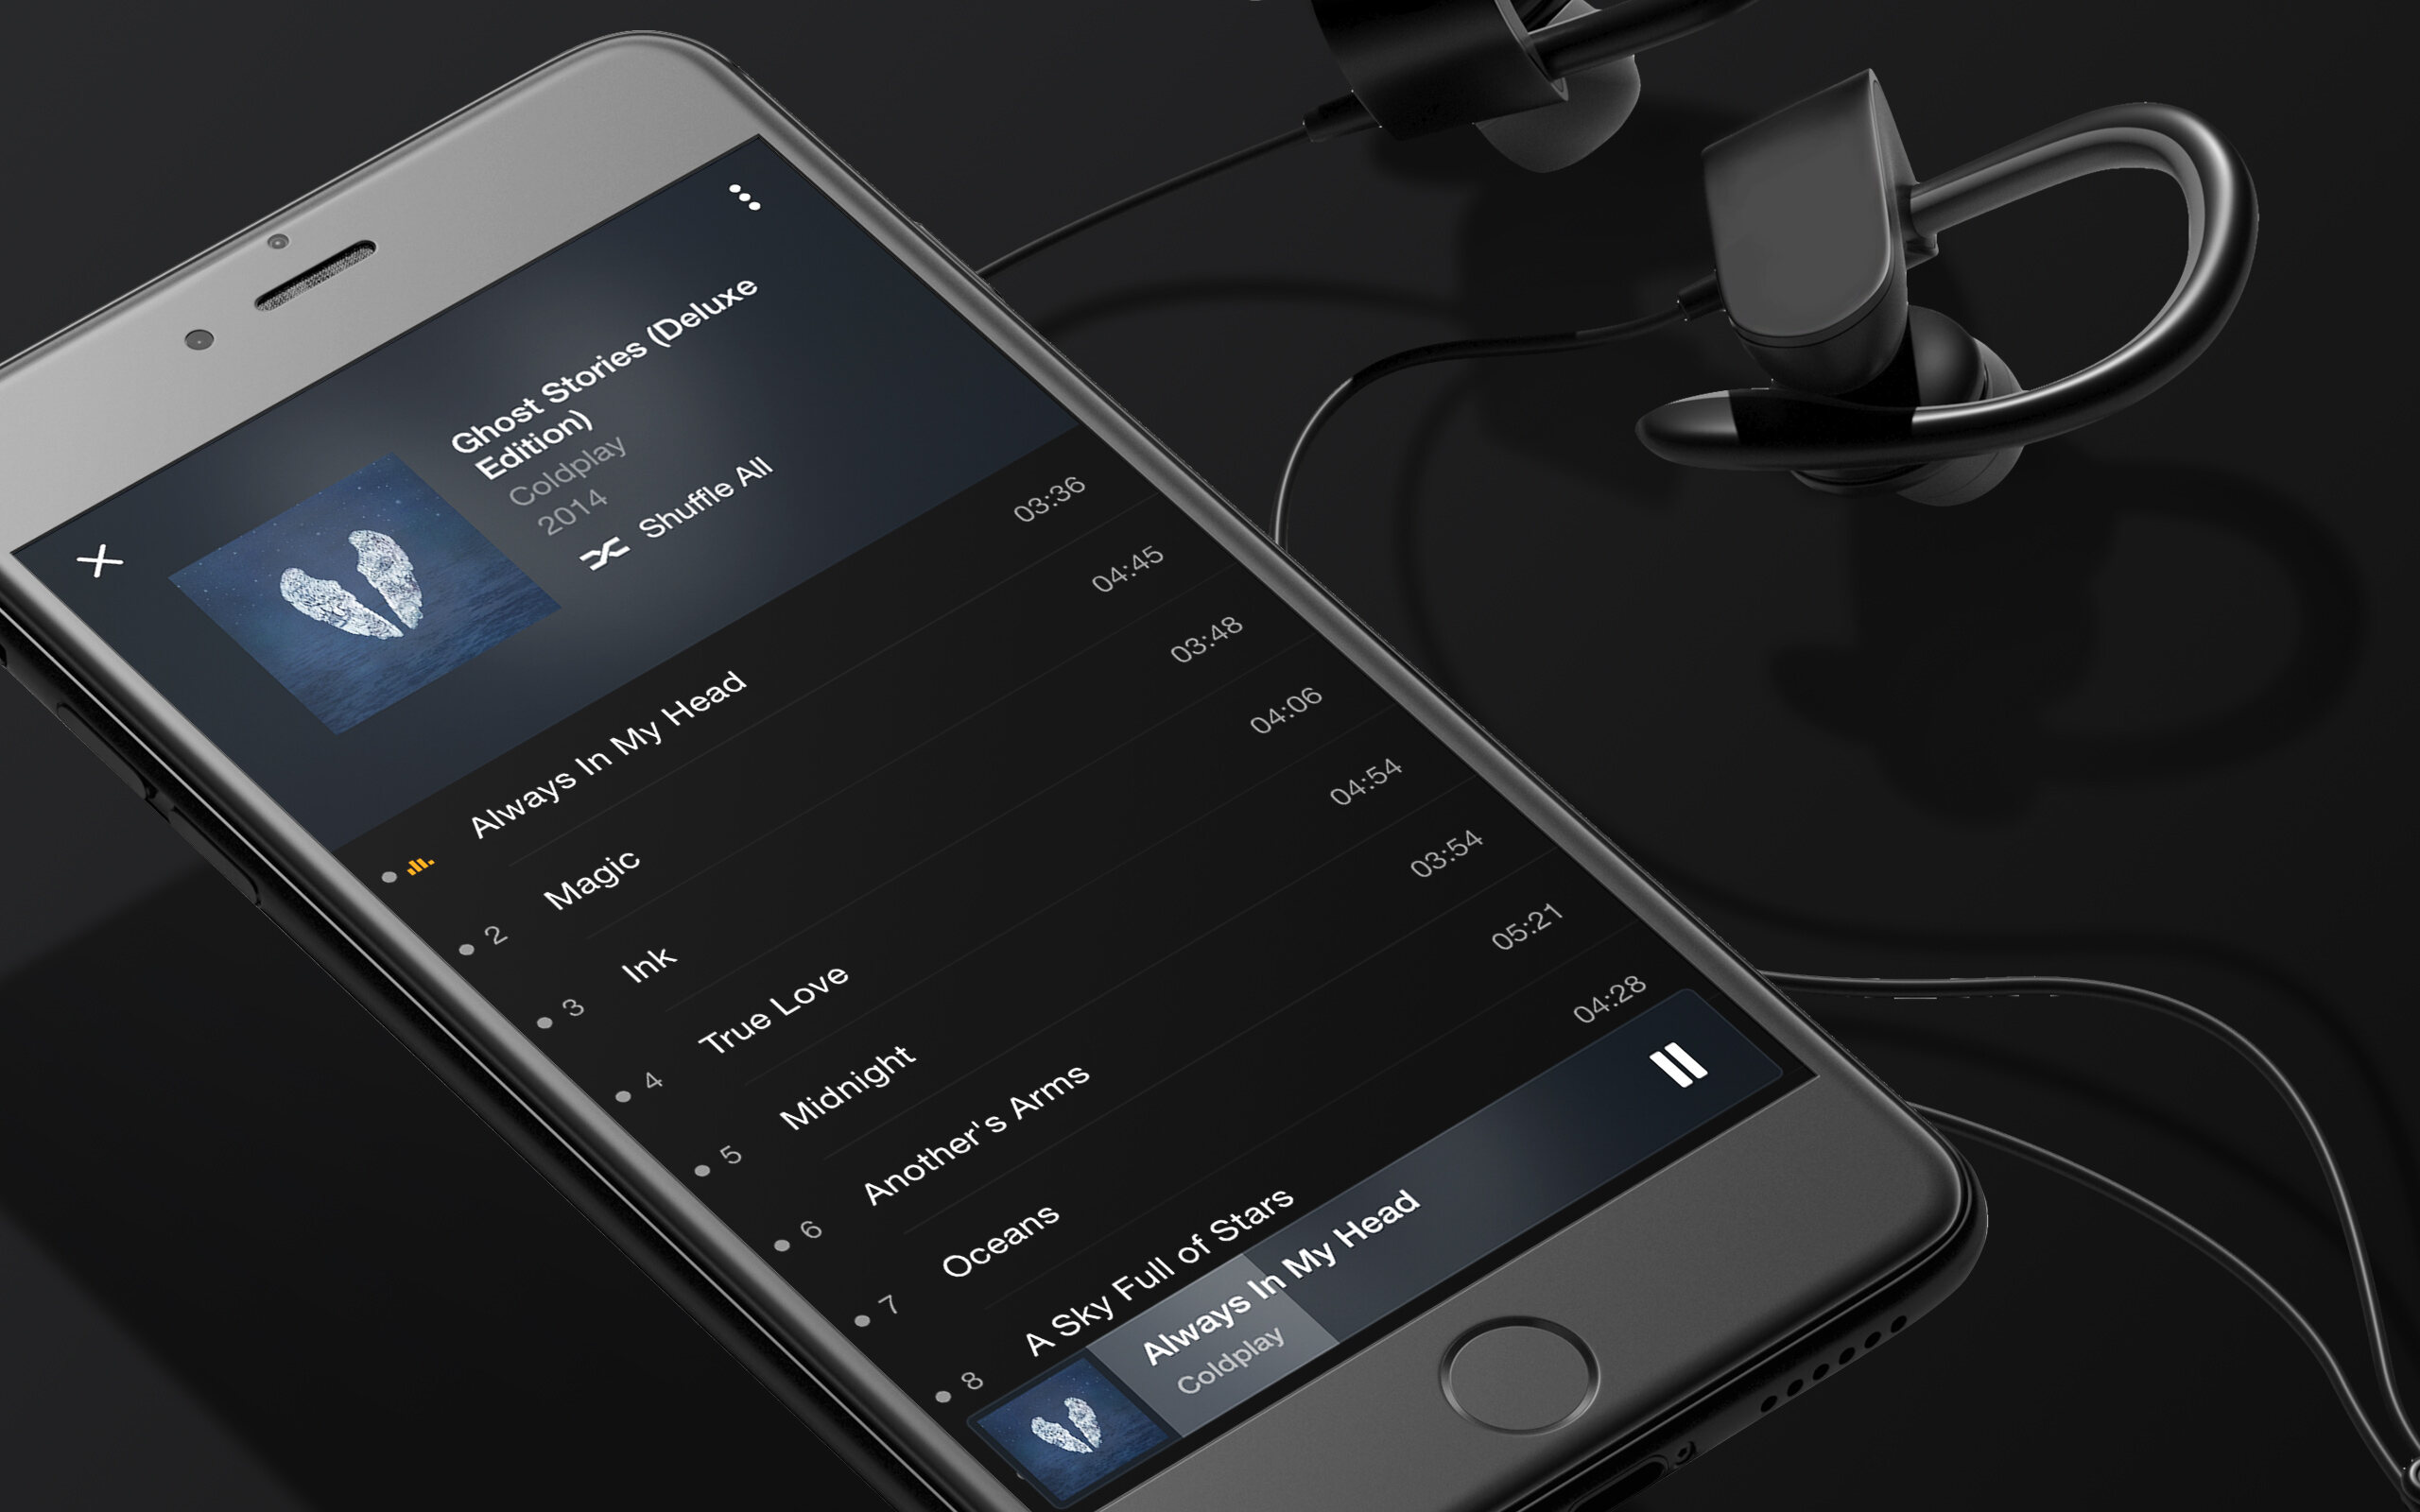
Step 5: Search for music to download
With your music streaming app open and your account logged in, it’s time to search for the music you want to download and listen to offline. Most music streaming services have a search bar at the top of the app interface where you can enter the name of a song, artist, album, or genre.
Start by thinking about the specific songs or albums you want to have available for offline listening. Enter the relevant keywords into the search bar and press enter or the search button. The app will then display the search results based on your query.
Browse through the search results to find the specific track, album, or artist you are looking for. Take advantage of any filters or sorting options provided by the app to narrow down your search results and find your desired music more easily.
If you are in the mood to discover new music, consider exploring curated playlists or recommendations offered by the streaming service. These features often showcase popular songs, trending tracks, or personalized suggestions based on your listening history.
Once you have found a song or album you want to download, tap on it to open the details page. Here, you can find additional information about the music, including the artist, album artwork, and tracklist. You may also have the option to listen to a preview of the song before downloading it.
Continue searching for and selecting the music you want to download for offline listening. Take your time to build a collection of songs and albums that will keep you entertained in situations where an internet connection might not be available.
Now that you have selected the music you want to download, proceed to the next step – tapping the download button to save the songs for offline listening.
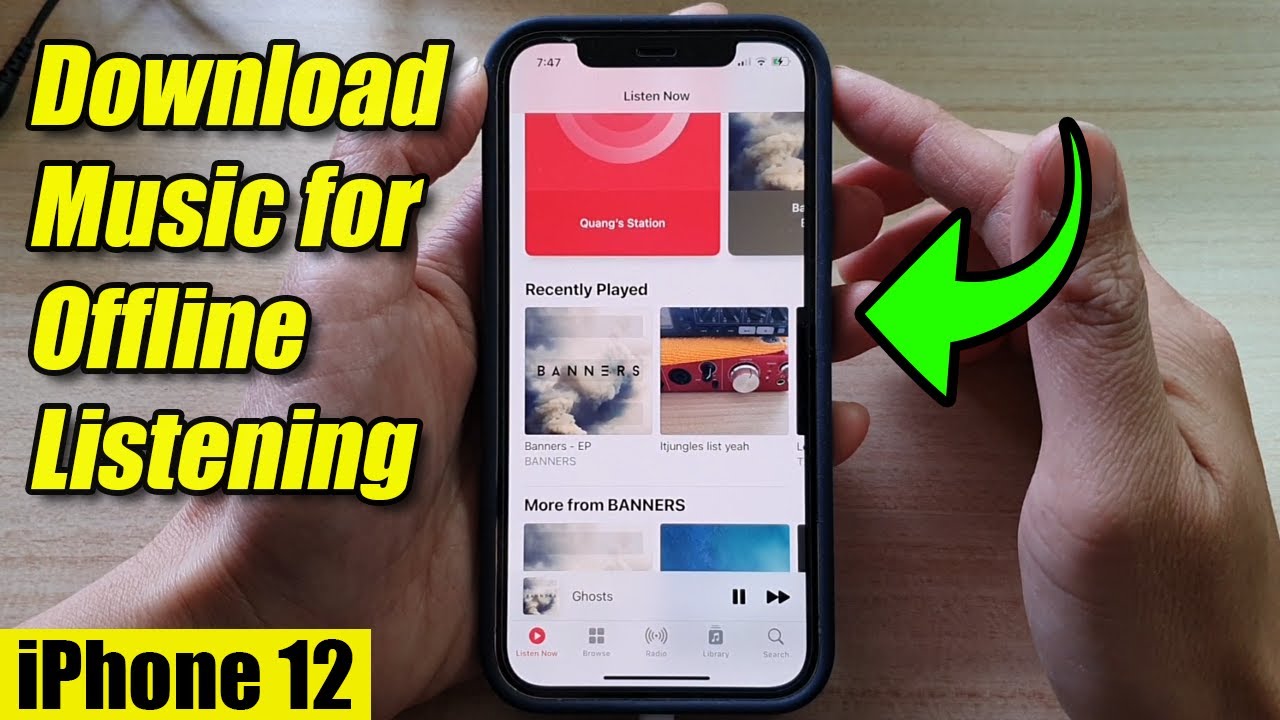
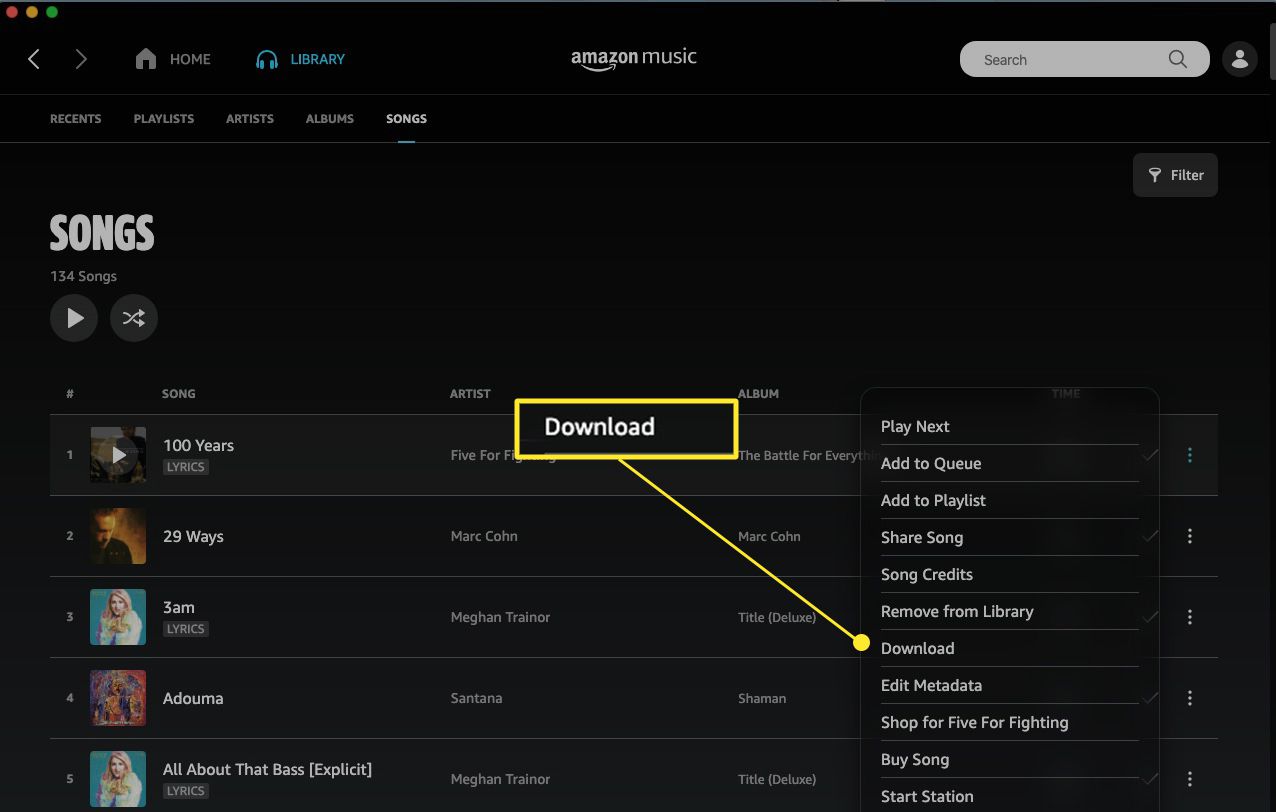
Step 6: Tap the download button
Once you have found the music you want to listen to offline, it’s time to download it onto your device. Most music streaming apps offer a download button or an option to save the music for offline listening. Tapping this button will initiate the downloading process.
On the music details page, look for the download button or icon. It is usually represented by a downward arrow or a cloud symbol. Tap on this button to start the download process for the selected song or album.
Depending on the size of the music file and your internet speed, the downloading process may take a few seconds to a few minutes. Ensure that you have a stable internet connection during this time to avoid any interruptions.
Once the download is complete, the music will be saved to your device for offline listening. You can usually find the downloaded music within the app’s library or in a designated section for offline music.
Repeat this process for each song or album you want to download for offline listening. Take into consideration the storage capacity of your device and download only the music that you plan to listen to in the near future. This will optimize the available space and ensure you have room for other essential files or applications.
It’s important to note that some music streaming services may have limitations on the number of songs or albums you can download at a time. Make sure to familiarize yourself with these limitations and manage your downloaded music accordingly.
Now that you have successfully downloaded the music onto your device, you’re one step closer to enjoying it offline. In the next step, we will explore how to create playlists for offline listening.
Step 7: Create playlists for offline listening
Creating playlists is a great way to organize and manage your downloaded music for offline listening. With playlists, you can group your favorite songs or create themed collections that can be easily accessed anytime, even without an internet connection.
To create a playlist, open your music streaming app and navigate to the section or tab dedicated to playlists. Look for the option to create a new playlist and tap on it.
Give your playlist a name that reflects its content or theme. You can be as creative as you like, whether it’s a workout playlist, a road trip mix, or a collection of your favorite tracks from a specific artist.
Once you’ve named your playlist, proceed to add songs to it. Depending on the streaming app, you can add songs individually or in bulk. Look for the option to “add” or “add to playlist” while browsing through your downloaded music.
Browse through your downloaded collection and select the songs you want to add to the playlist. You can also search for specific songs or artists within the playlist creation interface and add them directly.
Take the time to curate your playlist, keeping in mind the flow, mood, and overall listening experience. Arrange the songs in an order that makes sense to you, or opt to shuffle them for a randomized playback.
Once you are satisfied with your playlist, save it. The playlist will now be available for offline listening, and you can access it anytime without requiring an internet connection.
Feel free to create multiple playlists for different occasions or genres. This way, you can easily switch between playlists based on your mood or activity, whether it’s a relaxing evening at home or a high-energy workout at the gym.
Now that you have created your playlists for offline listening, it’s time to explore how to manage your downloaded music in the next step.
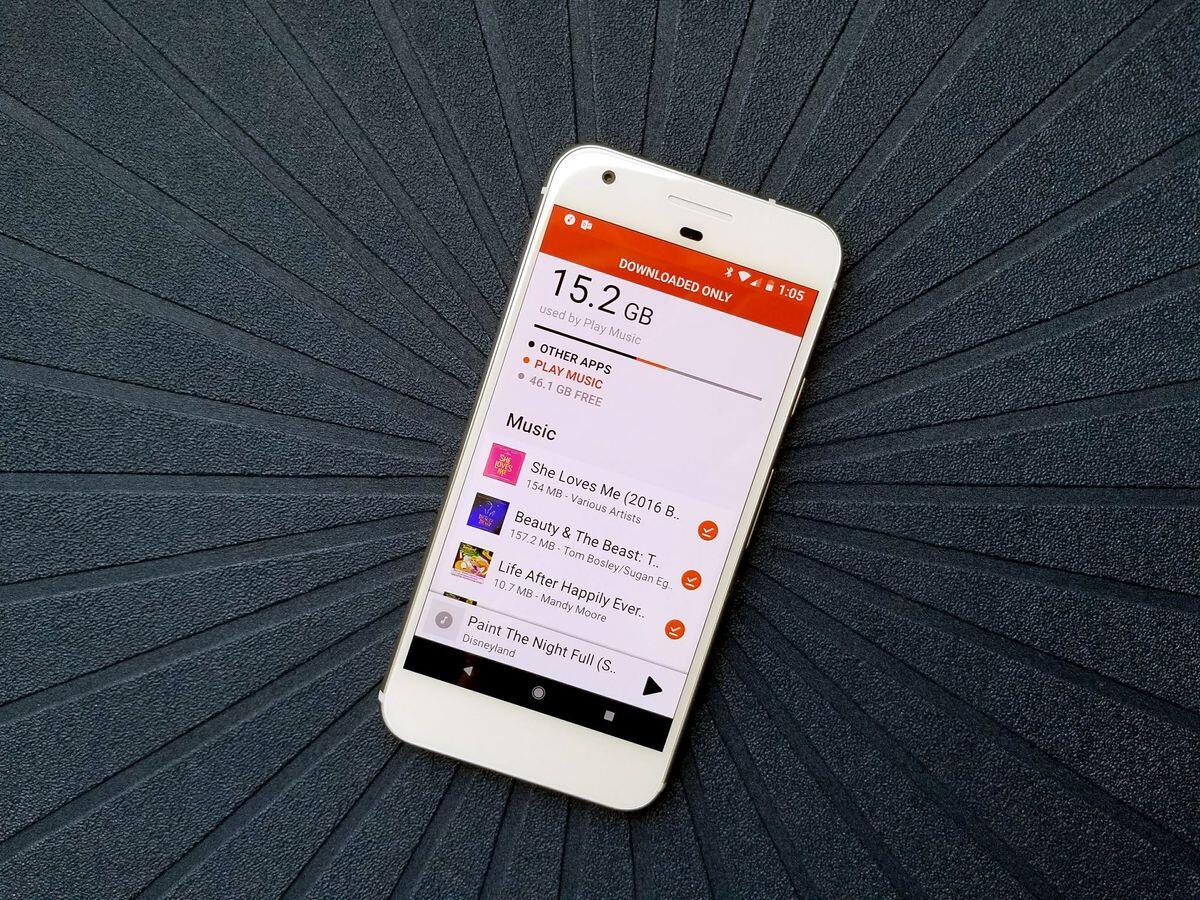
Step 8: Manage your downloaded music
As you continue to download music for offline listening, it’s important to keep your collection organized and manageable. Managing your downloaded music ensures that you have the songs you want at your fingertips and prevents your device’s storage from being cluttered.
Start by regularly reviewing your downloaded music library. Remove any songs or albums that you no longer listen to or that have become outdated. This will free up storage space on your device and make it easier to navigate your music collection.
Most music streaming apps offer options to manage your downloaded music. Look for settings or options that allow you to view and manage your offline library. From there, you can delete songs individually or in bulk.
Consider creating folders or categories within your downloaded music library. This can help you further organize your collection and find specific songs or albums more easily. Create folders based on genres, moods, or artists, and move your downloaded music into the appropriate folders.
Check for any available updates within your music streaming app. Updates often include improvements, bug fixes, and new features that enhance your offline listening experience. Keeping your app updated ensures that you have the latest enhancements and optimizations.
If your device’s storage capacity is limited, consider adjusting the audio quality settings within your music app. Lowering the audio quality of downloaded music can help save storage space without compromising the listening experience significantly.
Regularly review your device’s storage and clear any unnecessary files or apps that may be taking up space. By optimizing your device’s storage, you can ensure that you have enough space to download and store your favorite music for offline listening.
With a well-managed collection, you can easily navigate and enjoy your downloaded music offline, without any storage or organization constraints.
In the next step, we will explore how to enable offline mode to ensure a seamless offline listening experience.
Step 9: Enable the offline mode
Enabling the offline mode in your music streaming app is the final step to ensure a seamless offline listening experience. By enabling this mode, you can easily access your downloaded music without being connected to the internet.
Open your music streaming app and navigate to the settings or options menu within the app. Look for an option that refers to offline mode, download settings, or similar terms.
Once you’ve located the appropriate setting, toggle the offline mode switch to enable it. This will activate the offline mode, allowing you to exclusively listen to your downloaded music while disconnected from the internet.
Enabling offline mode is particularly useful when you are in areas with limited or no internet connectivity, such as when traveling or in remote areas. This feature ensures that you can still enjoy your favorite songs without interruptions.
Keep in mind that enabling the offline mode may disable certain interactive features, such as searching for new songs or accessing the complete music library. However, you will still have full access to your downloaded music and any created playlists.
Remember to disable offline mode when you want to switch back to streaming music online. This will allow you to access the full range of features provided by the streaming service, including searching for new music, accessing personalized recommendations, and exploring the entire music catalog.
By enabling the offline mode, you can enjoy your downloaded music without worrying about internet connectivity or using up your data plan. It offers convenience and freedom to listen to your favorite tunes wherever you go, regardless of internet availability.
Congratulations! You have now successfully enabled the offline mode, completing the final step in downloading music to listen offline.
Conclusion
Downloading music to listen offline has become a popular feature offered by music streaming services, allowing users to enjoy their favorite songs without relying on an internet connection. In this article, we explored the step-by-step process of downloading music for offline listening.
We began by choosing a music streaming service that provides the offline listening feature, considering factors such as music library, user interface, compatibility, and subscription plans. We then checked the subscription plans to ensure we have the necessary access for offline listening.
Next, we downloaded the music app specific to our chosen streaming service. Once downloaded, we logged in to our account to access our personalized music library. We then searched for music to download, using keywords, artist names or genres to find the songs and albums we wanted.
We proceeded by tapping the download button to save the selected music onto our devices. Creating playlists allowed us to organize our downloaded music and easily access them for offline listening. We also learned to manage our downloaded music library by deleting unnecessary songs and organizing it into folders.
Finally, we enabled the offline mode, ensuring a seamless offline listening experience whenever we desired. By following these steps, we have successfully mastered the process of downloading music to listen offline.
Remember, downloading music for offline listening provides freedom and convenience, allowing you to enjoy your favorite songs anytime, anywhere, without worrying about an internet connection or data usage. So, go ahead and start building your offline music collection to enhance your listening experience!