Introduction
Downloading music on a school computer can be a tricky task, as many educational institutions have strict policies against unauthorized downloading. However, if you’re looking to enjoy your favorite tunes during study breaks or while working on projects, there are some steps you can take to safely and legally download music on a school computer.
Before diving into the process, it’s crucial to familiarize yourself with your school’s policy on downloading music. Some schools may completely prohibit any form of file sharing or downloading, while others may have specific guidelines in place. It’s essential to respect these rules to avoid any potential consequences.
Once you have a clear understanding of your school’s policy, you can proceed with the steps to download music. It’s important to note that the methods shared in this article are solely intended for legal music downloads, and we encourage you to only download music that you have the rights to access.
In the following sections, we will guide you through the process of downloading music on a school computer, ensuring that you do it safely and within the boundaries of your school’s acceptable use policy. By following these steps, you’ll be able to enjoy your favorite songs during your study sessions without compromising the rules and regulations set forth by your educational institution.
Step 1: Check the school’s policy on downloading music
Before you start downloading music on your school computer, it’s crucial to understand and comply with your school’s policy on downloading copyrighted content. Many educational institutions have strict guidelines against unauthorized downloading due to legal and ethical concerns. Violating these policies can result in serious consequences, including disciplinary actions.
To check your school’s policy on downloading music, you can start by reviewing the acceptable use policy provided by your school administration. This policy outlines the rules and regulations regarding the use of school computers and the internet. Look for specific guidelines regarding file sharing, downloading, and copyright infringement.
If you are unable to find the information in the acceptable use policy, consider reaching out to your school’s IT department or a faculty member who can provide you with more details. They will be able to guide you on whether downloading music is permitted and if there are any specific restrictions or procedures in place.
Remember, it is important to respect and abide by your school’s policy to maintain a positive academic environment and avoid unnecessary consequences. By understanding and adhering to the rules, you can ensure that you are engaging in responsible and legal music downloading activities on your school computer.
Step 2: Find a reliable and safe music downloading website
Once you have familiarized yourself with your school’s policy on downloading music and ensured that it is permitted, the next step is to find a reliable and safe music downloading website. It is essential to choose a reputable website to ensure that you are downloading music legally and protecting your school computer from any potential security risks.
When searching for a music downloading website, consider the following factors:
- Reputation: Look for websites that have positive reviews and a good reputation among users. This indicates that the website is trustworthy and provides quality content.
- Legality: Ensure that the website you choose offers legal downloads. Some websites may offer copyrighted material without proper authorization, which can lead to legal issues.
- Safe Downloads: Verify that the website has security measures in place to protect against malware, viruses, and other potential threats. It is crucial to prioritize your computer’s safety when downloading files.
- Music Selection: Choose a website that offers a wide range of music genres and artists. This ensures that you have a diverse selection to choose from and can easily find the songs you want.
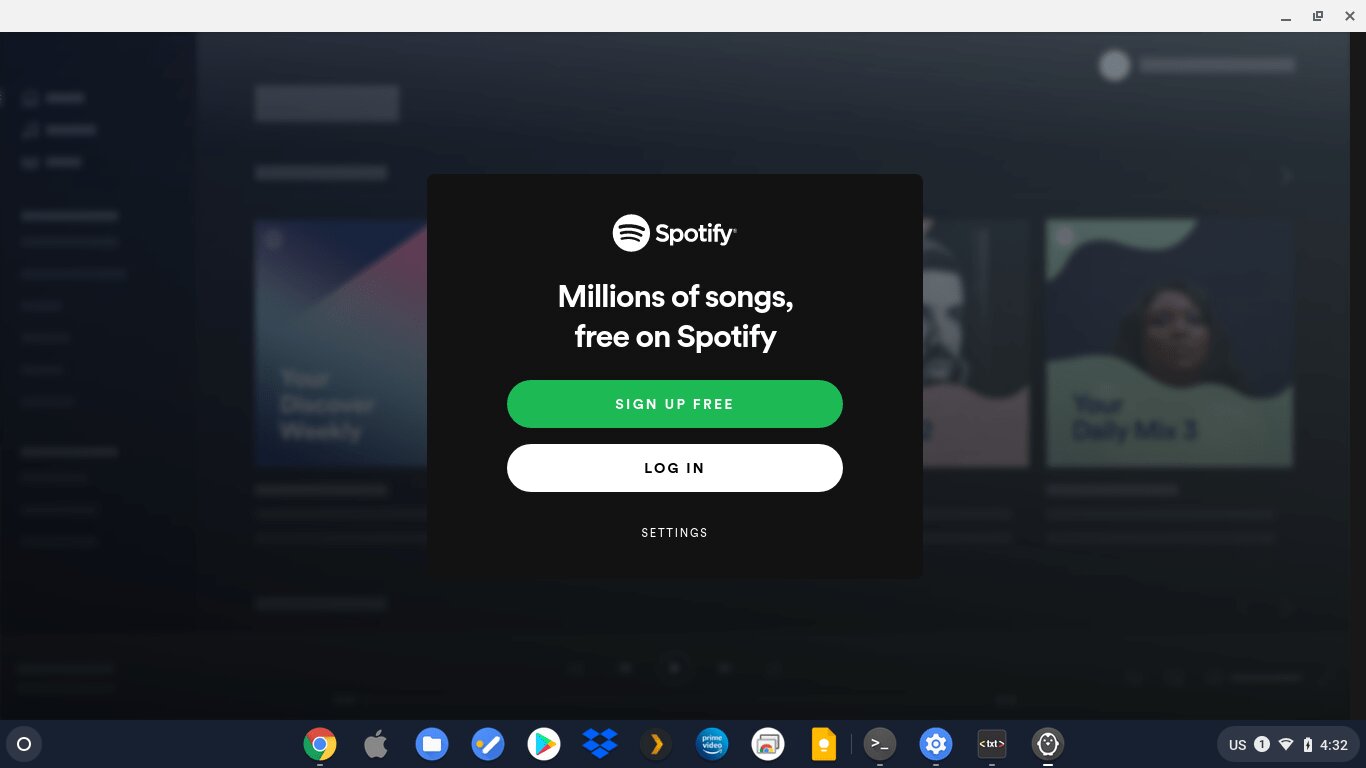
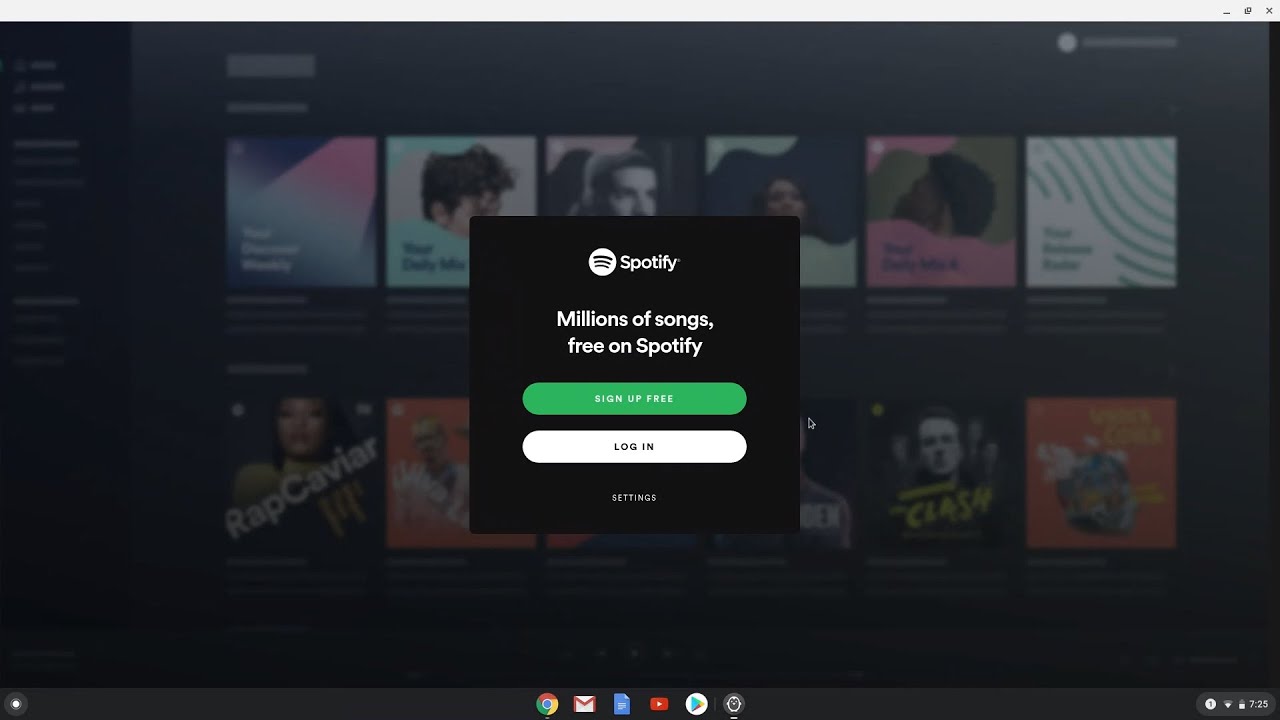
Popular music downloading websites that meet these criteria include platforms like Spotify, Apple Music, Amazon Music, and Google Play Music. These platforms provide legal and safe downloads, offering a vast collection of songs for you to enjoy on your school computer.
Remember, always exercise caution when choosing a music downloading website. Avoid websites that offer suspicious or unauthorized downloads, as they may not only violate copyright laws but also compromise the security of your school computer. By selecting a reliable and reputable website, you can ensure a safe and legal music downloading experience.
Step 3: Select and search for the desired music
Now that you have found a reliable and safe music downloading website, it’s time to select and search for the desired music you want to download on your school computer. Whether it’s your favorite songs or the latest hits, the process is relatively straightforward.
Here are the steps to select and search for the desired music:
- Open the music downloading website on your school computer’s web browser.
- Sign in to your account if required or create a new account if necessary. Some websites may require you to have an account to access and download music.
- Once you are logged in, you can either browse through the website’s categories to find the desired music or use the search bar to directly search for specific songs, albums, or artists.
- Enter the name of the song, album, or artist in the search bar and hit enter or click on the search icon.
- A list of search results will appear based on your search query. Browse through the results to find the specific music you want to download.
- Read the description or preview the song if available to ensure that it’s the correct version or the specific recording you intended to download.
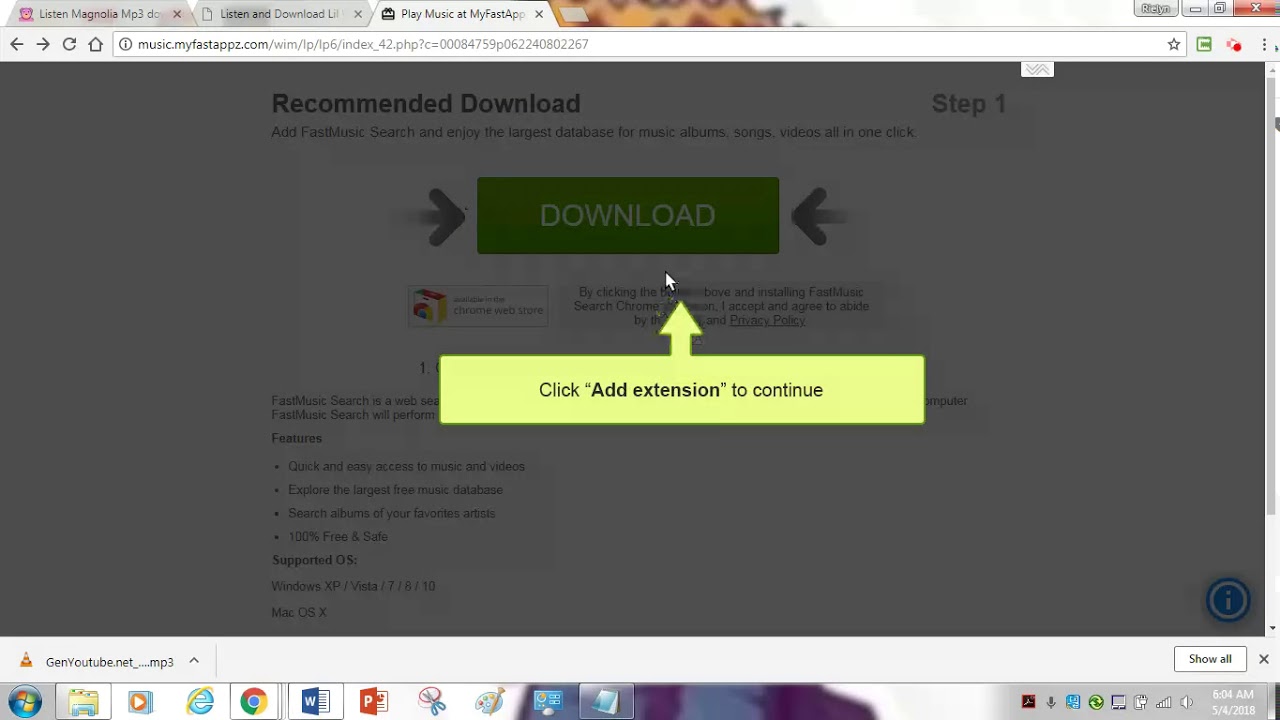
- Once you have found the desired music, click on the download button or follow the prompts provided by the website to initiate the download process.
It’s important to note that certain websites may offer multiple download formats such as MP3, FLAC, or WAV. Choose the format that is compatible with your school computer and meets your preferences.
By following these steps, you can easily select and search for the desired music on a reliable downloading website using your school computer. This ensures that you can enjoy your favorite songs during study sessions or downtime without any hassle.
Step 4: Choose the preferred download format (e.g., MP3)
Once you have found the desired music on the downloading website, the next step is to choose the preferred download format. The format you select will determine the quality and compatibility of the downloaded music file on your school computer.
Here are some common download formats to consider:
- MP3: This is the most widely used and compatible audio format. It offers good audio quality while keeping file sizes relatively small. MP3 files can be played on various devices and media players, making it a popular choice for music downloads.
- FLAC: FLAC (Free Lossless Audio Codec) is an audio format that offers lossless compression, meaning it retains the original audio quality without any loss in fidelity. FLAC files are larger in size compared to MP3s but provide a higher level of audio detail. However, not all devices or media players support FLAC playback.
- WAV: WAV (Waveform Audio File Format) is an uncompressed audio format. It offers the highest audio quality but results in larger file sizes. WAV files are suitable for audiophiles or those who require high-quality audio for professional purposes. However, due to their large size, they may take up significant storage space on your school computer.
When choosing the preferred download format, consider the storage capacity and limitations of your school computer. If you have limited storage space or need to conserve memory, MP3 may be the most practical option. However, if audio quality is a top priority for you, and storage space is not an issue, you may opt for the FLAC or WAV formats.
Once you have decided on the download format, look for the option to select it before initiating the download process. Some downloading websites may automatically provide the file in a specific format, while others may allow users to choose their preferred format before downloading.
By choosing the preferred download format, you can ensure that the downloaded music file meets your quality and compatibility requirements for playback on your school computer.
Step 5: Click on the download button and wait for the file to save
After choosing the preferred download format for the music file, the next step is to click on the download button provided by the music downloading website. This will initiate the download process, and you will need to wait for the file to save onto your school computer.
Here are the steps to follow:
- Locate the download button next to the selected music file. It is usually represented by an arrow pointing downwards or a cloud icon.
- Click on the download button to start the process. Depending on the size of the music file and the speed of your internet connection, it may take a few moments or longer to complete.
- During the download process, a progress bar or indicator may appear on your screen, showing the status of the download. Do not close or navigate away from the page until the download is complete.
- Once the download is finished, the music file will be saved to a designated folder on your school computer. The default location may vary depending on your operating system and web browser settings. However, you may have the option to choose the specific folder or directory for saving the downloaded file.
- Keep in mind that some music downloading websites may require you to have sufficient storage space available on your computer before initiating the download. If you encounter any issues with the download process, ensure that you have enough free space on your school computer’s hard drive.
It is important to wait patiently for the download to complete and avoid interrupting the process. Closing the web browser, shutting down the computer, or navigating away from the page before the download is finished can result in an incomplete or corrupted file.
Following these steps ensures that the music file is successfully saved onto your school computer, ready to be accessed and enjoyed whenever you desire.
Step 6: Locate the downloaded file on your school computer
Once the music file has finished downloading, the next step is to locate it on your school computer. The specific location may vary depending on your operating system and web browser settings, but there are a few general methods to find the downloaded file.
Here are some steps to help you locate the downloaded file:
- Open the file explorer or finder on your school computer. This can usually be done by clicking on the “File Explorer” or “Finder” icon in the taskbar or dock.
- Look for a default download folder that is typically designated for saving downloaded files. Common names include “Downloads” or “My Downloads” on Windows, and “Downloads” or “Documents” on macOS.
- Navigate to the default download folder by clicking on it in the file explorer or finder.
- Once you are in the download folder, search for the music file by its name, artist, or the date it was downloaded. You can use the search bar provided by the file explorer or finder to quickly find the file.
- If you are unable to locate the downloaded file in the default download folder, it is possible that your web browser has a different download location specified in its settings. To find the specific download location, open your web browser’s settings and look for the “Downloads” or “General” section. Here, you can view or change the default download folder.
- If you have chosen a custom download location during the download process, navigate to that specific folder to locate the music file.
By following these steps, you will be able to locate the downloaded music file on your school computer. Once you have found it, you can access and enjoy your favorite songs without any issues.
Step 7: Transfer the downloaded music to a personal device (optional)
Once you have successfully downloaded music on your school computer, you may have the option to transfer it to a personal device for portable listening. This step is entirely optional and depends on your preferences and the policies set by your school regarding personal device usage.
If you are allowed to transfer the downloaded music to a personal device, here are some common methods to do so:
- Connect your personal device (such as a smartphone, tablet, or MP3 player) to your school computer using a USB cable or through a wireless connection.
- Ensure that your personal device is recognized by your school computer and appears as a storage device or external drive.
- Navigate to the location where the downloaded music file is saved on your school computer.
- Select the music file or files you want to transfer by either dragging and dropping them into your personal device’s storage or using the copy and paste function.
- Once the transfer is complete, safely disconnect your personal device from your school computer.
It’s important to note that you should only transfer music files that you have the rights to or are authorized to transfer. Avoid infringing upon any copyright restrictions or violating any school policies.
If your school has restrictions or policies that prohibit the transfer of downloaded music to personal devices, it is essential to respect those guidelines. In such cases, it is recommended to only enjoy the downloaded music on your school computer during authorized sessions.
By following these steps, you can choose to transfer the downloaded music to a personal device if permitted, allowing you to enjoy your favorite songs on the go without relying on your school computer.
Conclusion
Downloading music on a school computer requires careful consideration of your school’s policies and adherence to legal and ethical guidelines. By following the steps outlined in this guide, you can safely and responsibly download music on your school computer without compromising your academic standing or violating copyright laws.
Remember, it is crucial to familiarize yourself with your school’s policy on downloading music and respect any restrictions or guidelines put in place. Always choose reliable and safe music downloading websites that offer legal and authorized content. Additionally, selecting the preferred download format ensures that the music files are compatible with your school computer and meet your quality requirements.
If you choose to transfer the downloaded music to a personal device, ensure that it is permitted by your school’s policies and that you have the necessary rights to do so. If not, enjoy the downloaded music on your school computer during authorized sessions.
By understanding and following these steps, you can enhance your study breaks or relaxation time with your favorite music, all while maintaining a responsible and compliant approach to downloading music on your school computer.


![12 BEST Music Converter to Convert Music into All Formats [MP3, MP4]](https://robots.net/wp-content/uploads/2020/03/image1-3-300x202.jpg)