Introduction
Are you a music enthusiast who wants to enjoy your favorite tunes on the go? Transferring music from your laptop to your iPad allows you to have your entire music library at your fingertips, wherever you are. Whether you’re going on a long trip or simply want to listen to music without an internet connection, having your favorite songs conveniently stored on your iPad can be a game-changer.
In this article, we will explore various methods that will enable you to download music from your laptop to your iPad. You have several options to choose from, depending on your preferences and requirements. Whether you prefer using software like iTunes, cloud services, file transfer apps, or streaming apps with an offline mode, we’ve got you covered.
We understand that everyone has different technological skills, so we will guide you through each method step by step. Don’t worry if you’re not tech-savvy – we’ll break it down into easy-to-follow instructions. By the end of this article, you’ll be equipped with the knowledge needed to transfer your music effortlessly.
Before we dive into the different methods, ensure that you have an updated version of iTunes on your laptop and the latest software on your iPad. Additionally, it’s essential to have enough storage space on your iPad to accommodate the music files you want to transfer. Now, let’s explore the methods that will allow you to download music from your laptop to your iPad with ease.
Method 1: Using iTunes
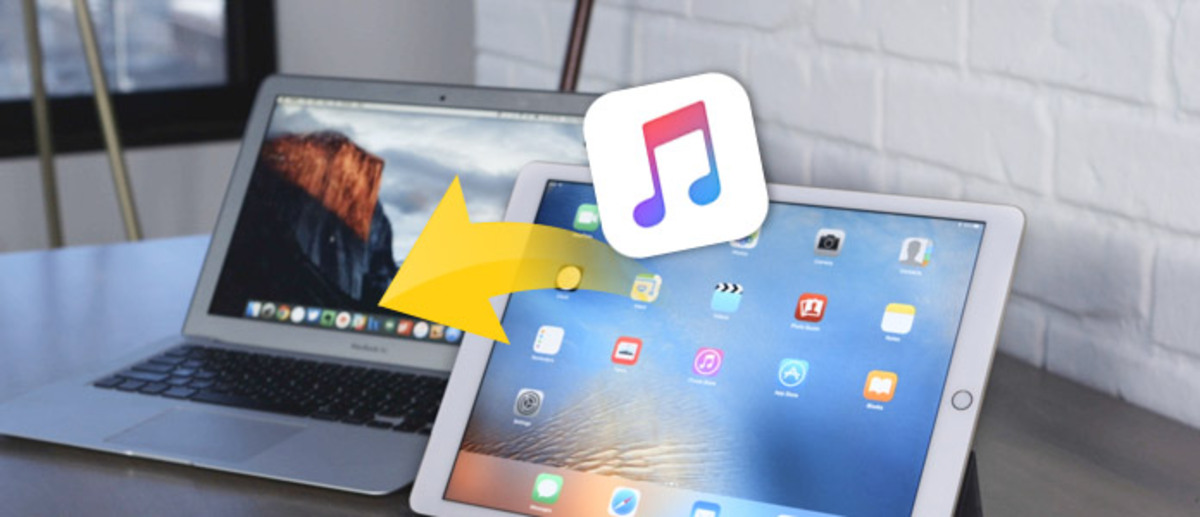
One of the most common and straightforward methods to transfer music from your laptop to your iPad is by using iTunes. iTunes is a free software developed by Apple that allows you to manage and sync your media files across multiple Apple devices. Follow the steps below to transfer music using iTunes:
- Connect your iPad to your laptop using a USB cable.
- Launch iTunes on your laptop.
- Click on the device icon located in the top left corner of the iTunes window.
- Select “Music” from the sidebar menu.
- Click on the checkbox next to “Sync Music.”
- Choose whether you want to sync your entire music library or specific playlists, artists, or albums.
- Click on the “Apply” or “Sync” button to start the transfer process.
- Wait for iTunes to sync your music library with your iPad.
- Once the transfer is complete, disconnect your iPad from the laptop.
By following these steps, you can easily transfer your music from your laptop to your iPad using iTunes. However, please note that iTunes only supports music files in certain formats. Ensure that your music files are compatible with iTunes, or convert them to a supported format before initiating the transfer process.
It’s worth mentioning that iTunes offers additional features, such as creating and managing playlists, organizing your music library, and even purchasing music directly from the iTunes Store. Take some time to explore the various options within iTunes to make the most out of this powerful software.
Method 2: Using Cloud Services
Cloud services provide a convenient and efficient way to transfer music from your laptop to your iPad. By storing your music files in the cloud, you can access and download them to your iPad anytime, anywhere. Here’s how you can use cloud services to transfer music:
- Create an account with a cloud storage service provider like Dropbox, Google Drive, or iCloud.
- Install the cloud storage app on your laptop and iPad.
- Upload your music files from your laptop to the cloud storage using the app on your laptop.
- Open the cloud storage app on your iPad.
- Navigate to the location where your music files are stored.
- Select the music files you want to download to your iPad.
- Tap on the download button to initiate the transfer.
- Wait for the download to complete.
Cloud services offer the advantage of seamless synchronization between devices. Any changes you make to your music library on your laptop will reflect on your iPad, and vice versa. This makes it easy to keep your music collection up to date and organized.
Additionally, cloud services often provide options for offline access. By marking your music files for offline access within the cloud storage app, you can listen to your favorite tunes even without a stable internet connection. This is particularly useful when you’re traveling or in areas with limited internet access.
Take advantage of the flexibility and convenience offered by cloud services to easily transfer and manage your music between your laptop and iPad.
Method 3: Using File Transfer Apps
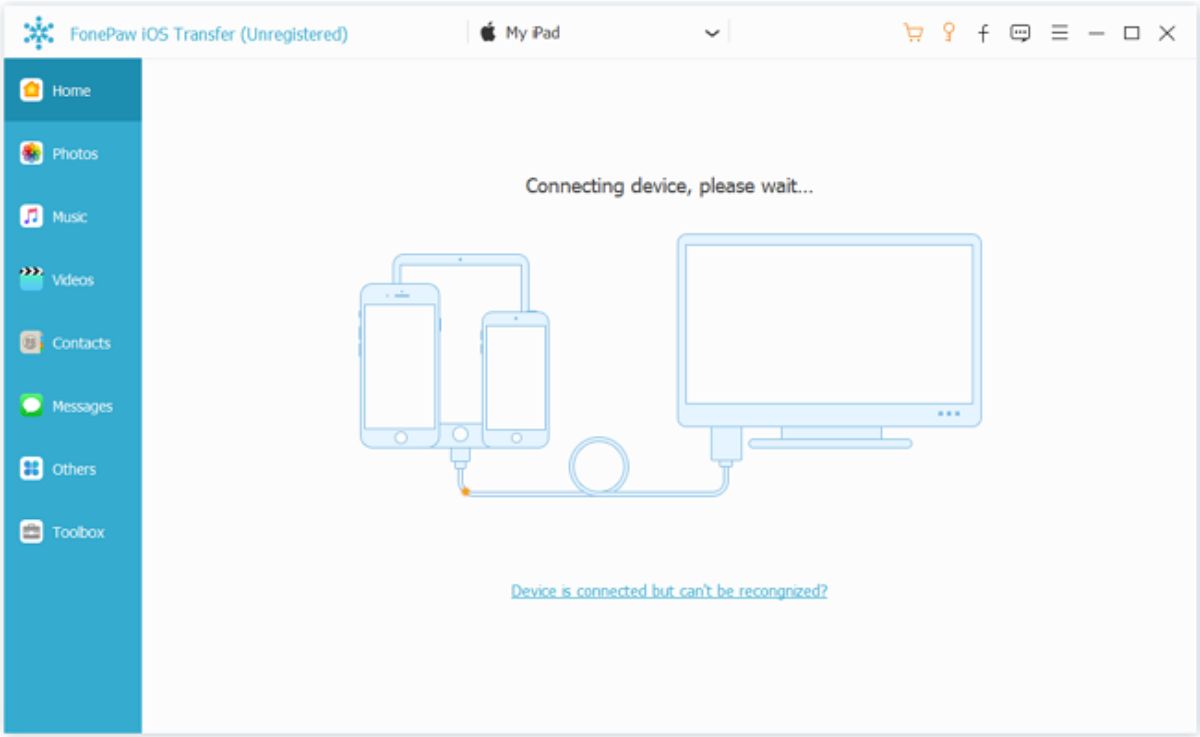
If you prefer a direct and wireless method to transfer music from your laptop to your iPad, using file transfer apps can be an excellent option. These apps allow you to transfer files between devices on the same Wi-Fi network. Follow these steps to transfer music using file transfer apps:
- Download a file transfer app like SHAREit, AirDrop, or Xender on both your laptop and iPad.
- Open the file transfer app on your laptop and select the music files you want to transfer.
- Look for the option to “Send” or “Transfer” within the app and click on it.
- On your iPad, open the file transfer app and choose the option to “Receive” or “Accept.”
- Wait for the transfer to complete.
File transfer apps provide a quick and hassle-free method to transfer music without the need for cables or physical connections. These apps use Wi-Fi to establish a connection between your laptop and iPad, allowing for fast and convenient file transfers.
In addition to transferring music, file transfer apps can also be used to share other types of files, such as photos, videos, documents, and more. This versatility makes them a handy tool for managing and transferring various files between devices.
Consider using a file transfer app if you prefer an effortless wireless transfer method that doesn’t require any complicated setup.
Method 4: Using Streaming Apps with Offline Mode
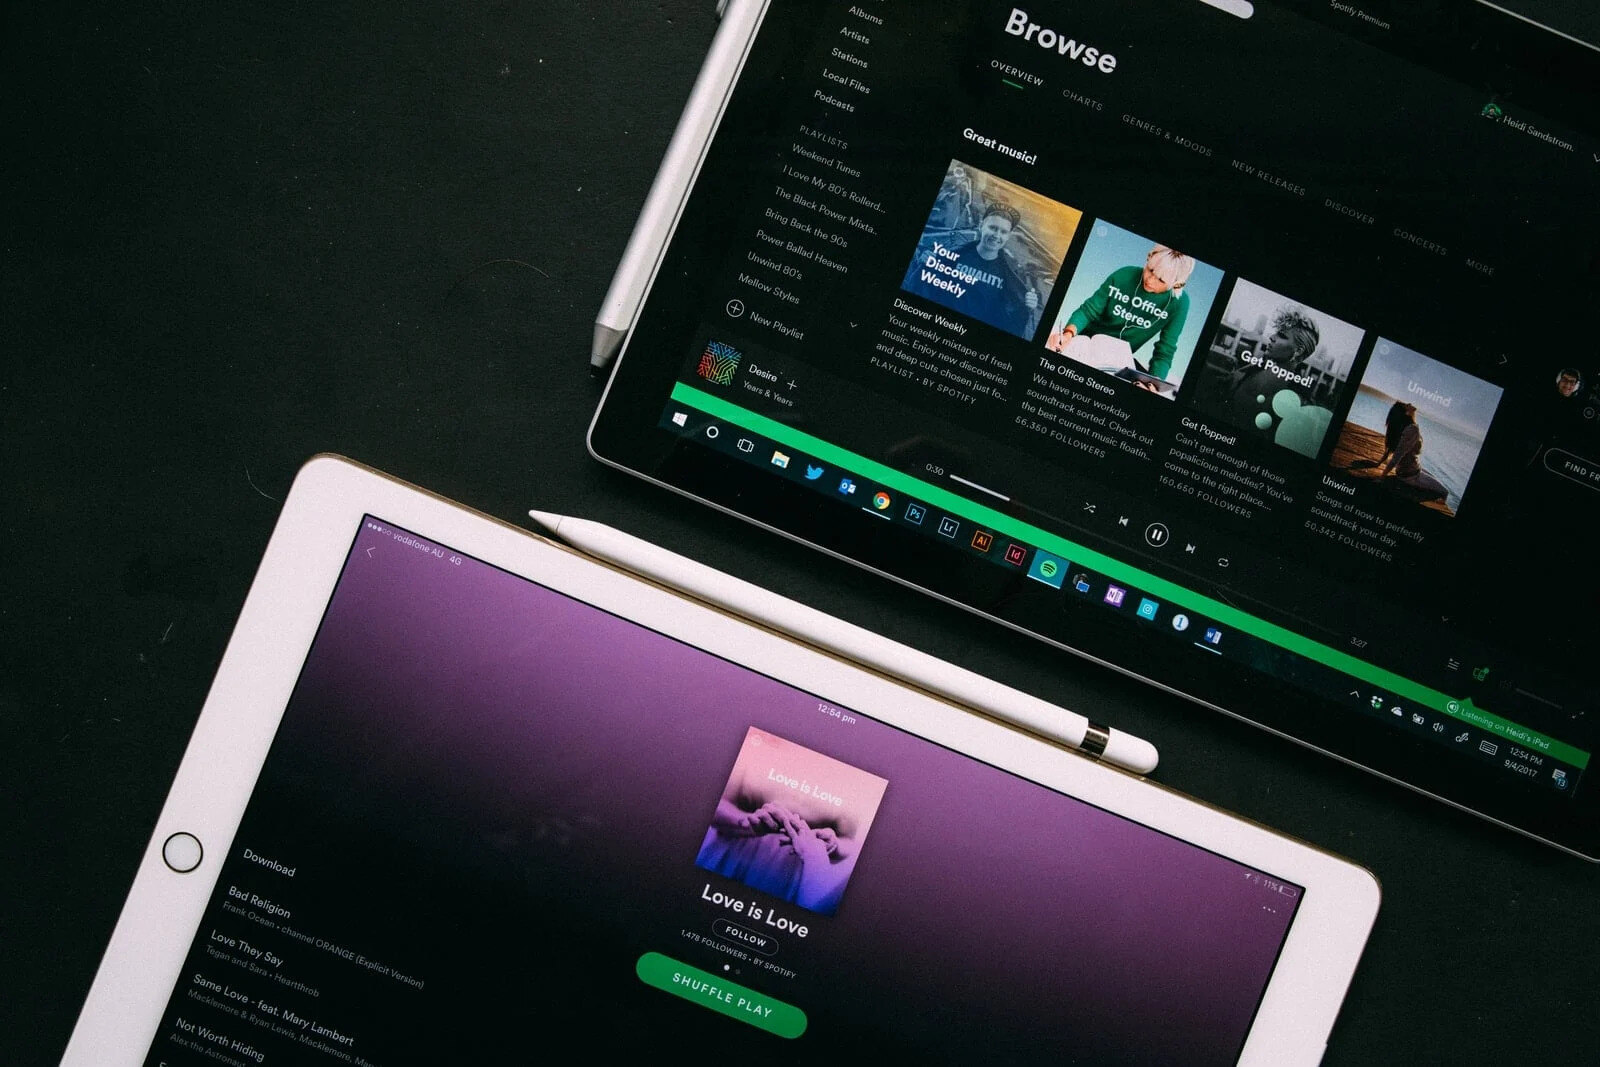
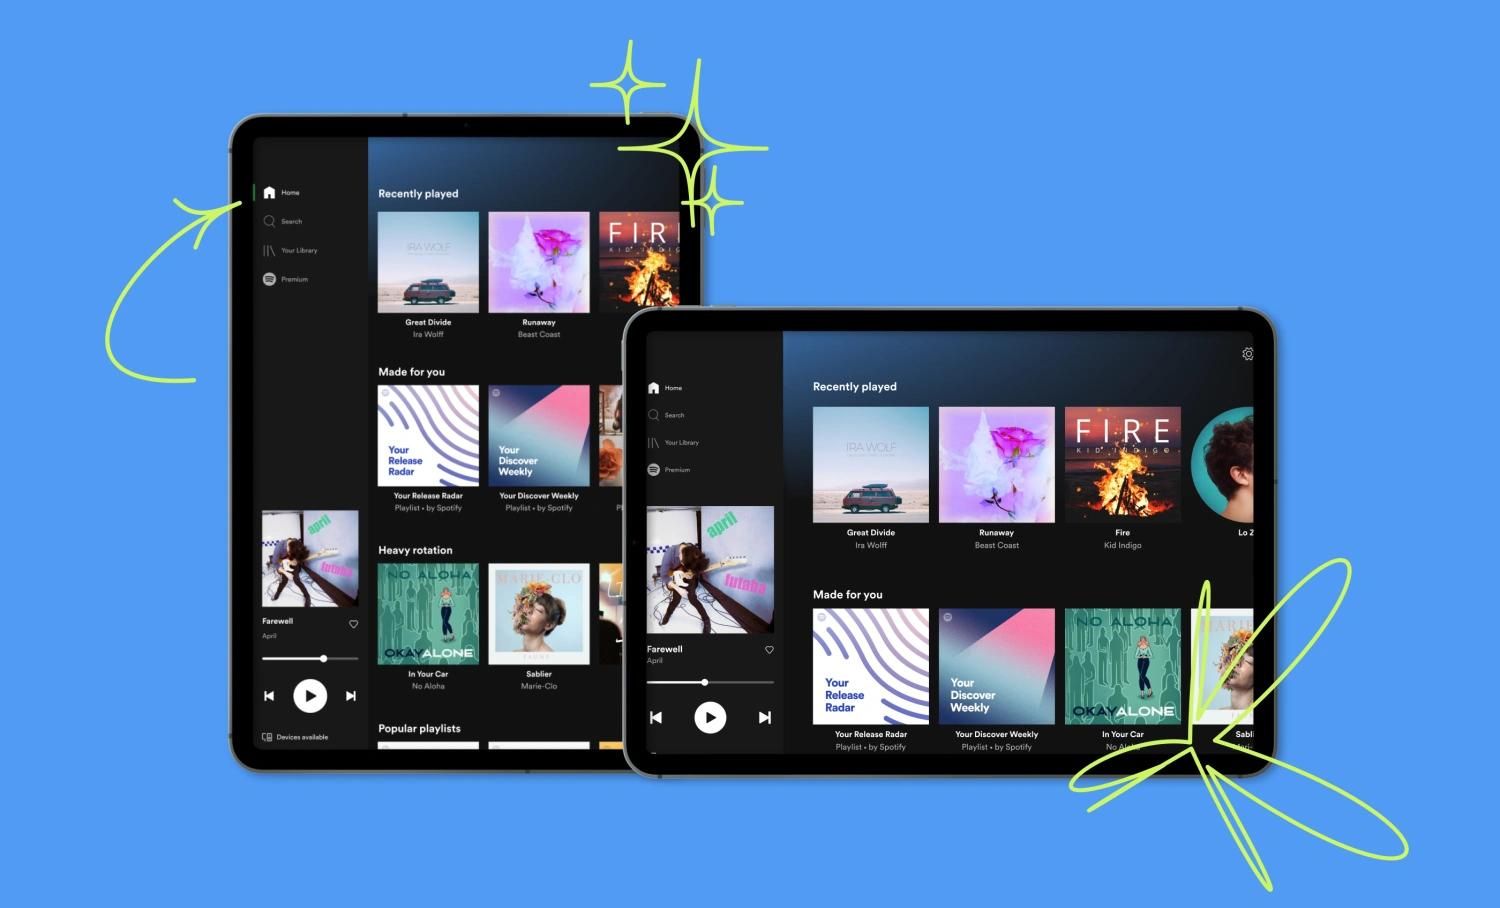
If you’re a fan of streaming music services, you can take advantage of their offline mode feature to enjoy your favorite tunes on your iPad without the need to download and transfer individual music files. Many popular streaming apps, such as Spotify, Apple Music, and Amazon Music, offer offline listening capabilities. Here’s how to use streaming apps with offline mode:
- Download and install the streaming app of your choice from the App Store on your iPad.
- Sign in to your streaming app account or create a new one if you don’t have an existing account.
- Explore the app’s settings and look for an option to enable offline mode or download music for offline listening.
- Select the songs, playlists, or albums you want to make available offline.
- Wait for the music to download to your iPad.
Once the music is downloaded, you can access your offline library within the streaming app on your iPad. This allows you to listen to your favorite songs even without an internet connection, perfect for situations where Wi-Fi or cellular data may not be available or reliable.
Streaming apps with offline mode offer the added benefit of providing access to a vast library of music without the need to store files on your iPad’s limited storage. You can enjoy a wide range of songs and easily switch between different artists, genres, and playlists with just a few taps.
Keep in mind that some streaming apps require a premium subscription to access offline mode. Check the app’s pricing and features to determine if this is the right option for you.
Using streaming apps with offline mode is an excellent choice for music lovers who prefer convenience, access to a vast music collection, and the ability to switch between songs and playlists easily.
Conclusion
Transferring music from your laptop to your iPad opens up a world of possibilities for enjoying your favorite tunes on the go. In this article, we explored four different methods to accomplish this: using iTunes, utilizing cloud services, employing file transfer apps, and leveraging streaming apps with offline mode.
iTunes provides a straightforward way to sync your music library between devices, while cloud services offer convenience and flexibility for accessing and downloading music from anywhere. File transfer apps allow for direct and wireless transfers, while streaming apps with offline mode provide instant access to a vast music collection without the need for individual file downloads.
Consider your preferences and requirements when choosing the best method for you. If you prefer a familiar and reliable software, iTunes may be your go-to option. If you value flexibility and accessibility, cloud services or file transfer apps might be the way to go. For those who enjoy streaming music and prefer not to store files locally, streaming apps with offline mode offer a convenient solution.
Remember to ensure that your iPad has enough storage space to accommodate the music files you want to transfer. Additionally, pay attention to file formats and compatibility to ensure a smooth transfer process.
By following the methods outlined in this article, you can easily transfer your music from your laptop to your iPad and have your favorite songs at your fingertips wherever you go. So go ahead, choose the method that suits you best, and enjoy your music collection on your iPad hassle-free.