Introduction
Welcome to the world of free music on your iPhone! Listening to your favorite songs while on the go has never been easier. Gone are the days of carrying around bulky music players or relying solely on online streaming platforms. With the right app and a few simple steps, you can now download music directly to your iPhone for free.
In this guide, we will take you through the process of downloading and enjoying music on your iPhone without spending a dime. Whether you are a music enthusiast or simply want to expand your playlist, this article will help you discover the best way to download free music to your device.
Before we dive into the steps, it’s important to note that downloading copyrighted music without permission is illegal. However, there are many legal platforms and apps that provide free music downloads from independent artists and labels. We will focus on these legitimate methods to ensure you enjoy your music without any legal troubles.
So, let’s get started and unlock the world of free music on your iPhone!
Step 1: Choose the right app
The first and most crucial step in downloading free music to your iPhone is to select the right app. There are several apps available on the App Store that offer free music downloads, but not all of them are reliable or legal. You want to choose an app that is reputable, user-friendly, and offers a wide selection of songs to choose from.
One of the top choices for downloading free music to your iPhone is the Free Music Download app. It is highly rated and trusted by millions of users worldwide. Simply search for “Free Music Download” in the App Store, install the app on your iPhone, and you’re ready to move on to the next step.
Another popular option is the SoundCloud app. While it primarily serves as a streaming platform, you can also find many songs available for download on SoundCloud. Simply search for your favorite artists or songs, and look for the download button next to the tracks.
Make sure to read the reviews and check the app’s ratings and user feedback before downloading. This will give you valuable insights into the app’s performance, reliability, and user experience. Additionally, keep an eye out for any in-app purchases or subscription fees to ensure that you can download music for free.
Once you have selected the app that suits your needs and preferences, it’s time to move on to the next step—searching for your favorite songs.
Step 2: Search for your favorite songs
Now that you have the right app installed on your iPhone, it’s time to search for your favorite songs. This is where you can let your music taste and imagination run wild. Whether you’re into the latest chart-toppers, classic hits, or indie gems, you’ll be amazed at the vast library of songs available for free download.
The app you chose in Step 1 should have a search function or a browse feature that allows you to easily find the songs you’re looking for. You can search by artist name, song title, or even genre to narrow down your options. Additionally, many apps provide curated playlists and recommended tracks based on your musical preferences.
One tip to maximize your search results is to use variations of song titles or artist names. Sometimes, a slightly different spelling or a different version of a song can yield better results. Don’t be afraid to experiment and explore different keywords to find the songs you love.
Remember, these apps often feature a mix of popular mainstream music and lesser-known independent artists. This can be a fantastic opportunity to discover new music and support emerging talents. So, while you search for your favorite songs, don’t hesitate to explore and expand your musical horizons.
Once you have found your desired songs, it’s time to move on to the next step—downloading them to your app.
Step 3: Download the songs to your app
Now that you have identified the songs you want to download, it’s time to bring them into your chosen app. Most free music download apps have a simple and straightforward process for downloading songs directly to your iPhone.
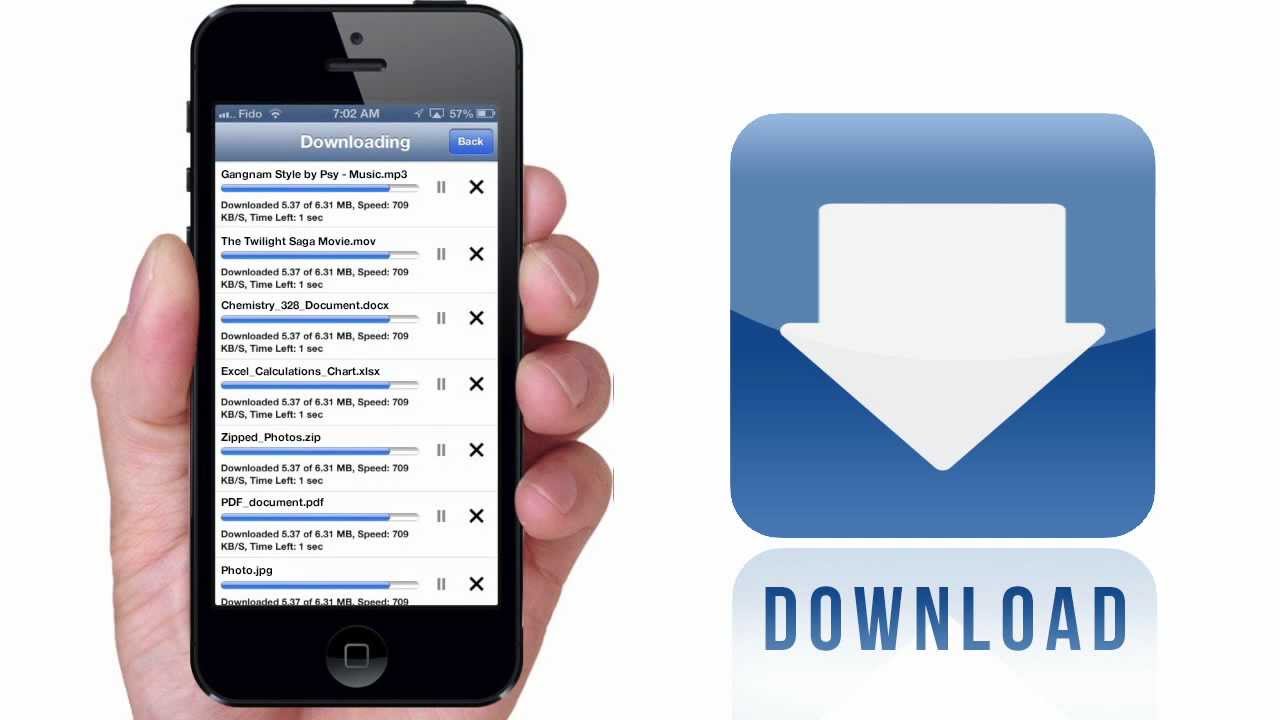
To begin, select the song you wish to download from the search results or the playlist you have created. Look for a download button or an option that indicates the possibility of downloading the song. Tap on it, and the app will start the downloading process.
Depending on the size of the song and your internet connection, the download may take a few moments to complete. Be patient and allow the app to finish downloading the song. Once the download is finished, you will be able to find the song within your app’s library or your designated download folder.
It’s worth noting that some apps also offer the option to download entire albums or playlists. This can be a convenient way to access multiple songs at once without having to individually download each track.
Now that you have successfully downloaded your favorite songs to your app, it’s time to proceed to the next step—transferring the downloaded songs to your iPhone.
Step 4: Transfer the downloaded songs to your iPhone
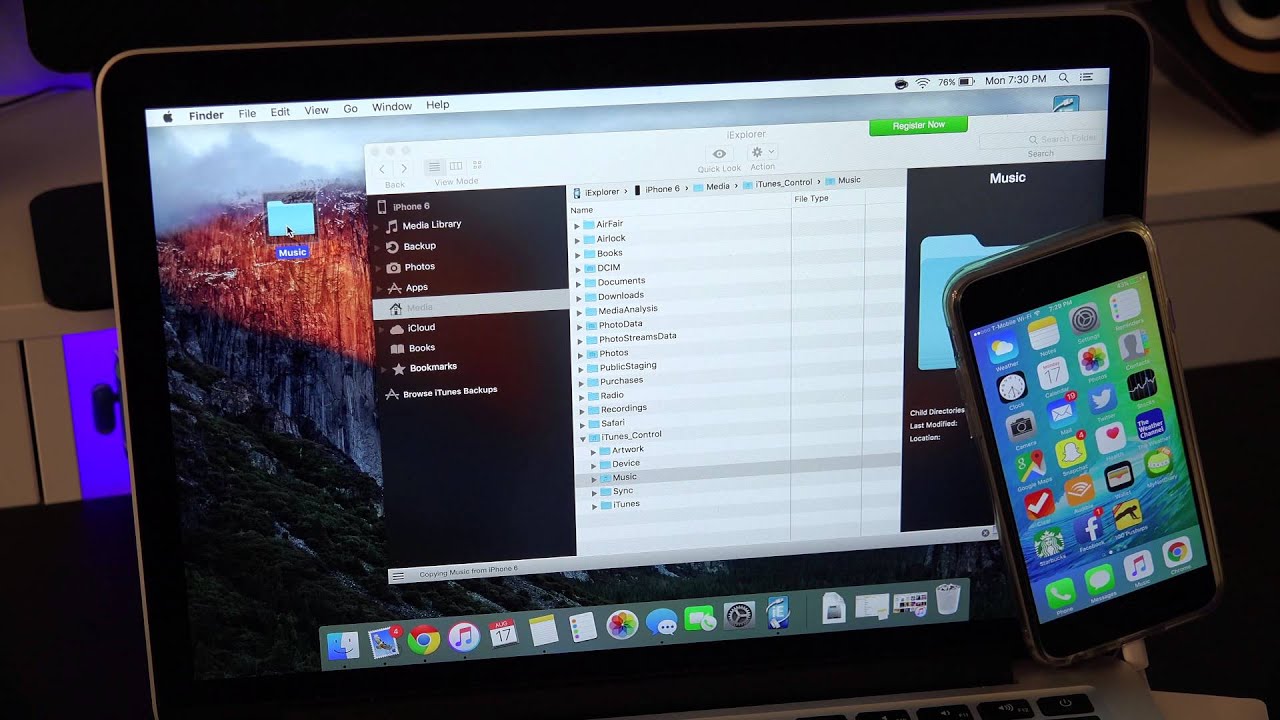
With the songs successfully downloaded to your app, it’s time to transfer them to your iPhone’s music library. This step will enable you to access and enjoy your downloaded songs directly from the default Music app on your iPhone.
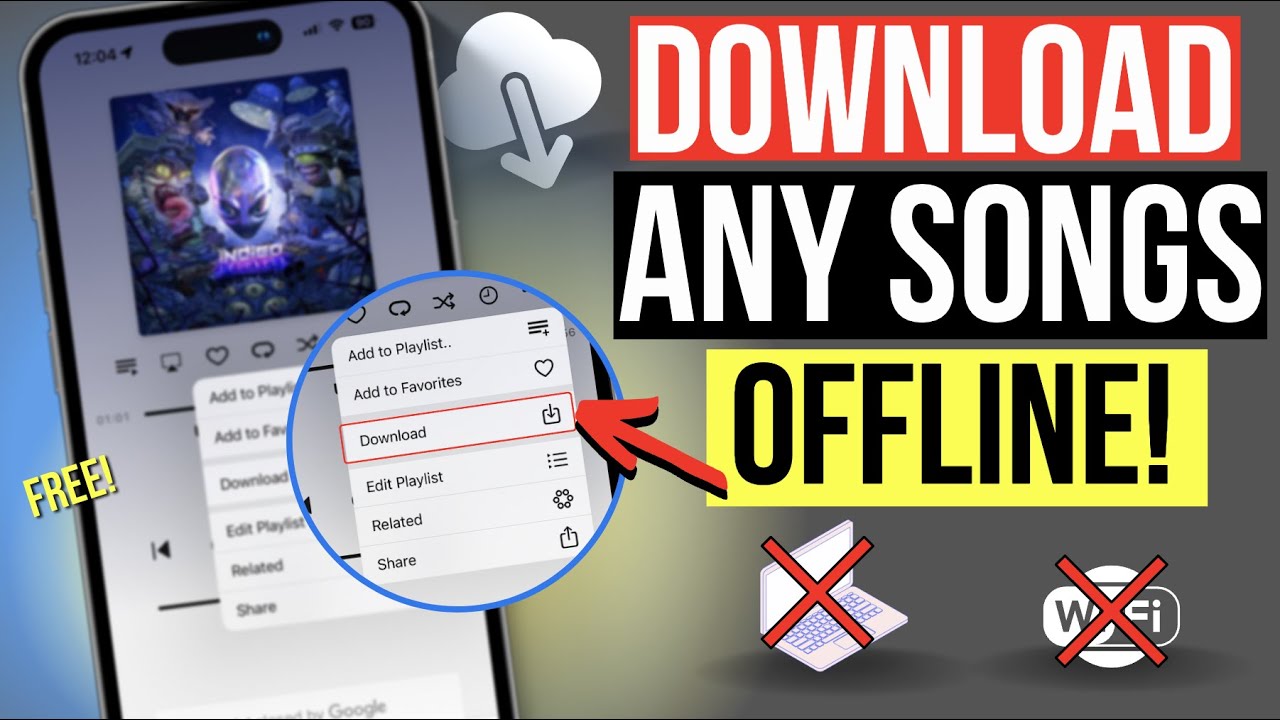
Begin by opening the default Files app on your iPhone. Look for the folder or location where the downloaded songs are saved within the app. Once you’ve located the songs, select them by tapping on each song individually or using the select button if available.
After selecting the songs, tap on the share icon, which resembles an arrow pointing upwards. This will open a menu of sharing options. Look for the option to “Copy” or “Share” the selected songs. Tap on it, and a new menu will appear with various sharing options.
From the sharing options, locate and select the “Add to Music” or “Import with Music” option. This action will transfer the selected songs from the app’s folder to your iPhone’s Music library. The transfer process may take a few moments, depending on the number and size of the songs.
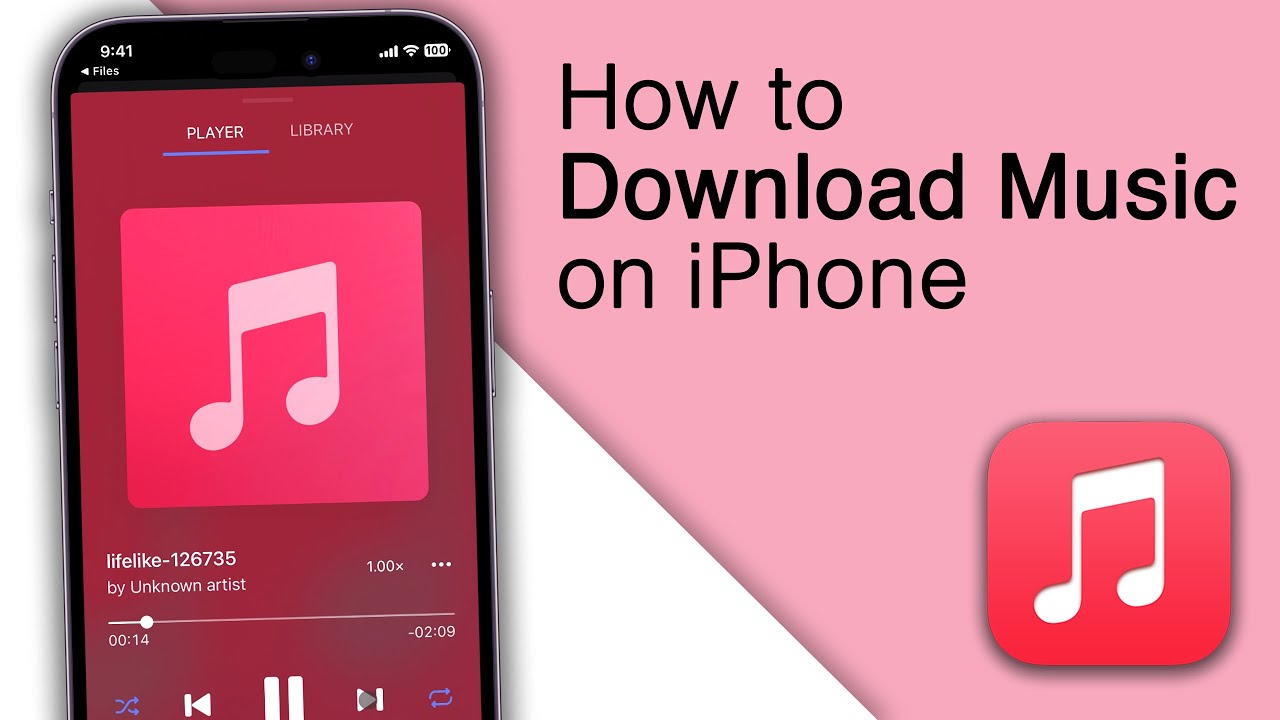
Once the transfer is complete, you can open the default Music app on your iPhone. Navigate to the “Library” tab, and you will find the downloaded songs available for playback. From here, you can create playlists, organize your music, and enjoy your favorite songs anytime, anywhere.
It’s important to note that the methods for transferring downloaded songs may vary slightly depending on the app and iOS version you are using. If you encounter any difficulties, refer to the app’s support documentation or reach out to the app’s customer support for guidance.
Now that you have successfully transferred the downloaded songs to your iPhone’s Music library, it’s time for the final step—enjoying your free music!
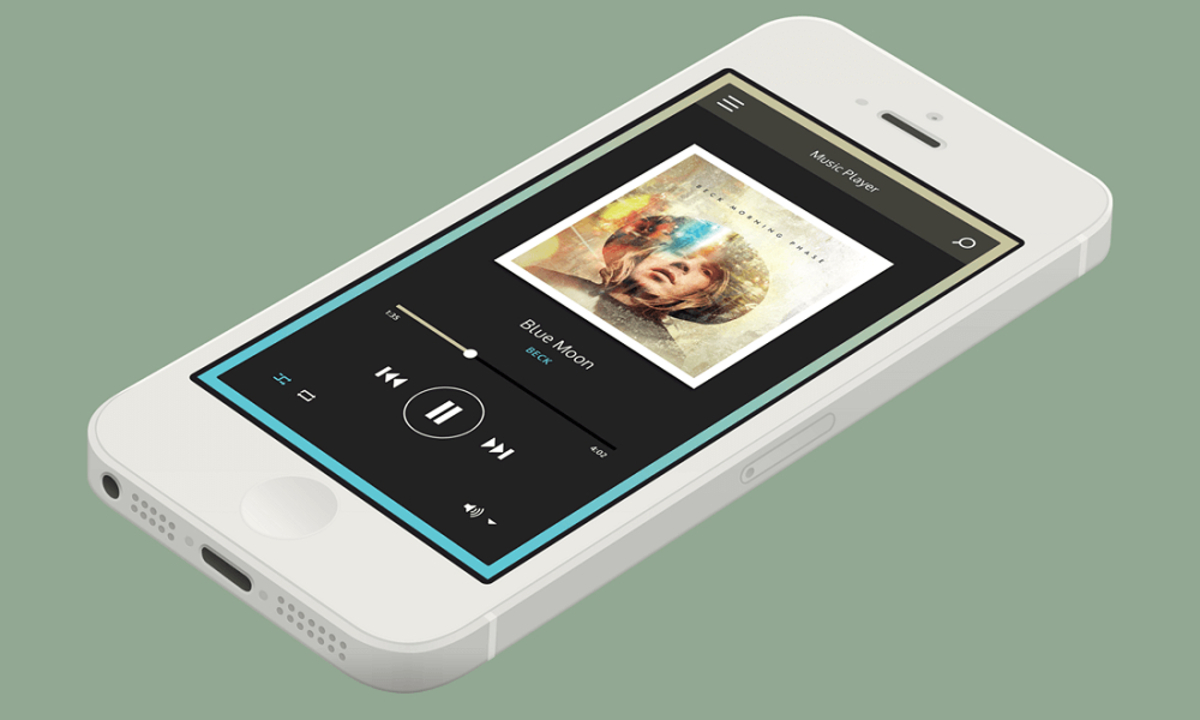
Step 5: Enjoy your free music!
Congratulations, you have now completed all the necessary steps to download and transfer free music to your iPhone! It’s time to sit back, relax, and enjoy your favorite songs wherever you go.
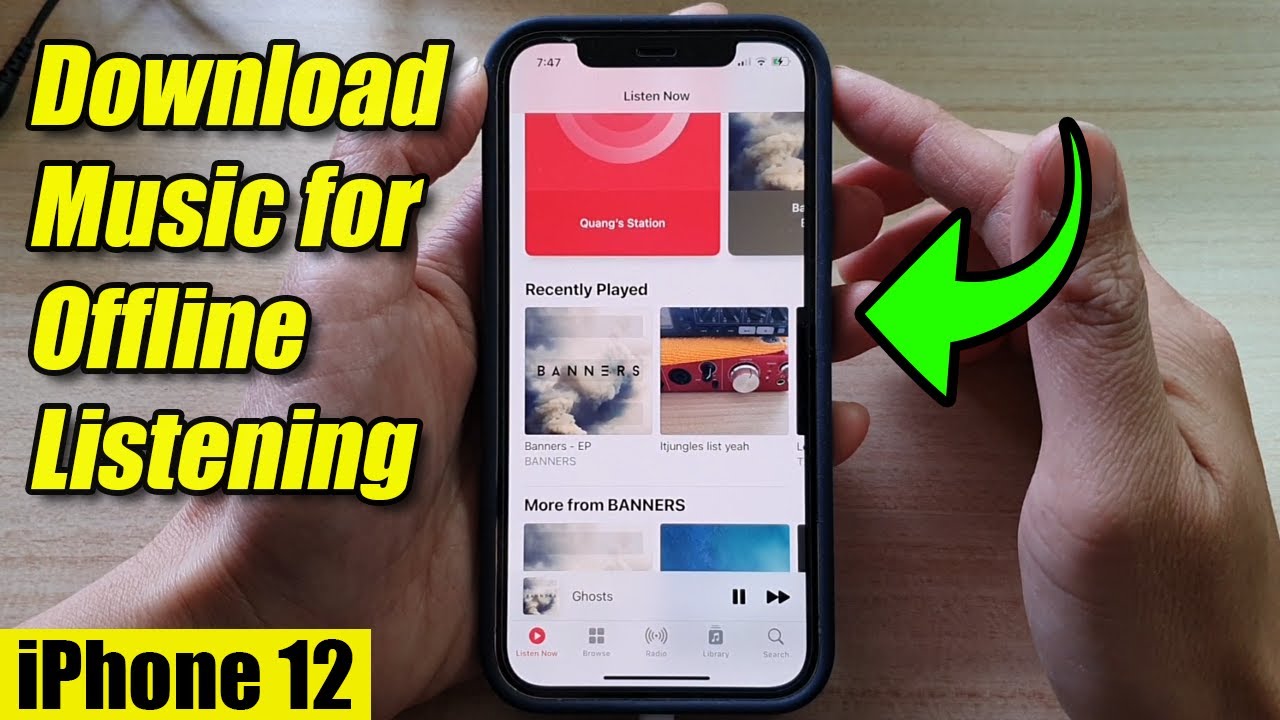
Open the default Music app on your iPhone and navigate to the songs you have downloaded and transferred. From here, you can create playlists, shuffle through your music, or simply play individual songs as desired.
Take advantage of the features within the Music app to enhance your listening experience. Explore options such as repeat, shuffle, and creating personalized playlists to curate your own music journey. You can also use the search function to quickly find specific songs or artists in your library.
Whether you’re commuting, working out, or simply relaxing at home, having your favorite songs readily available on your iPhone adds a touch of musical pleasure to your day.
Remember, as you enjoy your free music, be sure to support the artists and creators behind the songs whenever possible. If you discover independent artists whose music you love, consider visiting their websites, attending their shows, or purchasing their merchandise to show your appreciation and help them continue making great music.
So go ahead, turn up the volume, and immerse yourself in the world of free music on your iPhone. Enjoy the melodies, lyrics, and rhythms that speak to your soul and elevate your mood. Music has a way of connecting us, inspiring us, and bringing joy to our lives, and now you have a wealth of free music at your fingertips.
Conclusion
Congratulations! You have successfully learned how to download music to your iPhone for free. By following the steps outlined in this guide, you can now enjoy your favorite songs without spending a dime.
Remember to choose a reputable app from the App Store that allows for free music downloads. Take the time to search for your favorite songs, exploring different genres and new artists along the way. Download the songs to your app, and then transfer them to your iPhone’s Music library for easy access.
Having the ability to listen to your favorite music on the go is a wonderful experience. It adds an extra layer of enjoyment to your daily routine, whether you’re commuting, working out, or simply relaxing at home.
While downloading free music can be a great way to expand your playlist and discover new artists, it’s important to respect intellectual property rights. Only download and share music that is legally available for free or with the artist’s permission.
Lastly, don’t forget to support the artists whose music you love. Consider attending their concerts, purchasing their albums or merchandise, and spreading the word about their talent. Your support plays a significant role in helping them create more amazing music.
With the knowledge and steps outlined in this guide, you now have the power to enjoy a vast library of free music on your iPhone. So go ahead, explore new sounds, sing along to your favorite tunes, and let the music uplift your spirits!