Introduction
So you’ve got an iPod and you’re ready to fill it up with your favorite tunes. One of the easiest ways to do this is by downloading music from iTunes. iTunes is a popular digital media player and library that allows you to browse, purchase, and stream music, movies, and other digital content. It’s user-friendly and offers a vast collection of songs from various genres and artists.
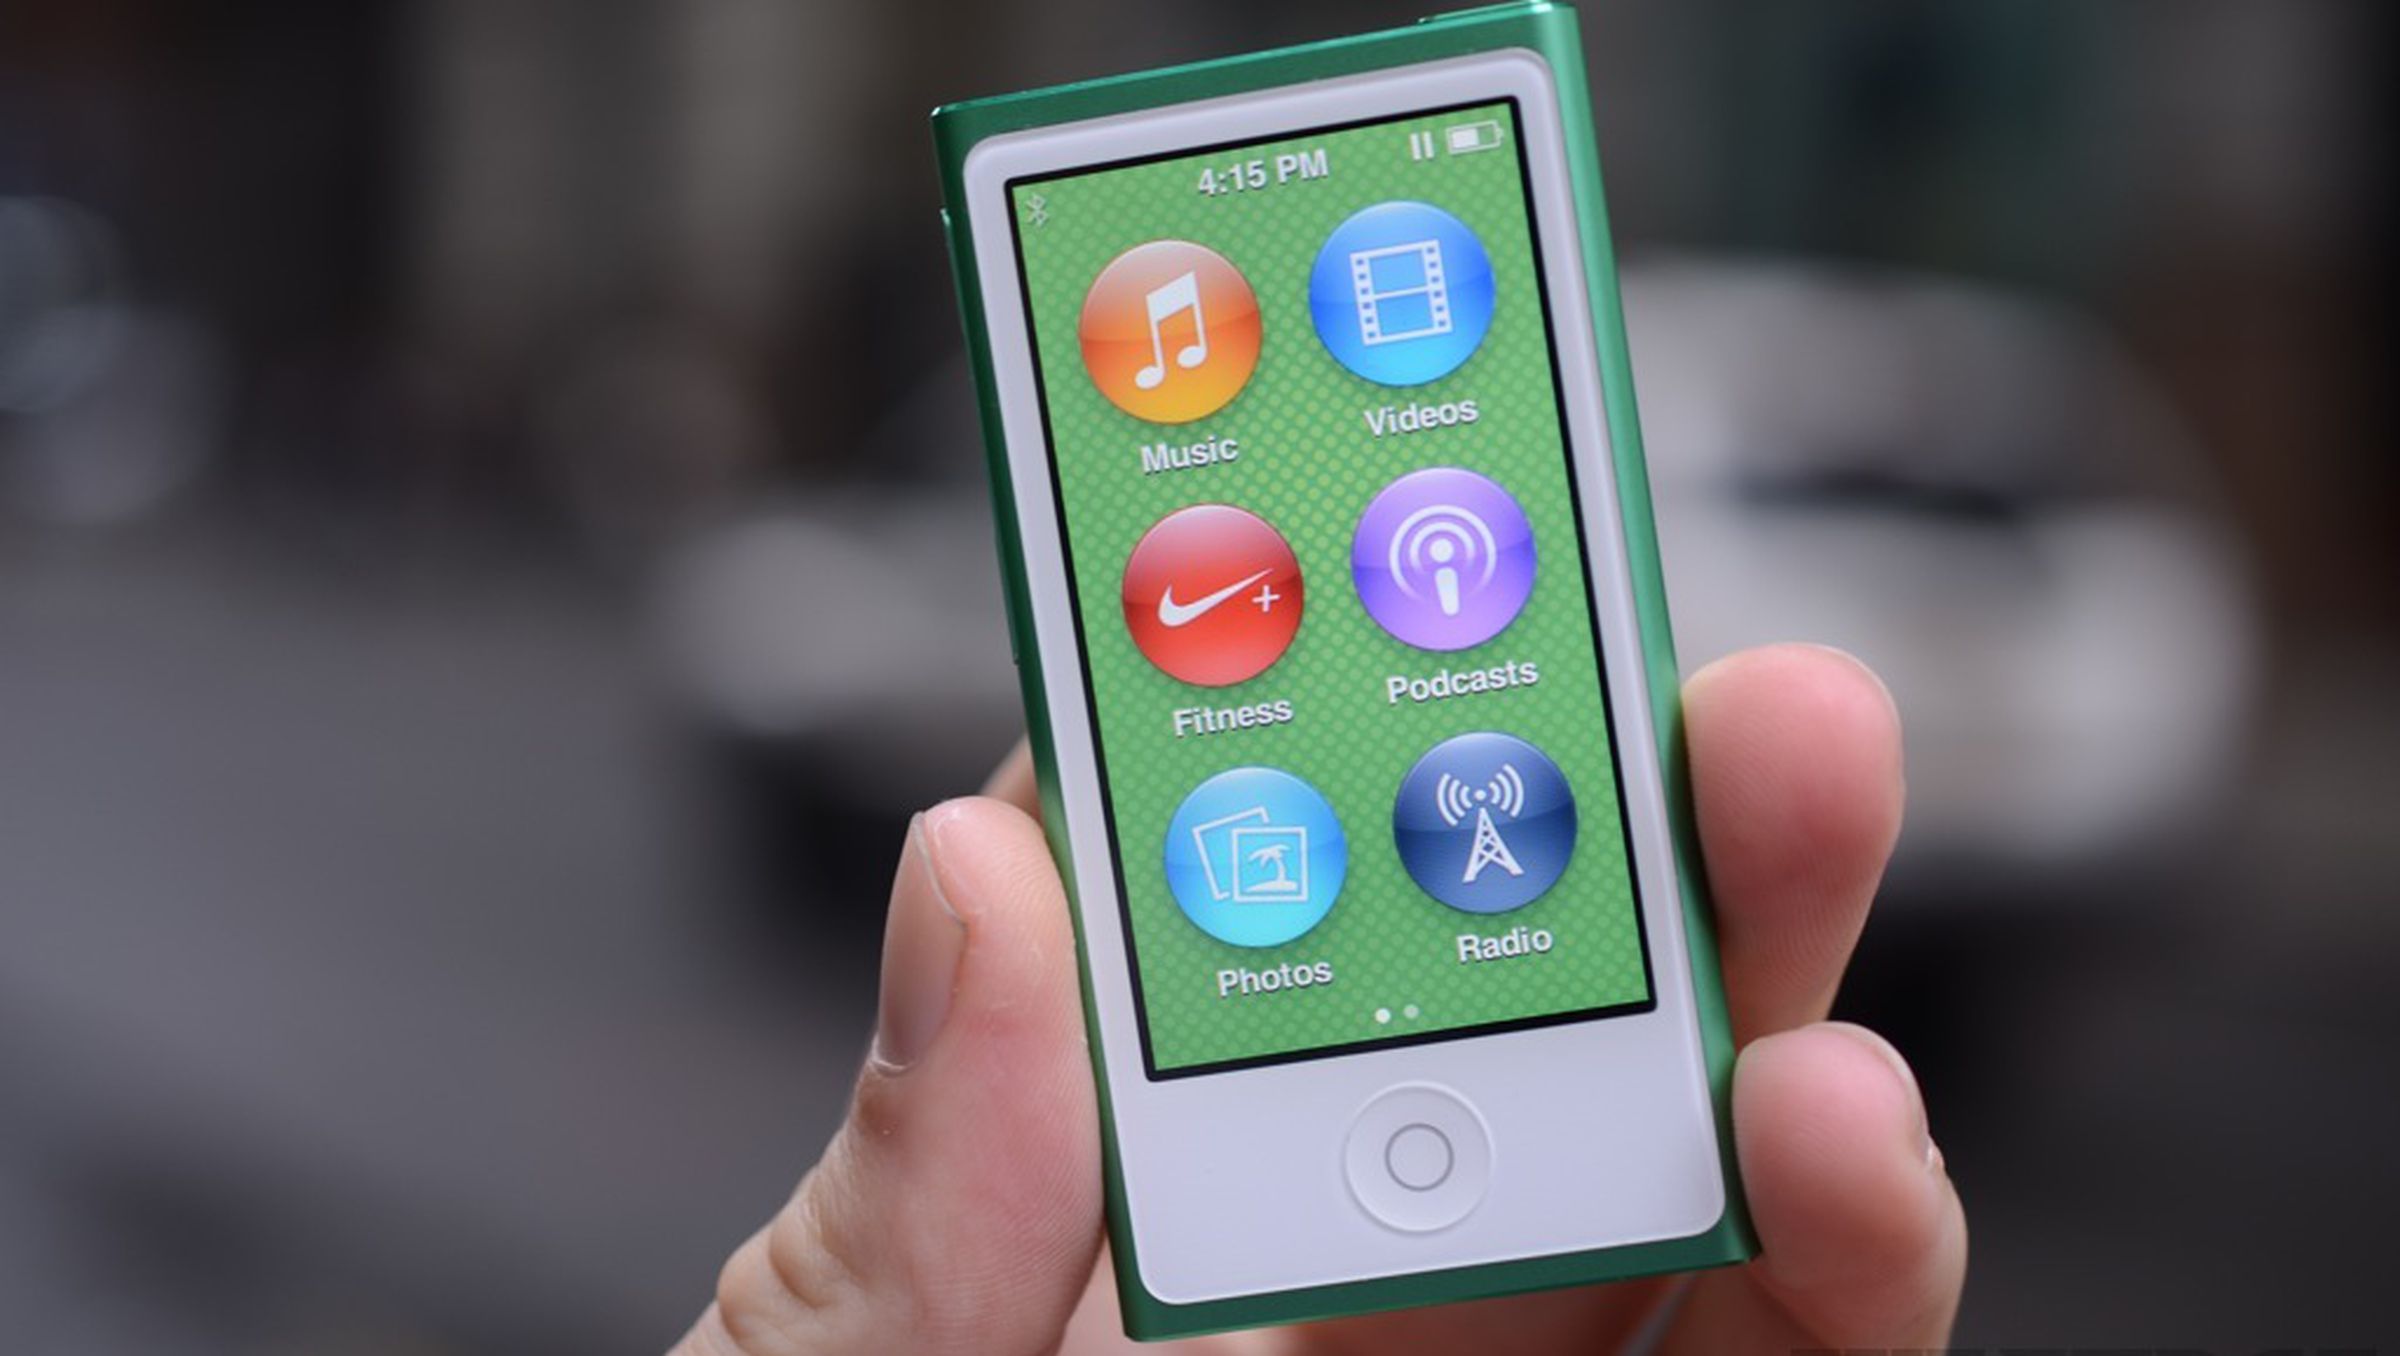
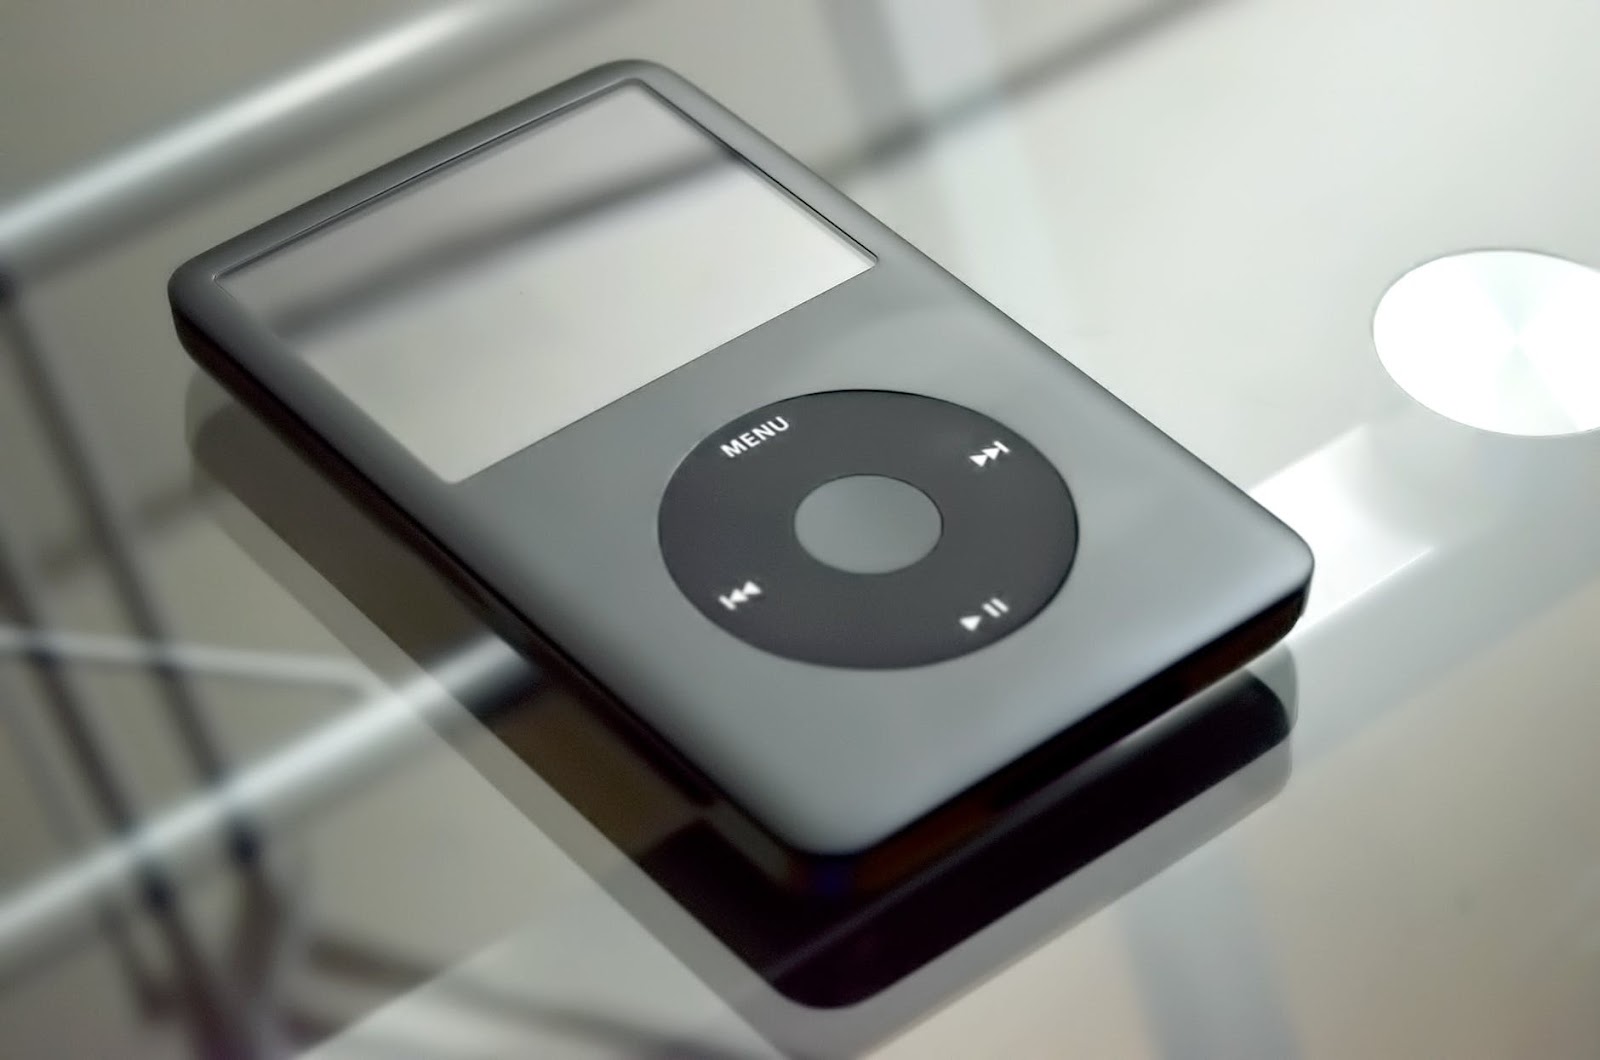
Downloading music from iTunes to your iPod is a simple process that can be done in just a few easy steps. Whether you’re using an iPod Classic, iPod Touch, or any other iPod model, you’ll be able to enjoy your favorite music wherever you go.
In this article, we’ll guide you through the process of downloading music from iTunes to your iPod. We’ll cover everything from connecting your iPod to your computer, signing in to your iTunes account, browsing and searching for music, selecting and purchasing the music, downloading it to your computer, and finally syncing it to your iPod. By following these steps, you’ll be able to create the ultimate music playlist for your iPod.
Before we get started, make sure you have the latest version of iTunes installed on your computer. You can download it for free from the Apple website. Additionally, ensure that you have a stable internet connection to browse and download music from the iTunes Store. Now, let’s jump into the exciting world of downloading music from iTunes to your iPod!
Step 1: Connect your iPod to your computer
The first step in downloading music from iTunes to your iPod is to connect your iPod to your computer using a USB cable. Locate the USB port on your computer, usually found at the back of the CPU, and insert one end of the USB cable into the port. Take the other end of the USB cable, which is typically a smaller connector, and insert it into the charging port of your iPod.
Once your iPod is connected to your computer, it will appear as a device in the iTunes application. You may need to unlock your iPod using your passcode or fingerprint recognition, depending on the model you have. After unlocking, you may see a prompt on your iPod screen asking for your permission to trust the computer. Tap “Trust” to establish the connection between your iPod and your computer.
Now that your iPod is successfully connected, launch the iTunes application on your computer if it doesn’t open automatically. You should see a small iPod icon appearing in the top left corner of the iTunes window, indicating that your device is recognized and connected.
It’s worth mentioning that if you’re connecting your iPod to your computer for the first time, you may need to install the necessary drivers or software to enable the connection. In most cases, iTunes will prompt you to do this automatically. Simply follow the on-screen instructions and allow the installation to complete before proceeding to the next step.
With your iPod connected and recognized by iTunes, you’re now ready to move on to the next step: signing in to your iTunes account. This will allow you to access the iTunes Store, browse music, and make purchases directly from your computer. So, let’s skip to the next step and get you signed in to iTunes!
Step 2: Open iTunes on your computer
Now that your iPod is connected to your computer, it’s time to open iTunes. If you already have iTunes installed on your computer, you can simply search for the application in your programs or applications folder and click on it to launch. Alternatively, you can click on the iTunes icon on your desktop if you have one.
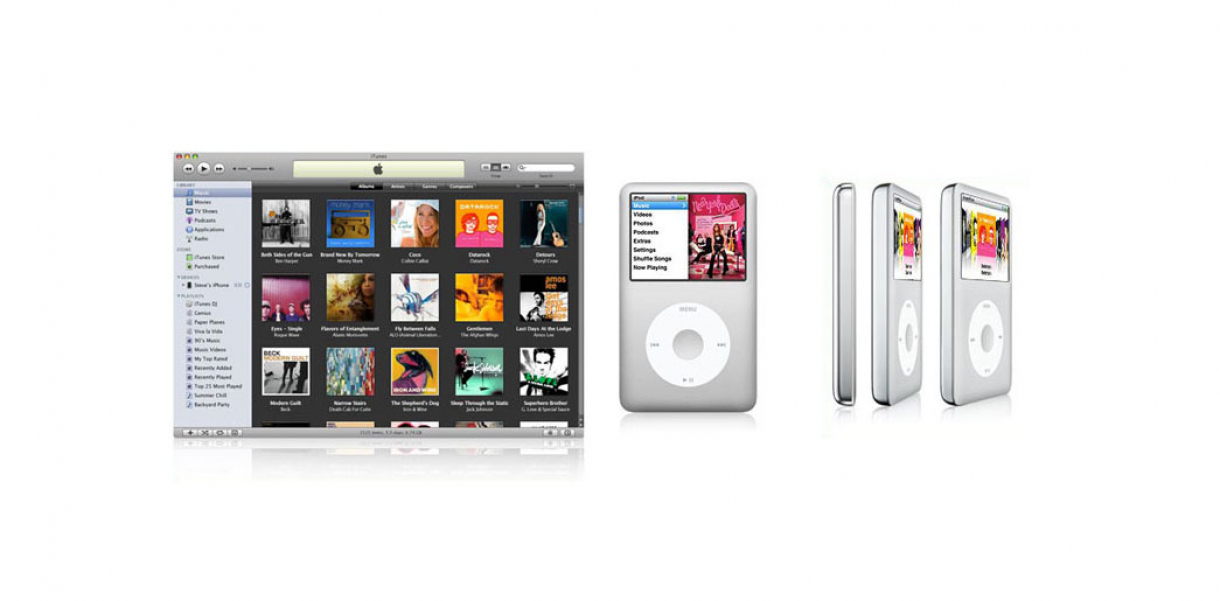
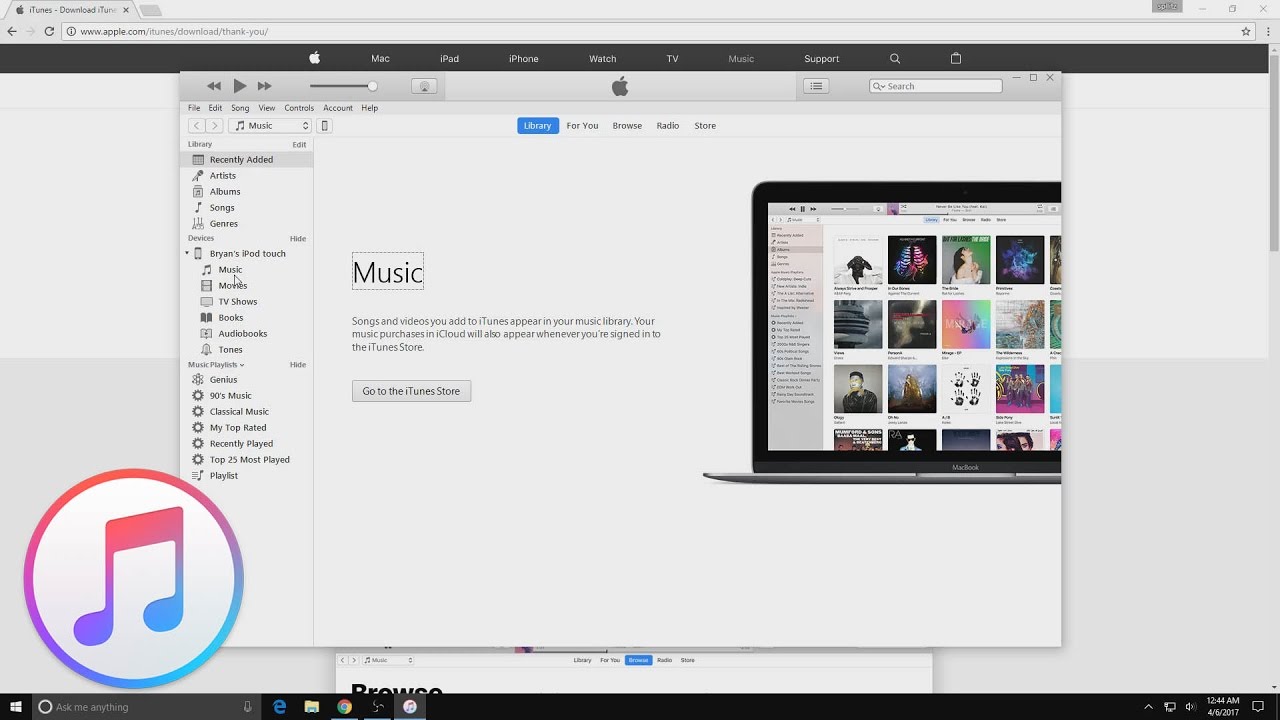
As iTunes opens, you will see a vibrant and organized interface that displays various tabs and sections. The main window consists of a toolbar at the top, a sidebar on the left, and a content area in the center. This is where all your music, videos, podcasts, and other media will be managed and organized.
If you’re using a Windows computer, the toolbar will be located at the top of the iTunes window, while on a Mac, it will be displayed at the top of the screen. The toolbar includes buttons for navigating through different sections of iTunes, such as Library, Store, and Playlists, making it easy to access the features and content you need.
In the sidebar, you’ll find useful options to browse through your music library, view your playlists, and manage your connected devices. When your iPod is connected, it should appear under the “Devices” section in the sidebar. You can click on your iPod’s name to view its details and manage its settings.
Now that iTunes is open and ready to go, let’s move on to the next step: signing in to your iTunes account. This will allow you to access the iTunes Store and start browsing and purchasing music for your iPod. So, without further ado, let’s get you signed in and ready to rock!
Step 3: Sign in to your iTunes account
To access the full range of features and content in iTunes, you’ll need to sign in to your iTunes account. If you don’t have an account yet, you can create one by clicking on the “Sign In” button in the top right corner of the iTunes window and selecting “Create New Apple ID”. Follow the on-screen prompts to set up your account and provide the necessary information.
If you already have an iTunes account, click on the “Sign In” button and enter your Apple ID and password in the respective fields. Make sure to double-check your login credentials to avoid any errors. If you’ve forgotten your password, you can click on the “Forgot Apple ID or password” link and follow the instructions to reset it.
Once you’re signed in, you’ll have access to your complete iTunes library, including your purchased music, movies, TV shows, and more. You’ll also be able to make new purchases and download them to your iPod.
It’s important to note that signing in to your iTunes account may prompt you to authorize your computer if it’s the first time you’re using iTunes with your account. This is a security feature that ensures only authorized devices can access your purchased content. Simply follow the on-screen prompts and enter your Apple ID and password to authorize your computer.
After successfully signing in and authorizing your computer, take a moment to explore the various features and sections of iTunes. You can use the search bar at the top right corner to search for specific music or browse through genres, artists, and recommendations in the iTunes Store.
Now that you’re signed in to your iTunes account, you’re ready to start browsing and searching for music to download to your iPod. In the next step, we’ll guide you through the process of finding and purchasing music from the iTunes Store. So, let’s move on to step 4 and unlock the world of endless music possibilities!
Step 4: Browse and search for music
With your iTunes account signed in and ready to go, it’s time to browse and search for music to add to your iPod. iTunes offers a vast collection of songs from different genres and artists, making it easy to find the perfect tracks to suit your taste.
To start browsing, click on the “Store” button in the top left corner of the iTunes window. This will take you to the iTunes Store, where you can explore a wide range of content, including music, movies, TV shows, podcasts, and more. On the top menu, select the “Music” option to narrow down your search specifically for songs.
On the main Music page, you’ll find featured music sections, new releases, top charts, and various personalized recommendations based on your preferences. Take your time to explore these sections and discover new music that catches your interest.
If you have a particular artist, album, or song in mind, you can use the search bar located at the top right corner of the iTunes Store. Simply enter the name of the artist, album, or song, and hit Enter or click on the magnifying glass icon to start the search. iTunes will display relevant results matching your search query, allowing you to choose the specific music you’re looking for.
As you browse through the different sections and search for music, you’ll notice that each song is accompanied by its title, artist, album, duration, and price. You can also preview a song by clicking on the small play button next to it. This will give you a glimpse of the track before making a purchase decision.
In addition to browsing and searching for specific songs, you can also explore curated playlists, recommendations, and genres to find new music that suits your taste. iTunes provides a wealth of options to discover music from different artists and genres, ensuring a diverse and enjoyable listening experience.
Once you’ve found the music you want to add to your iPod, it’s time to proceed to the next step: selecting and purchasing the music. We’ll guide you through this process in step 5, so let’s move on and fill your iTunes library with some incredible tunes!
Step 5: Select and purchase the music
After browsing and finding the music you want to add to your iPod, it’s time to select and purchase the songs through iTunes. This step allows you to build your personal music collection and ensures that you have the rights to listen to the songs on your iPod.
When you come across a song you want to purchase, click on its title or album cover to view the detailed page. Here, you’ll find additional information about the song, such as the artist, album, release date, and customer reviews. Take some time to read reviews or listen to song previews to ensure you’re making the right choice.
If you decide to purchase the song, click on the “Buy” or “Add to Cart” button next to the price. Depending on your iTunes settings, you may be prompted to enter your Apple ID and password again to authorize the purchase. Follow the on-screen prompts to complete the transaction securely.
iTunes offers various pricing options, such as individual song purchases, full albums, and even discounted bundles. Prices may vary depending on the popularity and availability of the song or album. Once the purchase is made, the song will be added to your iTunes library, ready for you to enjoy on your iPod.
If you’re not ready to make a purchase immediately, you can also add songs to your wishlist or create custom playlists to organize your desired music. This allows you to keep track of the songs you’re interested in and make purchases at a later time.
It’s important to note that iTunes also offers a feature called iTunes Match or Apple Music. This subscription-based service allows you to access an extensive music library and stream music directly to your iPod without purchasing individual songs. If you’re interested in this feature, you can explore the options within iTunes and subscribe to the service if it suits your needs.
Now that you’ve successfully selected and purchased the music you desire, it’s time to move on to step 6: downloading the purchased music to your computer. We’ll guide you through this process to ensure that your favorite songs are readily available for syncing to your iPod. So, let’s continue to the next step and start building your music library!
Step 6: Download the purchased music to your computer
Once you have successfully selected and purchased the music from iTunes, it’s time to download the songs to your computer. This step allows you to have the songs stored locally on your computer before syncing them to your iPod.
To begin the download process, ensure that you are still signed in to your iTunes account. Navigate to the iTunes Store by clicking on the “Store” button in the top left corner of the iTunes application.
In the iTunes Store, locate the “Purchased” tab, usually located at the top of the iTunes Store window. Click on it to access your purchased content. You will see a list of all the songs and albums you have purchased.
To download a specific song or album, simply click on the cloud-shaped download button next to the title. You can also choose to download your entire purchased music library by clicking on the cloud-shaped download button located at the top right corner of the “Purchased” tab.
As the songs are being downloaded, you can monitor the progress of each download in the iTunes Downloads window. This window showcases the download progress and provides an estimate of the remaining download time for each song.
After the downloads are complete, the purchased music will be automatically added to your iTunes library. You can access your downloaded music by clicking on the “Music” tab located in the top left corner of the iTunes application.
It’s important to note that the downloaded music will be stored on your computer and can be played through the iTunes application. If you want to listen to the music on your iPod, you need to proceed to the next step: syncing the downloaded music to your iPod.
Now that you have successfully downloaded your purchased music, you’re one step closer to enjoying your favorite tunes on your iPod. In the next step, we’ll guide you through the process of syncing the music to your iPod. So, let’s move on to step 7 and make your iPod come alive with the sound of music!
Step 7: Sync the downloaded music to your iPod
Now that you have successfully downloaded your purchased music to your computer, it’s time to sync the songs to your iPod. Syncing allows you to transfer your music library from iTunes to your iPod, ensuring that you can enjoy your favorite tracks wherever you go.
To begin the syncing process, make sure your iPod is still connected to your computer using the USB cable. Launch the iTunes application if it’s not already open. You should see your iPod’s name under the “Devices” section in the left sidebar of iTunes.
Click on your iPod’s name to access its settings and options. This will open a new window dedicated to managing your iPod. Here, you can customize various settings such as what content to sync, how to organize your music, and more.
Navigate to the “Music” tab located in the top navigation menu of the iPod settings window. By default, iTunes will sync your entire music library to your iPod. However, you can choose to only sync selected playlists, artists, albums, or genres by selecting the appropriate options.
Once you have selected the music you want to sync to your iPod, click on the “Apply” or “Sync” button located at the bottom right corner of the window. iTunes will start transferring the selected music to your iPod. You can monitor the progress of the sync in the iTunes status bar, which displays the number of items being synced and the time remaining.
It’s important to note that the time it takes to sync your music depends on the size of your music library and the speed of your computer. Be patient and allow the sync process to complete before disconnecting your iPod.
Once the syncing process is finished, you can safely disconnect your iPod from your computer. Your downloaded music will now be available for playback on your iPod. Disconnect the USB cable from your computer and your iPod, and you’re ready to take your music on the go.
Remember, whenever you want to update your music library or add new songs to your iPod, simply repeat the syncing process. Connect your iPod to your computer, launch iTunes, make the necessary selections, and click the “Sync” button to transfer the music to your iPod.
Congratulations! You have successfully synced the downloaded music from iTunes to your iPod. Now, you can enjoy your favorite tunes wherever you go, thanks to your portable music companion. Happy listening!
Conclusion
Congratulations! You have successfully learned how to download music from iTunes to your iPod. By following the step-by-step guide, you can now access your favorite songs and build a personalized music library on your iPod.
We started by connecting your iPod to your computer, followed by opening iTunes and signing in to your iTunes account. We then explored how to browse and search for music in the iTunes Store, select and purchase the songs, and download them to your computer.
After downloading your purchased music, we guided you through the process of syncing the music to your iPod, ensuring that your favorite tracks are readily available for your listening pleasure on the go.
Remember that iTunes provides a vast collection of music from various genres and artists, giving you endless possibilities to expand your music library. Additionally, you can explore additional features of iTunes, such as creating playlists, organizing your music, and exploring new artists and genres.
Keep in mind that regularly syncing your iPod with iTunes allows you to keep your music library updated and synchronized with your computer. This way, you can effortlessly enjoy new music and ensure that your iPod reflects your latest musical preferences.
Now that you have mastered the process of downloading music from iTunes to your iPod, you can continue to explore the diverse and ever-growing world of music. So, plug in your headphones, press play, and let the music fuel your day!


